Tutorial

Eye Shadow Compact Decorated Cookies (Tutorial)

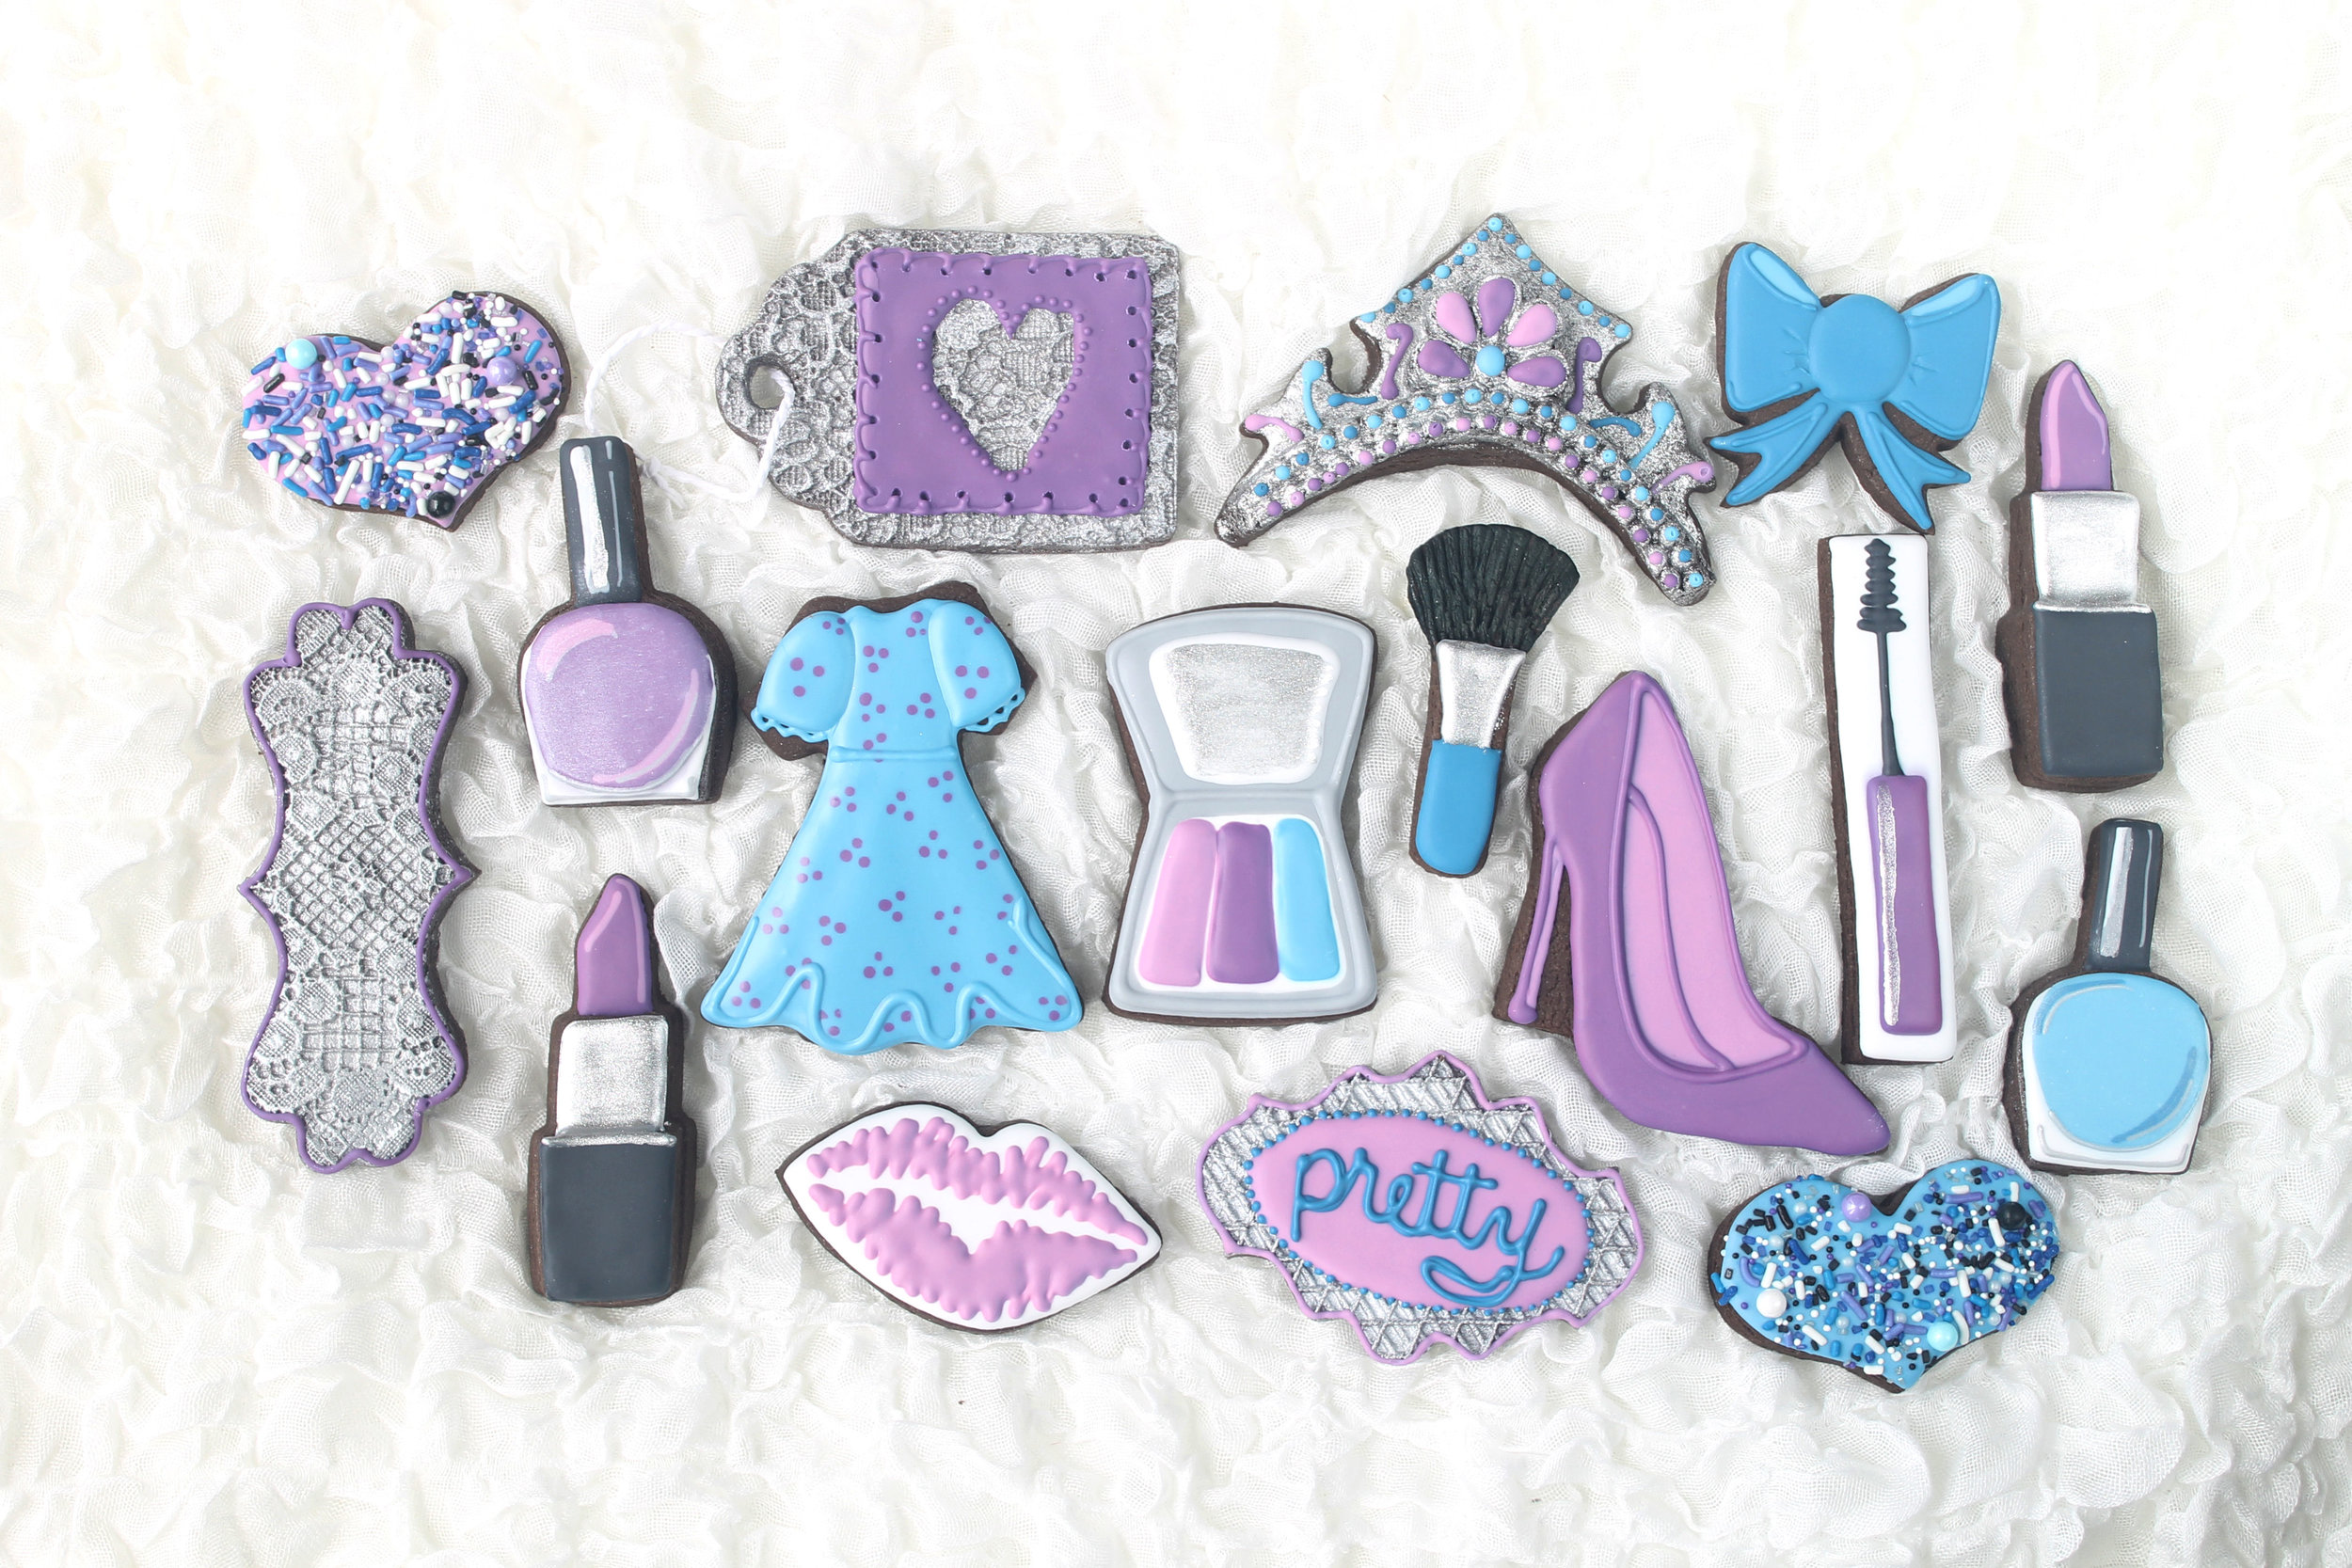
Here's a fun eye shadow compact decorated cookie in keeping with the "Pretty One" theme.

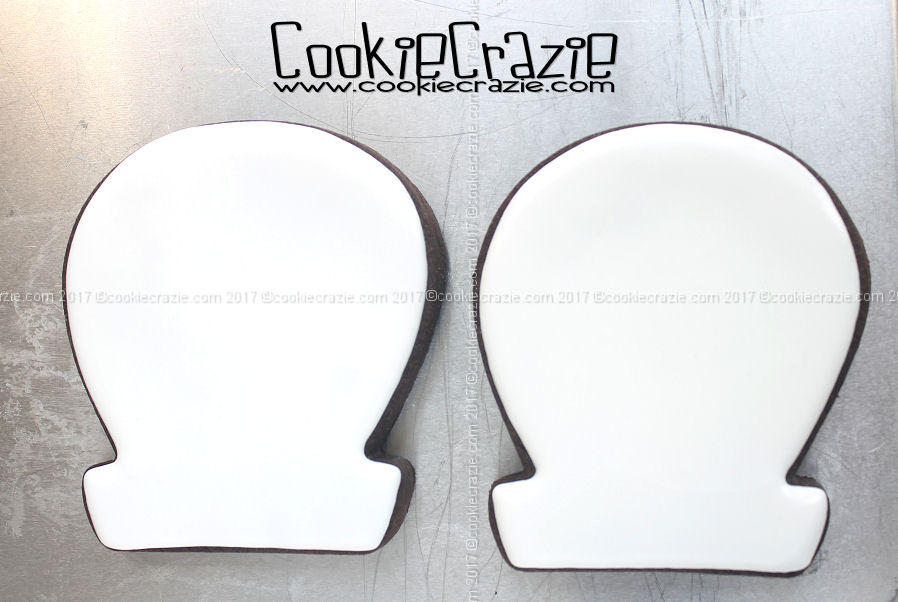
The cake/sand castle cutter from Sugarbelle's Shape Shifters set was used for this cookie.

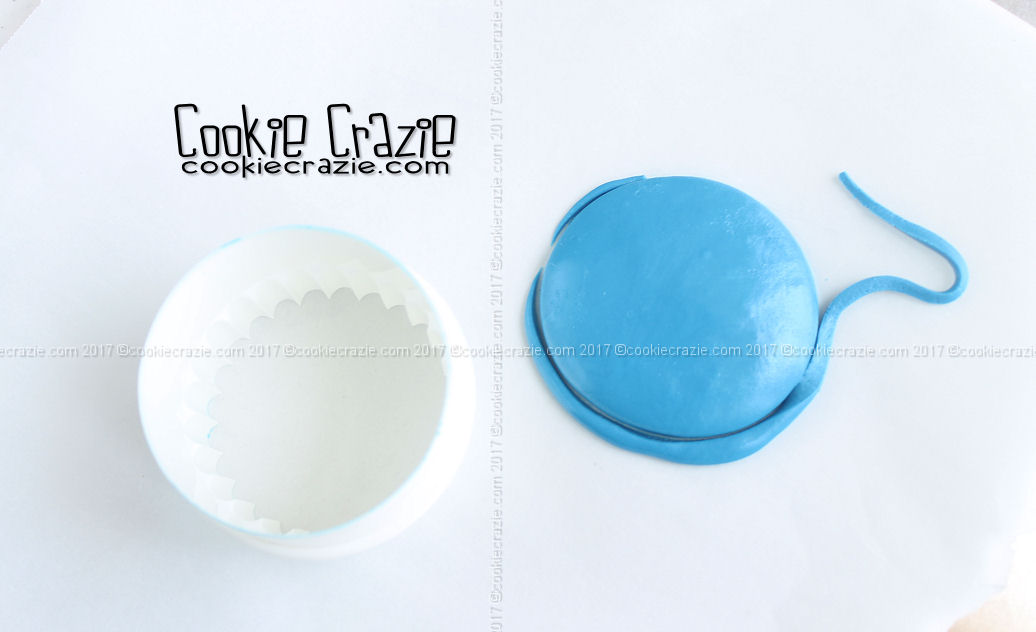
Trim the wide sides off the cookie as show below.

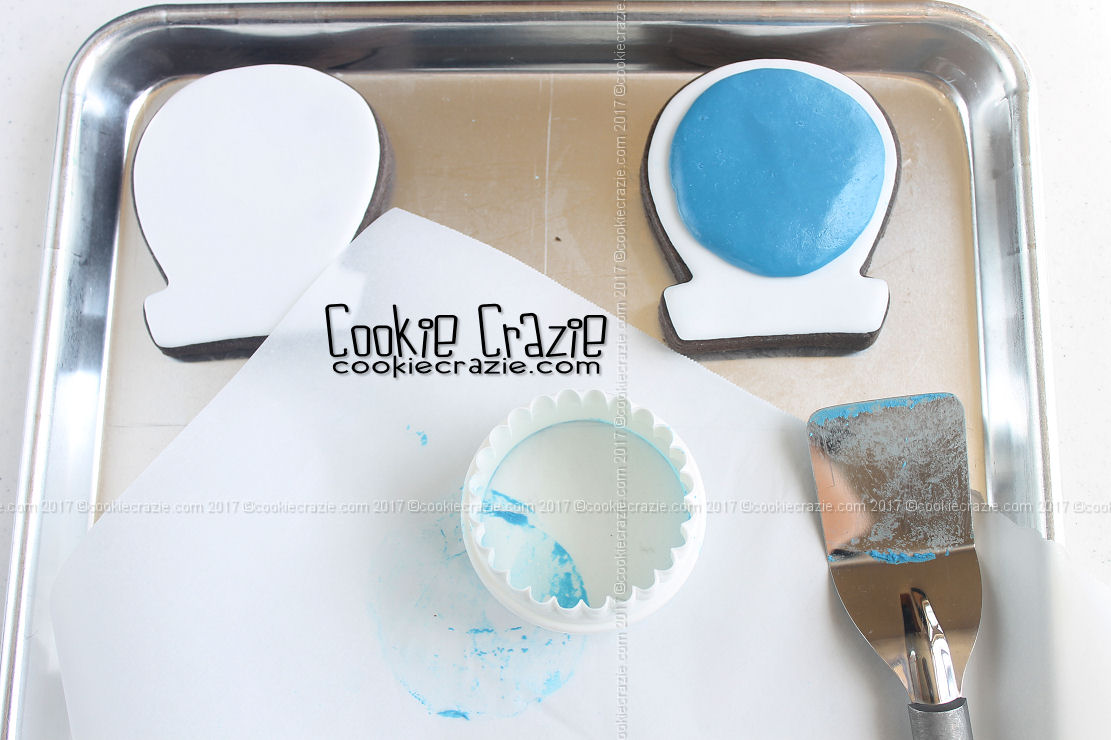
After the cookie is baked and cooled, outline and flood the entire shape with gray glaze, leaving the bottom center area open to fill with white glaze right after piping the gray glaze.
(see photo below)

Allow the base layer to dry for about one hour.
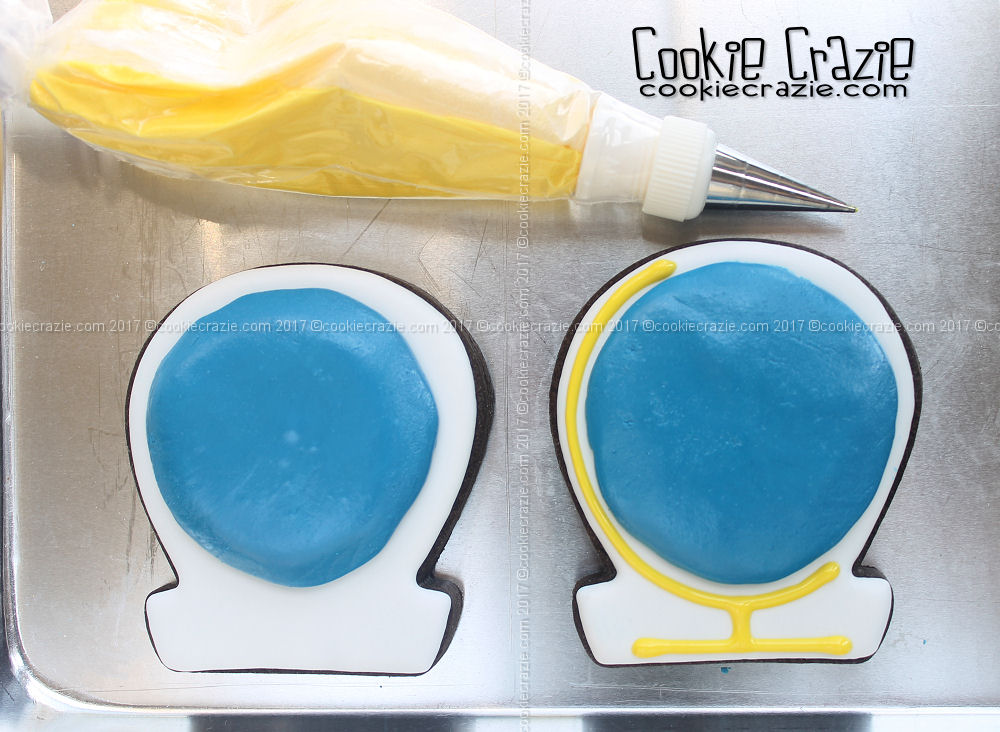
In the top portion of the "compact" pipe the mirror area in white glaze.
Outline and flood at least 3 rectangular sections in the bottom section to reflect different colors of eye shadow.
(see photo below)

Allow the cookie to dry overnight.
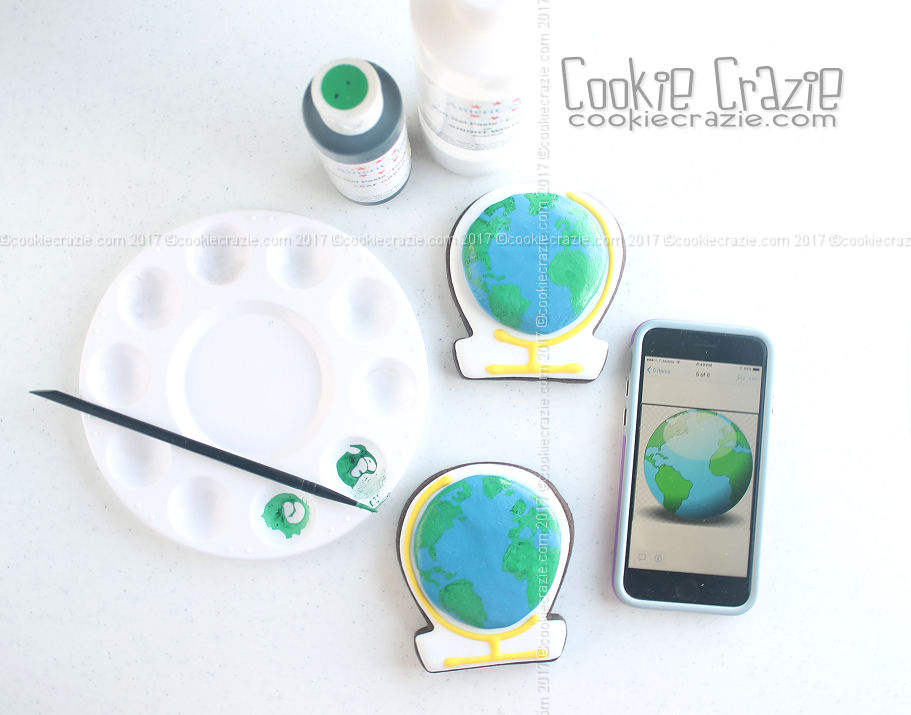
Make a wet mixture of nu silver dust (dust + vodka/clear extract) and brush randomly across the mirror area in the upper portion of the compact.


Ready for some pretty eyes...... 👁💅👄


World Globe Decorated Cookies (Tutorial)

Geography.......back to school means back to studying the world.

To make this world globe cookie, use the tombstone/horseshoe cutter from
Sugarbelle's Shapeshifters set to cut out the cookies.


Half Pint Milk Carton Decorated Cookie (Tutorial)

It's time to start prepping for back-to-school time. 

A couple of years ago I did an "Old School" Cookie Collection that contained a milk carton. 
I found the shape on Ecrandal's site and decided it should be featured in this year's collection.

To emphasize dimension on the milk cartons, do each segment separately. 
Changing up the colors in each adjoining segment will make them "pop" even more.
(see photo below)

Dry the cookies overnight.

Use a black food color marker and red food color marker to add some details to the cartons.
(see photo below)


Firework Rocket Decorated Cookies (Tutorial)

And the rockets red glare.....the bombs bursting in air........ 🎇 

I love to make a grouping of cookies that display lots of color and pattern.
Firework rockets were a perfect choice for that. 

You could use any cutter  that has a long rectangle of some sort in it. You just need to cut one end to have a point for the rocket. (see photo below)
Using this pencil cutter requires no extra cutting at all. 

Outline and flood the body of the rockets with fun red, white and blue patterns using wet-on-wet technique.

Add the rocket tops and any additional details to the rocket body.
Pipe a stick or a fuse to the bottom of the rocket.
(see photo below)

Add the sparks to each rocket fuse in white glaze.
Allow the cookie to dry overnight.

Mix silver dust with vodka or clear extract (ex. almond extract) to paint over the fuse sparks.

And now it's time to light the fuses and watch the fireworks....... :)


Rustic Patriotic Tag Decorated Cookies (Tutorial)

I love the rustic look so much! Before I started these cookies, I had a technique in mind to try.....and in the middle of the experiment, I accidently scraped some of the color off the top  of the cookie and realized.....THAT'S IT! That's the look I was going for. :)

To make tag cookies, you can use just about any shape and then use a straw to cut out a hole on one side of the shape. For these particular cookies, I used the tea bag cutter from That's A Nice Cookie Cutter designed for me to complete the Tea Time for Mom Decorated Cookie Collection. It has a tag hole built right into the cutter. 

Once the cookies are baked and cooled, brush dry chestnut and caramel elite colors over the top of the cookie surface. (see photo below)

Combine a small amount of vodka (or clear extract, i.e. almond extract) with royal blue and red rose elite dusts separately to make blue and red "paints".

Brush the paint roughly over the cookie making sure it is not uniform in order to give it that rustic, primitive look.

Then....here's the fun discover......use a small knife or thin flat surfaced tool to scrape random parts of the painted color off the tag.

Also, if you'd like to add a shape on top of the tag, find a correctly sized mini cookie cutter and press it into the still wet "paint" to make an impression you can use later to pipe the shape with glaze. (see photo below)

Allow the cookie to dry for at least an hour and then outline and flood the shape over the top of the painted surface.

If desired, you can add an aged-look to the piped shape once it has dried overnight by brushing it with dry brown dust.


Member Login
Welcome, (First Name)!

Forgot? Show
Log In
Enter Member Area
My Profile Not a member? Sign up. Log Out