technique

Rustic Patriotic Tag Decorated Cookies (Tutorial)

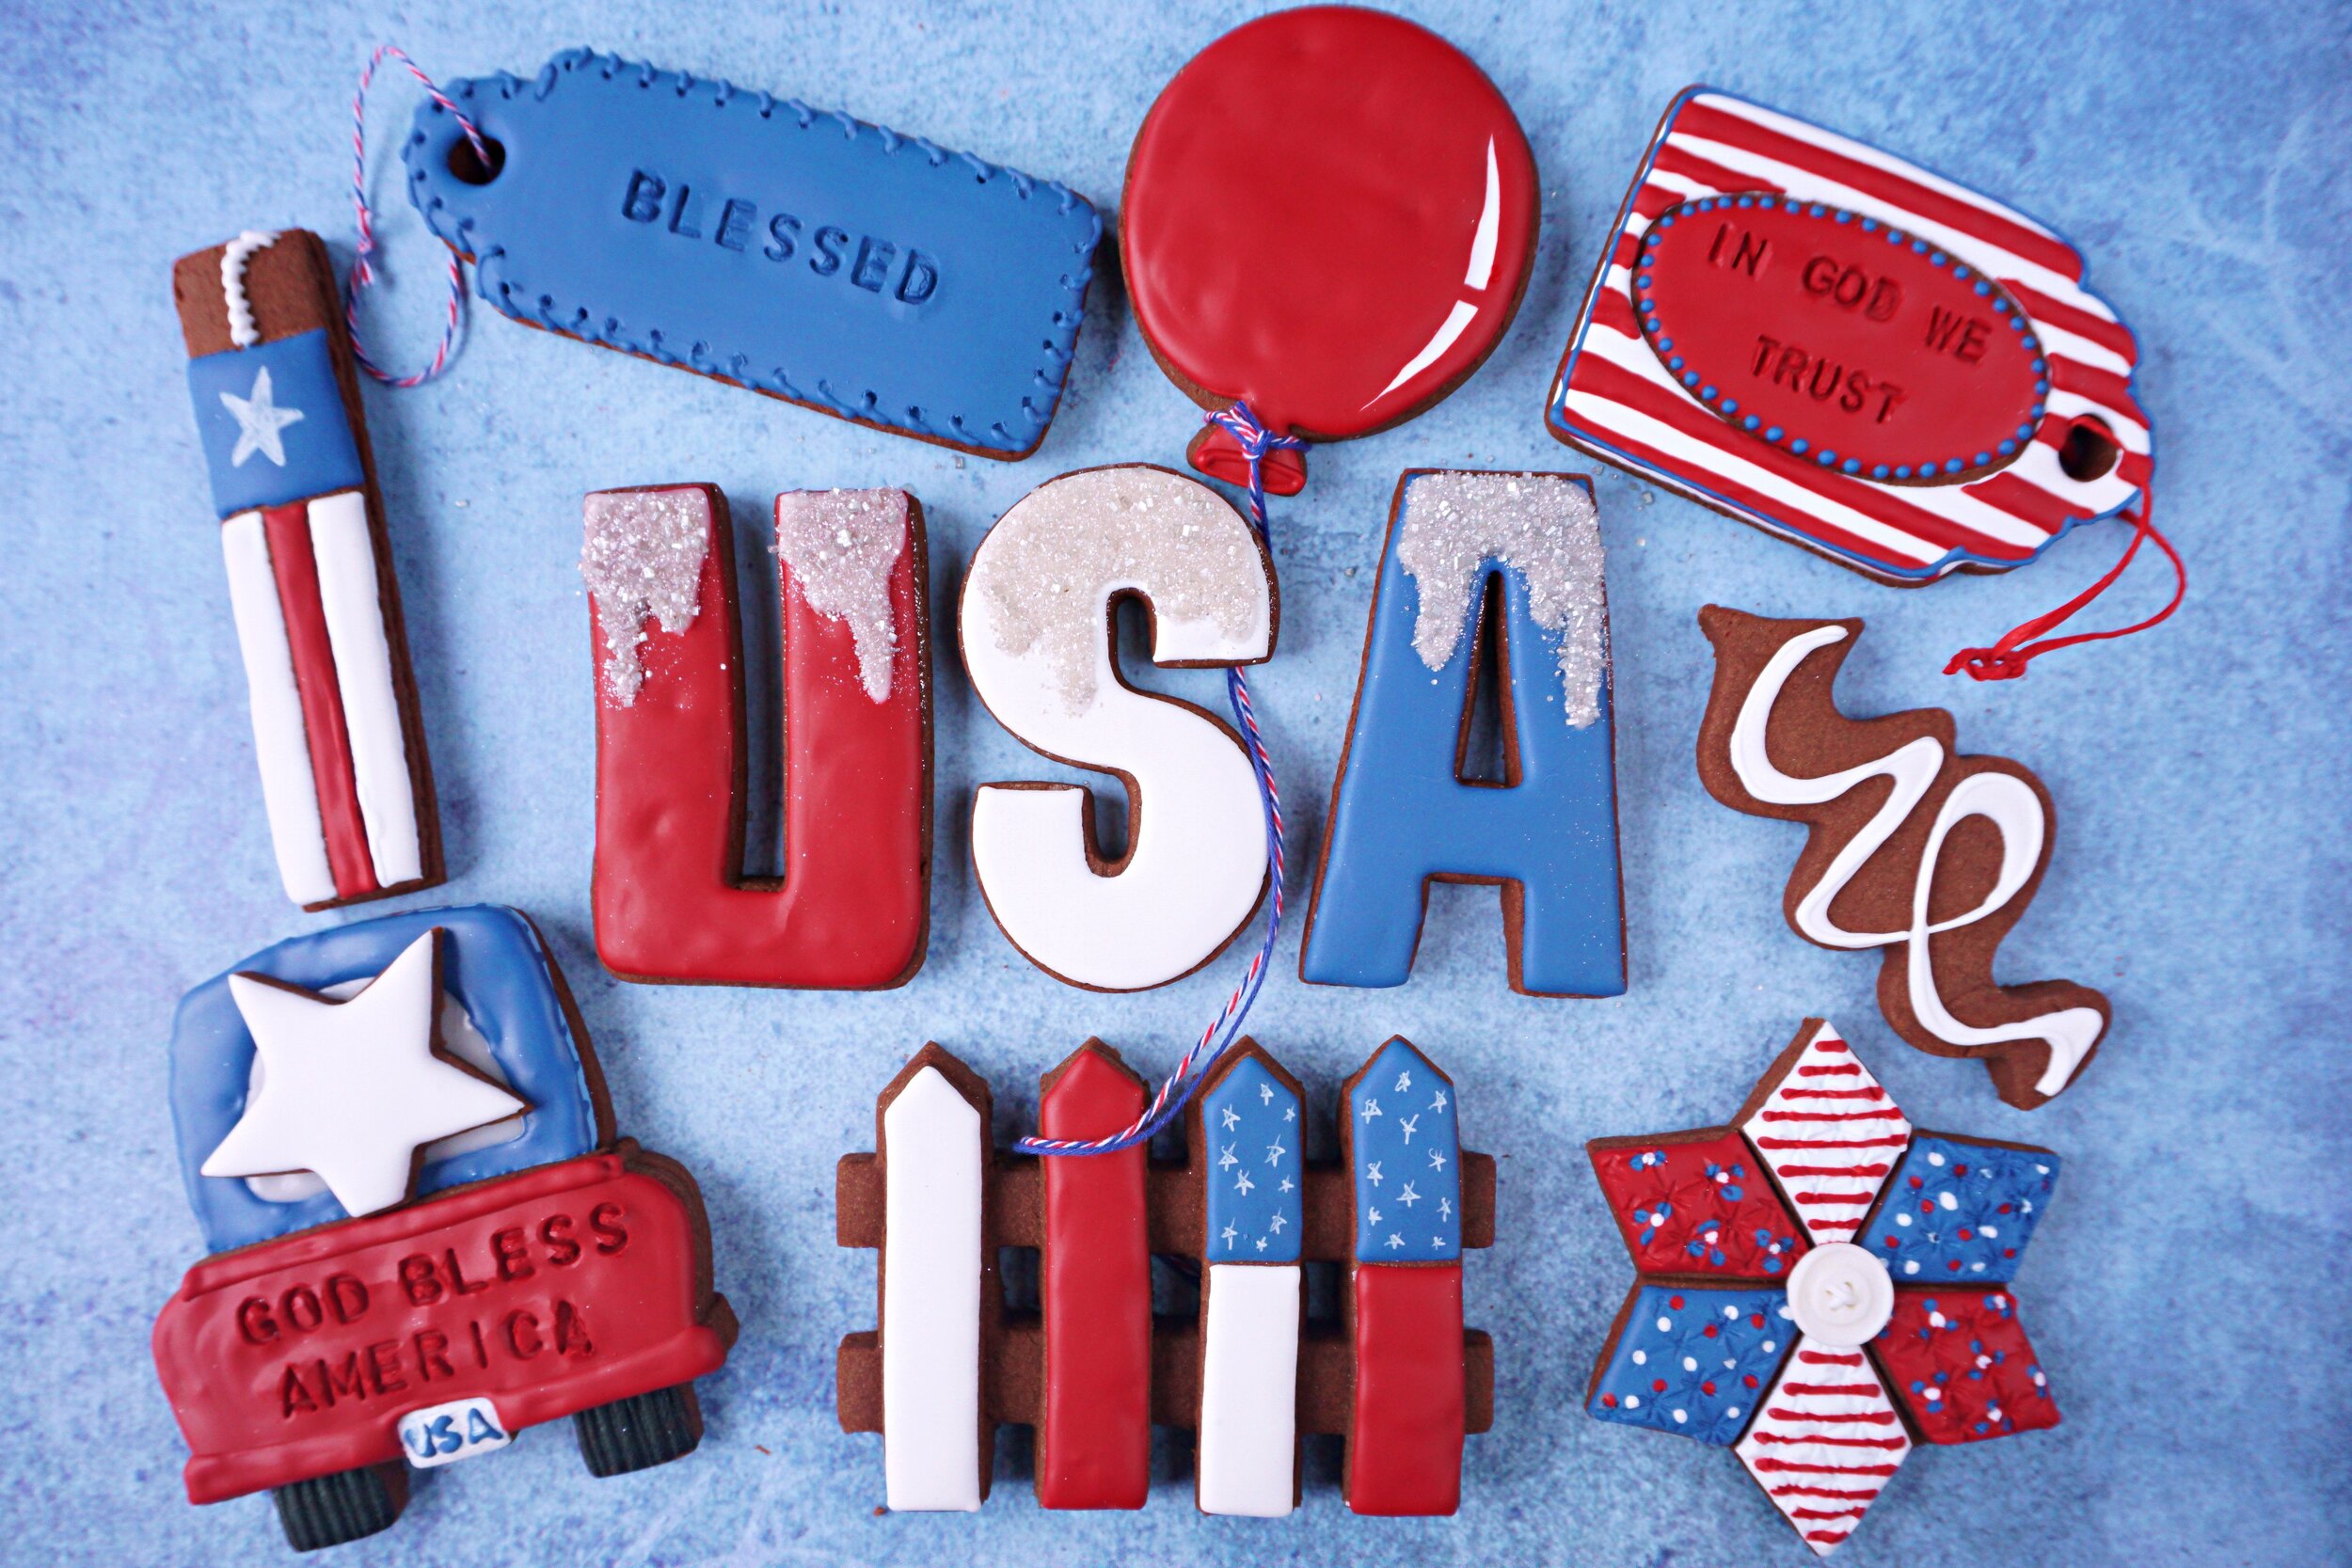
I love the rustic look so much! Before I started these cookies, I had a technique in mind to try.....and in the middle of the experiment, I accidently scraped some of the color off the top  of the cookie and realized.....THAT'S IT! That's the look I was going for. :)

To make tag cookies, you can use just about any shape and then use a straw to cut out a hole on one side of the shape. For these particular cookies, I used the tea bag cutter from That's A Nice Cookie Cutter designed for me to complete the Tea Time for Mom Decorated Cookie Collection. It has a tag hole built right into the cutter. 

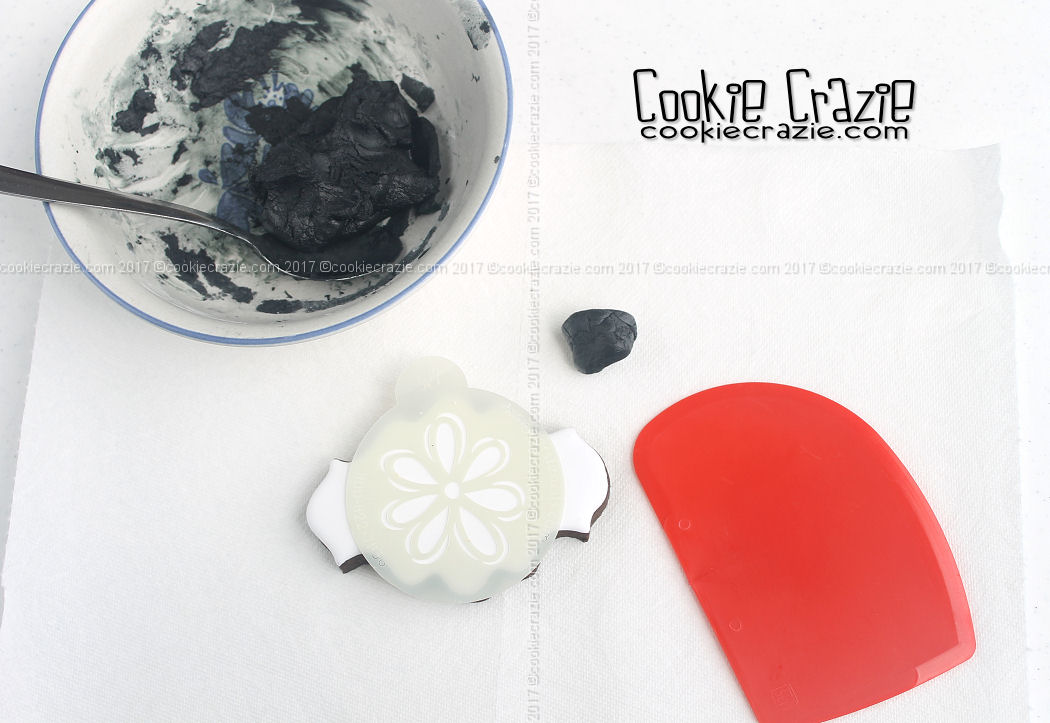
Once the cookies are baked and cooled, brush dry chestnut and caramel elite colors over the top of the cookie surface. (see photo below)

Combine a small amount of vodka (or clear extract, i.e. almond extract) with royal blue and red rose elite dusts separately to make blue and red "paints".

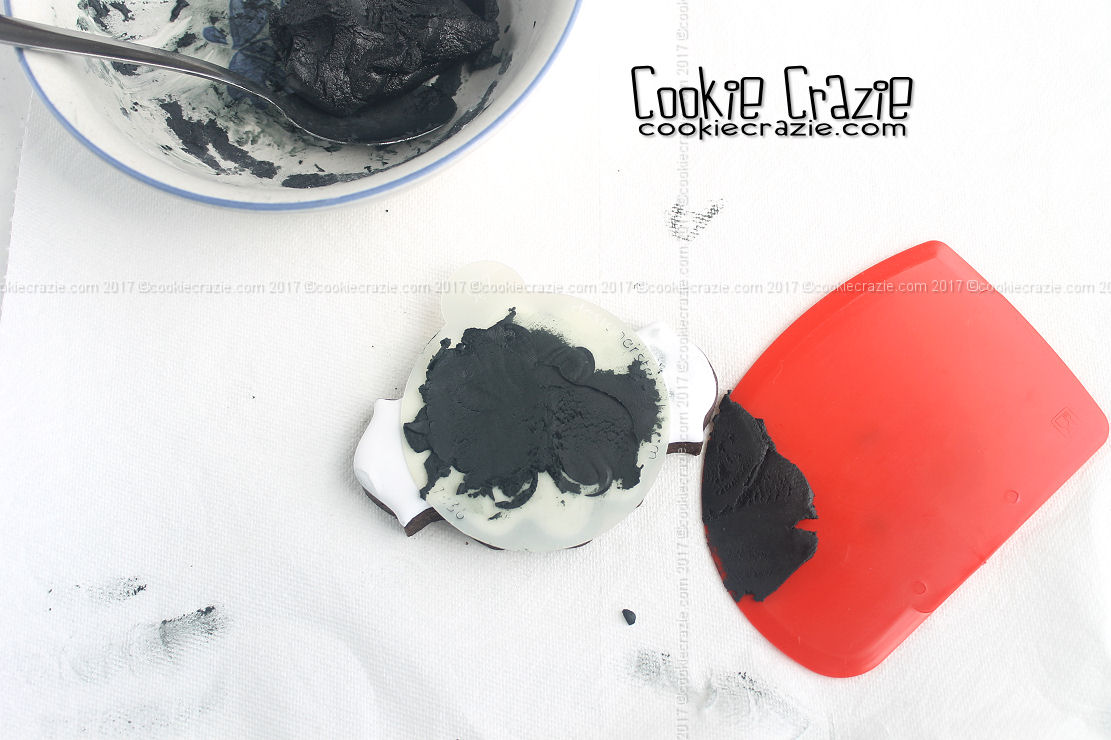
Brush the paint roughly over the cookie making sure it is not uniform in order to give it that rustic, primitive look.

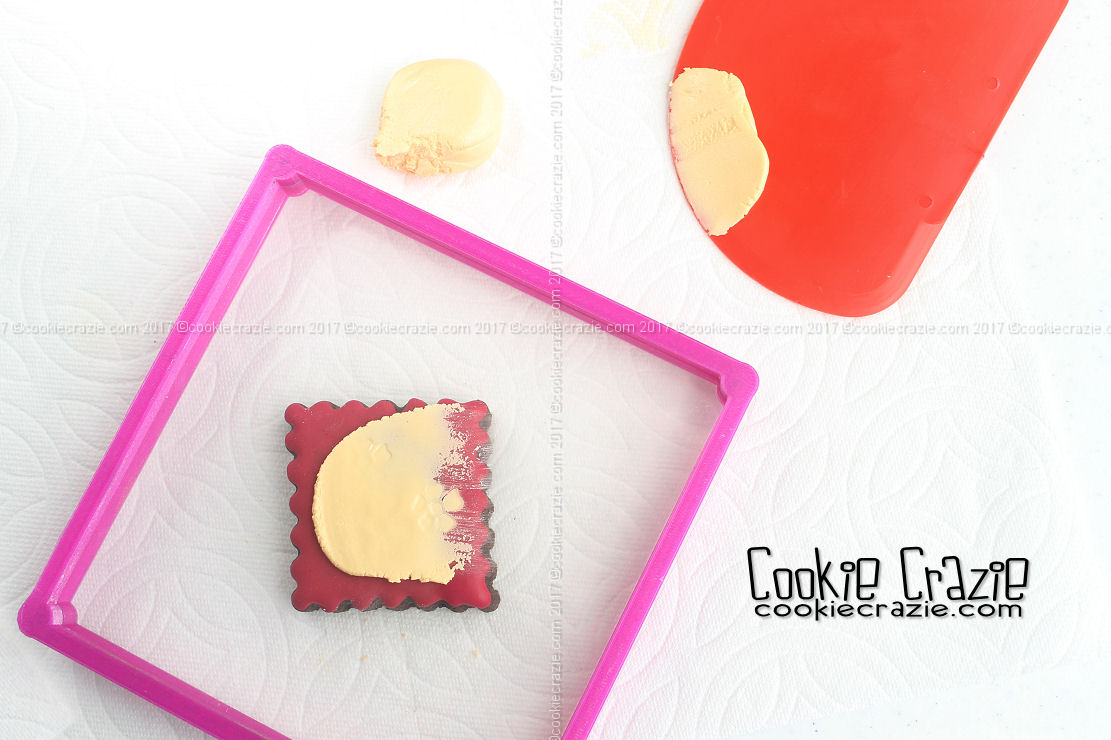
Then....here's the fun discover......use a small knife or thin flat surfaced tool to scrape random parts of the painted color off the tag.

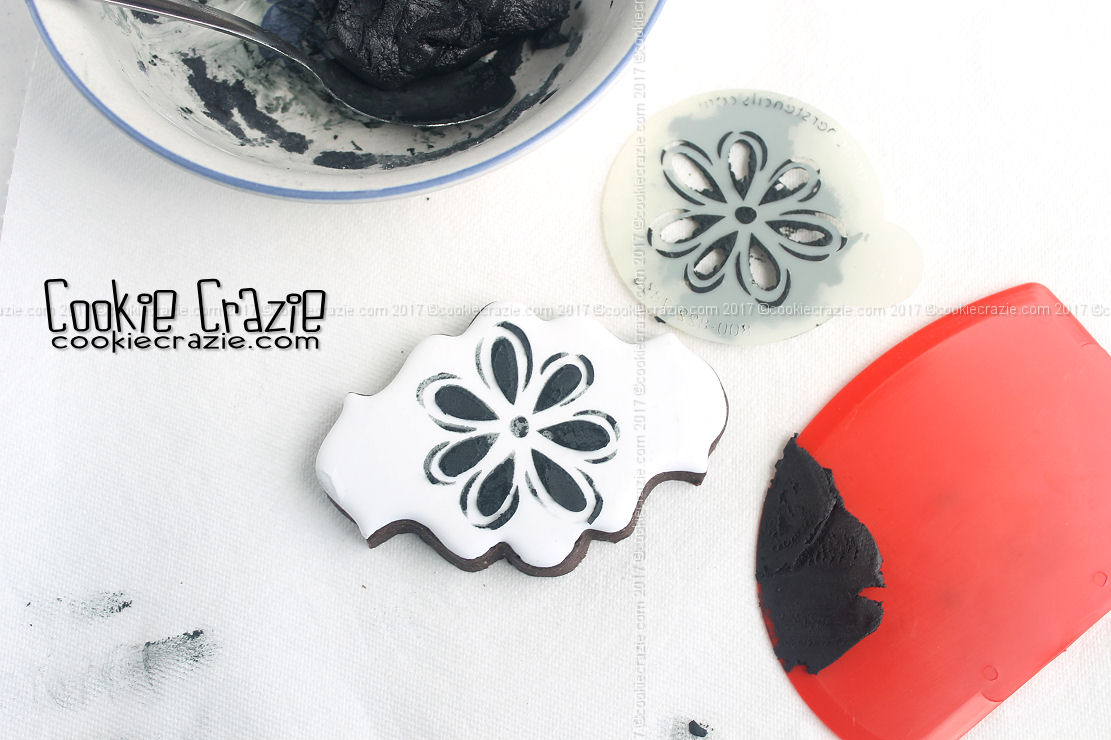
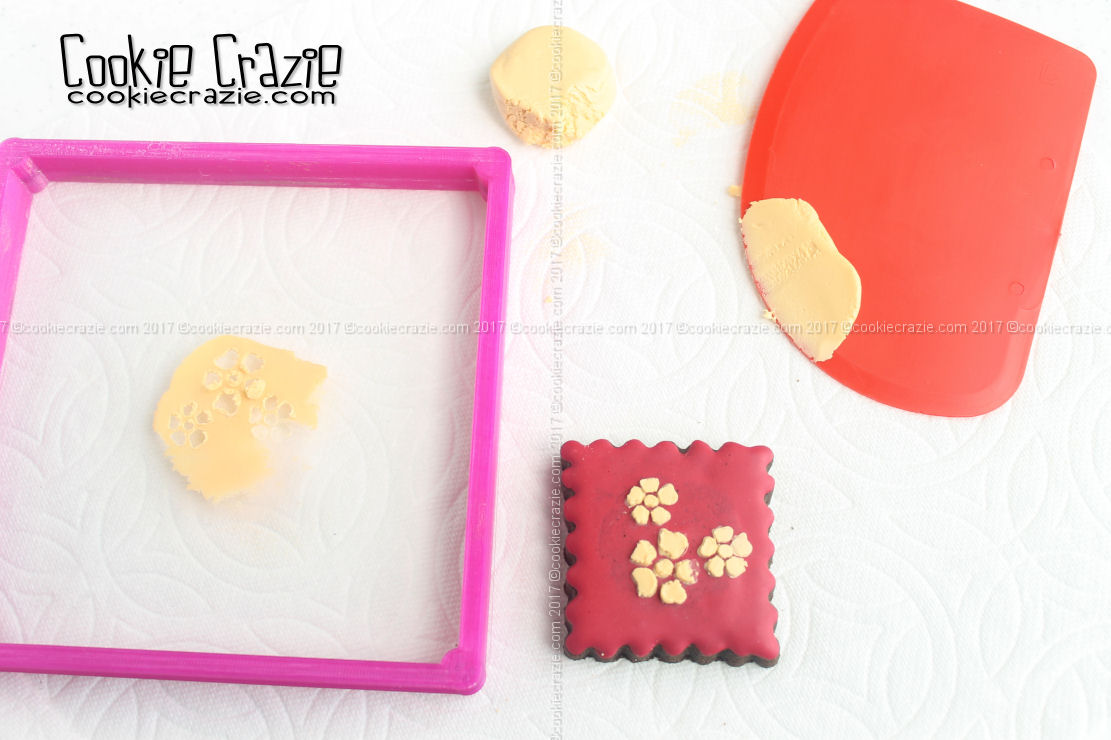
Also, if you'd like to add a shape on top of the tag, find a correctly sized mini cookie cutter and press it into the still wet "paint" to make an impression you can use later to pipe the shape with glaze. (see photo below)

Allow the cookie to dry for at least an hour and then outline and flood the shape over the top of the painted surface.

If desired, you can add an aged-look to the piped shape once it has dried overnight by brushing it with dry brown dust.


Stenciling with Glaze

Stenciling with glaze has always been thought of as impossible. The composition of glaze and it's quality to flow into a level surface has disqualified it from being a contributor to stenciling on cookies. Or so I thought......

Recently I've been trying to use some of my stencils on cookies without using an airbrush. I tried many techniques and none of them were working consistently. I decided to try glaze once again, but thickened it more than I had in the past to see what I could do.

And here are my results. :) It surprised me. It's totally possible to stencil with glaze!

The consistency is important. The very thick (even moldable) glaze I used during this project was actually too thick. Even though I got it to work, it would have been easier if it had been a tad bit thinner. It was very difficult to spread this thick, clay-like glaze evenly across the stencil. Plus, it was so elastic, it didn't want to break away from the stencil when it was pulled up. 

I'm going to experiment with this more......but wanted my readers to know that this is possible and you should totally try it. FINALLY I have a use for some of those stencils I've been storing away for so long. :)

Add powdered sugar to glaze until it nearly comes together like clay. But make sure it is still sticky and not too thick. A friend described it as pasty, thicker than toothpaste, but not moldable. 

Place a small amount on top of the stencil to act as a "glue" to keep the stencil in place. Pull your scraper from top to bottom making an even coat of glaze. Then pull up the stencil. And there you have it.....a beautiful stenciled pattern. :)


Adding Sparkle to Textured Cookies (Technique)

Textured cookie dough is an awesome way to add dimension to cookies with very little effort. Now you can even add a little color and/or some sparkle to the beautiful texture.

As shown in previous blog posts, you only have to roll a texture mat directly into the dough in order to mold a texture into it.
(see photo below)

Once the cookies are baked and cooled, you can add a little color by using "watered-down" color gel. For these particular cookies, I used my "water colors" made from The Painted Box's methods. Check out her YouTube video HERE
Add a drop or two of color to your palette and then brush it onto the textured cookie. Easy!

To add sparkle, brush on some dry SugarArt sterling pearl dust (Brilliant Sparkle used on these cookies).

Beautiful and yet so simple.....

 
Member Login
Welcome, (First Name)!

Forgot? Show
Log In
Enter Member Area
My Profile Not a member? Sign up. Log Out