I've had the pics for this little KopyKake pictorial for a couple of months....but am just now sharing it. Weird how time slips away without you even thinking about it.
I remember when I first heard of a KopyKake. It's basically a glorified "overheard projector" like we had in elementary school MANY years ago. lol) At first, I felt like using it to decorate cookies was kind of like "cheating". You see, I'm all about the decorator being the sole creator....and having to do it from one's own creativity and expertise.....not something doing it for you. I decided back then, that I would probably never get a KopyKake because I just didn't feel right about it. Then one of my good cookie friends' reply to my response was to ask me if using cookie cutters was cheating. Hmmm.....when she put it that way....I had to rethink my opinion.
And then a very kind supporter of my ministry offered to buy me one. Oh my! I was stunned that she offered specifically to buy me the very item I'd belittled in the past.
I came to the conclusion that the KopyKake is a helper.....a tool.....but it is not actually decorating the cookie.....*I* am. And I could see some very valid uses for it.....in particular for me......writing and special fonts.
SO......I've had my KopyKake for several months now, and even though I have only used it but 3-4 times, when I've used it, it has been a tremendous help. It helps with better perspective, symmetry, and precision. In some ways, it is more work to use it then not......but in those special cases, it is invaluable!
In May, I was asked to do some cross country symbol cookies for a graduation. So I whipped out my KK....and got to work.
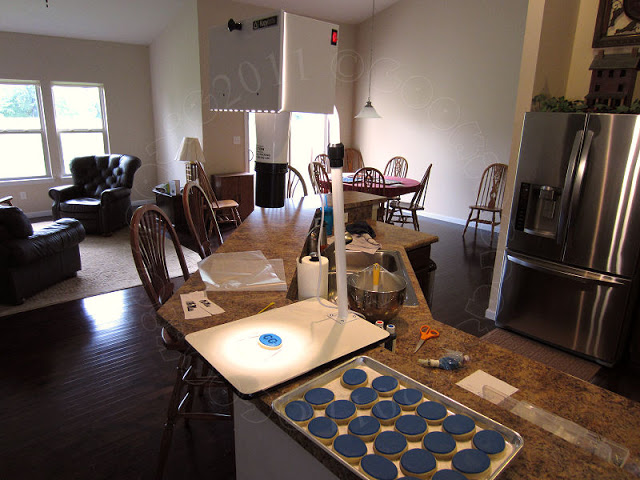
You put your image up in the projection box and it appears down on the platform where you've placed your cookies. It's a pretty ingenious idea. :))))))
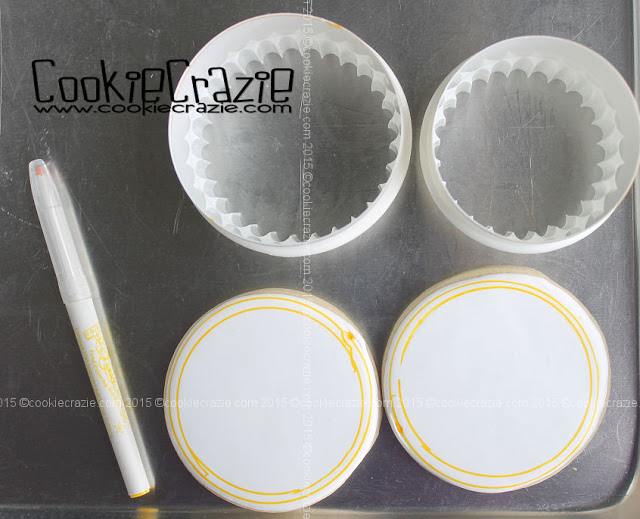
I just used the KK to outline the logo....and then filled it in on my own.
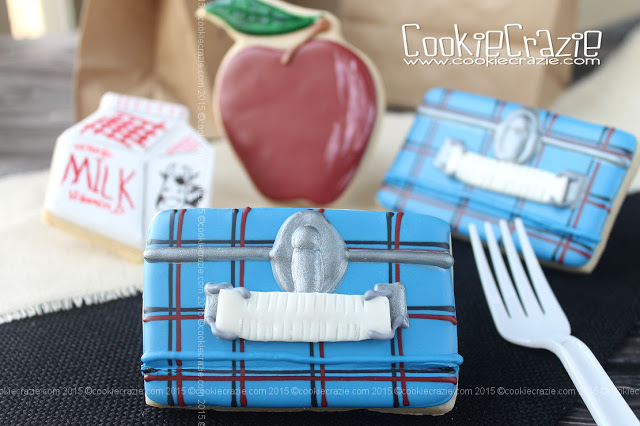
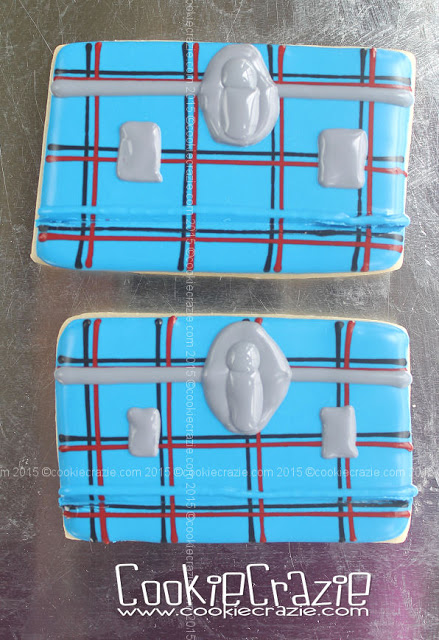
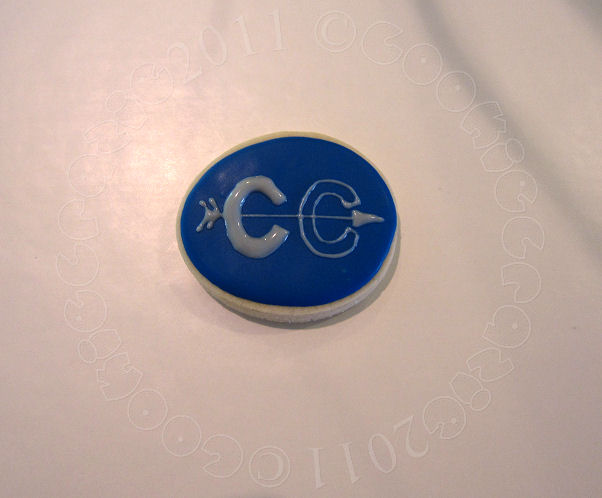
And the final cookie.......
So my thoughts on the KK......it is a very expensive tool that comes in very handy......but it is certainly a luxury for a cookie decorator. I don't think most people really need one. Only those who do lots of volume, lots of logos/characters, or lots of writing on cookies.
**********************************************************
I did some more summer cookies this week.......just tweakin' them.
May you have a week full of blessings.......