

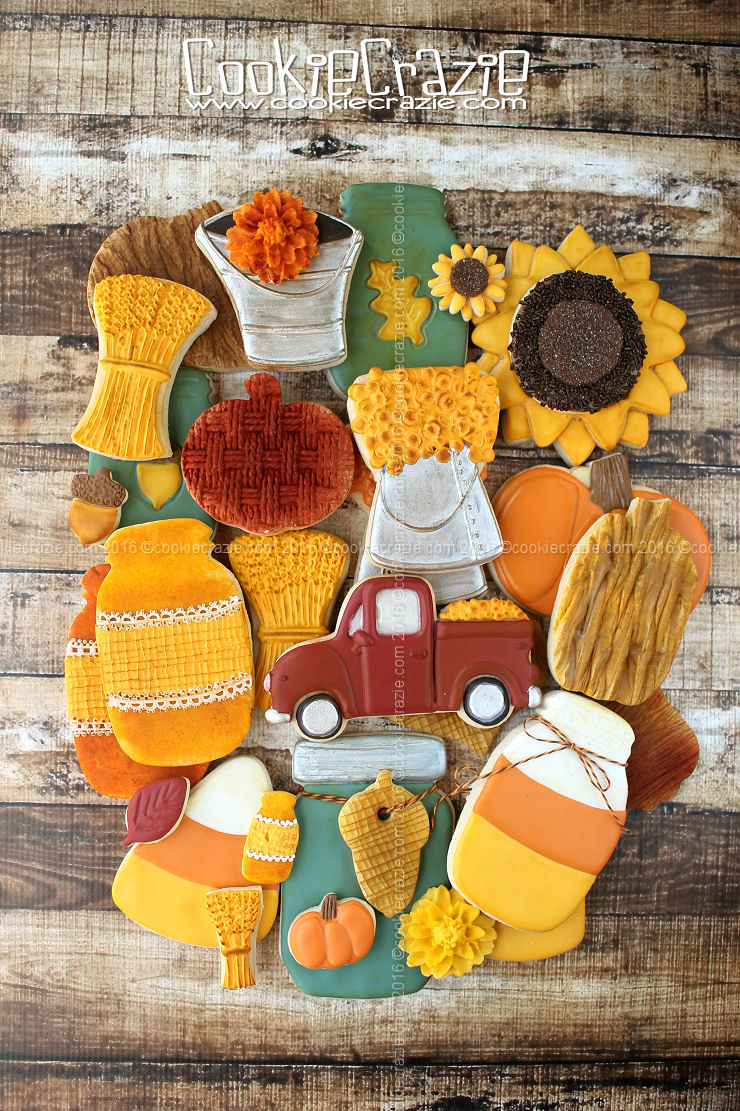
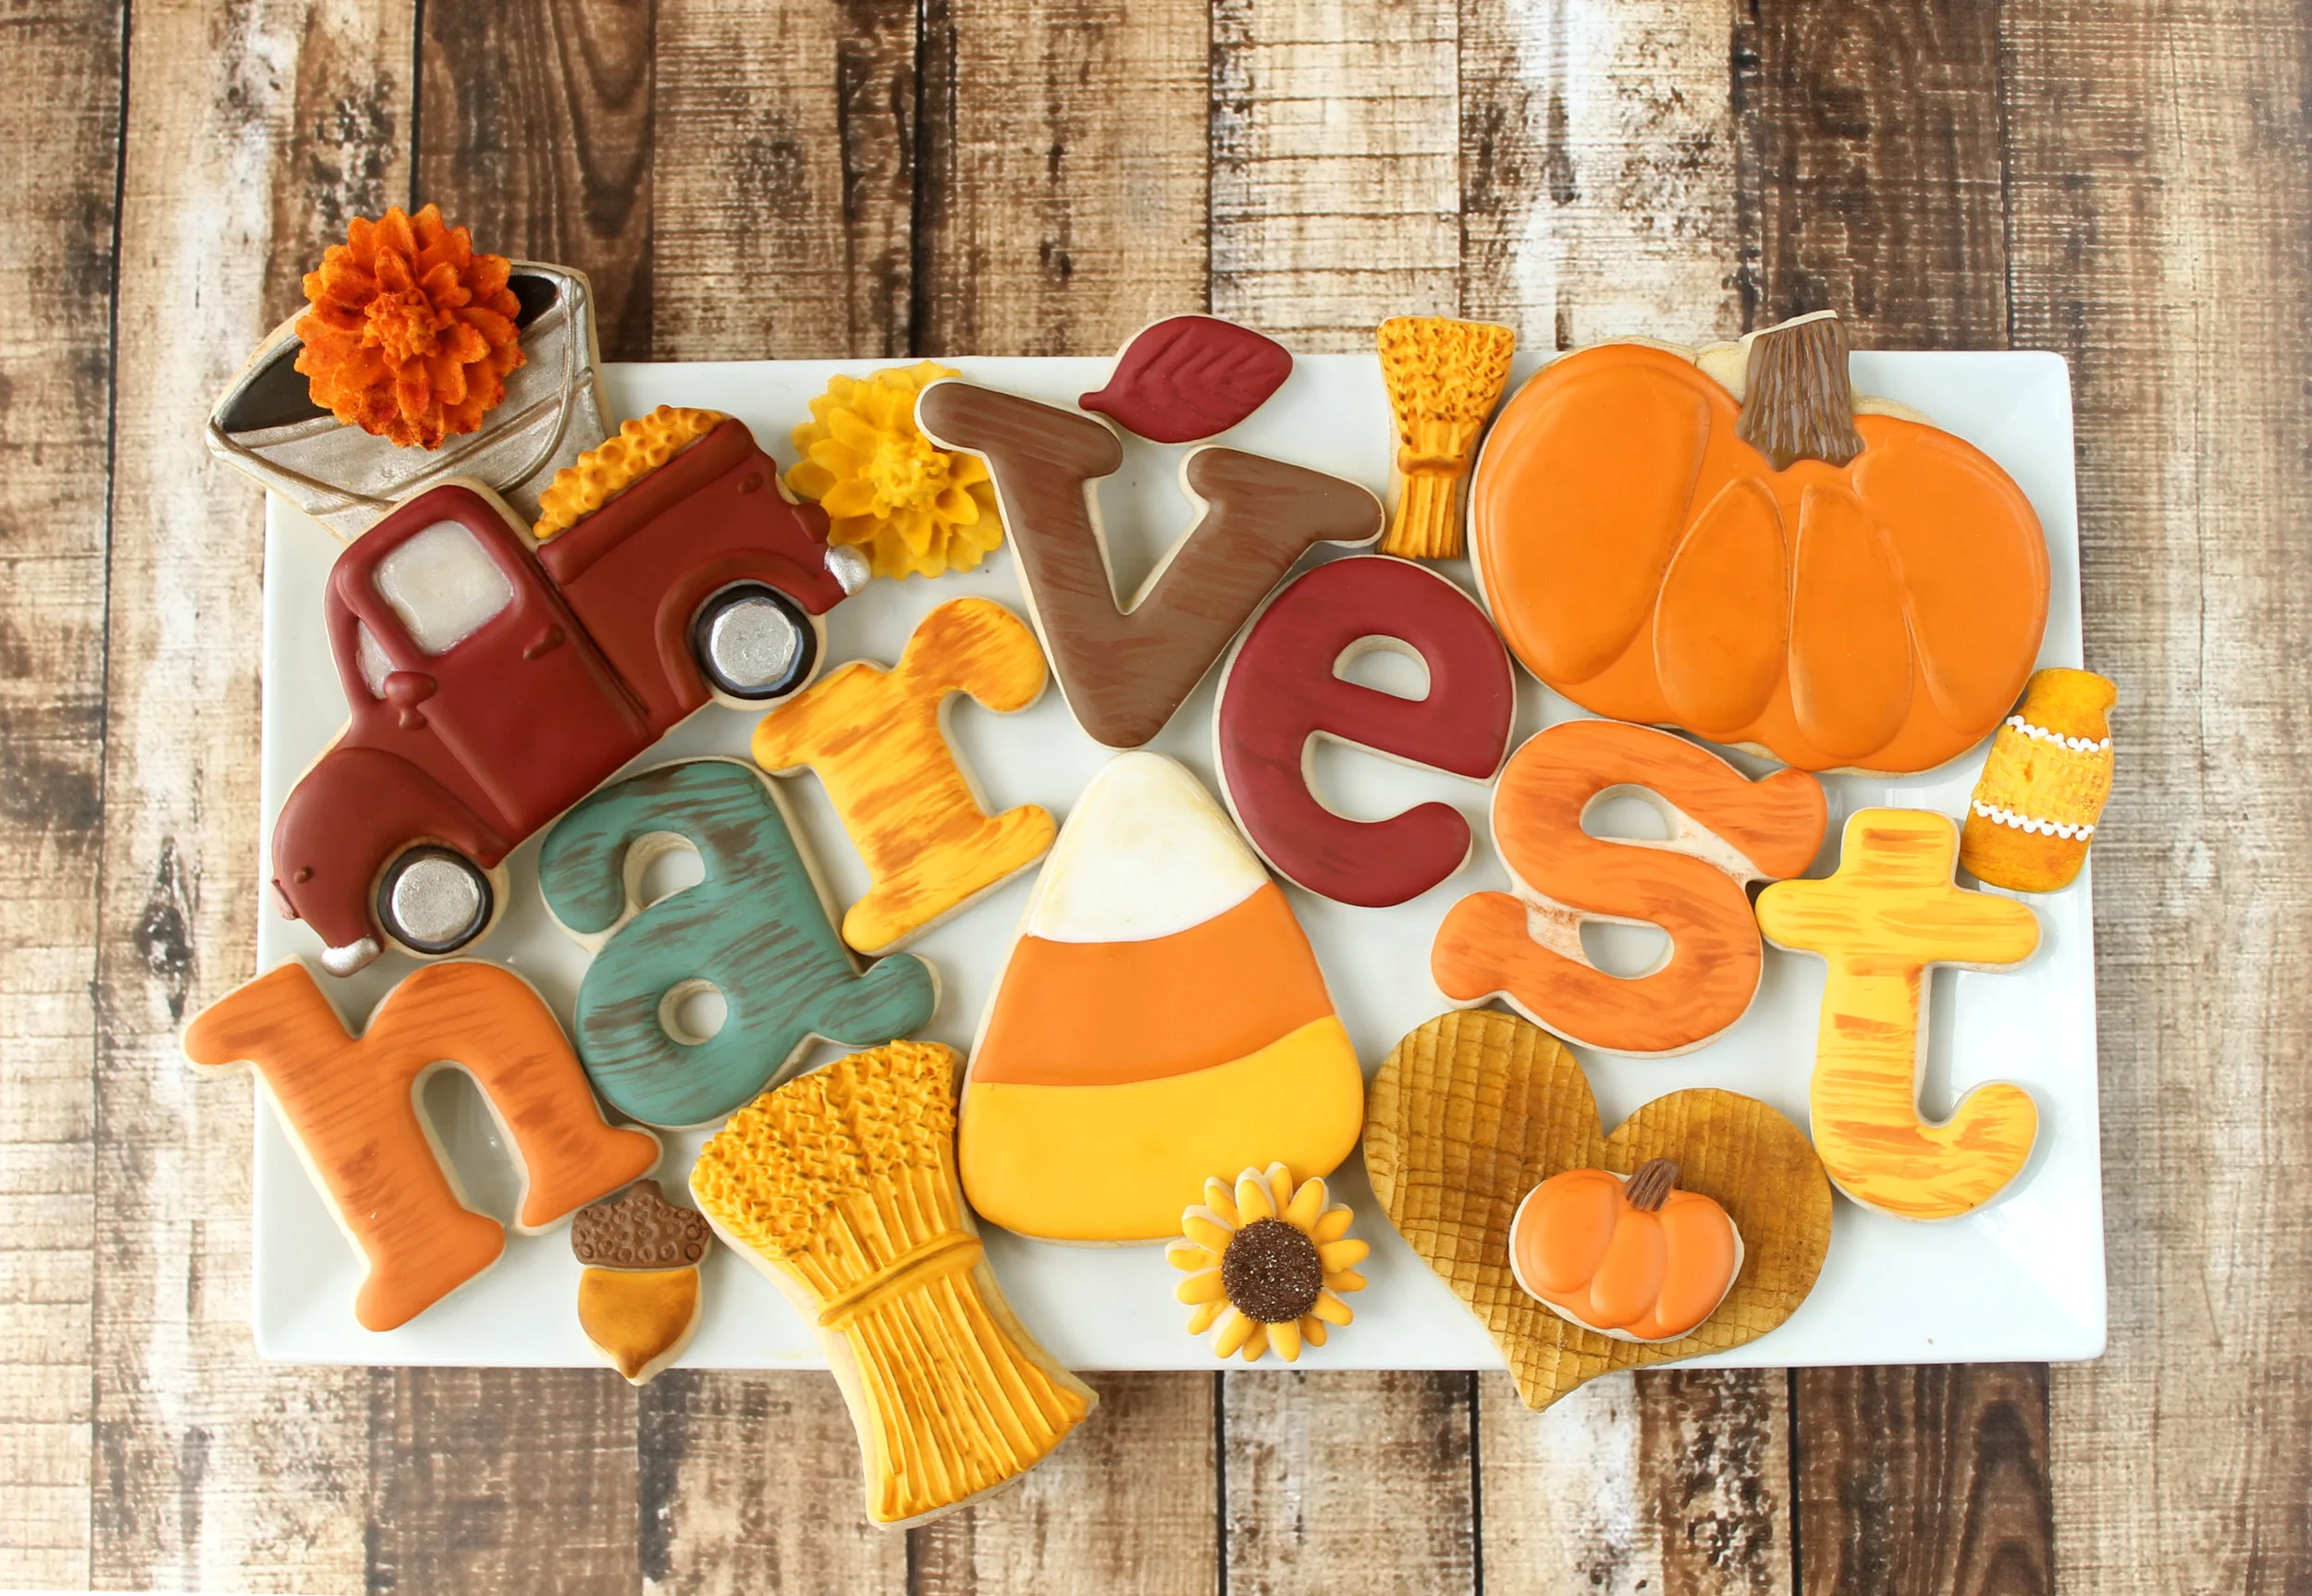
This season gets me EVERY time.
I LOVE IT!
I'm always amazed at how easy it is to re-create new cookie designs for harvest. What a pleasure to emulate a rustic country vintage harvest season via cookies.
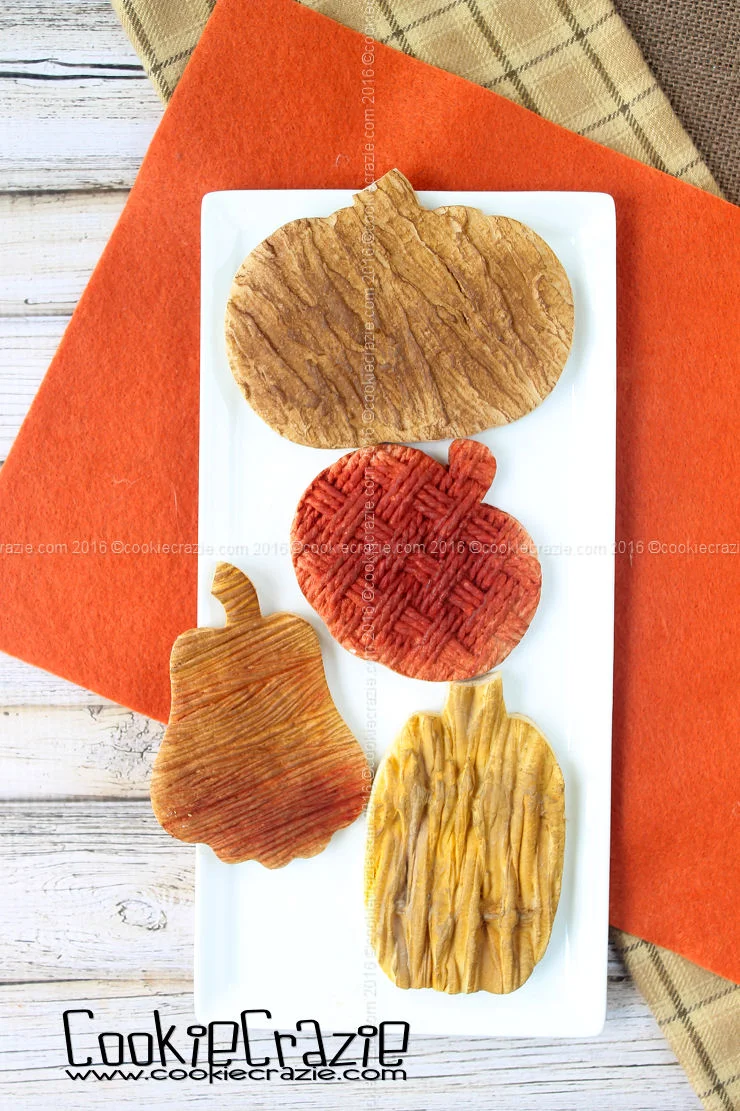


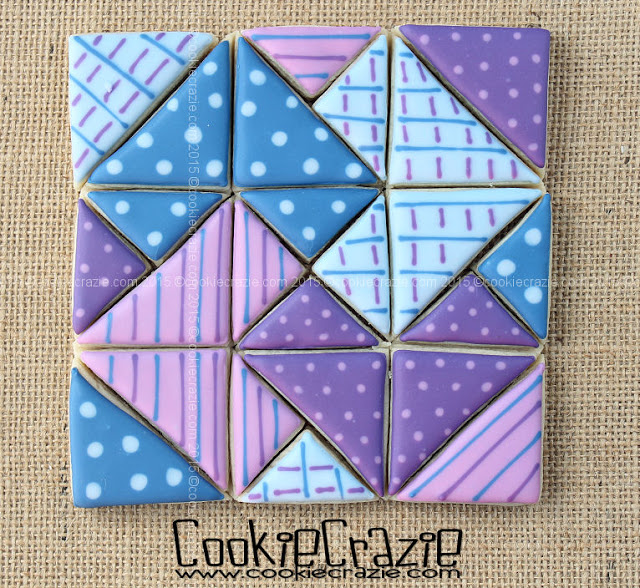
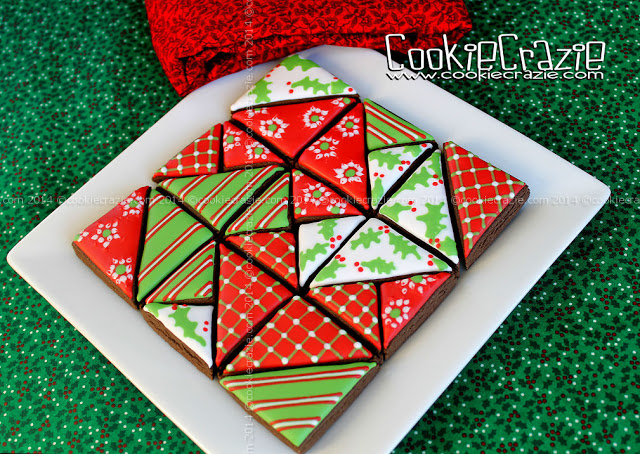
Hidden Card Trick Quilt Block Cookies
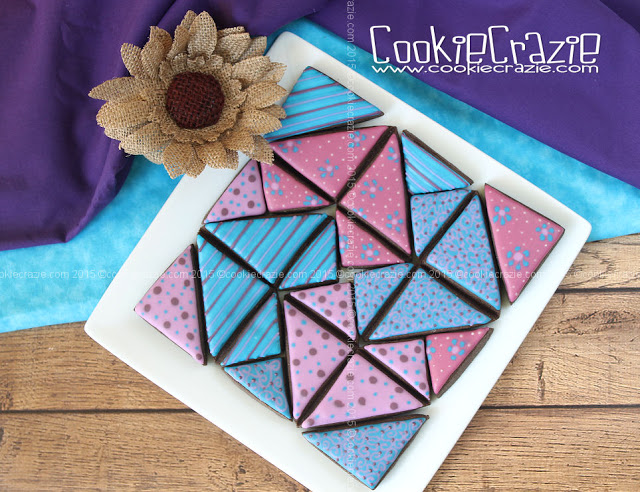
Loving quilts and patterns so much, it makes sense that I'd be very attracted to a cute cutter set that Ginny of Creative Cookier came up with to make a cute quilt block pattern with cookies.
This particular quilt pattern is named the Hidden Card Trick.
Don't you love how it has hidden heart shapes within the pattern?
I've created a few sets from this particular cookie cutter set and I love each one!
Ginny still hasn't posted this set on her site,
but maybe if you go and send her a message asking her to do just that......
she will see the demand for these cutters. :)
Quilt Cookies
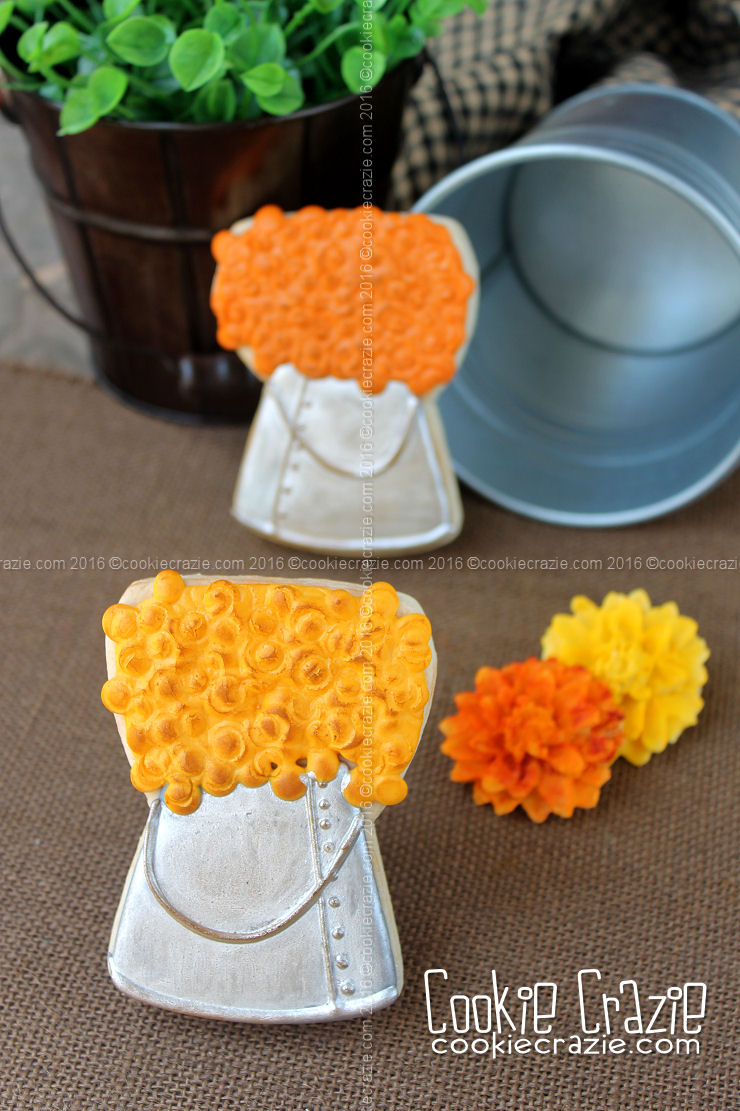
Pedestal Cake Stand Cookie (Tutorial)

I'm very blessed to have a friend who "gets" me and
wants to help with the cause that I'm passionate about.
Ginny Levack of CreativeCookier has partnered with me to make
CookieCrazie custom cookie cutters.
She donates some of the proceeds of the cutter sales to my Ukraine mission effort.
[Thank you Ginny! I appreciate your sweet spirit and your kind & generous heart!]
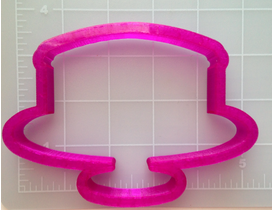
Here's one of the most recent cutters we added to the collection.
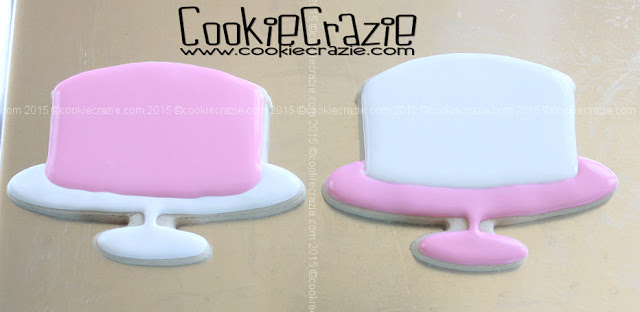
This pedestal cake stand cutter has so much versatility for making
any kind of cake or creation on top of a cute pedestal stand.
Start the decorating by outlining and flooding the base pedestal part of the cookie.
(see photo below)
(see photo below)
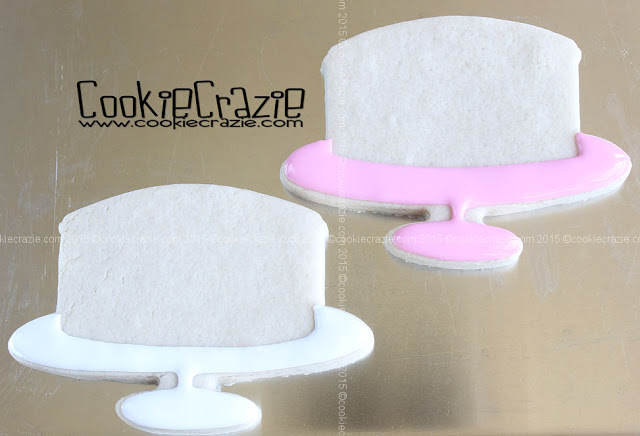
After that portion has dried for 30 min - 1 hour, outline and flood the cake part of the cookie.
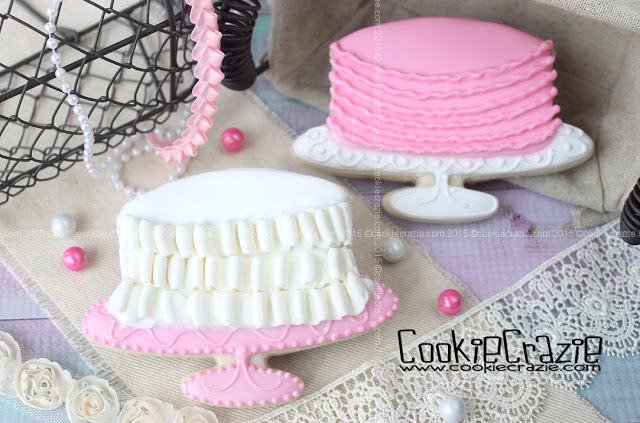
Add embellishments to the pedestal stand as desired.
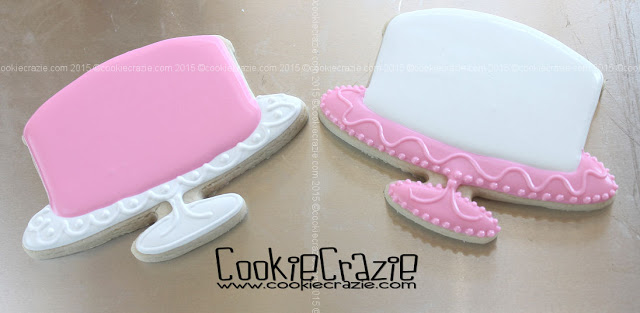
Add ruffles to the side of the "cake" by piping edible clay as described in this blog post.
Lemonade 2015 Cookie Collection
Lace 'N Frills Valentines Cookie Collection

Valentines Day is such a fun day to show others how much they are loved.
These Lace 'N Frills Cookies go a long way in gifting others with expressions of care and gratitude,
in a frilly-sort-of way.


2016
Valentines
Cookie
Collection
Gold Embossed Valentines Cookies (Tutorial)
Gold Red Teal Valentines Cookie Collection
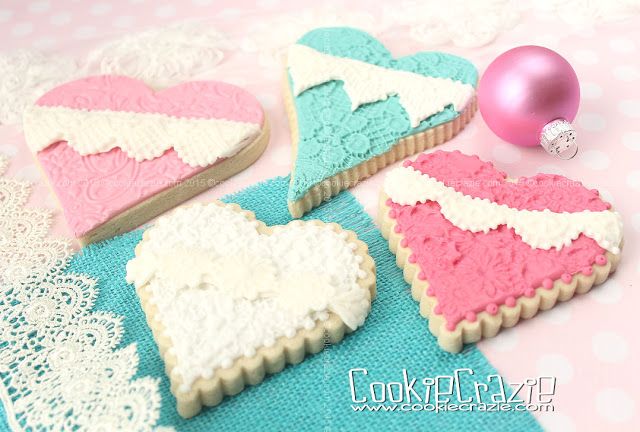
Pink & Aqua Texture Mat Heart Cookies (Tutorial)
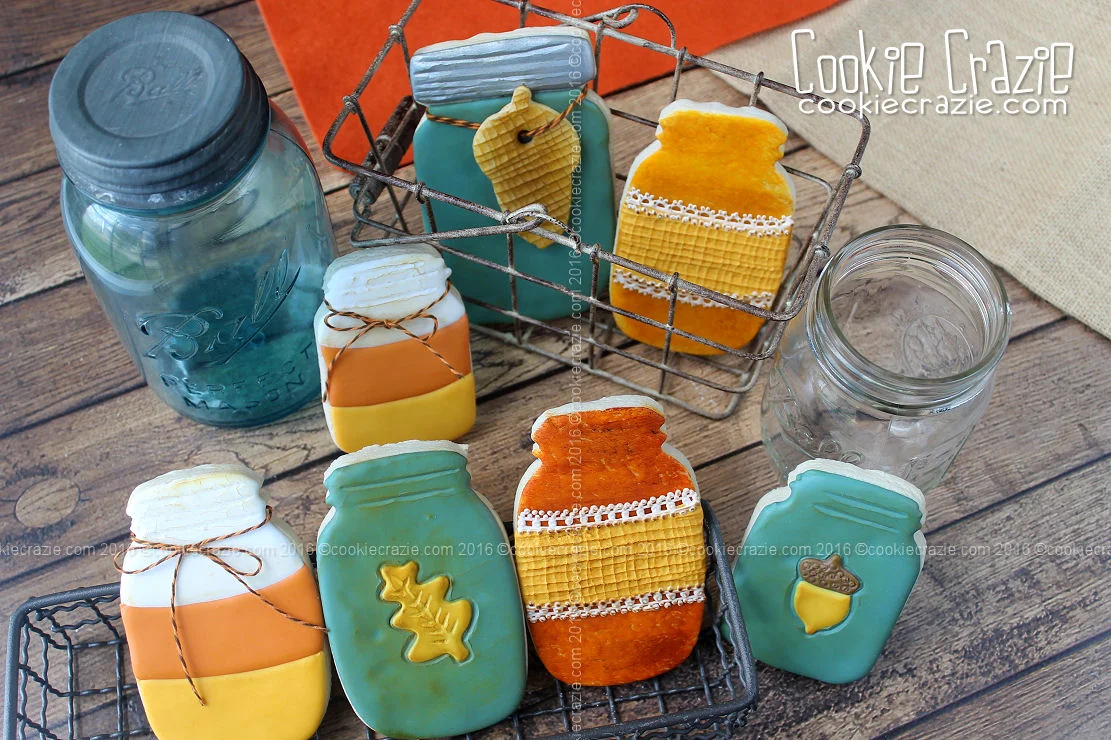
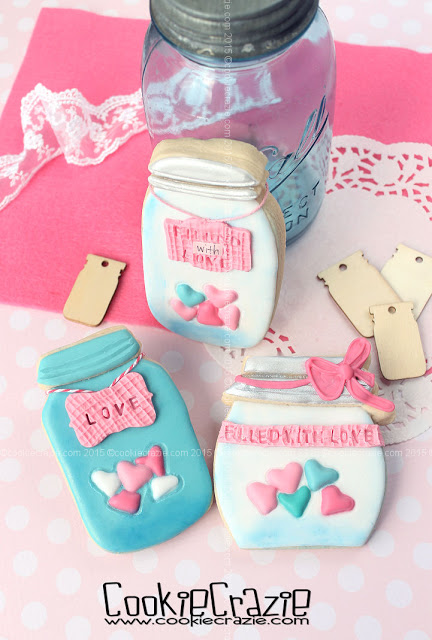
Mason Jar Cookies Filled with Love (Tutorial)
Edible Clay Lace Valentine Heart Cookies (Tutorial)
Eyelet Lace Valentine Heart Cookies (Tutorial)

Eyelet lace is one of those delicate treasures that reminds me of vintage valentines.
It's fairly simple to achieve an eyelet lace look on a cookie by making a very thin glaze
that has no color gel added whatsoever.
Since glaze is very transparent on it's own, it is the perfect medium to use for eyelet lace.
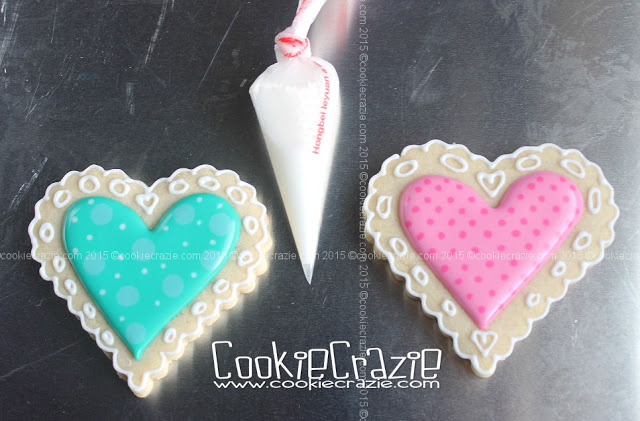
Decorate the middle of your cookie as desired.
Pipe regular 10-second white glaze for the border and holes (eyelets) of the lace.
(see photo below)
Note: It is recommended to allow the white outline to dry for a few hours before adding the thin glaze within the border walls. If the white outlining does not dry long enough, the white coloring will bleed into the transparent thin glaze over time......giving it a cloudy look.
Once the white border has been piped and dried thoroughly, make some very thin glaze without color.
You'll want it to be runny, as shown by the photo below.
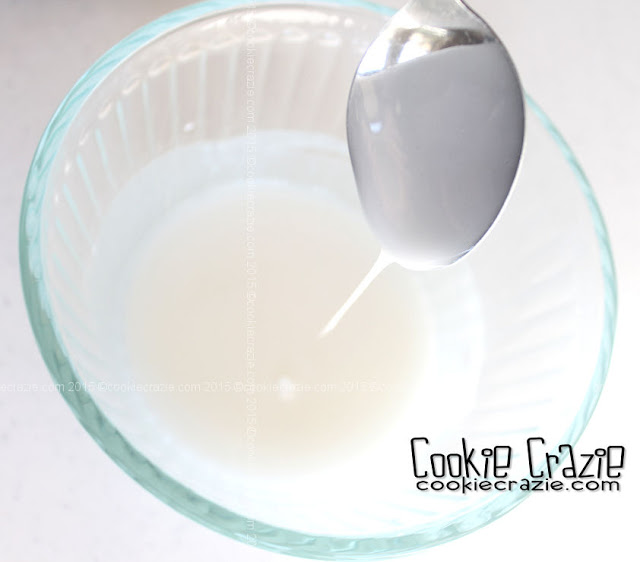
Here's a video to show the process of adding the thin transparent glaze.
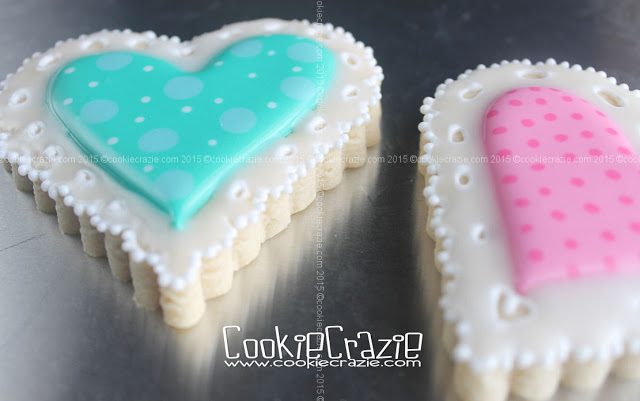
If desired, pipe additional dots around the eyelet lace border with regular 10-second white glaze.
2016 Valentines Cookie Collection
Gold Embossed Valentines Cookies (Tutorial)
Gold Red Teal Valentines Cookie Collection
Pink & Aqua Texture Mat Heart Cookies (Tutorial)
Mason Jar Cookies Filled with Love (Tutorial)
Edible Clay Lace Valentine Heart Cookies (Tutorial)
Eyelet Lace Valentine Heart Cookies (Tutorial)
Frills 'N Lace Valentines Cookie Collection
Gold Red Teal Valentines Cookie Collection
Pink & Aqua Texture Mat Heart Cookies (Tutorial)
Mason Jar Cookies Filled with Love (Tutorial)
Edible Clay Lace Valentine Heart Cookies (Tutorial)
Eyelet Lace Valentine Heart Cookies (Tutorial)
Frills 'N Lace Valentines Cookie Collection