old school cookie collection

CookieCrazie Chatter...... Friday, August 14, 2015


CookieCrazie is teaching hands-on classes in the coming days!


CookieCrazie will be teaching Pre-CookieCon classes!
Click here for more details.

http://cookiecon.net/


_________________________________________________________


CookieCrazie's Week in Review


/www.cookiecrazie.com//2015/08/lunch-box-cookies-tutorial.html


/www.cookiecrazie.com//2015/08/old-school-cookie-collection.html


_________________________________________________

Personal Side


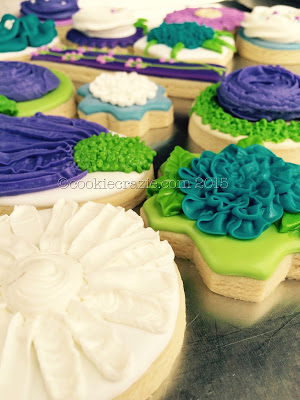
It's beginning to look a lot like Christmas.....
I know......it's weird. 
My son came upstairs yesterday, looked at my cookies, and said, "Mom.....it's August!"

Yes, I'm doing Christmas cookies in August.
Yes, it is CRAZIE.
I've got to keep the image going for the name. haha

Having a blast!
This week it was shabby chic.....next week it will be country primitive Christmas.
It helps me feel cooler in this crazy hot weather. :)


♥♥♥


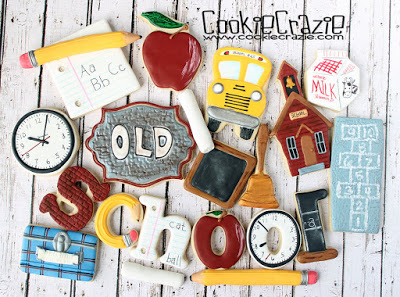
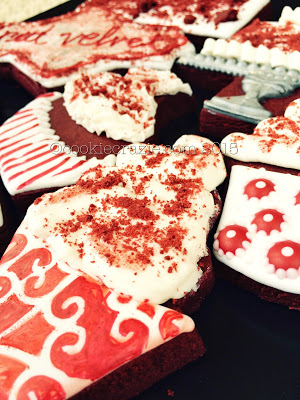
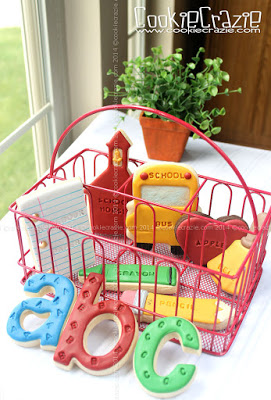
Instagram photos for this week:


My son-in-law is a lover of baseball....

Someone loves red velvet......you know who you are. :)

Knowing I can get these kinds of effects with edible clay makes me so happy and excited!
Happy Sunday to all. :)

Happy Tuesday!


Remembering the letter-coded back-to-school cookies from last year.....
#tbt #throwback
/www.cookiecrazie.com//2014/08/back-to-school-letter-pressed-cookies.html


_________________________________________

Last CookieCrazie Chatter....

Lunch Box Cookies (Tutorial)


A lunch box has been on my "cookie bucket list" for a couple of years.
When I saw a photo of a classic front view lunchbox, I knew it was time to attempt it.


You'll need a wide rectangle cookie for this project.

Outline and flood the cookie with the color of your choice.
If desired, add a pattern while it is still wet.


After it has dried for at least 30 minutes, add a gray line across the top to represent the lid.


Dry for another 30 minutes or so, and then add the outer latch and the handle attachments.
(see photo below)


Once the latch has dried for about 30 minutes,
add first the bottom part of the inner latch, and then the top part of the inner latch,
with dry time in between.


Roll out some white edible clay and freeze it for about 1 hour.

Cut out a long rectangular handle for the lunch box.
Using the end of a scribe, imprint the handle with small tick marks as shown below.


Allow the cookie and handle to dry overnight separately.

Make a mixture of silver pearl dust and vodka (or almond extract).
Paint the latch and handle attachments on the lunchbox.


Brush the bottom side of the edible clay handle with corn syrup ("glue")
before laying it atop the handle attachments on the lunch box cookie.

Add some gray brackets around the handle as shown below to make it appear to be attached.


A cute addition to the Old School Cookie Collection. :)


Old School Cookie Collection

Clock Cookies (Tutorial)


When I think back to the clocks we had in school (a LONG time ago!),
the above image is what comes to mind.

In my attempt to bring back "the good 'ole days", it seemed appropriate to make a clock cookie.


You'll need a medium-large circle cookie for this project.

Outline and flood the cookie with white glaze.

Using two nesting circle cutters, and a yellow food color marker,
Draw the guidelines you need to make the outer black edge of the clock.
(see photos below)


Allow the cookie to dry overnight.

Using some type of projection tool (this photo shows a Kopy Kake 1000),
make the minute marks, numbers, and center on the clock with a black food color marker.


Add the shorter hour and longer minute hands (black) and the second hand (very thin long red).


Another bit of nostalgia......found in a simple clock face.


Old School Cookie Collection

Hopscotch Cookie (Tutorial)


I guess a cookie resembling concrete with "chalk markings" is not exactly attractive,
but trust me when I say.....it looks cute with all the other back-to-school cookies. :)

You'll need a long rectangle cookie for this project.
(This 2" x 4" cutter would work well.)

Outline and flood the cookie with gray glaze, and allow it to dry for about two hours.
Press the sand texture mat into the partially dried glaze to form
the random-ness of a cement sidewalk. :)


Dry overnight.

Using Americolor Bright White color gel and a paint brush, 
make the outline squares and numbers of a typical hopscotch game in chalk.


A simple cookie that brings back a nostalgic memory. :)


Old School Cookie Collection
Member Login
Welcome, (First Name)!

Forgot? Show
Log In
Enter Member Area
My Profile Not a member? Sign up. Log Out