shabby chic

Grateful (Shabby Chic) Decorated Cookie Collection

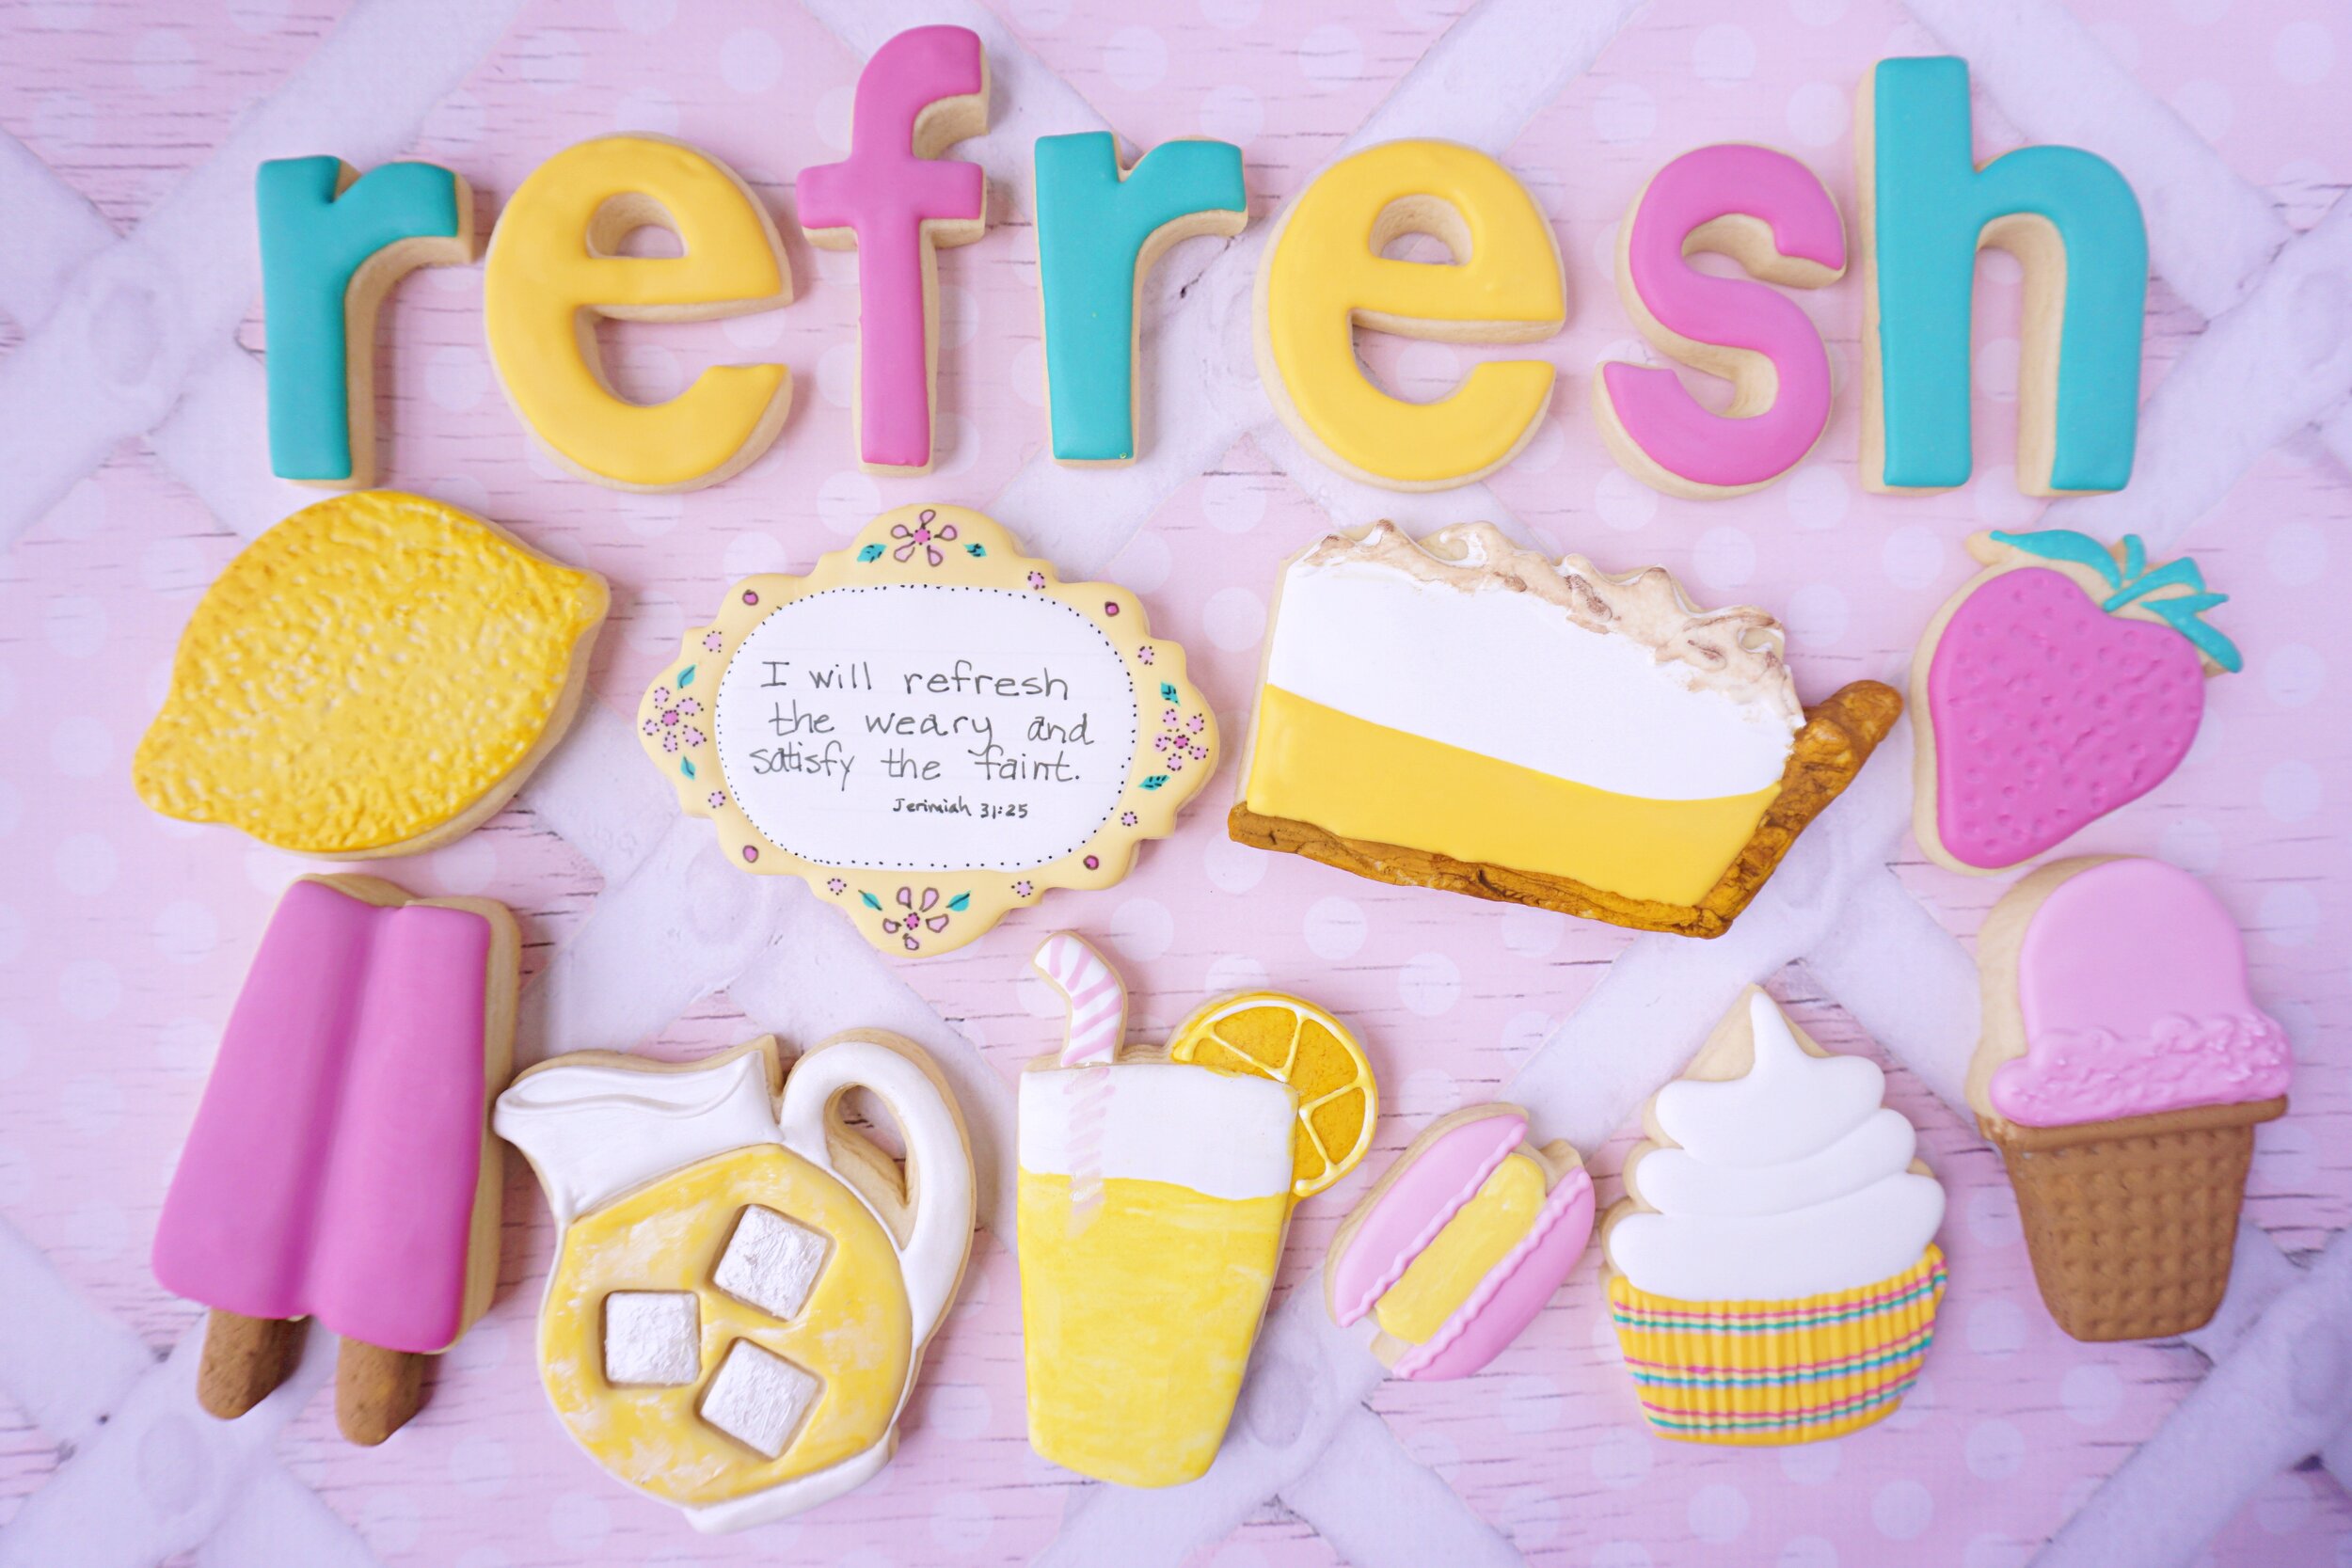
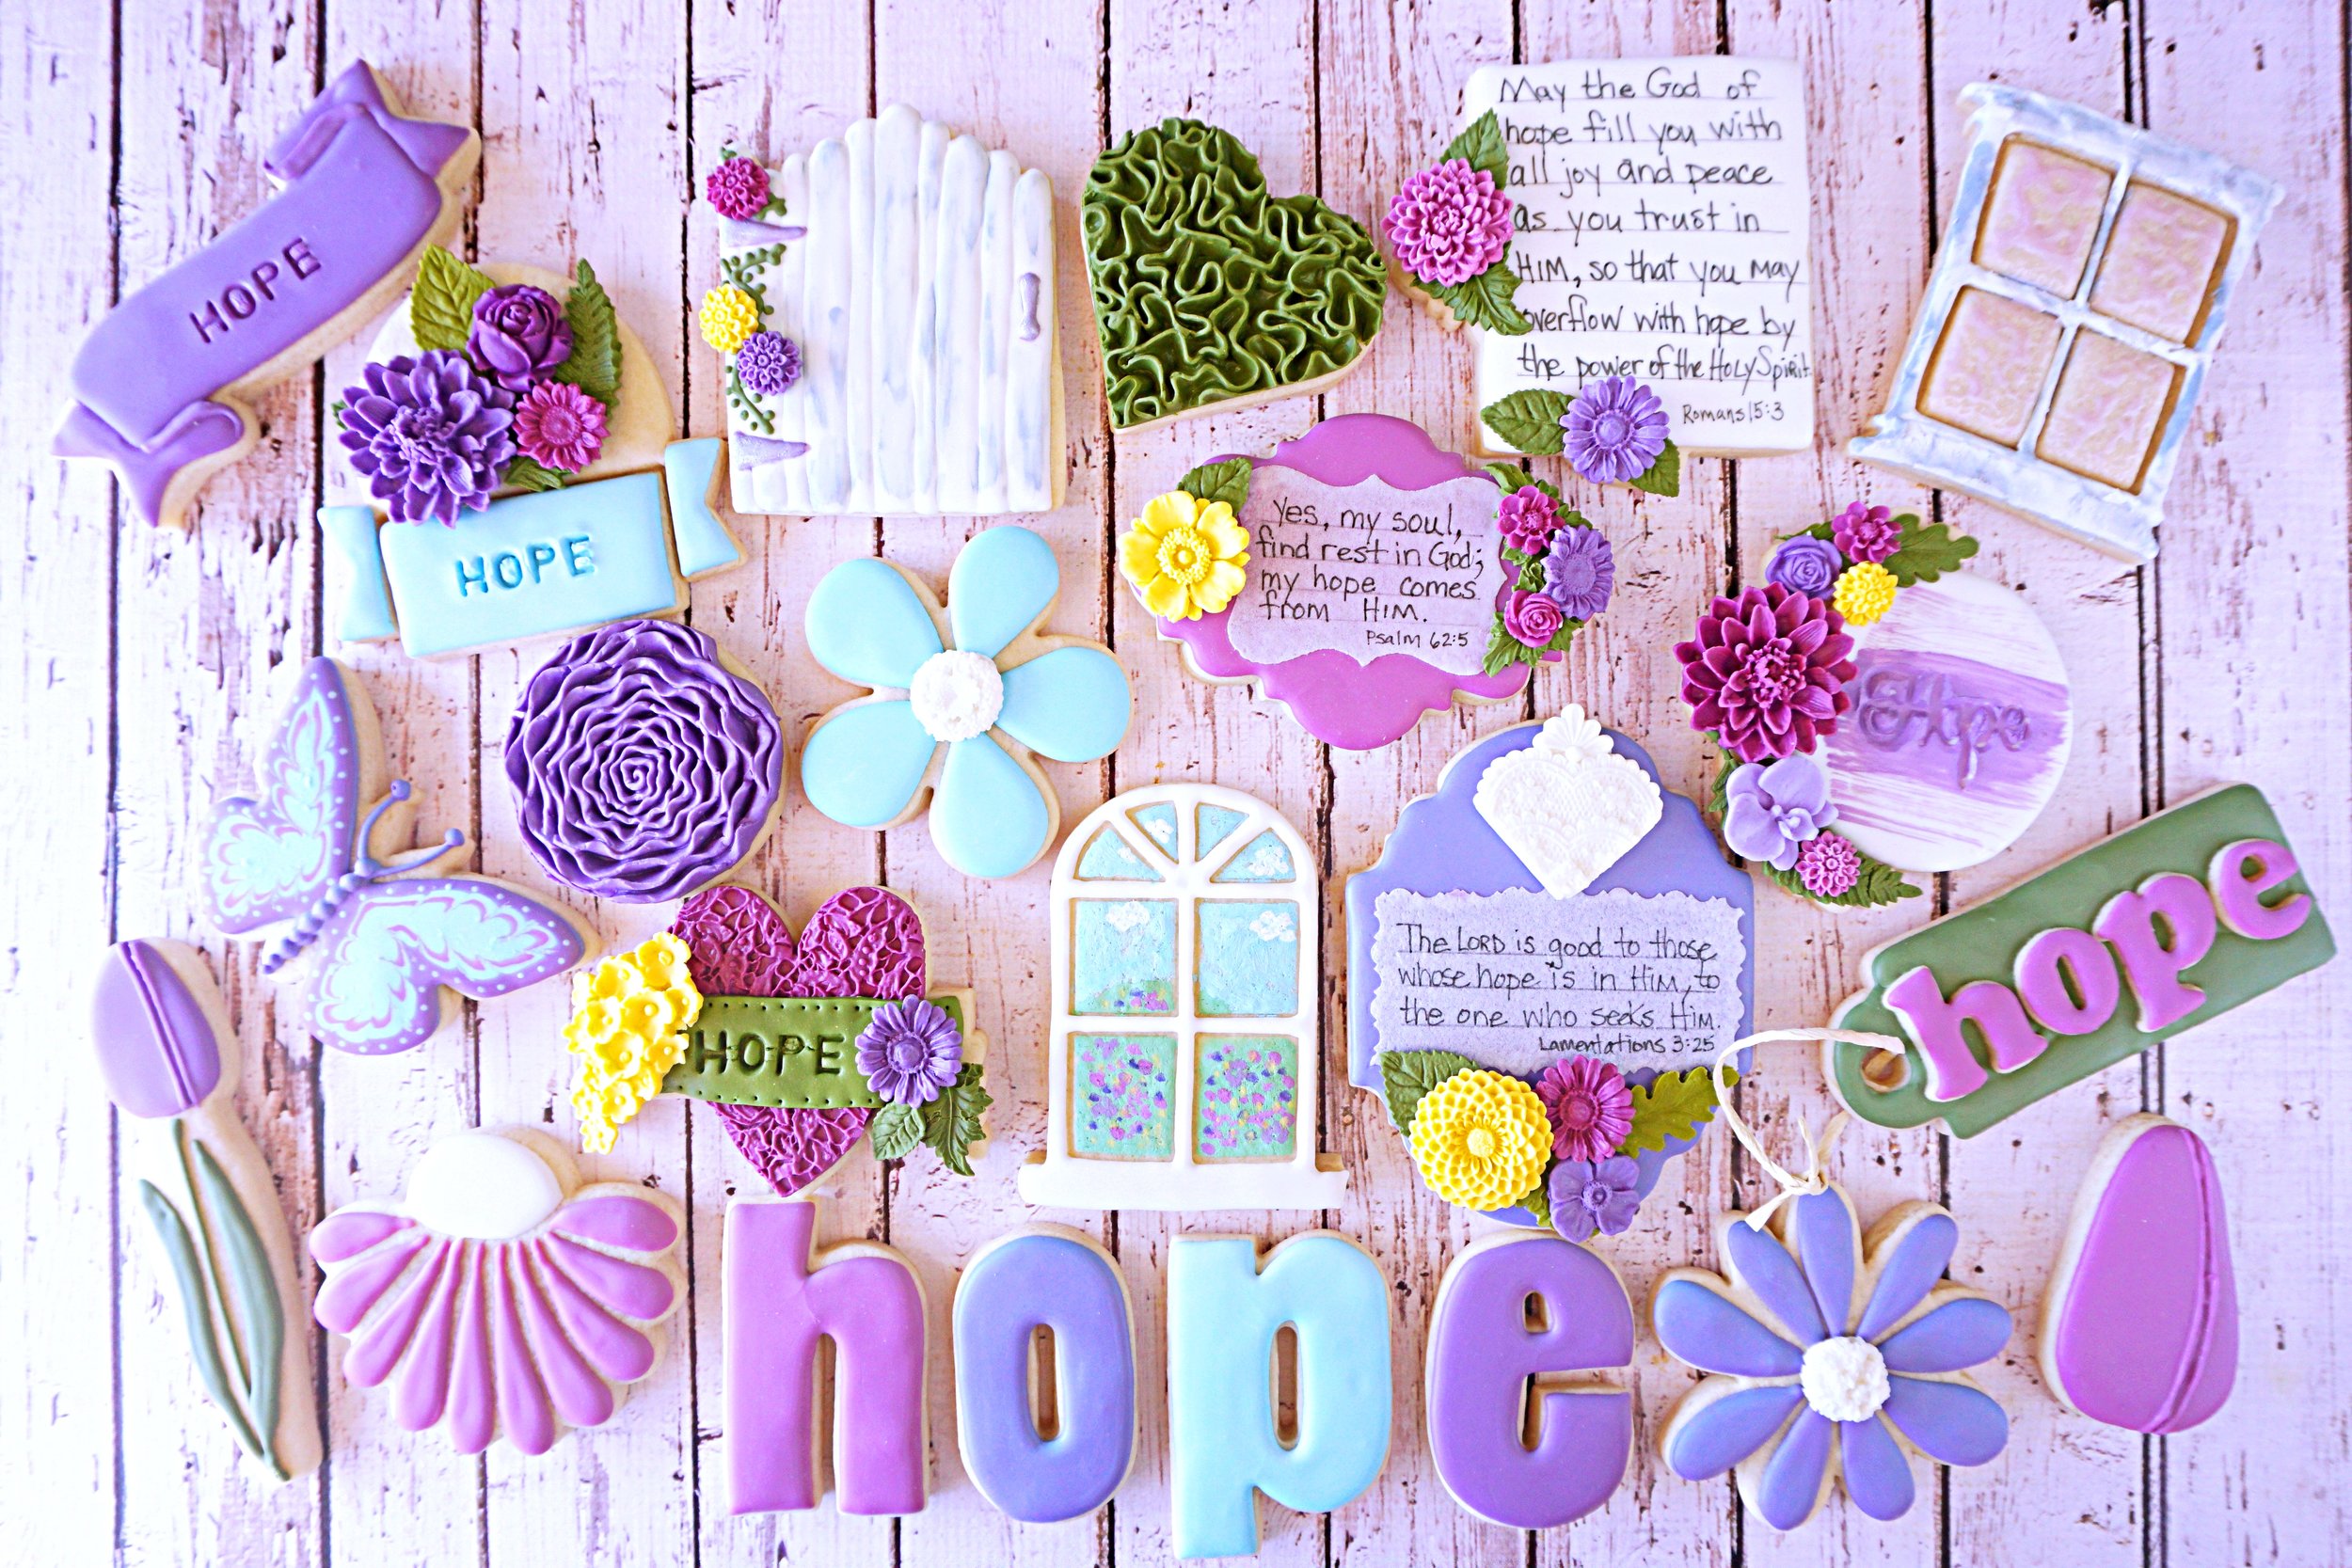
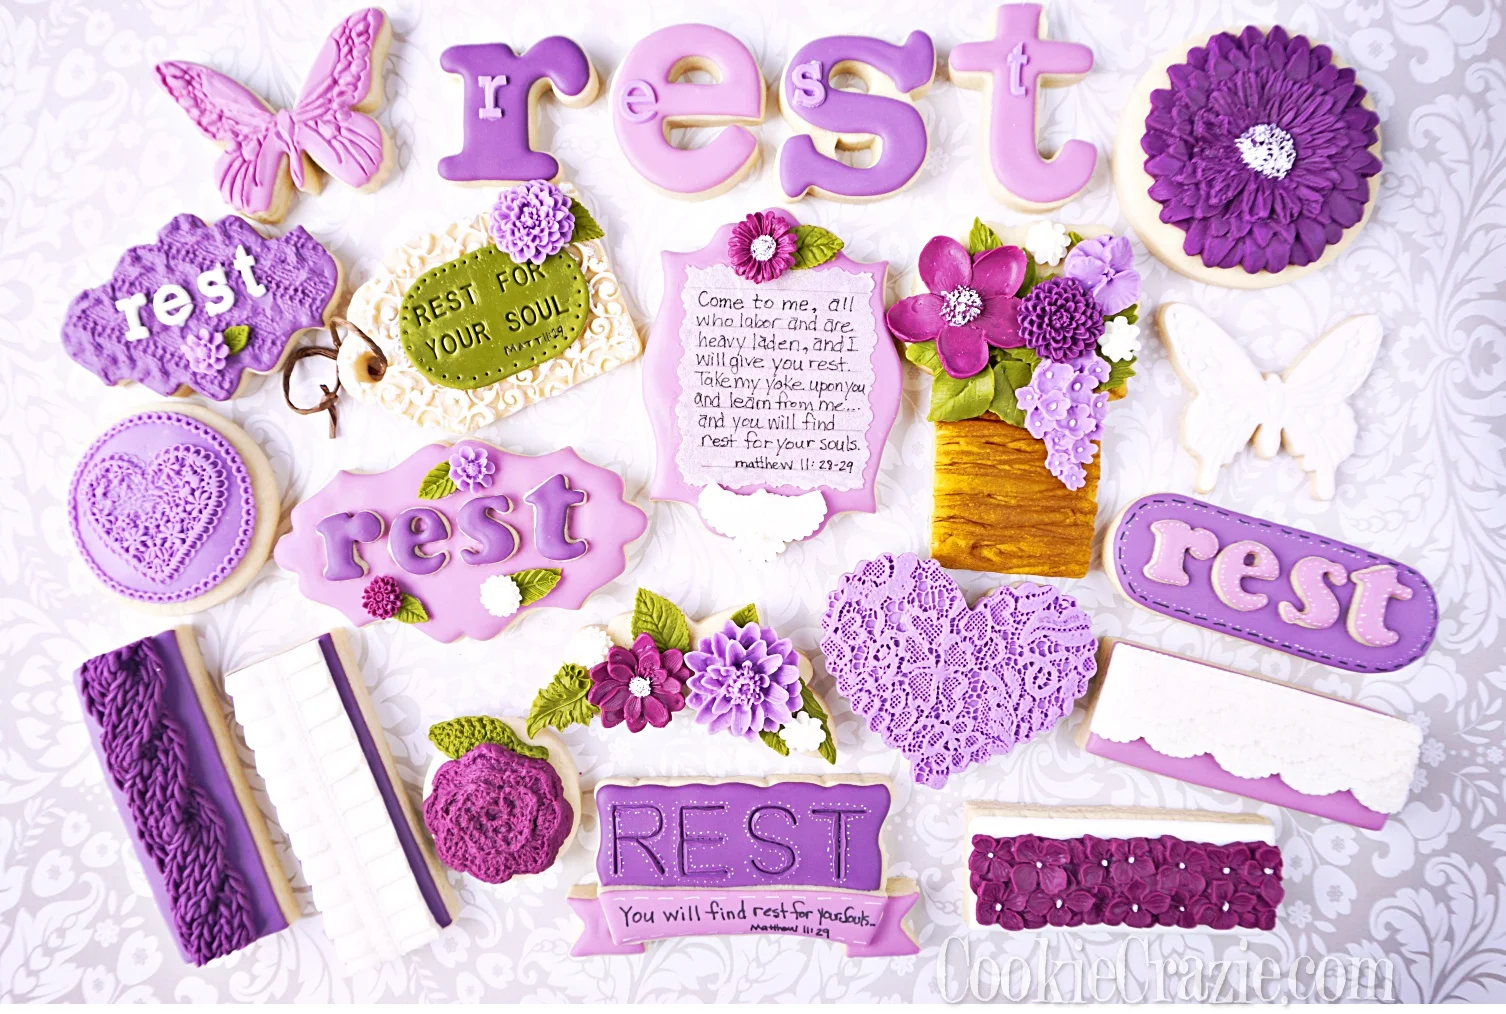
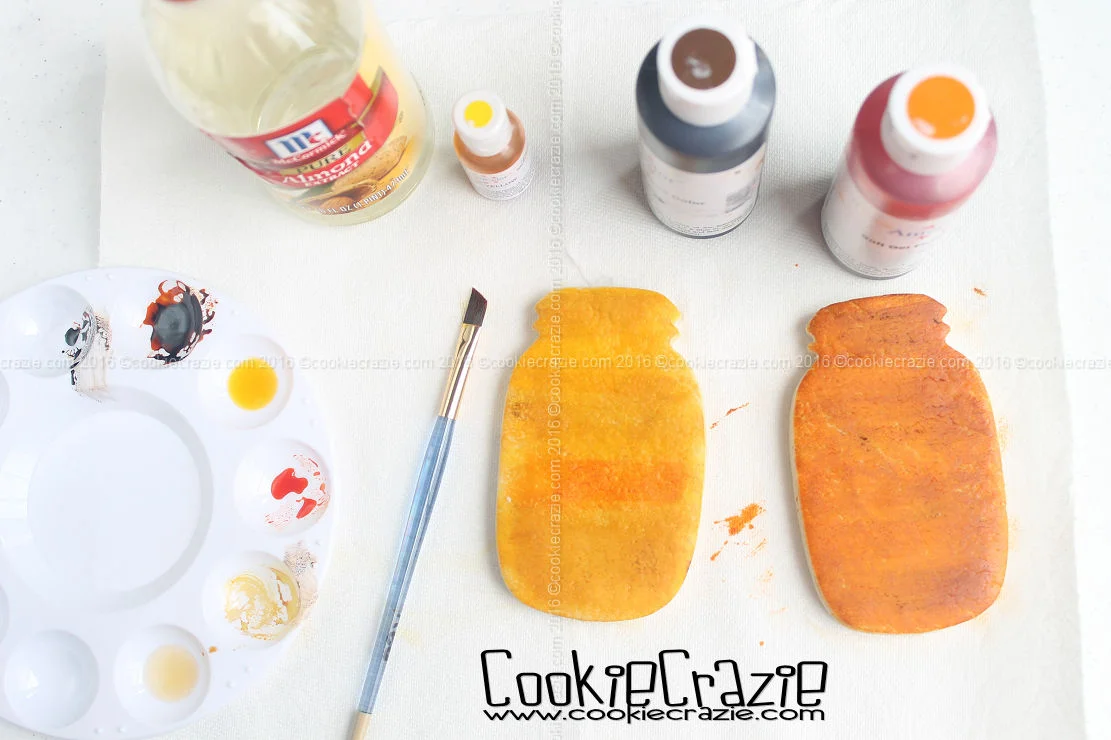
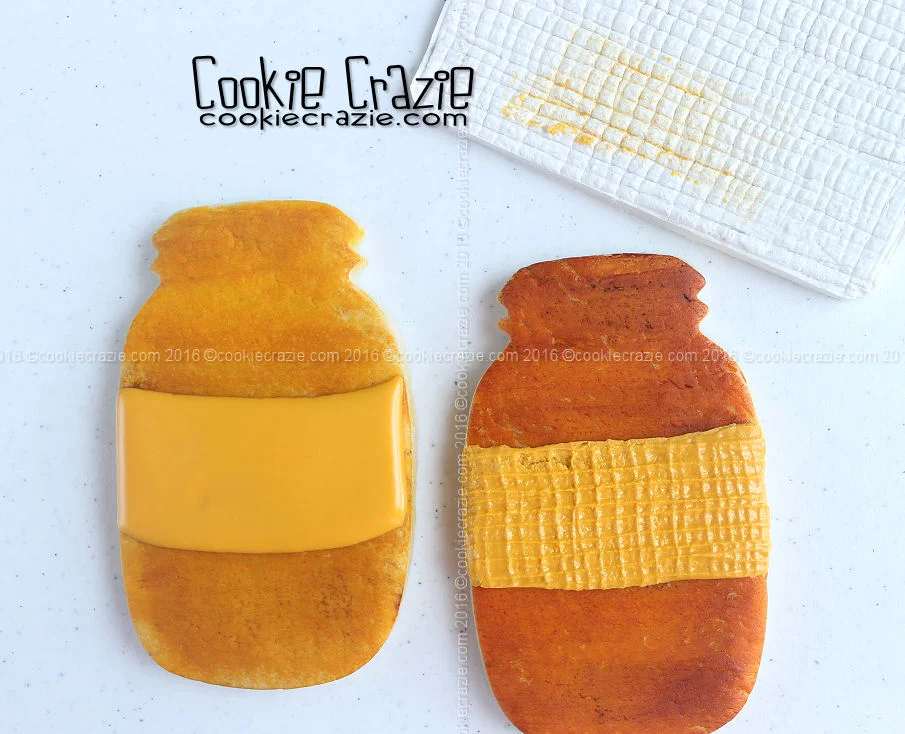
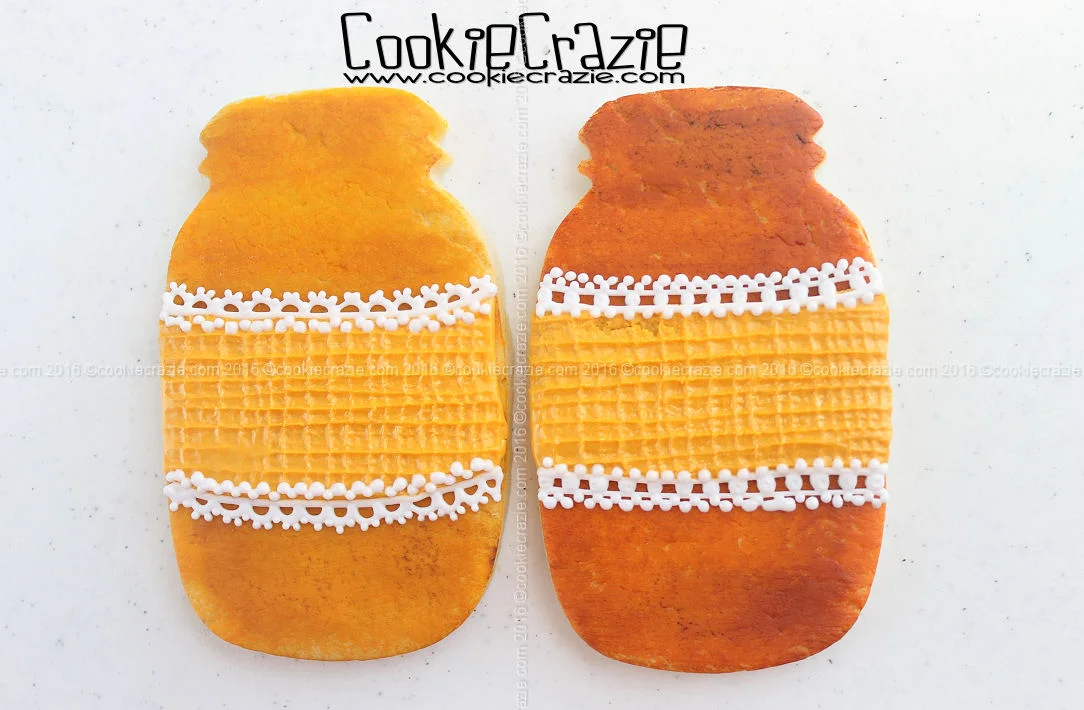
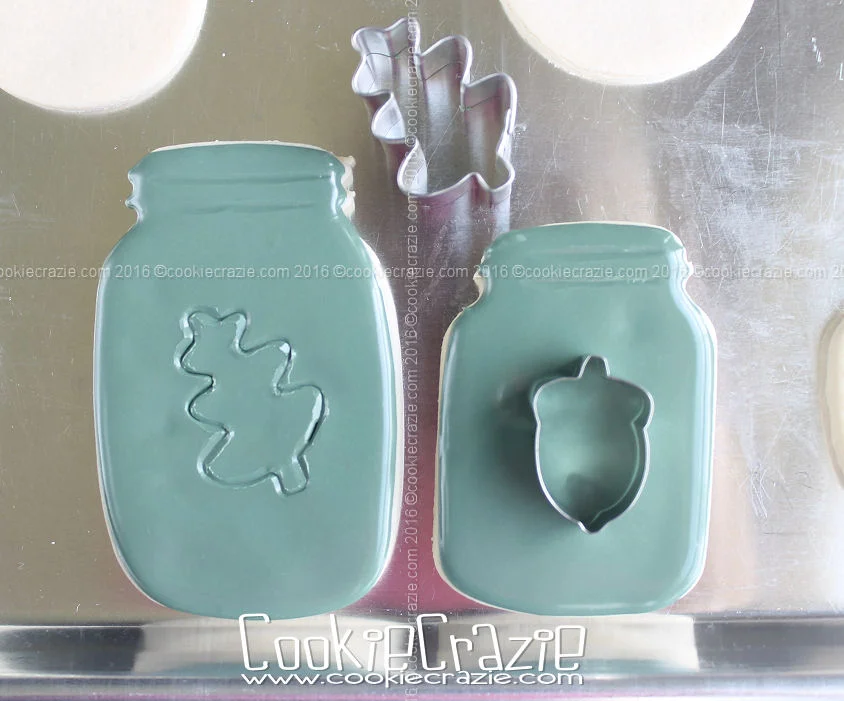
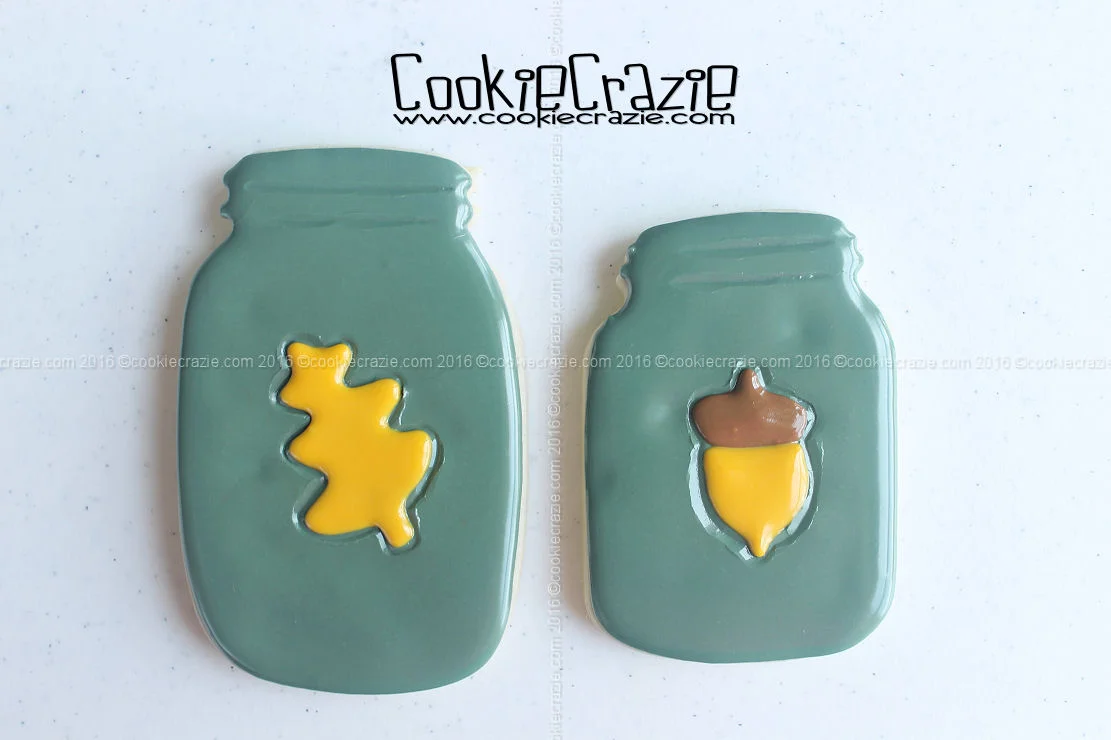
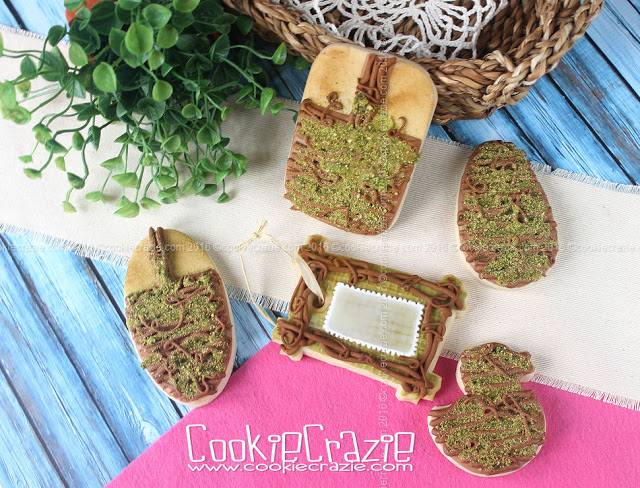
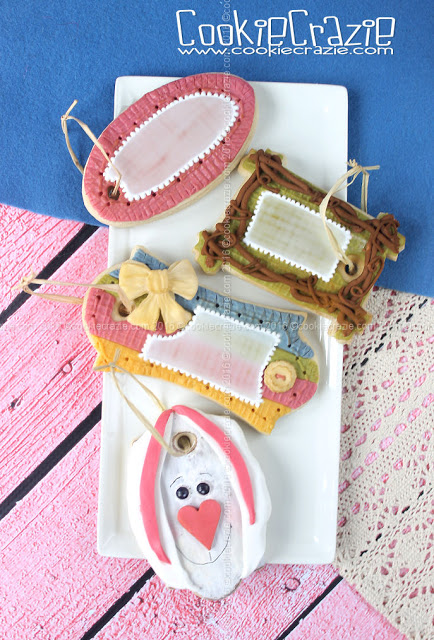
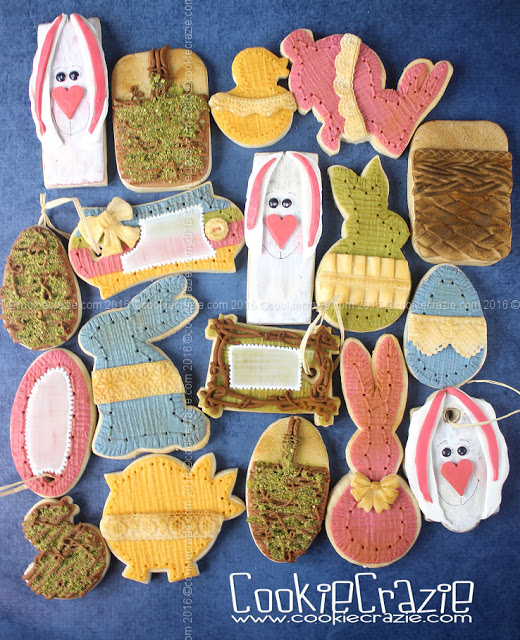
Lately, my cookies have become a reflection of my heart. There’s so much going on in my life emotionally…..so it’s pretty natural to share what is deep inside…even on cookies.

This week has been a rough one for me. I started comprehensive testing for my “annual review” of my cancer diagnosis and there was a crisis period where things could have taken a devastating turn. Praise God 🙌🏻 that was not the case once the results came back, but there were some very fearful and anxious moments.

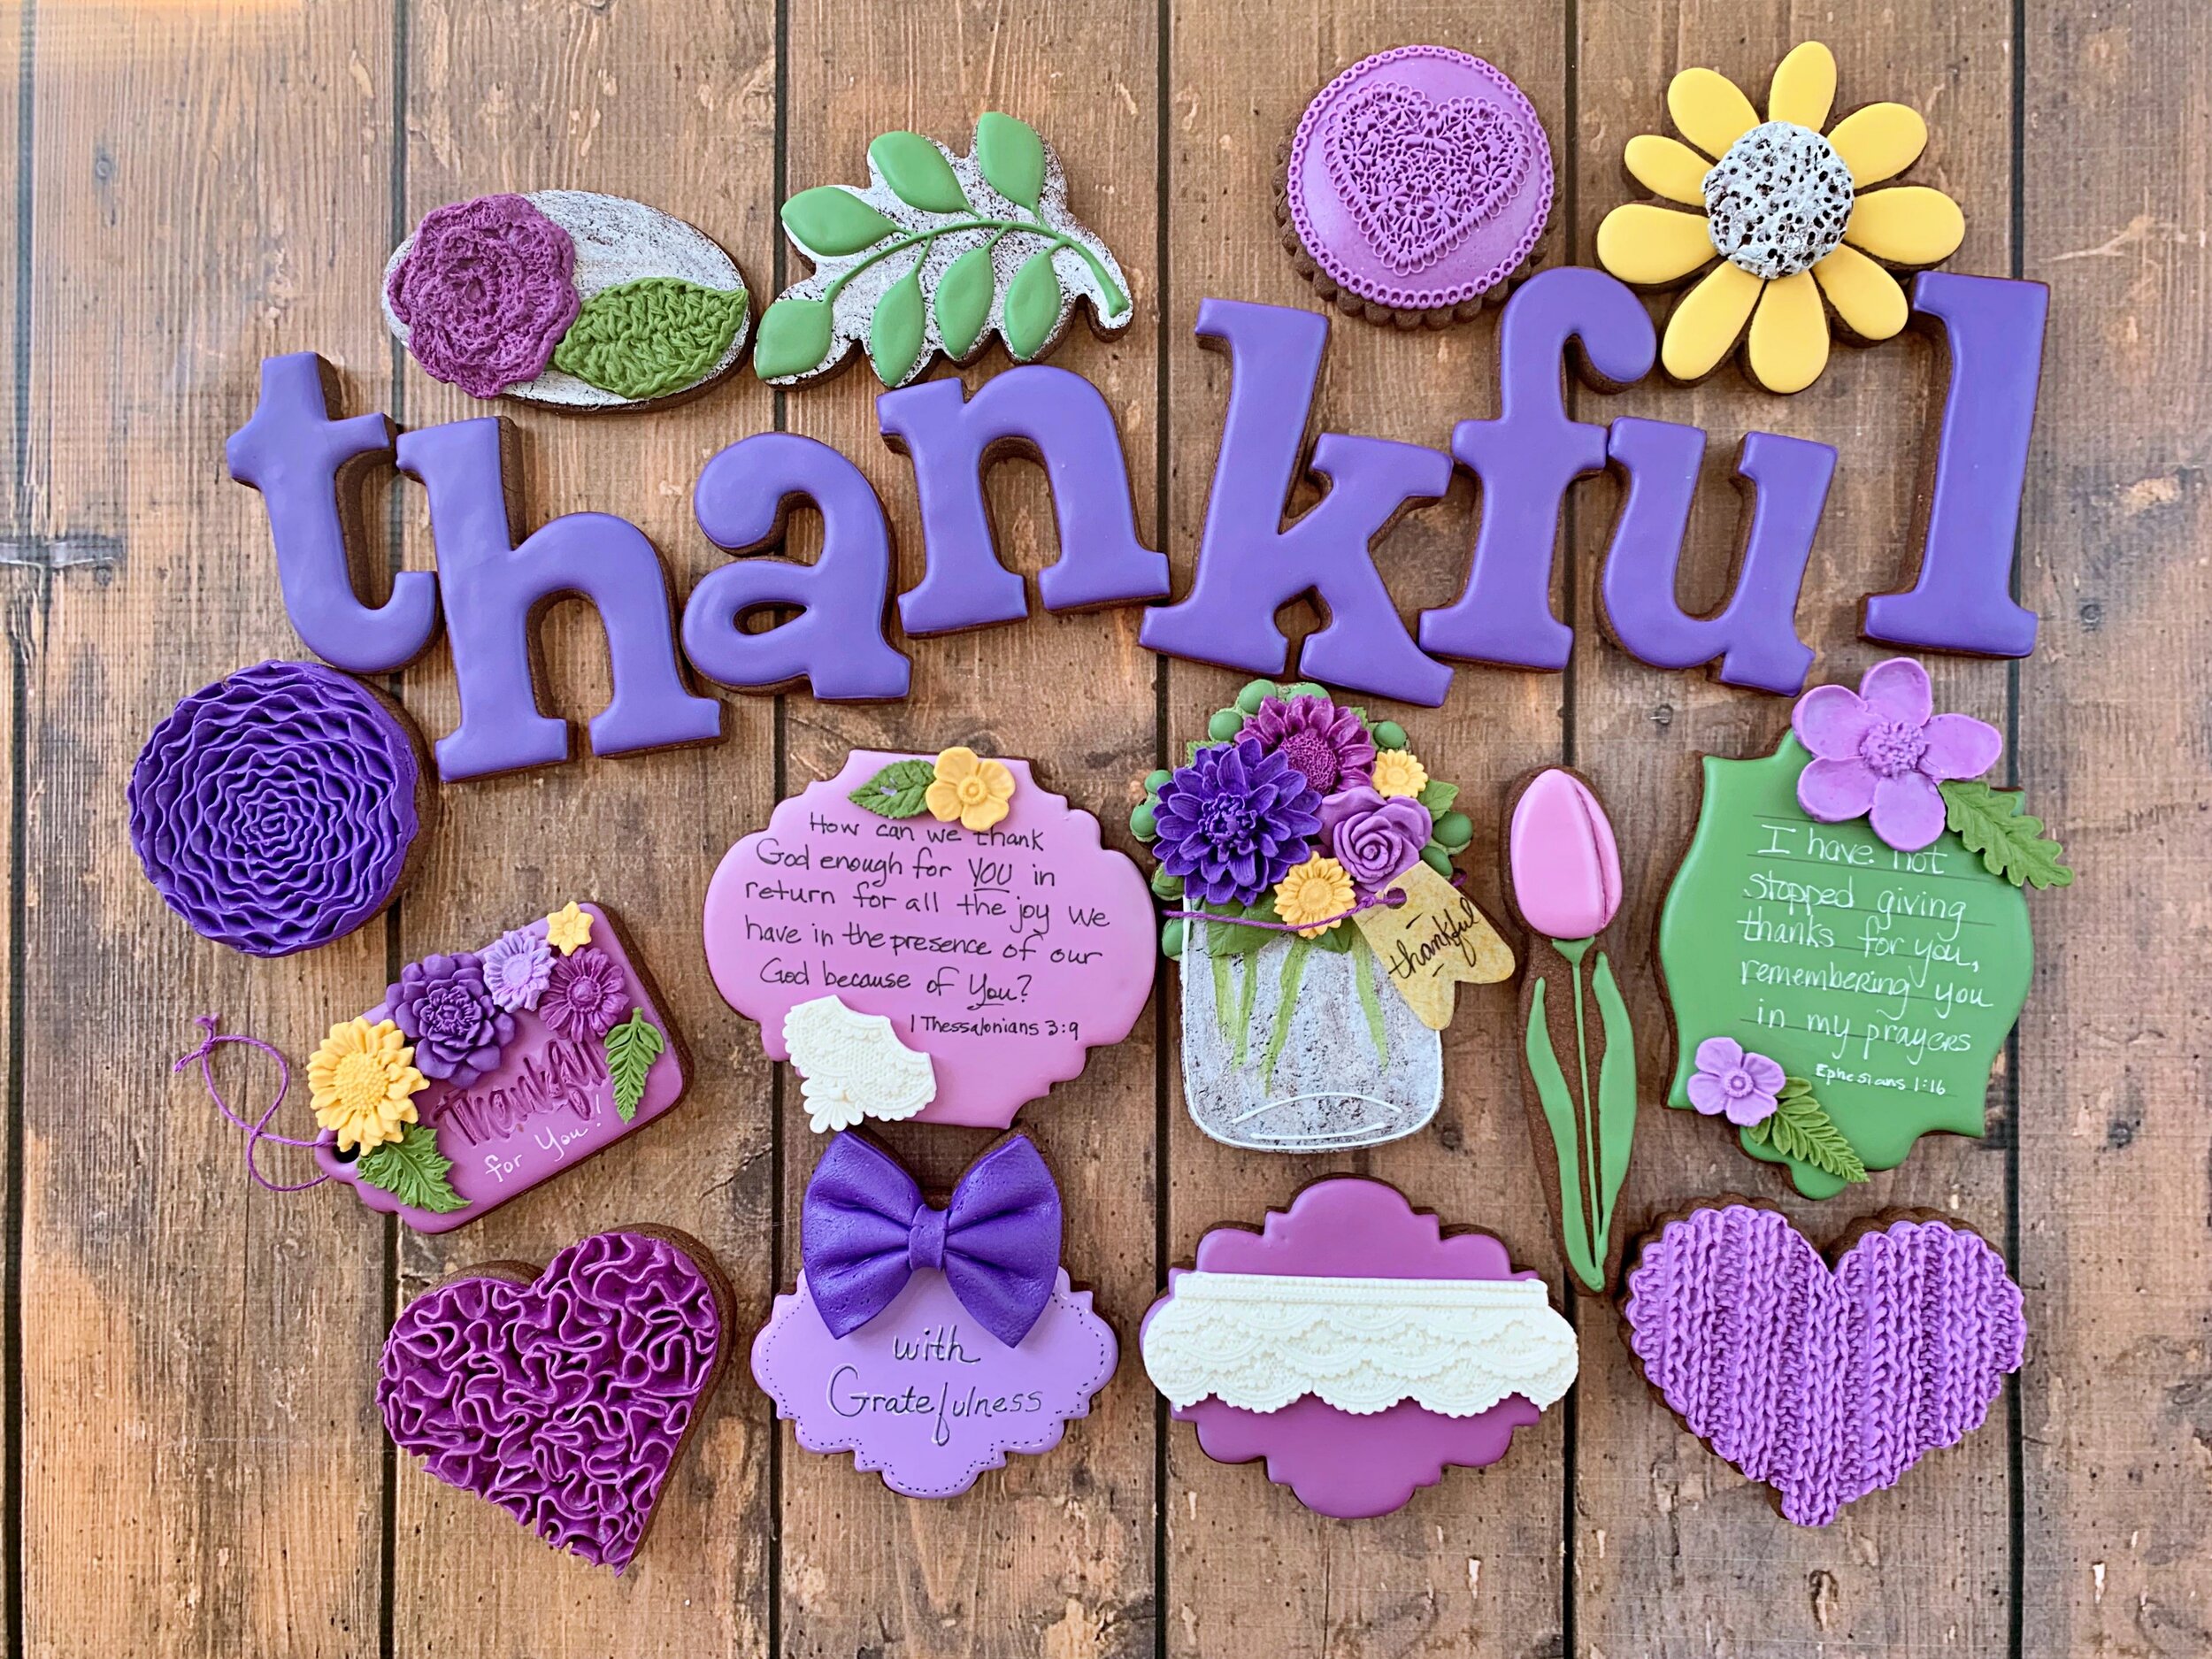
My heart is so full of gratitude! God has me in the palm of His hand and He is a good good Father.

Grateful [ greyt-fuhl ]
warmly or deeply appreciative of kindness or benefits received; thankful:

*******
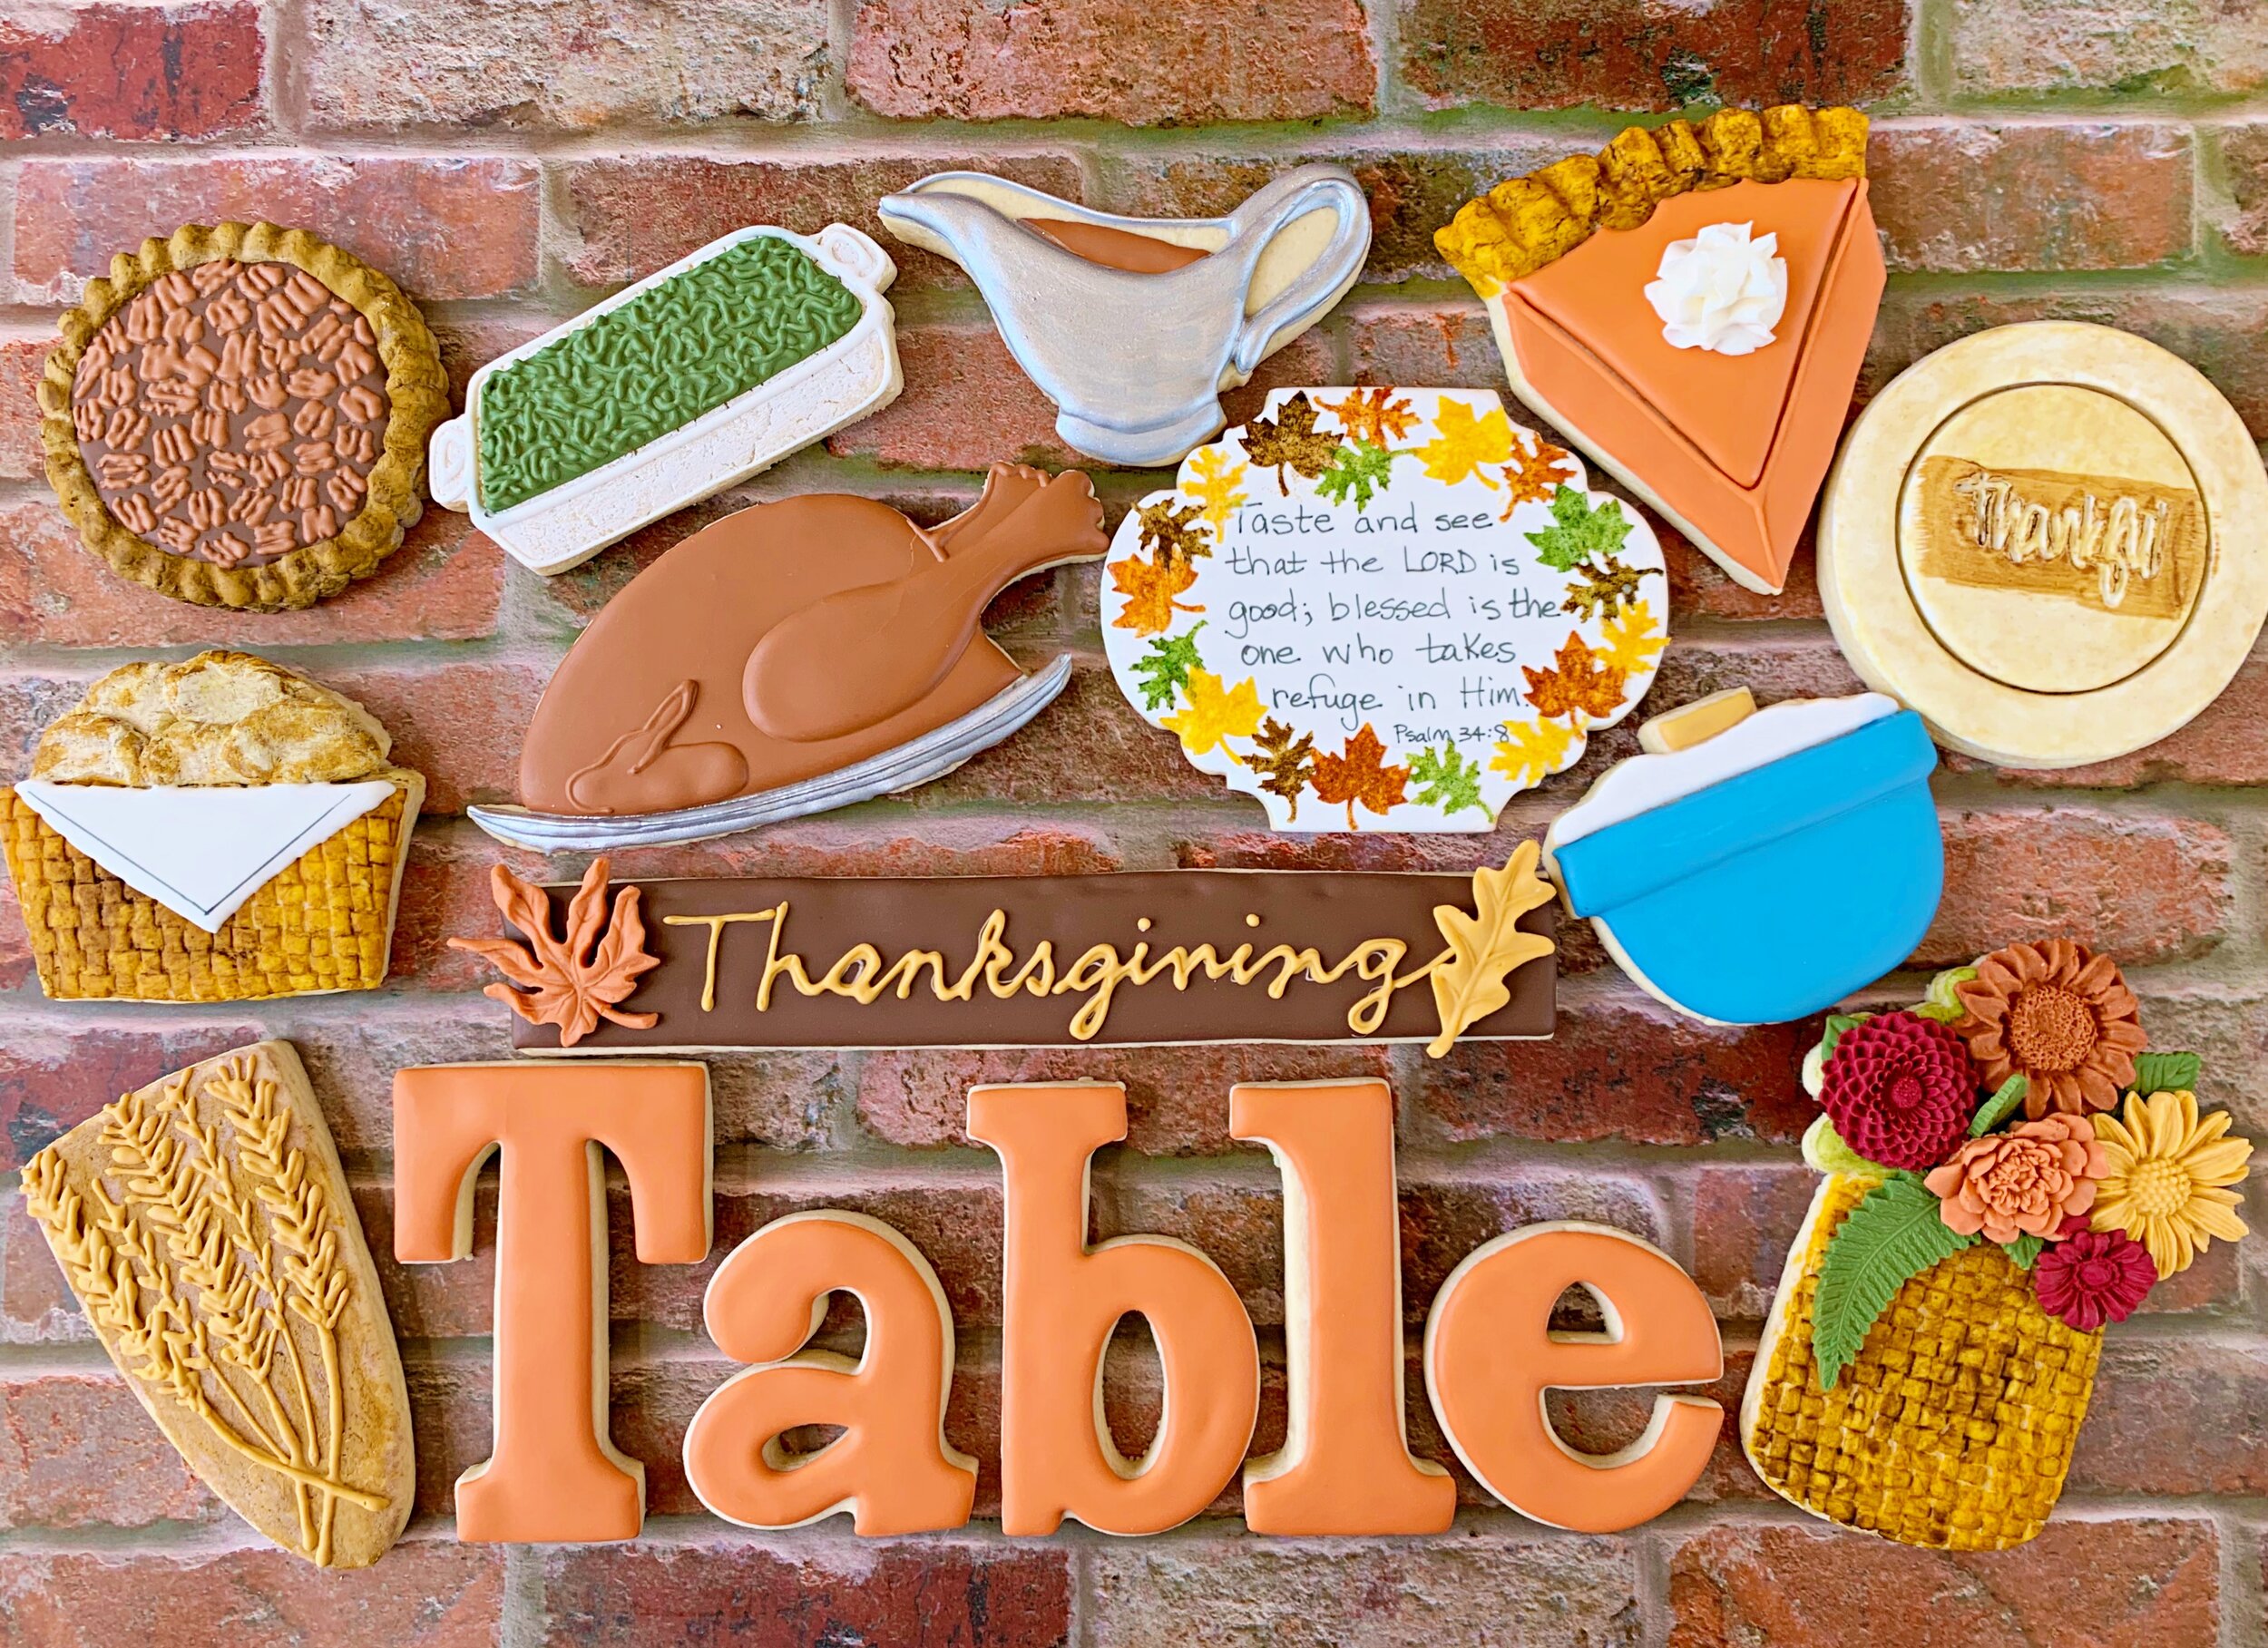
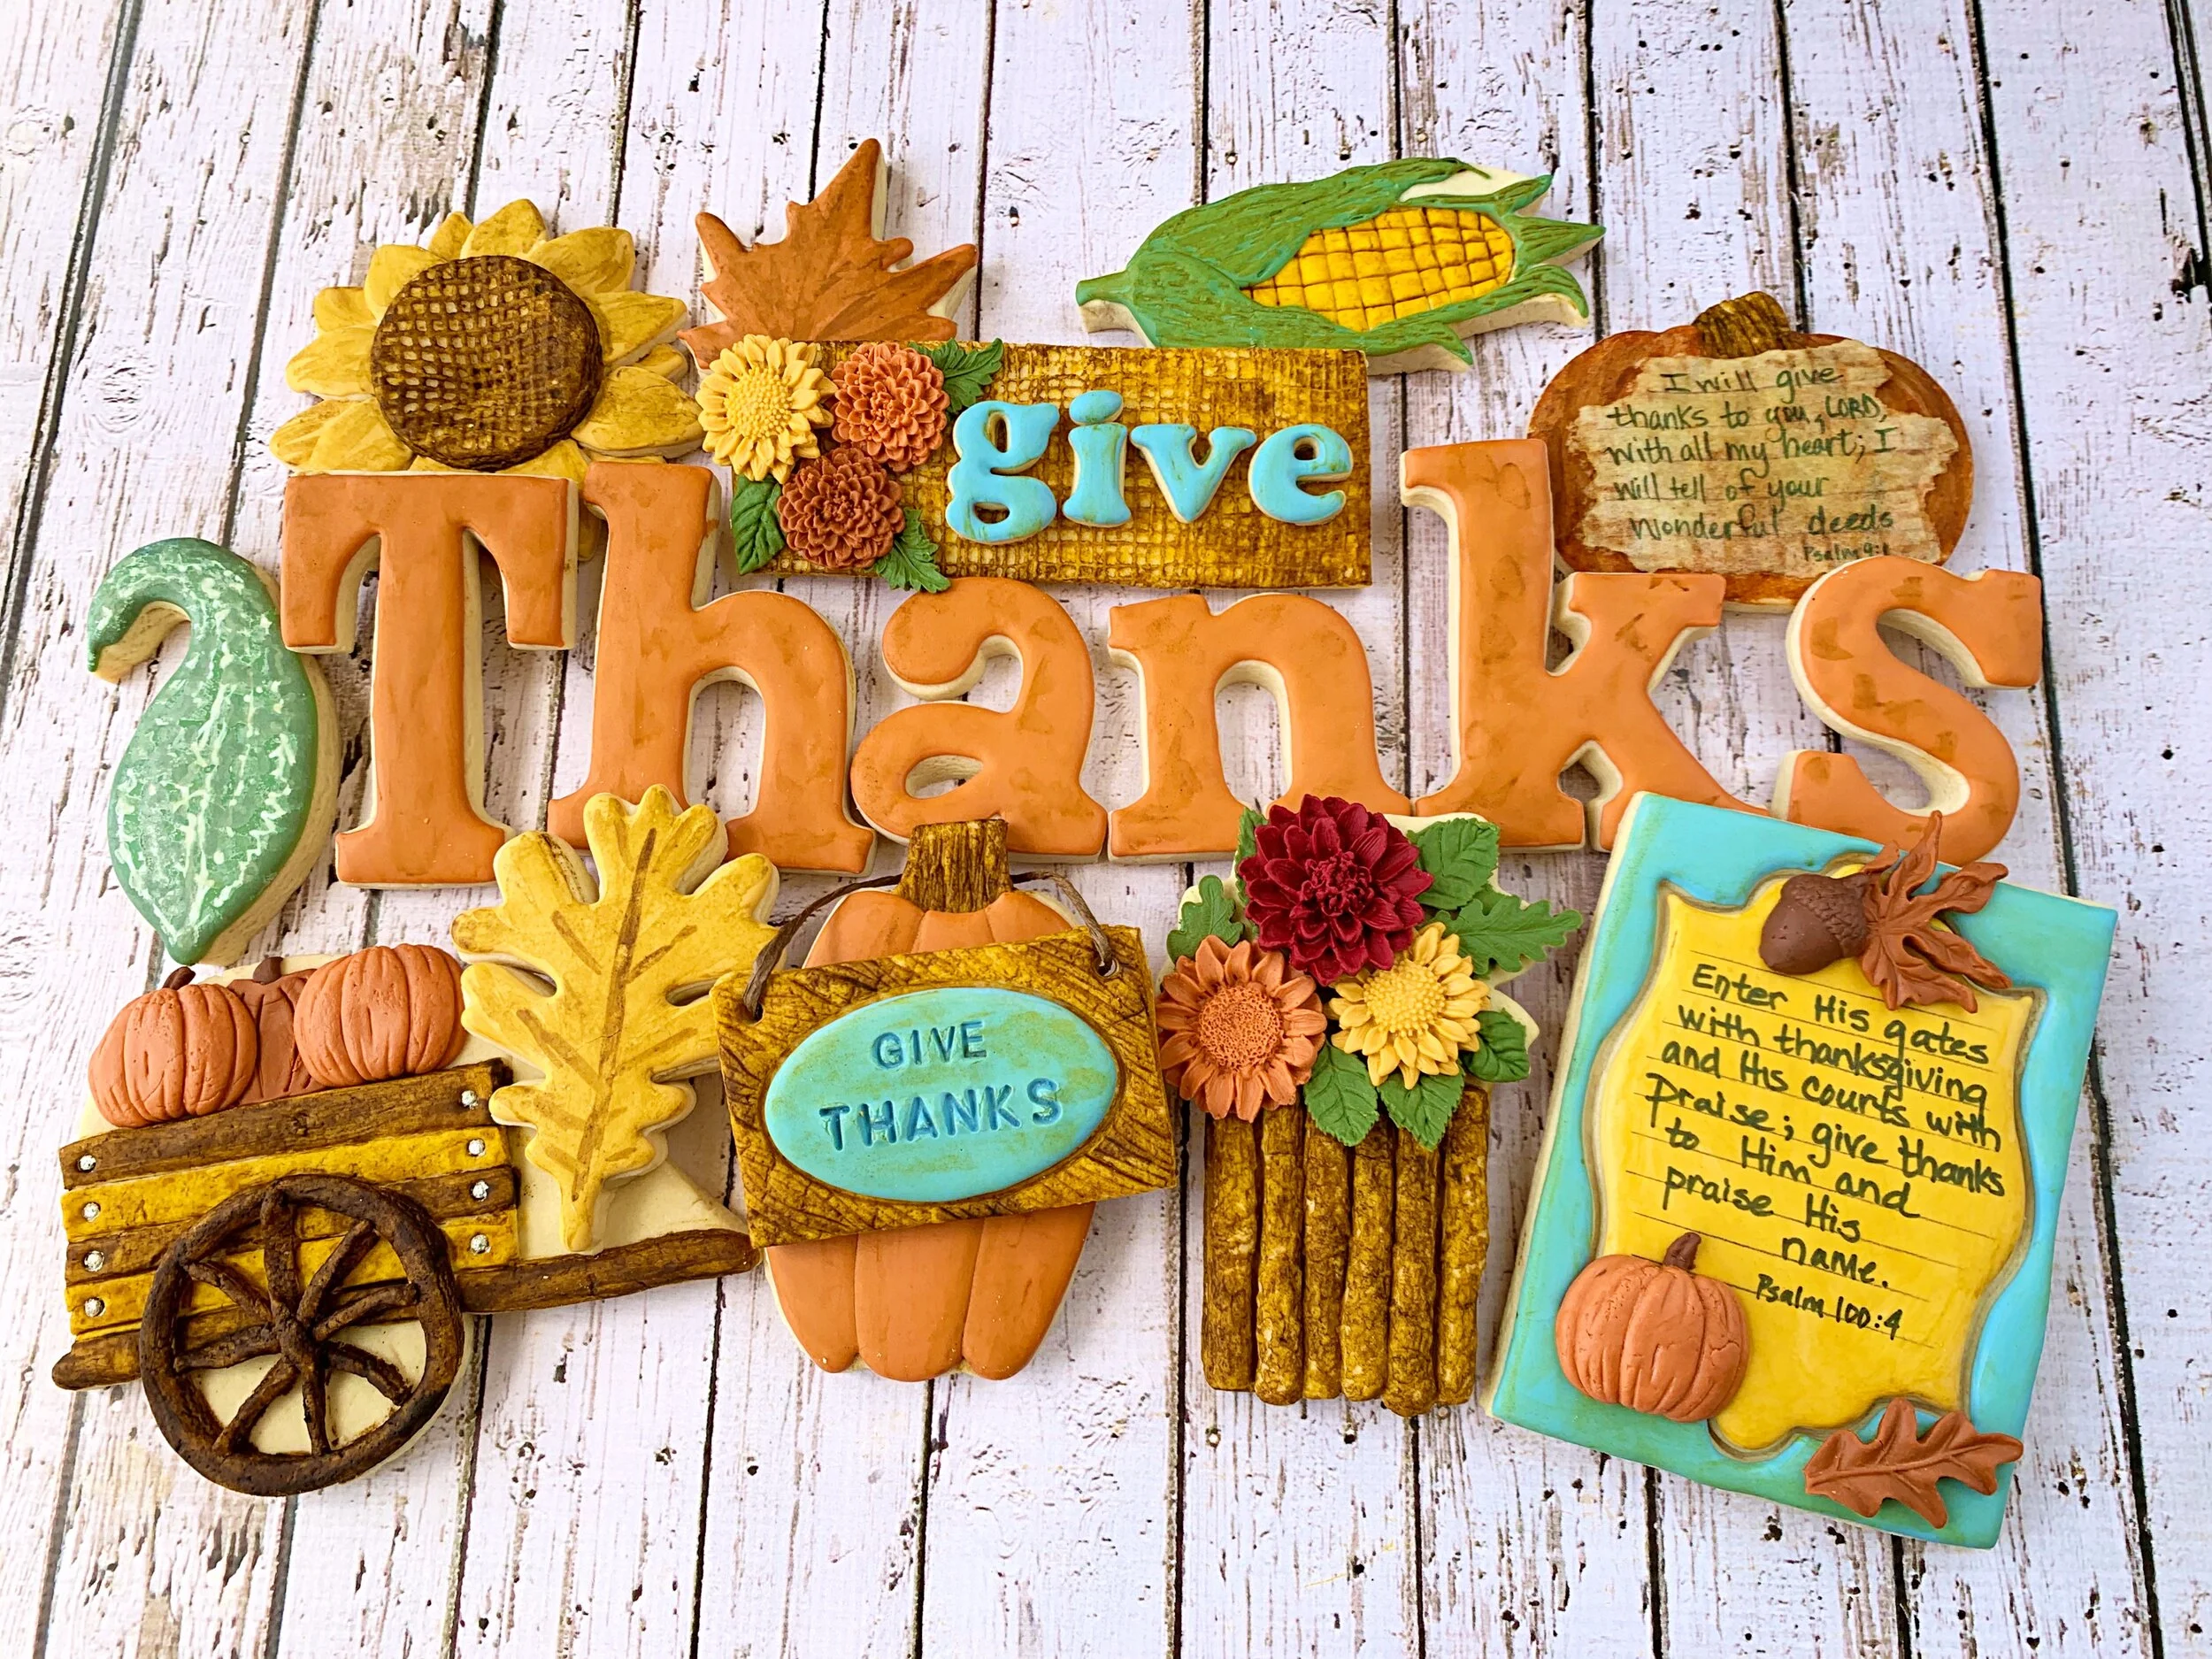
I will give thanks to you, Lord, with all my heart; I will tell of all your wonderful deeds.
Psalm 9:1
*******


2017 Pre-CookieCon Classes: Registration Starts Friday October 28, 2016

CookieCrazie is offering classes at 2017 CookieCon!
For complete info check out the Classes Page.

Get ready for 2017 CookieCon.
Tickets for the convention go on sale Wednesday, October 26, 2016 @ 7 PM MDT.
It's an event of a life time.
Check out this blog post from last year's 2015 event.

In addition to the actual convention and sugar show, there will be pre-Cookie Con classes offered Wednesday, March 8 and Thursday, March 9 by a vast array of cookie decorators.

CookieCrazie is offering two different classes, one being offered twice.

To learn techniques related to the rustic style, check out the "Going Rustic" class offered twice on Wednesday, March 8.


And for all things shabby chic, take a look at the "Adding Shabby to the Chic" class offered on Thursday, March 9.


The registration for CookieCrazie's classes will begin
8 AM CST on Friday, October 28, 2016.

Tickets will be sold on a "first-come, first-serve" basis with a limit of 12 students per class.

We would love to see you there!

Harvest Mason Jar Decorated Cookies (Tutorial)

Mason jars continue to be a common staple shape in the vintage, shabby chic, & rustic genre. Here's four different ways to decorate them.


First Option

After you have cut, baked, and cooled the mason jar cookies, paint them with diluted autumn colors like lemon yellow, orange & chocolate brown. These gels were diluted with almond extract.

Allow the gel to dry on the cookie. Outline and flood a wide swath of the jar with gold glaze.
(see photo below)

Allow the glaze to dry for 3-4 hours. Use a burlap texture mat on the partially dried glaze to create a burlap-look.

Add dots and lines of white glaze to the edges of the "burlap" to create a lacy border.

Second Option

Outline and flood the entire jar with a glaze color of your choice. Allow the glaze to dry for 2-3 hours and then press a mini cutter into the partially dried glaze. Use that impression outline to create a cute autumn shape on the front of the jar.

Third Option

Divide the jar into three portions and outline and flood each part with the colors of candy corn.

Once the cookie is dry, you can tie bakers twine around the jar and tie it in a bow.

Fourth Option

When baking the mason jar cookies, impress some dough with the burlap impression mat, and cut out a mini cookie using the same method shown in this tutorial. Be sure to cut out a hole at the top of the cookie (with a straw) so that you can tie it to the mason jar.

 (Scroll down below to see the finished burlap impressed cookie....a mini acorn hanging on the jar.) 

Outline and flood the jar in your choice of glaze color. Outline and flood the lid with grey glaze.

Dry overnight. Make a mixture of silver dust and vodka or almond extract,and paint it over the lid of the mason jar.

Brush dry caramel dust over the burlap impressed mini cookie to give a rustic look.

Attach the mini cookie to the jar with bakers twine.


Metal Bucket of Mums Decorated Cookie (Tutorial)

I'm seeing metal buckets everywhere these days.

I guess it's a new trend.....but I've always loved the rustic look they bring.


To make a bucket of mums, I used cutters from SugarBelle's Shapes Shifters set.

This is the wedding cake/sand castle cutter with the rounded edger.


As seen in the photo below, cut out the shape and trim it with the edger.

If you'd like to make just a plain metal bucket, use the gift cutter and cut off the bow.
(see photo below)

Outline and flood the bottom of the cookie with grey glaze. After it has dried for 10 minutes or so, add a line and the rivet marks as shown below.

Outline and flood the top with orange or gold glaze to represent the background of the mums.

After an hour of dry time, use a large round tip (I believe this is a #10 round) to indent "mum marks" in the partially dried glaze.

Over the top of the indented glaze, add dots of mums.

After another hour, add more indent marks for more dimension. Also, add a bucket handle in grey glaze.

Dry overnight.

Combine silver luster dust with vodka or almond extract, and paint the bucket.

Spring Basket 'N Burlap Decorated Cookie Collection

Member Login
Welcome, (First Name)!

Forgot? Show
Log In
Enter Member Area
My Profile Not a member? Sign up. Log Out