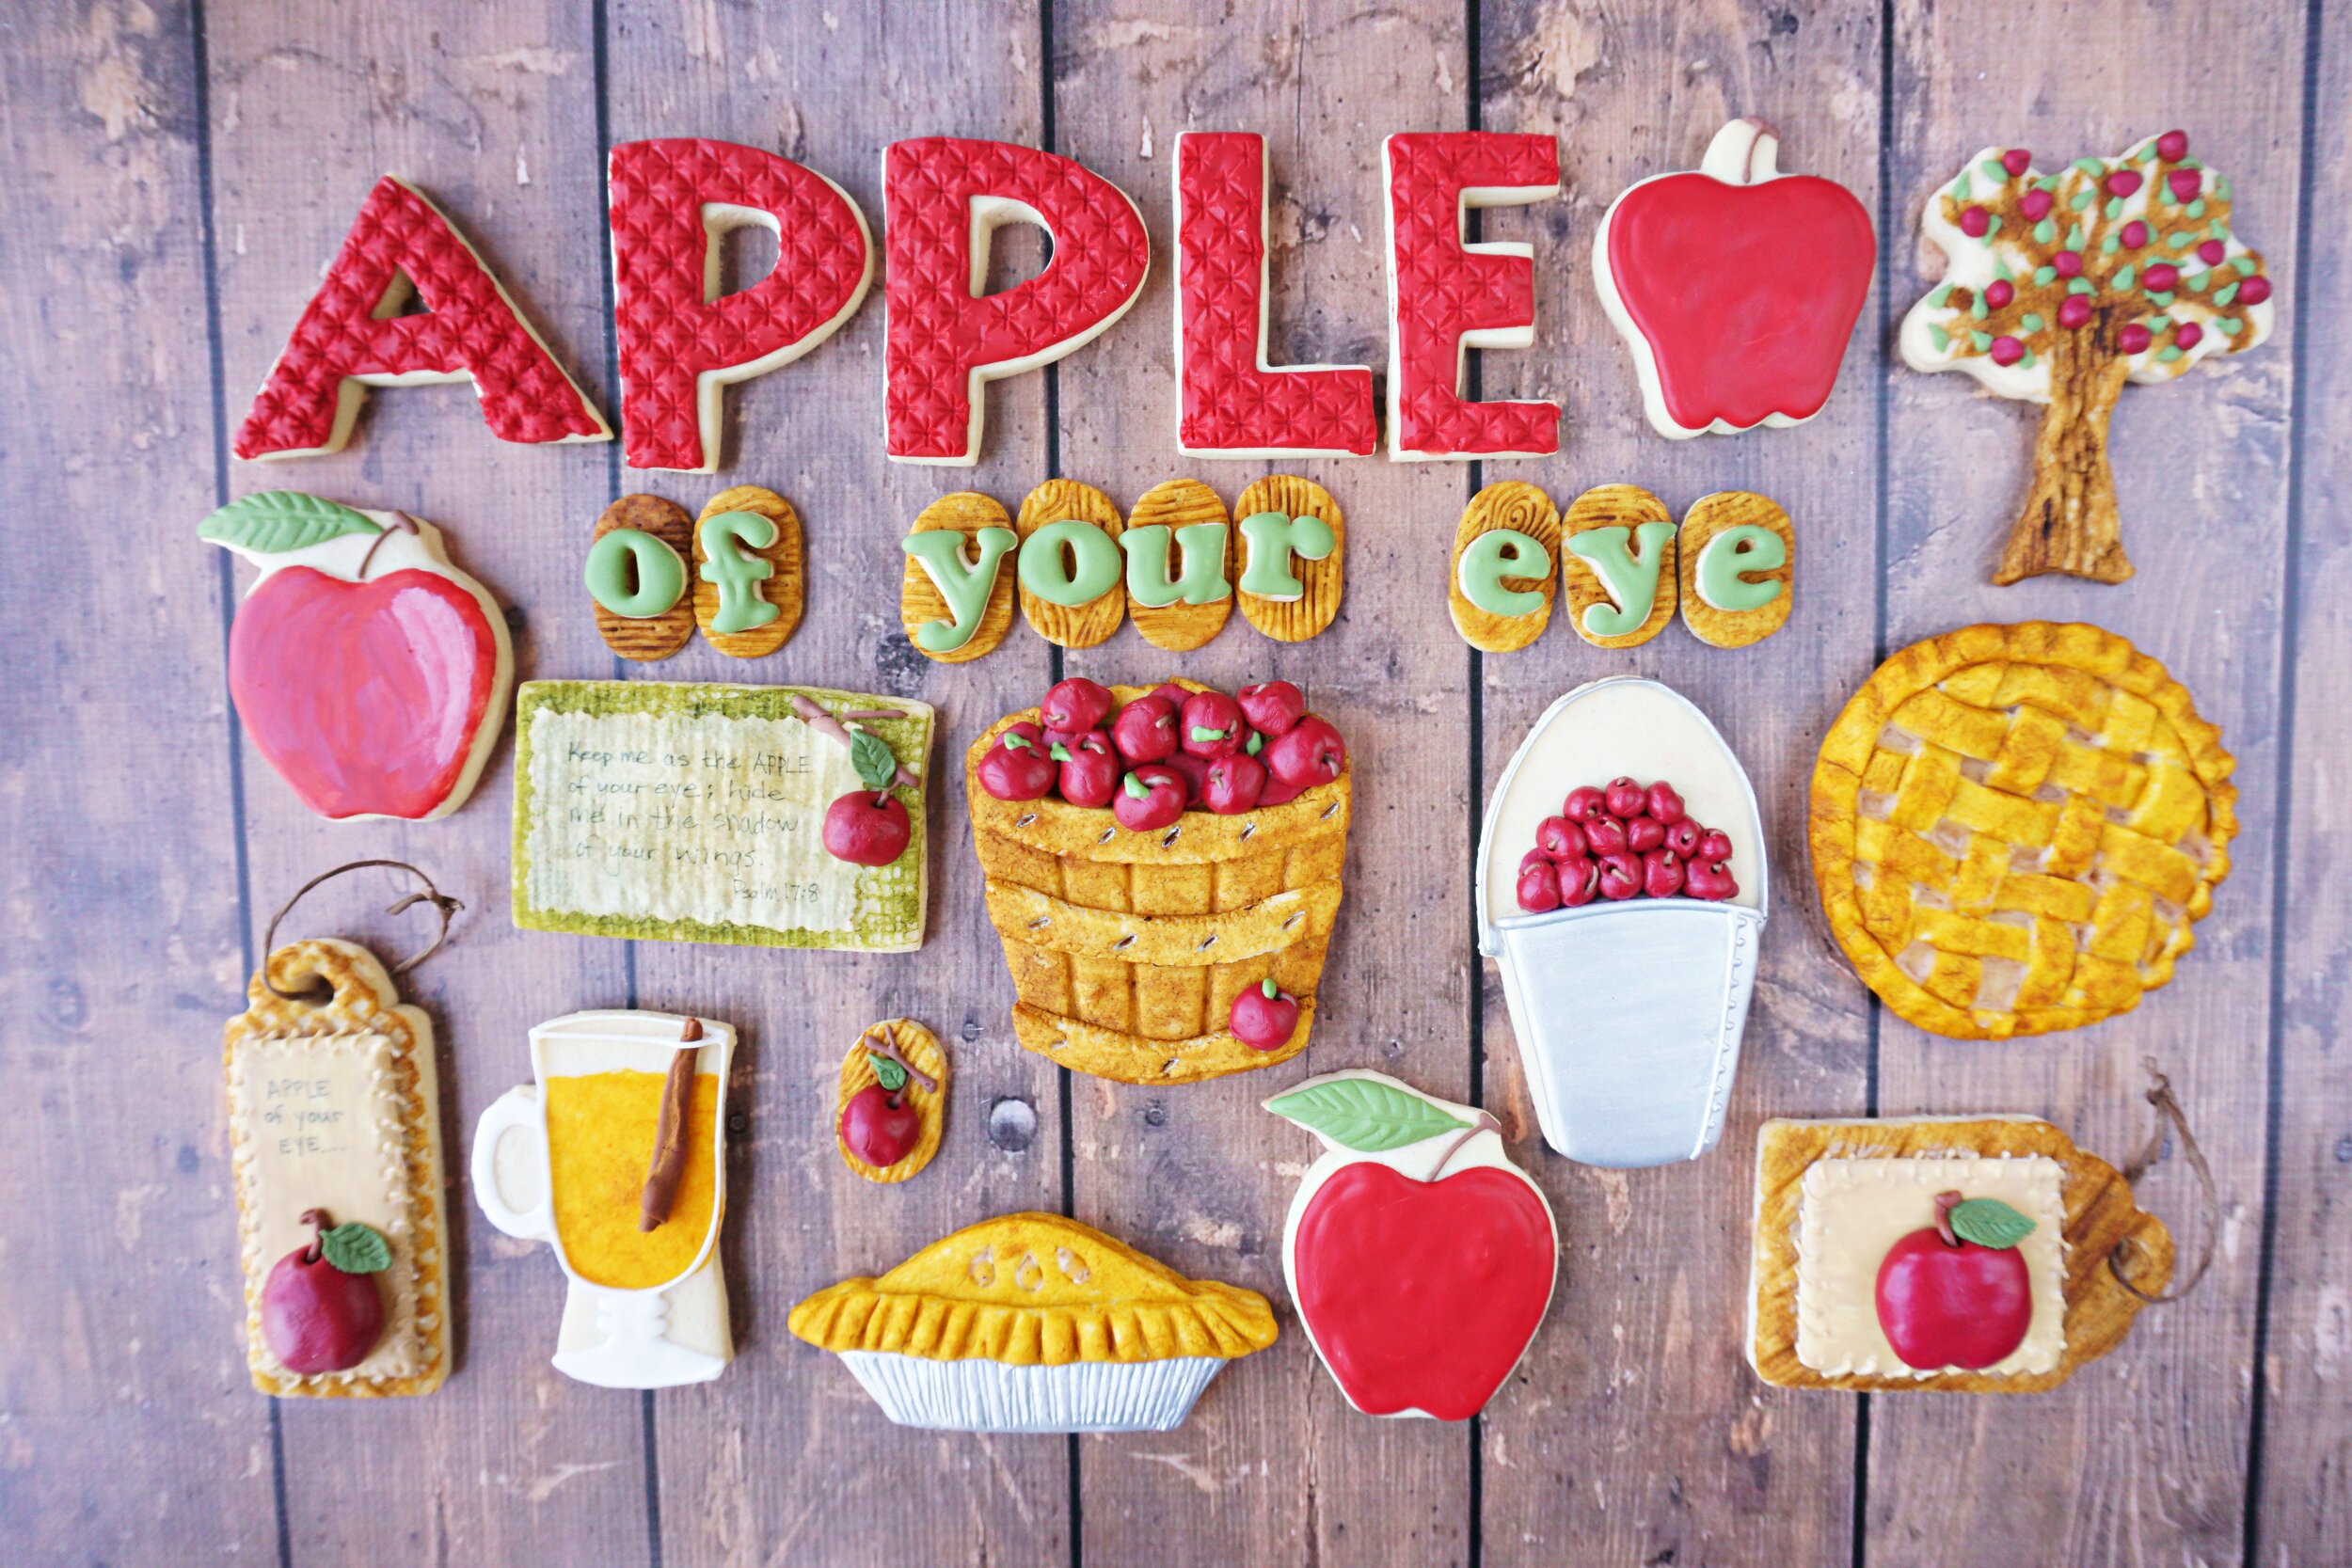
There's something about a pile full of apples in a basket or bucket that just screams FALL to me. I've attempted this shape year after year because I just can't get enough of this look.
The gift cutter from Sugarbelle's ShapeShifters set is the perfect shape for a basket or bucket full of apples.
To give the metal bucket a more 3D feel, cut out a thinner duplicate, cut off the top of the "bucket" using the curved edger also found in the Shapeshifters set, and lay it on top of the bottom full shaped layer. Roll small "apple" balls and press them firmly into the top of the bucket. (see photo below)
For the basket, first cut out a plain full gift shape. Then using the molded dough method (shown in this blog post), mold thinner dough with a basketweave mat and cut out the same shape, but cut off the top of the "basket" using the curved edger found in the Shapeshifters set, and lay it over the original plain gift shape. Roll small "apple" balls and press them firmly into the top of the basket. (see photo below)
Once the cookies are baked and cooled, brush the molded basket portion with dry golden leaf dust.
Next brush the baskets with dry caramel and/or deep brown dusts to give it a richer hue.
Make a mixture of red rose dust and vodka (or clear extra, i.e. almond) and paint the apples.
[You can also use cut kiwi dust to make green apples, but I disliked the wrinkly-look that was emphasized with that color. It reminded me of brussel sprouts! haha]
For the metal buckets, outline and flood the bucket portion with gray glaze.
[I apologize that I failed to take photos of these steps.]
After at least 30 minutes, add the bucket handle.
Allow it to dry overnight.
Paint the bucket surface with a mixture of nu silver dust and vodka (or clear extract; i.e. almond).
Add stems and leaves to the "apples" in the baskets and buckets.
Since I disliked the painted green apples, I covered the dough balls with green glaze.
After drying them overnight, I dusted the apples with dry caramel dust.
Also, once the silver dust has dried, dust the bucket portion with dry turkish black dust.


