monkey

Zoo Animals Cookie Collection

A very precious friend asked me to make some zoo animal cookies for her daughter's 2nd birthday. 
She wanted them to be grain-free, so that added a twist to the challenge. 
My Simple Grain-Free Cut Out Cookie recipe worked perfectly for this occasion.

I did a Jungle Buddies cookie series about three years ago. 
It included a hippo, giraffe, lion, elephant, zebra, and monkey with cookie tutorials for each. 
Since that time, Cheap Cookie Cutters has created some of those shapes into cutters.

Here's the brown bear cookie tutorial I put together for this series.

And since the monkey shape was not included with Cheap Cookie Cutters designs, here's how I simplified that shape. Using a snowman head cutter and the curved edge cutter in SugarBelle's Shape Shifters set, cut out the monkey head as shown below.

Outline the monkey head filling in a thicker outline of the ears and the entire upper head with dark brown glaze.

After the glaze has dried for about 30 minutes, fill in the ears and "snout" portion of the monkey with light tan glaze as shown below.

After some dry time, add the eyes, nose, and mouth with white and black glaze. 

Langley loved her animal cookies. Her favorite was the lion........ Rrrrrrr!

Jungle Buddies Cookie Collection

When I started making this set of jungle animals......

I never dreamed it would turn out the way it did.

One thing led to another.......(story of my cookie life!) and suddenly I had

a collection of six different animals with all kinds of plaque and accent cookies.

I've always wanted to do jungle animals......and I finally got my chance.

Faces are NOT my forte.

I tend to minimize the details because as soon as I start adding stuff......

the appearance goes downhill quickly.

So this is why you only see very simple eyes, nose, and mouth.

Simple is good, right?

Now that I own some very cool

Helvetica letter cutters.

......

I use them every chance I get.

How fun to make animal prints on all the letters! :)

Zebras packed up in a

14 x 10 BRP box.....

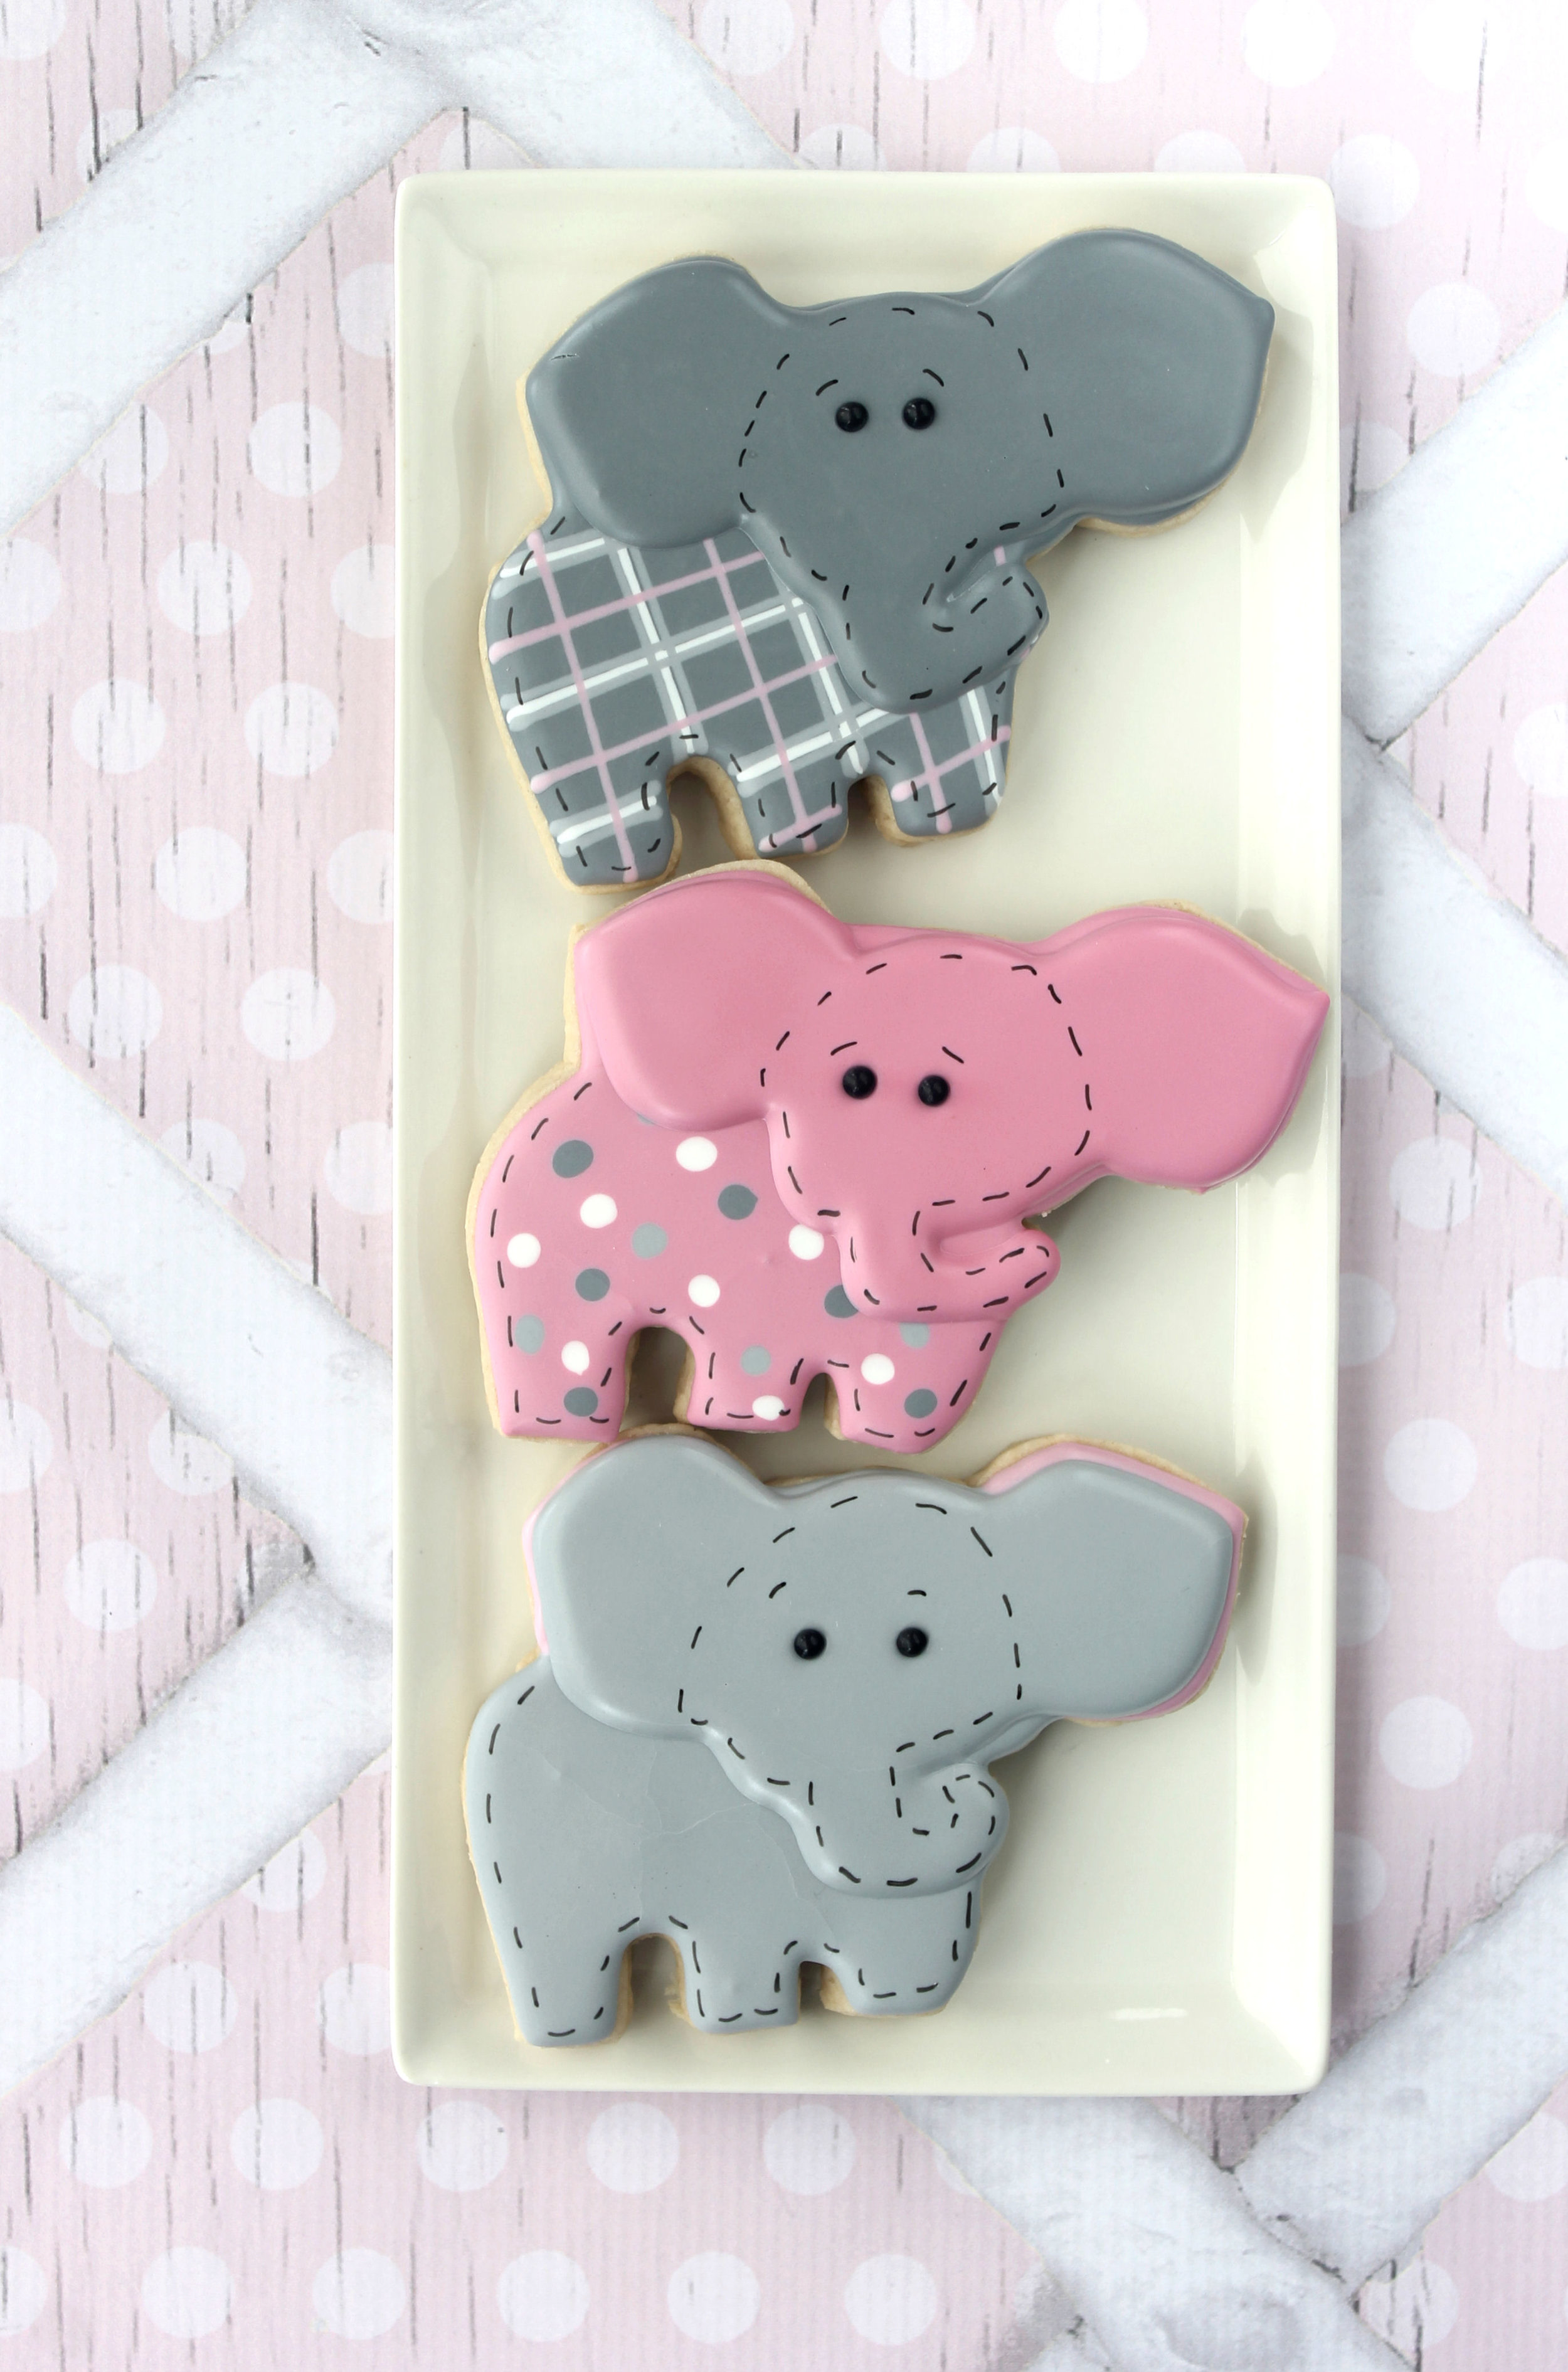
A smaller elephant set for my daughter's friend.....in a

brown 10 x 7 BRP box

.

And of course......the whole gang packaged in a

14 x 10 BRP box

.

My favorite......

CookieCrazie Chatter...... Friday, February 28, 2014


Cookie Con 2014 is happening soon.
I'd LOVE to see you there!


_________________________________________________________


CookieCrazie's Week in Review


/www.cookiecrazie.com//2014/02/elephant-cookies-tutorial.html


 http://www.cookiecrazie.com/2014/02/princess-crowns.html


 /www.cookiecrazie.com//2014/02/monkey-cookies-tutorial.html


_________________________________________________

Personal Side

Last week I started my "CCChatter personal side" with "Today it is 70 degrees".
Well.....today it is NOT 70 degrees. haha
I've been so cold today.
It's pretty bad when all you can think about is going to bed for the night
so you can get under your warm fuzzy blankets and FINALLY get warm.
:)

I had a very very satisfying cookie week.
I made berries......lots and lots of berries.
I found the cutest ceramic berry baskets a few weeks ago at Michaels.
Suddenly I was building a whole cookie theme around photo props. haha

I had a blast.
I concentrated on making the berries as authentic looking as glaze decorating would allow.
I am super happy with the results.

Next week I'm tackling some spring/Easter cookies.
I've got to get ahead.....what with CookieCon just around the corner.
That's practically a whole week I'll be away.

By the way.....Cookie's Cool in Genoa, Italy is postponed until November.
We just got the new proposal today.
Exciting stuff coming up. :)


Instagram photos for this week:


A little birthday fun this week....

Happy Saturday!


 Happy Monday!
This is my favorite in last week's birthday set.


This is what I'm working on this week. Mmmmm!


_________________________________________

Last CookieCrazie Chatter....


Monkey Cookies (Tutorial)

Time for some "monkeying" around........making MONKEY cookies. :0

This shape is a bit easier than the others.

You need just one large circle and two smaller ones for ears.

What I didn't show in the photo above is to cut some of the dough just below the ears out and

round out the "muzzle" of the face (see photo below).

Once baked,

outline and flood

the upper part of the face in a half circle with brown

10-second glaze

.

While the glaze is wet, drop two

black pearls

onto the face for eyes.

After 15 minutes, outline and flood the ears with a brown rim (see photo below).

Add a outline of brown for the "muzzle" of the face.

Allow the brown glaze to dry for at least 30 min, then add a lighter tan glaze to the 

inside of the ears and the muzzle.

Dry overnight.

Add a large oval nose with black glaze.

Add cheek color with a cotton tipped swab and

pink pearl dust

and the mouth lines with a

black food color marker

.

Member Login
Welcome, (First Name)!

Forgot? Show
Log In
Enter Member Area
My Profile Not a member? Sign up. Log Out