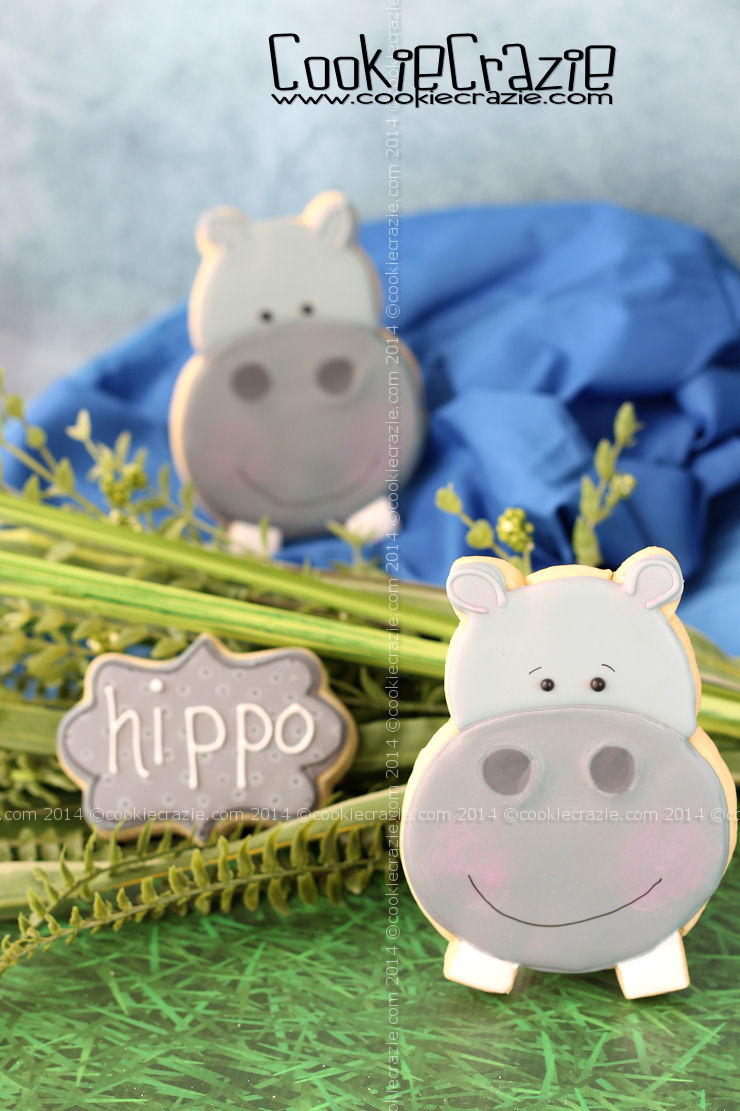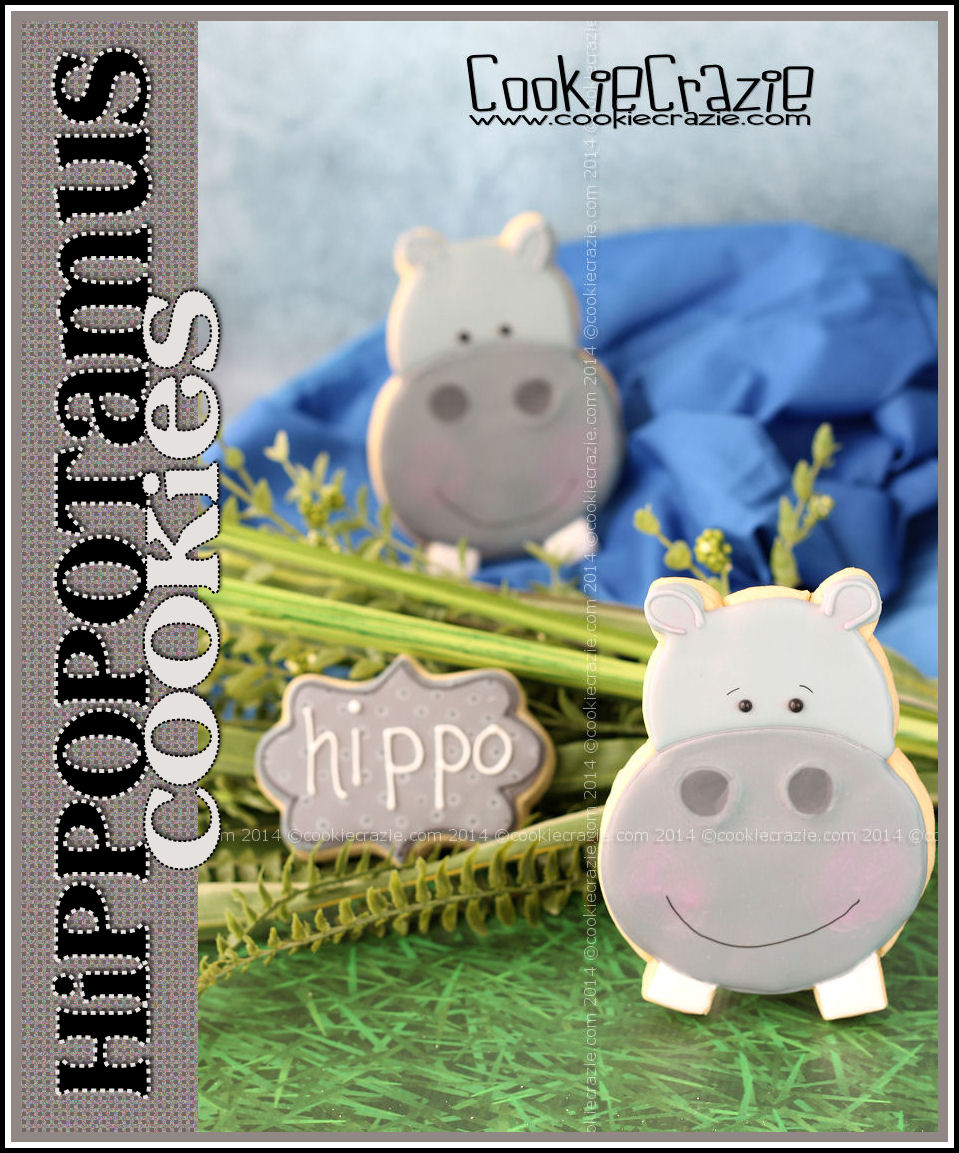
And last, but certainly not least......Mr Hippo.
I absolutely love his toothy grin. :)
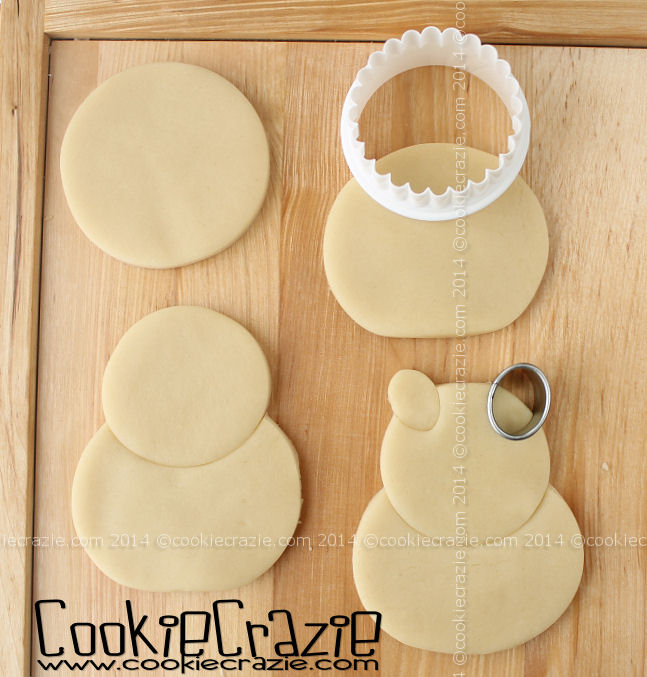
Squish a large
so it is somewhat oval.
Add a medium-sized
over the top of the oval.
Use a small
for ears.
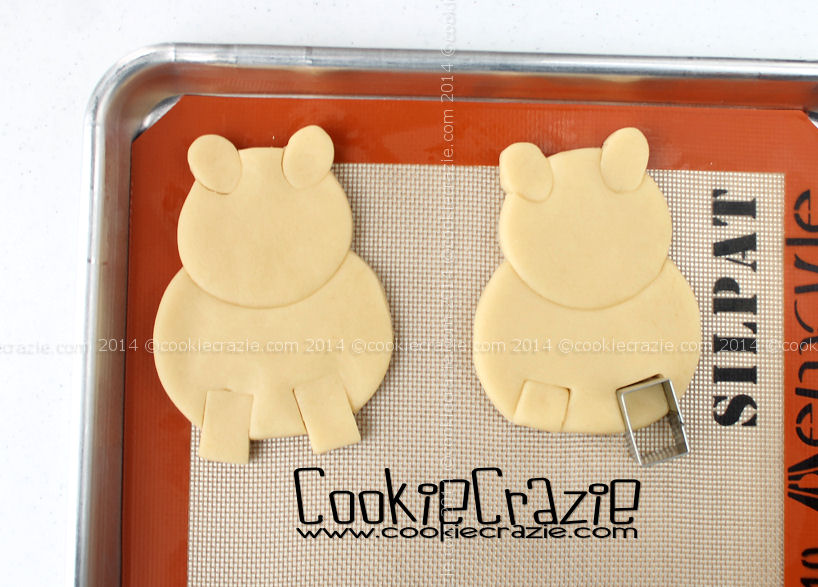
Finally, add
for the teeth. :)
Once baked,
the upper part of the face in gray
. (shown below)
While the glaze is wet, drop two
onto the face for eyes.
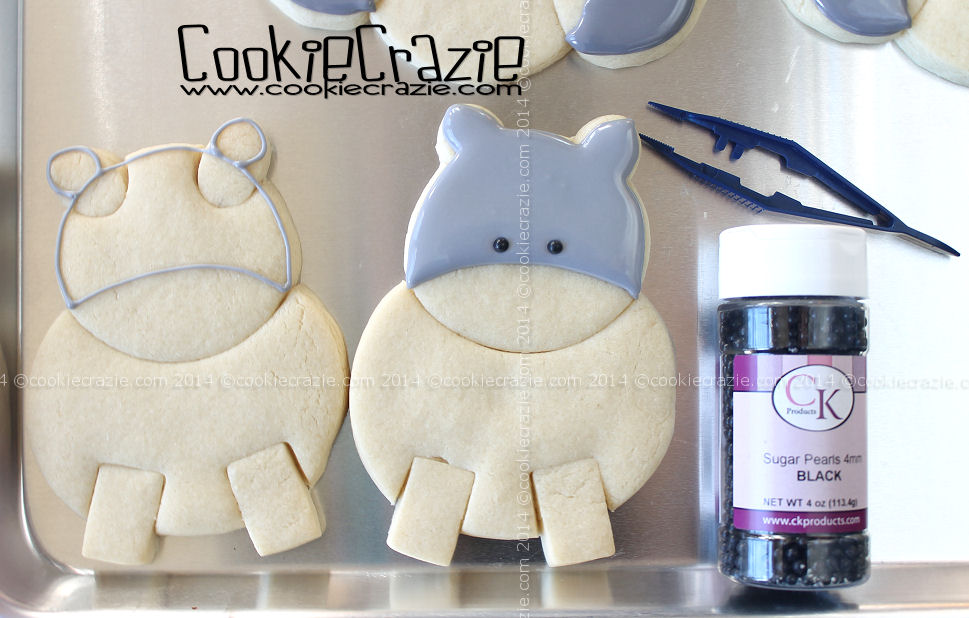
After at least 30 minutes dry time, outline & flood the large oval muzzle,
adding large darker gray wet-on-wet circles for nostrils.

Oops.....I didn't photograph this part, but after some dry time, outline/food the teeth in white glaze.
(You can also add some gray accent lines to the ears.....see below.)
Dry overnight.
Add cheek color with a cotton tipped swab and
,
and the eyebrow & mouth lines with a
.
(P.S. If you want to make it more realistic, don't add the mouth line.
I didn't realize by doing so I made the teeth come out of that poor hippo's chin. :()