Sweetworks

CookieCrazie Chatter...... Friday, April 11, 2014


_________________________________________________________


CookieCrazie's Week in Review


www.cookiecrazie.com/2014/04/sweet-spring-sweetworks-giveaway.html

And the winner is.......
Dawn Rudisill
(Please email me at cookiecrazielady [at] gmail [dot] com 
so I can get your address and have your prizes sent to you!)


www.cookiecrazie.com/2014/04/sweet-spring-sweetworks-giveaway.html


www.cookiecrazie.com/2014/04/sweet-spring-sweetworks-giveaway.html


_________________________________________________

Personal Side

Fabulous week......

I tried two new things this week....and both were successful.

I got a new airbrush and had success using it this week.
I purchased one a few years ago and it broke within 3-4 months. :(
At CookieCon, I heard about an inexpensive one that I subsequently ordered from Amazon.
I'm certainly not a pro at it, but it got the job done.
I was happy with the results.

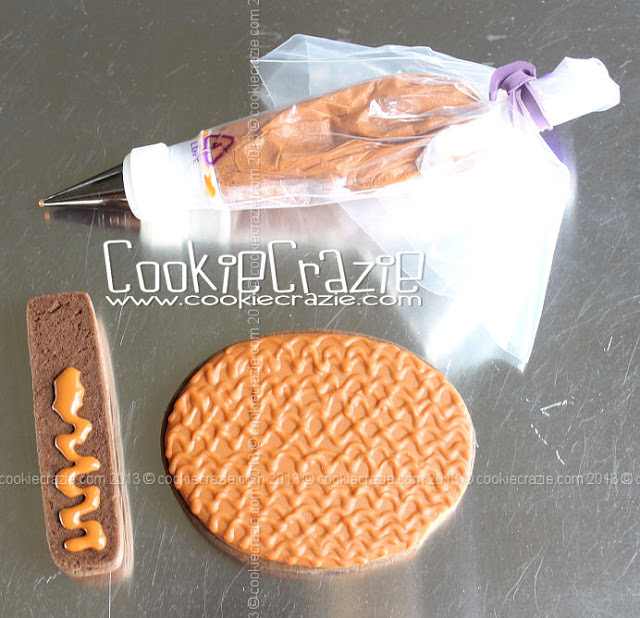
Then I finally found the right combination for a corn syrup edible clay.
I had bought several silicon molds over the Christmas holiday and was anxious to try them out.
I had some failed attempts at a clay these last few months.
But this week....it came together!
And the cool thing......it is basically the same ingredients as my glaze......plus butter. 
YEAH!
It tastes like buttercream! Mmmmmm
I'm so excited.

Then......I was asked to teach a glaze class on a Cookie Cruise that is happening in January 2015.
Once again.....super excited.

This next week.....I need to get some Mothers Day cookies done for the blog.
I've got a great idea for a collection that I hope is going to work out. :)

♥♥♥


Instagram photos for this week:


Happy Friday!


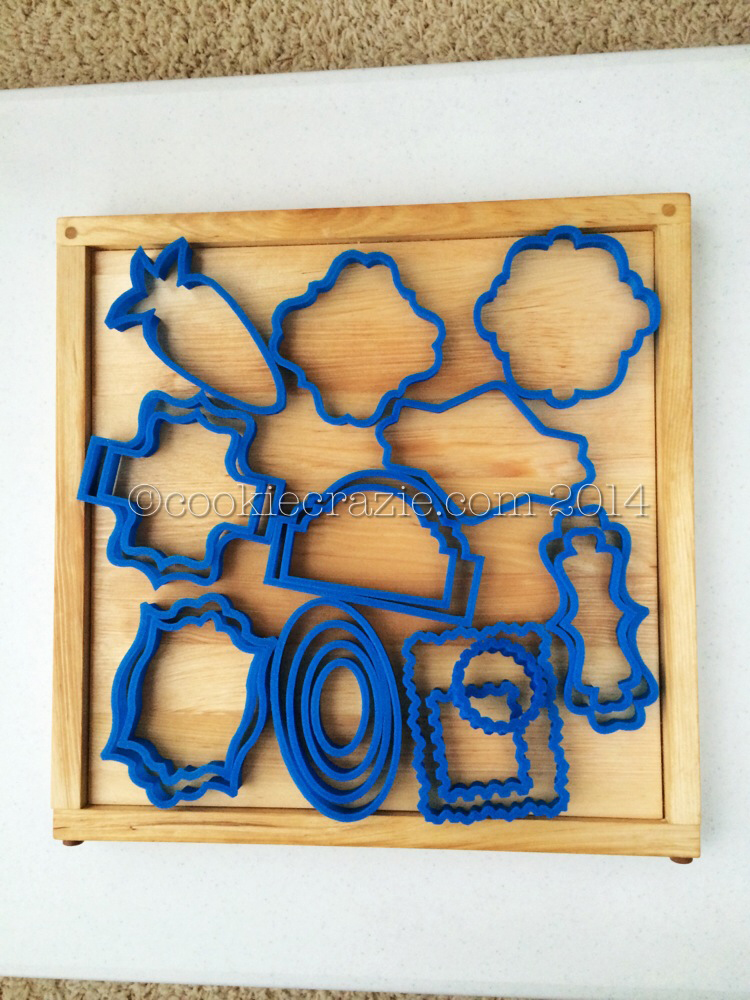
Awesome cutters....many of them custom that I ordered from Piping Mad Prints.
It brings a cookier joy to see such pretty cutters.


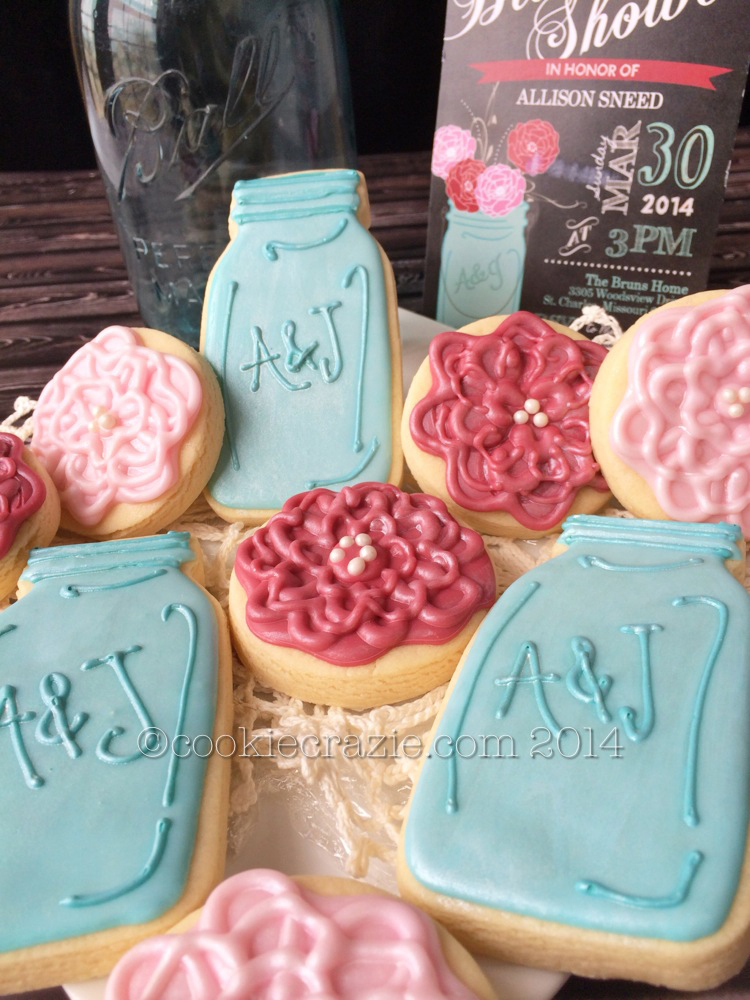
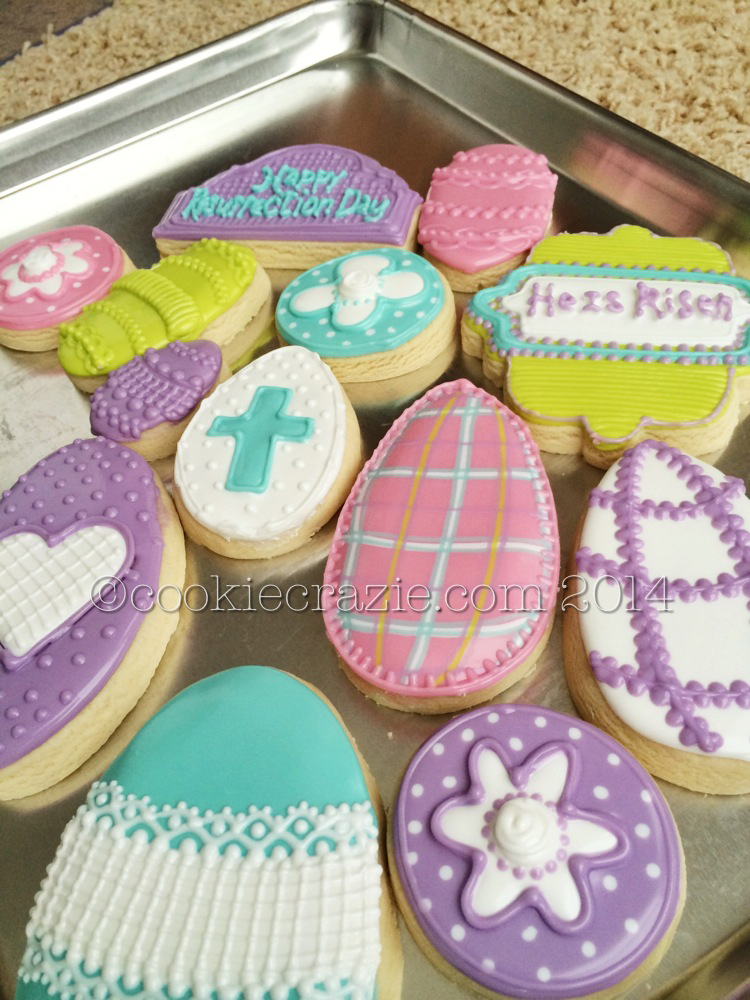
Bridal Shower beauties from last week..... 


Wait......before you throw something at me, read my disclaimer.
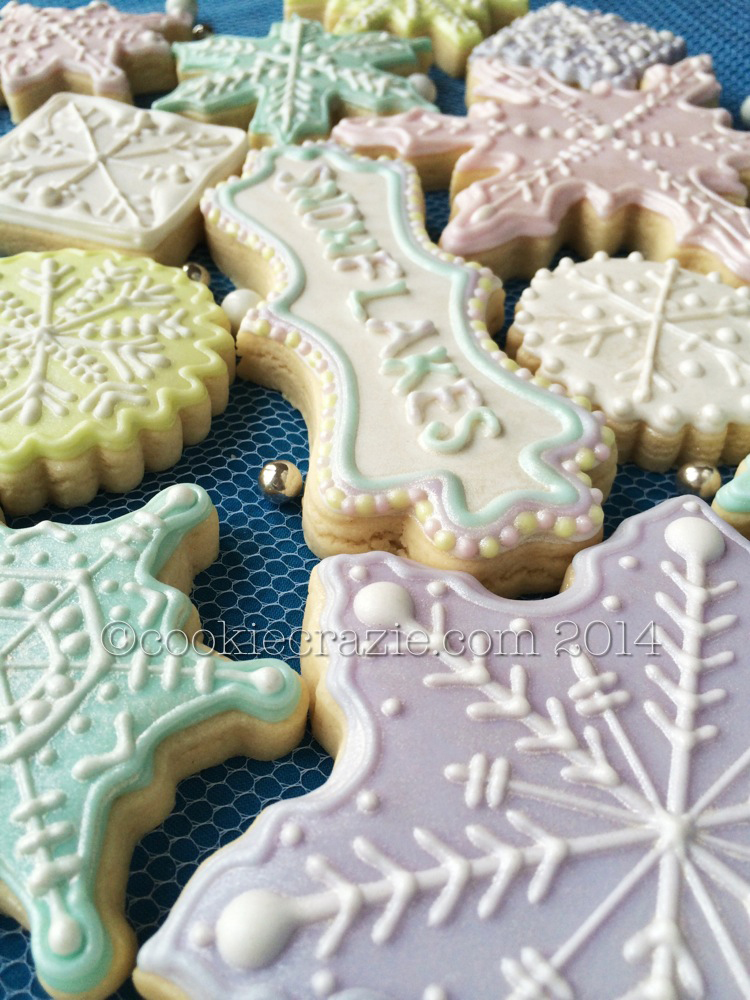
These snowflakes were made for a cookie project I'm teaching in November.....
and not a reflection of the current season or a desire for more S***. Haha


A week from Sunday.....how did that happy so quickly?! 


I can hardly contain my excitement!
I learned two amazing techniques this week.
This cookie shows both of them.....
First.....airbrushing.....can you see the little shimmery hearts on the background of the cookie?
And then I had success developing a corn syrup "clay".
This allows me to mold pretties to put on top of the cookies.
Happy happy happy!!


_________________________________________

Last CookieCrazie Chatter....


SWEET Spring: SweetWorks Giveaway! (Giveaway CLOSED)


http://sweetworks.net/

Let's celebrate SPRING with a giveaway!

SweetWorks is an awesome site that can totally satisfy a sweet tooth.

They have tons of products that a cookie decorator relishes to have for decorating.
Sixlets & Pearls work well on lots of cookies designs bringing color, sparkle, and FUN!
Beyond cookies..... their chocolate is awesome! (My favorite is here.)


If you'd like to receive this whole bundle of spring sweetness shown above,
go "like" the SweetWorks FB page and then comment on this blog post that you did.

Entries accepted until Wednesday, April 9, 2014 at Midnight (CST).

One entry per person.

One winner will be chosen via www.random.org.

Look for the announcement of the winner on Friday, April 11's CookieCrazie Chatter.


♥♥♥

And the winner is.......
Dawn Rudisill
(Please email me at cookiecrazielady [at] gmail [dot] com 
so I can get your address and have your prizes sent to you!)

 The SweetWorks Giveaway is now closed.
Thanks to all those who entered to win!


Winter Rectangle Buddie Cookies (Tutorial)


I divided my rectangle buddie cookies into two sets......

Here's the snowmen, reindeer, and penguins...


For the rectangle snowman cookies, I did a top hat snowman and a knitted cap snowman.

Outline and flood the entire cookie with white 10-second glaze.
Give it a few hours to dry since black and white tend to bleed together.
Add the top hat shape in black glaze, a knit cap in your choice color,
 and the draping part of the scarf with any pattern you'd like.
At this point you can also add white circles for eyes and drop black pearls in the middle of them.
Add a white glaze carrot nose and paint it the next day (once it is dry) with orange color gel.
(I always try to keep from making extra colors of glaze that can be dealt with other ways.)
Add tiny dots of "coal" in black glaze for the smile.


Once the hat and scarf have dried a bit, 
add the pom pom to the top of the hat and the hanging end of the scarf.


The next day, if desired, you can add details like pink cheeks by brushing on pink pearl dust,
and eye brows with a black food color marker.


Reindeer require outlining about 2/3 of the rectangle with brown glaze.
Add some curly antlers also in brown glaze.


After they've dried for an hour or two,
add huge white glaze circles for the eyes and drop a black pearl in the centers.
Make the muzzle with a large brown circle under the eyes.
Drop a black or red pearl on the top part of the muzzle for a nose.


The next day, use a black food color marker to add eyebrows, mouth, and other details.


Penguins.....always a favorite!
Cover the entire rectangle with black 10-second glaze.
Because of bleeding problems, I dried mine overnight.
On Day 2, add "heart shaped" face and a long white front with white glaze.
Drop black pearls onto the white glaze for eyes.


Add brown glaze "feet".


I wanted the penguin to have a red "plaid" scarf but didn't want to mess with the bleeding issues.
So I added a white neck band and then painted it with red color gel the next day.


If desired, add some pink cheeks with pink pearl dust and a mouth with a black food color marker.


Rectangle Buddie Cookies

Thanksgiving Turkey Cookie Platter (Tutorial)


Gobble Gobble Gobble.....

How about making this cute turkey platter for your Thanksgiving Day celebration. :)

For this platter you'll need:
  • 20 leaf cookies
  • 1- 3" oval cookie
  • 1- 2" oval cookie
  • 1 long rectangle cookie (mine is 4" x 3/4")
  • Brown 10-second glaze
  • White 10-second glaze
  • Gold, Green, Orange, & Red 10-second glaze (for feather cookies)
  • 2 Black Sixlets
  • Oval Platter
Note: I used my Chocolate Cut-Out Cookie recipe for this version,
but my regular Sugar Cookie recipe will work just as well.

The "feathers" were cut with this awesome gum leaf cutter.
Even though you have to order it from Australia......it's highly recommended.
But a plain leaf cutter will work just fine.


Outline and flood the "feathers" in various fall colors of 10-second glaze.


Outline and flood the oval and rectangle cookies with brown 10-second glaze.
When covering the smaller oval, be sure to
make a circle on one "end" of the oval to leave room for the "gobbler" to hang down.


After the feathers' base has dried for at least 30 minutes,
add vein markings with a 1.5 PME tip in the same color glaze.


Add details (see photo below) to the neck and body cookies in brown glaze using a 1.5 PME tip.


For the turkey face, pipe two large circles of glaze and add two black sixlets on top.
Use gold glaze to pipe a beak.


After the neck and body cookies have dried overnight,
"glue" the neck cookie to the large oval body cookie (see photos below).


Now you can assemble all the cookies on a platter to make a turkey.....
ready for everyone to gobble up. ;)


Member Login
Welcome, (First Name)!

Forgot? Show
Log In
Enter Member Area
My Profile Not a member? Sign up. Log Out