sixlets

Simple Snowman Cookies (Tutorial)


I'm seeing lots of Valentines cookies from others already......
but I'm too in love with snowmen and snow to let this season pass.
I hope to devote the next couple of weeks to WINTER.

But then will come Valentines Day cookies in all their glory. :)


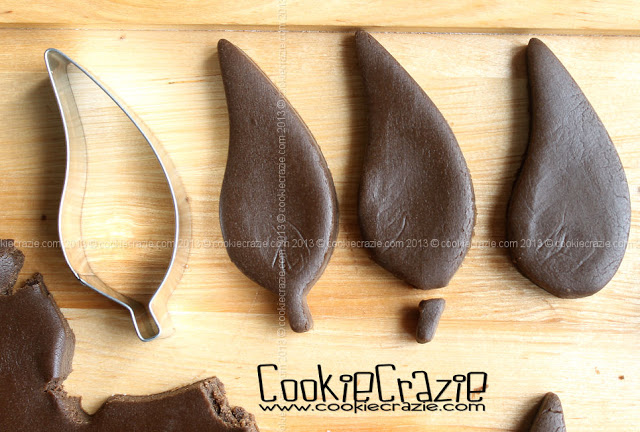
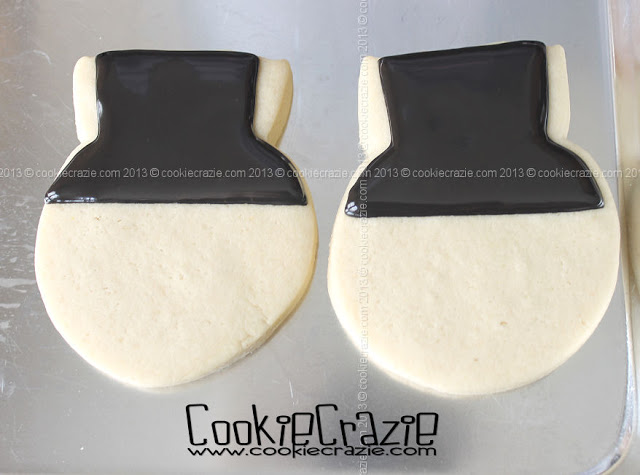
These snowman faces got their shape from a stretched out diamond ring cutter.
Smooth out the edges to form the top hat.


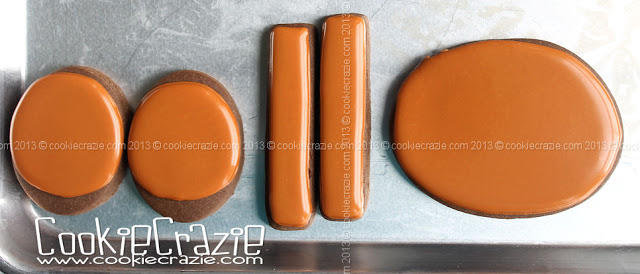
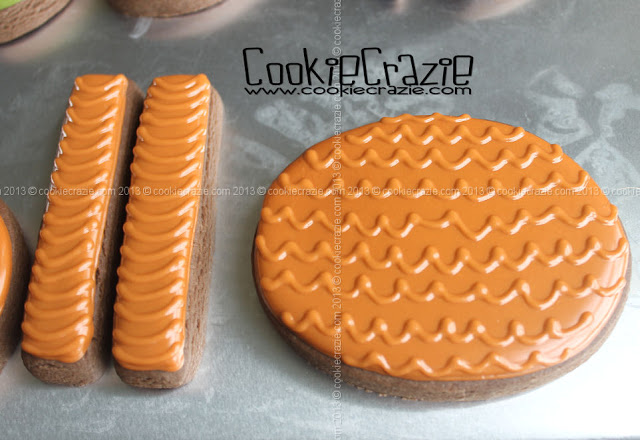
Outline and flood the top hat in black 10-second glaze.
Allow it to dry overnight. 
(I have a really hard time with black bleeding into white glaze.....so I take every precaution.)


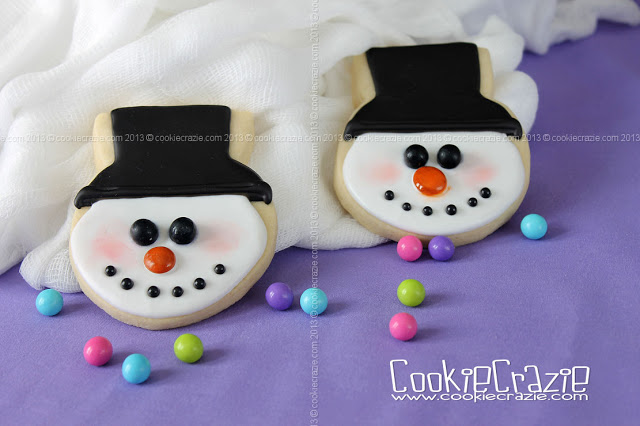
Outline and flood the white snowman face.
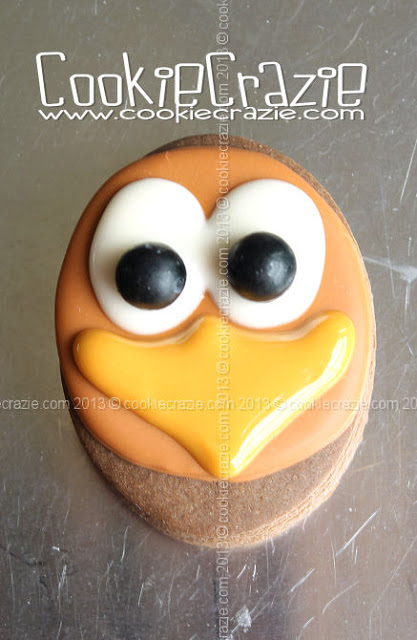
As you can see in this photo, I immediately added black sixlets for the eyes 
and black pearls for the coal smile.
However, now that I know black sixlets will bleed against wet white glaze,
I recommend that you let the white glaze dry before adding the sixlets.
Use black glaze to "glue" them on.
(The black pearls had no problem with bleeding.)


I didn't want to mix up orange glaze for the carrot nose,
so I added a huge round nose using white glaze...under the eyes.
After it all dried over night, I added pink cheeks by brushing on dry pink pearl dust
and painted the nose orange using Americolor orange gel.

Sweet snowmen......I luv 'em!


Simply Winter Cookies

Thanksgiving Turkey Cookie Platter (Tutorial)


Gobble Gobble Gobble.....

How about making this cute turkey platter for your Thanksgiving Day celebration. :)

For this platter you'll need:
  • 20 leaf cookies
  • 1- 3" oval cookie
  • 1- 2" oval cookie
  • 1 long rectangle cookie (mine is 4" x 3/4")
  • Brown 10-second glaze
  • White 10-second glaze
  • Gold, Green, Orange, & Red 10-second glaze (for feather cookies)
  • 2 Black Sixlets
  • Oval Platter
Note: I used my Chocolate Cut-Out Cookie recipe for this version,
but my regular Sugar Cookie recipe will work just as well.

The "feathers" were cut with this awesome gum leaf cutter.
Even though you have to order it from Australia......it's highly recommended.
But a plain leaf cutter will work just fine.


Outline and flood the "feathers" in various fall colors of 10-second glaze.


Outline and flood the oval and rectangle cookies with brown 10-second glaze.
When covering the smaller oval, be sure to
make a circle on one "end" of the oval to leave room for the "gobbler" to hang down.


After the feathers' base has dried for at least 30 minutes,
add vein markings with a 1.5 PME tip in the same color glaze.


Add details (see photo below) to the neck and body cookies in brown glaze using a 1.5 PME tip.


For the turkey face, pipe two large circles of glaze and add two black sixlets on top.
Use gold glaze to pipe a beak.


After the neck and body cookies have dried overnight,
"glue" the neck cookie to the large oval body cookie (see photos below).


Now you can assemble all the cookies on a platter to make a turkey.....
ready for everyone to gobble up. ;)


Member Login
Welcome, (First Name)!

Forgot? Show
Log In
Enter Member Area
My Profile Not a member? Sign up. Log Out