Summer

Firework Rocket Decorated Cookies (Tutorial)

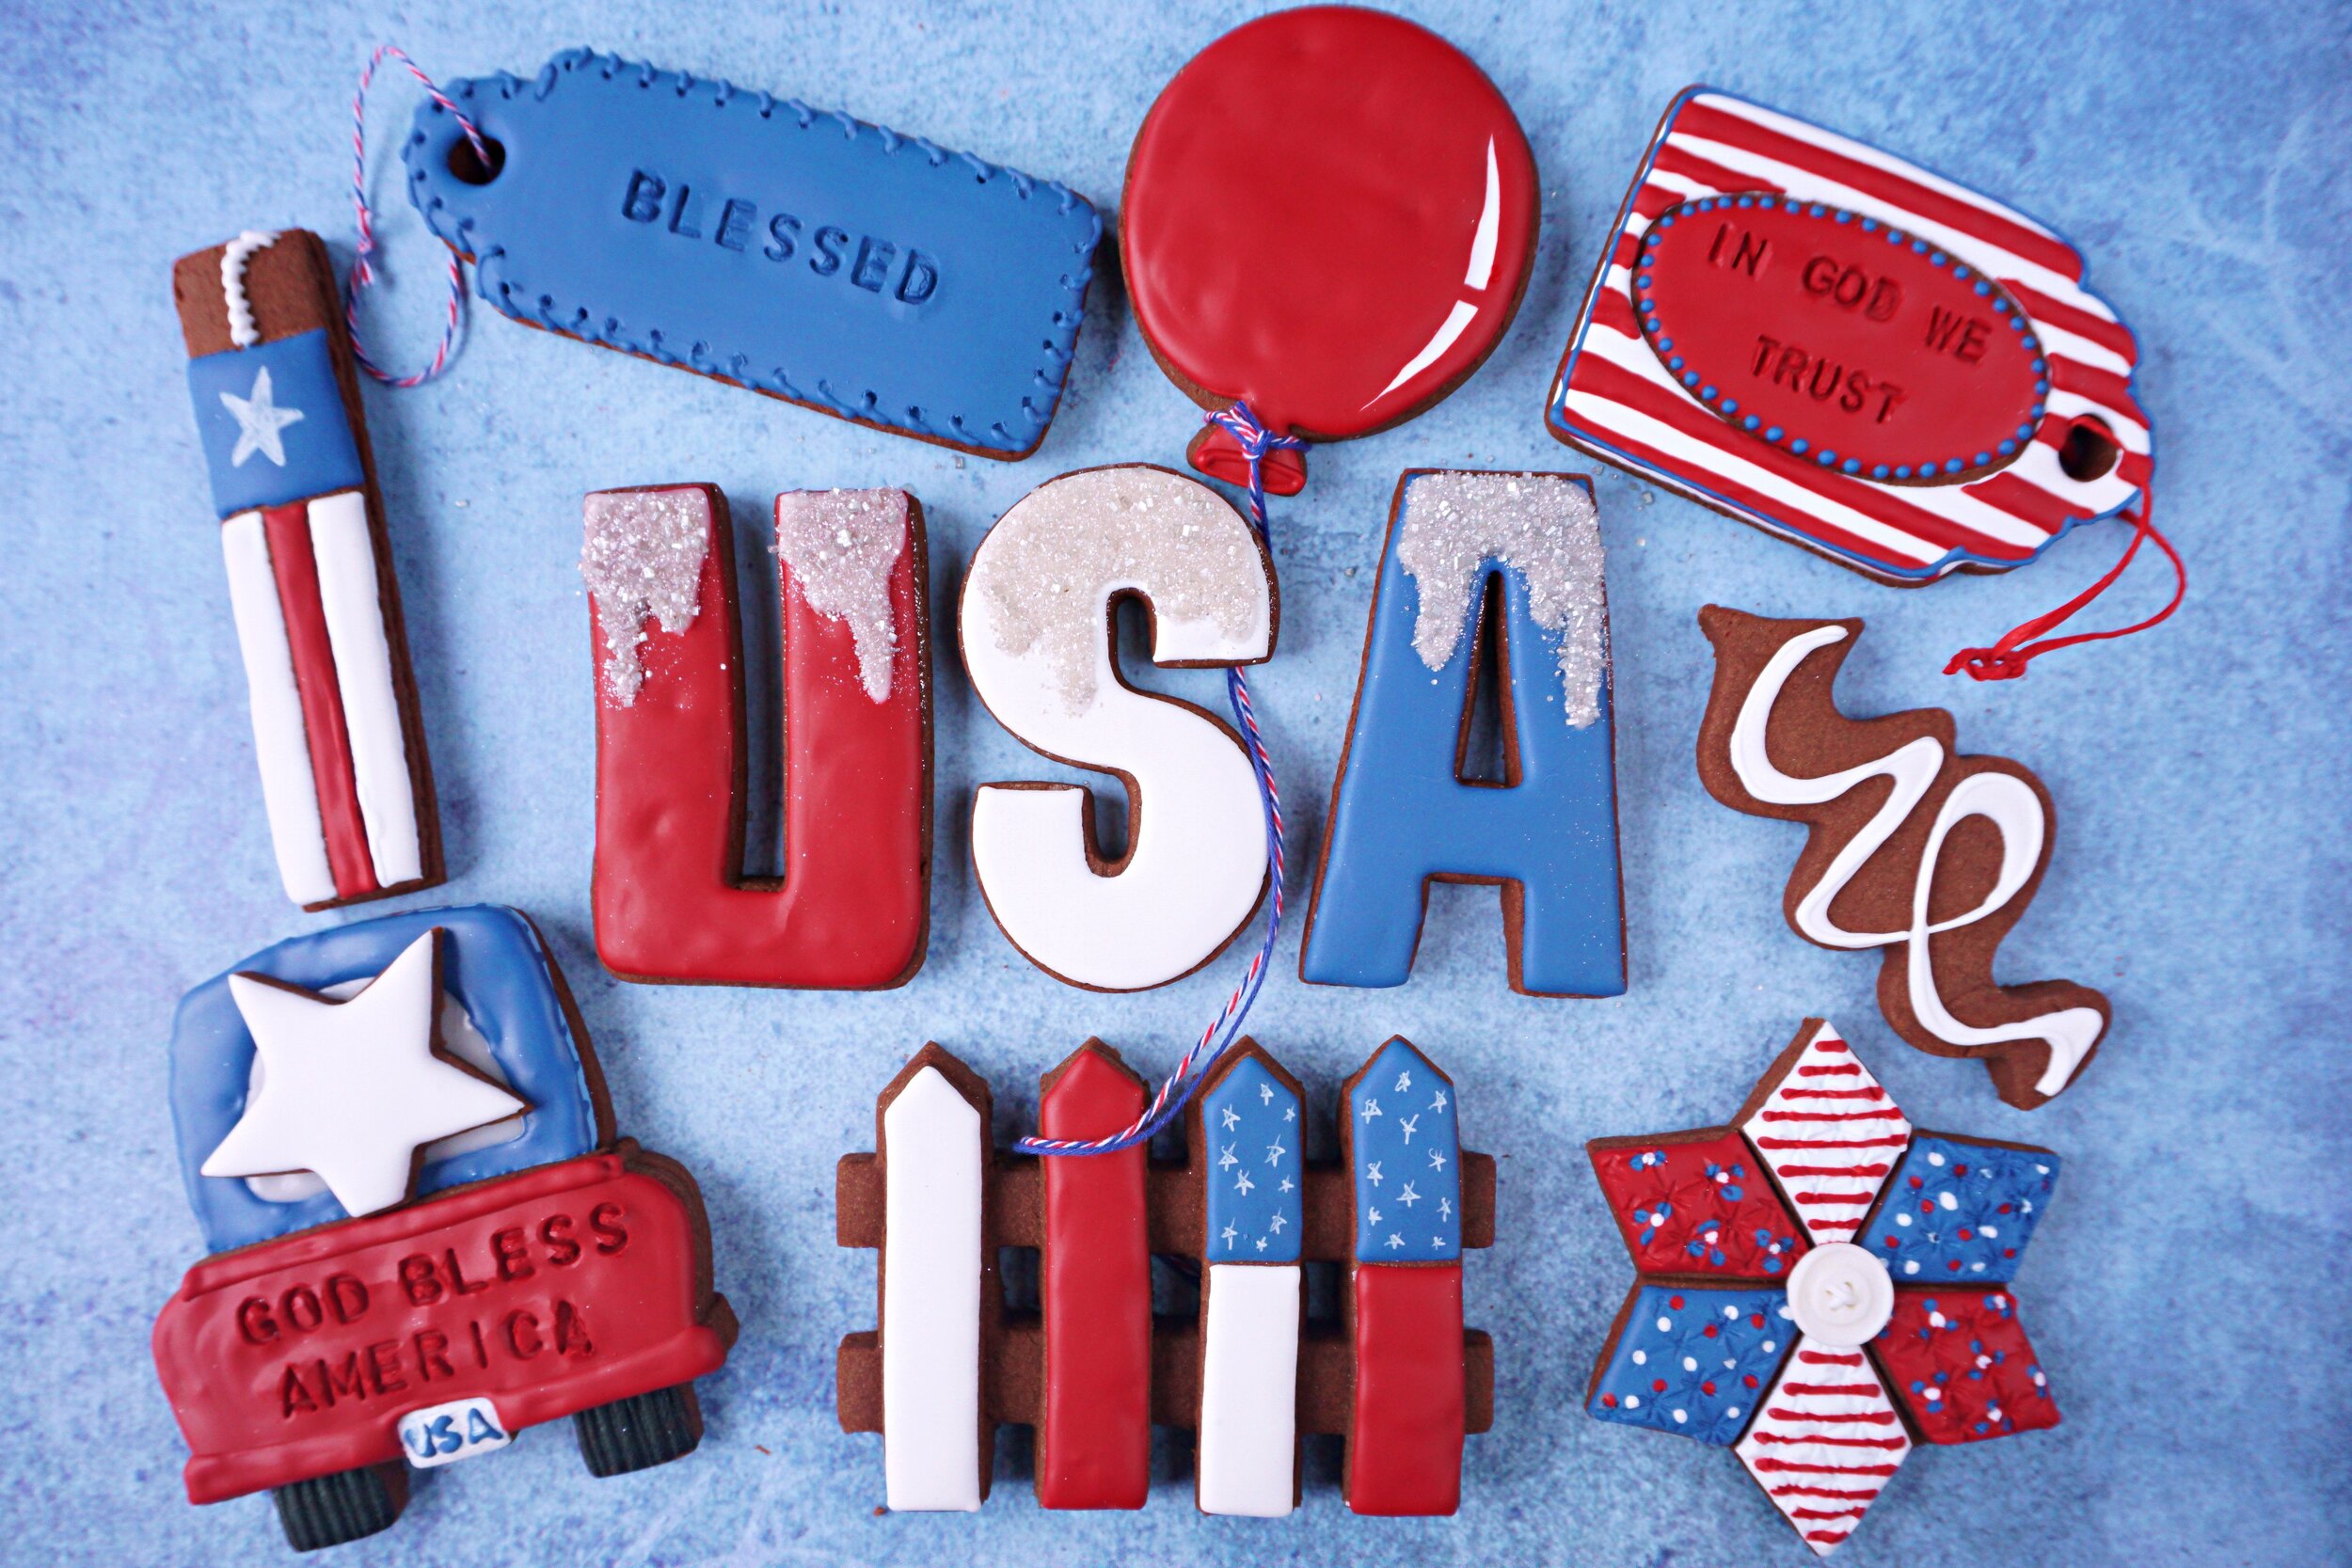
And the rockets red glare.....the bombs bursting in air........ 🎇 

I love to make a grouping of cookies that display lots of color and pattern.
Firework rockets were a perfect choice for that. 

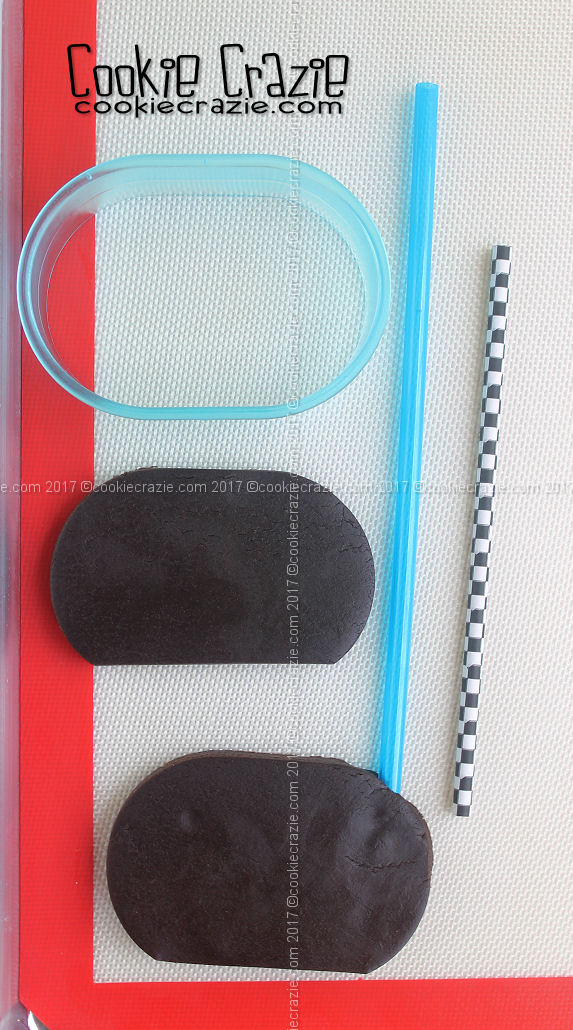
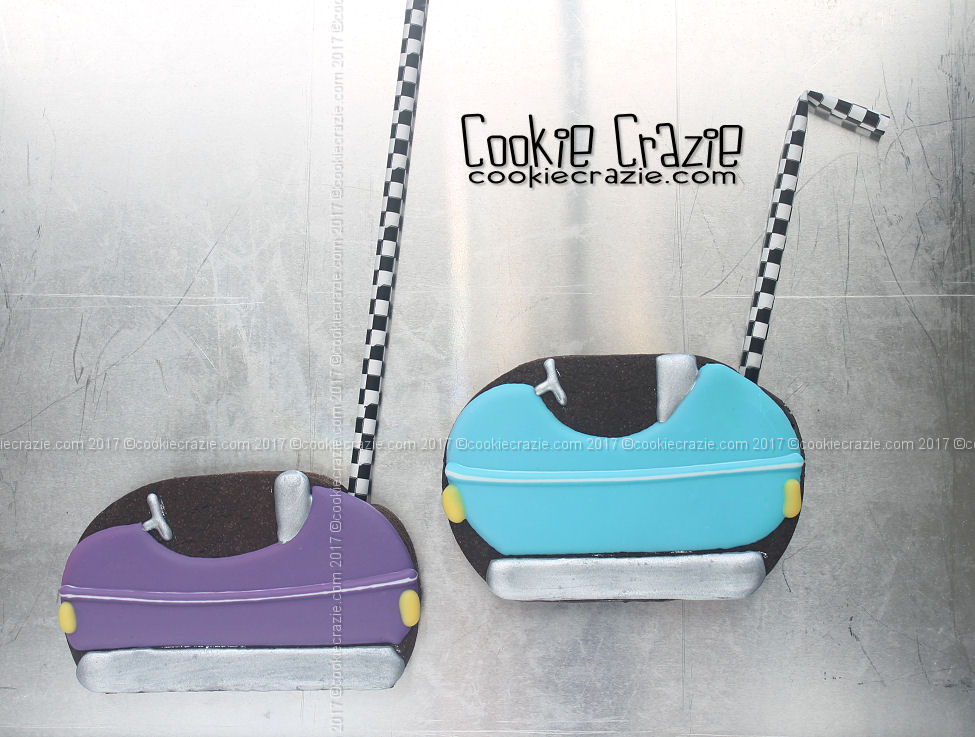
You could use any cutter  that has a long rectangle of some sort in it. You just need to cut one end to have a point for the rocket. (see photo below)
Using this pencil cutter requires no extra cutting at all. 

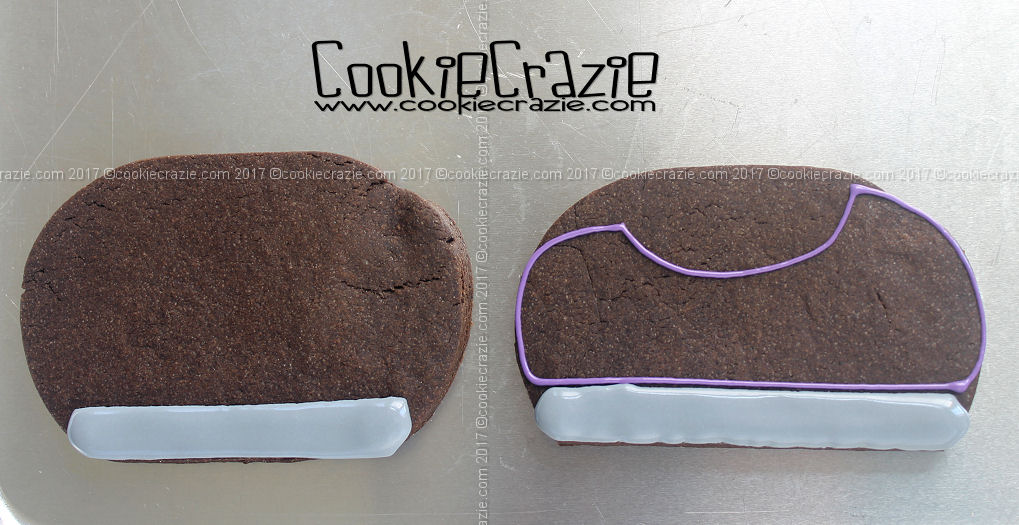
Outline and flood the body of the rockets with fun red, white and blue patterns using wet-on-wet technique.

Add the rocket tops and any additional details to the rocket body.
Pipe a stick or a fuse to the bottom of the rocket.
(see photo below)

Add the sparks to each rocket fuse in white glaze.
Allow the cookie to dry overnight.

Mix silver dust with vodka or clear extract (ex. almond extract) to paint over the fuse sparks.

And now it's time to light the fuses and watch the fireworks....... :)


Rustic Patriotic Tag Decorated Cookies (Tutorial)

I love the rustic look so much! Before I started these cookies, I had a technique in mind to try.....and in the middle of the experiment, I accidently scraped some of the color off the top  of the cookie and realized.....THAT'S IT! That's the look I was going for. :)

To make tag cookies, you can use just about any shape and then use a straw to cut out a hole on one side of the shape. For these particular cookies, I used the tea bag cutter from That's A Nice Cookie Cutter designed for me to complete the Tea Time for Mom Decorated Cookie Collection. It has a tag hole built right into the cutter. 

Once the cookies are baked and cooled, brush dry chestnut and caramel elite colors over the top of the cookie surface. (see photo below)

Combine a small amount of vodka (or clear extract, i.e. almond extract) with royal blue and red rose elite dusts separately to make blue and red "paints".

Brush the paint roughly over the cookie making sure it is not uniform in order to give it that rustic, primitive look.

Then....here's the fun discover......use a small knife or thin flat surfaced tool to scrape random parts of the painted color off the tag.

Also, if you'd like to add a shape on top of the tag, find a correctly sized mini cookie cutter and press it into the still wet "paint" to make an impression you can use later to pipe the shape with glaze. (see photo below)

Allow the cookie to dry for at least an hour and then outline and flood the shape over the top of the painted surface.

If desired, you can add an aged-look to the piped shape once it has dried overnight by brushing it with dry brown dust.


Fireworks Decorated Cookies

For me, the best part of a Fourth of July celebration is the huge fireworks that spread out over the sky above me. It's stunning to see such beauty displayed from an explosion. 

Trying to emulate it on cookies is harder than I thought it would be. Using wet-on-wet is always a time saver and makes for a quickly decorated cookie, but getting all the dots and flourishes in the right place to show a symetrical fireworks display is a bit tricky.

Start with a round or scalloped round cookie. Outline and flood it with a darker blue glaze. 

While the glaze is still very wet, add circular patterns of differing fireworks. Use red, light blue and white glaze to form those patterns. My suggestion would be to find some clipart of fireworks and study those patterns before attempting the wet-on-wet piping.

This is such a fun, and relatively easy cookie.

KaBOOM!

Patriotic Medallion Bunting Decorated Cookies (Tutorial)

I found some really cute patriotic medallions in my search for Independence Day decorations.
It immediately got me to wondering if I could replicate them in cookie form. (That seems to be very common in my CRAZIE brain!)
 

Simple simple simple.......
 

Outline and flood a round cookie with red, white and blue glaze. These can all be done at the same time. You'll be creating a bull's eye effect by piping the outer edge with blue glaze, the middle with white glaze, and the inside circle with red glaze. (see photo below)

Once the flooded cookie has dried for about 1 - 1-1/2 hours, use a cake tester to make diameter lines all the way around it.

In the cookies shown above, I ended up marking them with additional diameter lines to create a more complete look.


Bumper Car Decorated Sugar Cookies (Tutorial)

In keeping with the summer amusement park theme, I just HAD to make a bumper car. 
I'd say this is probably one of my favorite rides as I was growing up.
The wait line was always long and the actual time in the cars was always too short. ;)
Great memories.....

Cut off the bottom 1/5 of a long fat oval cookie to make a nice flat surface for the bottom of the bumper car. I used these oval cutters. 
Insert a sturdy straw into the back top of the car to leave a hole that you can later fill with a decorative straw. (see photos below)

Once the cookie is baked and cooled, outline and flood the bottom "bumper" with grey glaze as shown below. Next outline and flood the actual car in whatever color glaze you'd like.
After the car has dried for approximately 30 minutes, add details like a headlight, steering wheel, and seat back.

Dry overnight.

If desired, make a mixture of silver dust & alcohol (or clear extract, i.e. almond) and paint the grey portions of the car to give a shiny finish. (I'm sorry I forgot to get a photo of this step.)

Poke a decorative straw into the created hole at the back of the car and bend the top of the straw, as seen below.

Let the bumpy ride begin!

 
Member Login
Welcome, (First Name)!

Forgot? Show
Log In
Enter Member Area
My Profile Not a member? Sign up. Log Out