Winter

Snowmen Cookies from SugarBelle Cutters (Tutorial)

When I first purchased some of SugarBelle's new cutters,
I immediately saw snowmen shapes galore.
So finally, I'm getting a chance to try them all out. :)

These snowmen could be done many different ways, so this is just my versions.
I'd love to see your variations, if you try these out.

All of these cutters are found in the ShapeShifters set, except for the scarecrow (found in an exclusive harvest set at Michaels) and the baby bottle (in the Special Delivery set). The cutters from L to R and Top to Bottom: tombstone/horseshoe (SS), Scarecrow, baby/flip flop (SS), skull/ballerina head (SS), baby bottle, snowman/baby rattle (SS).


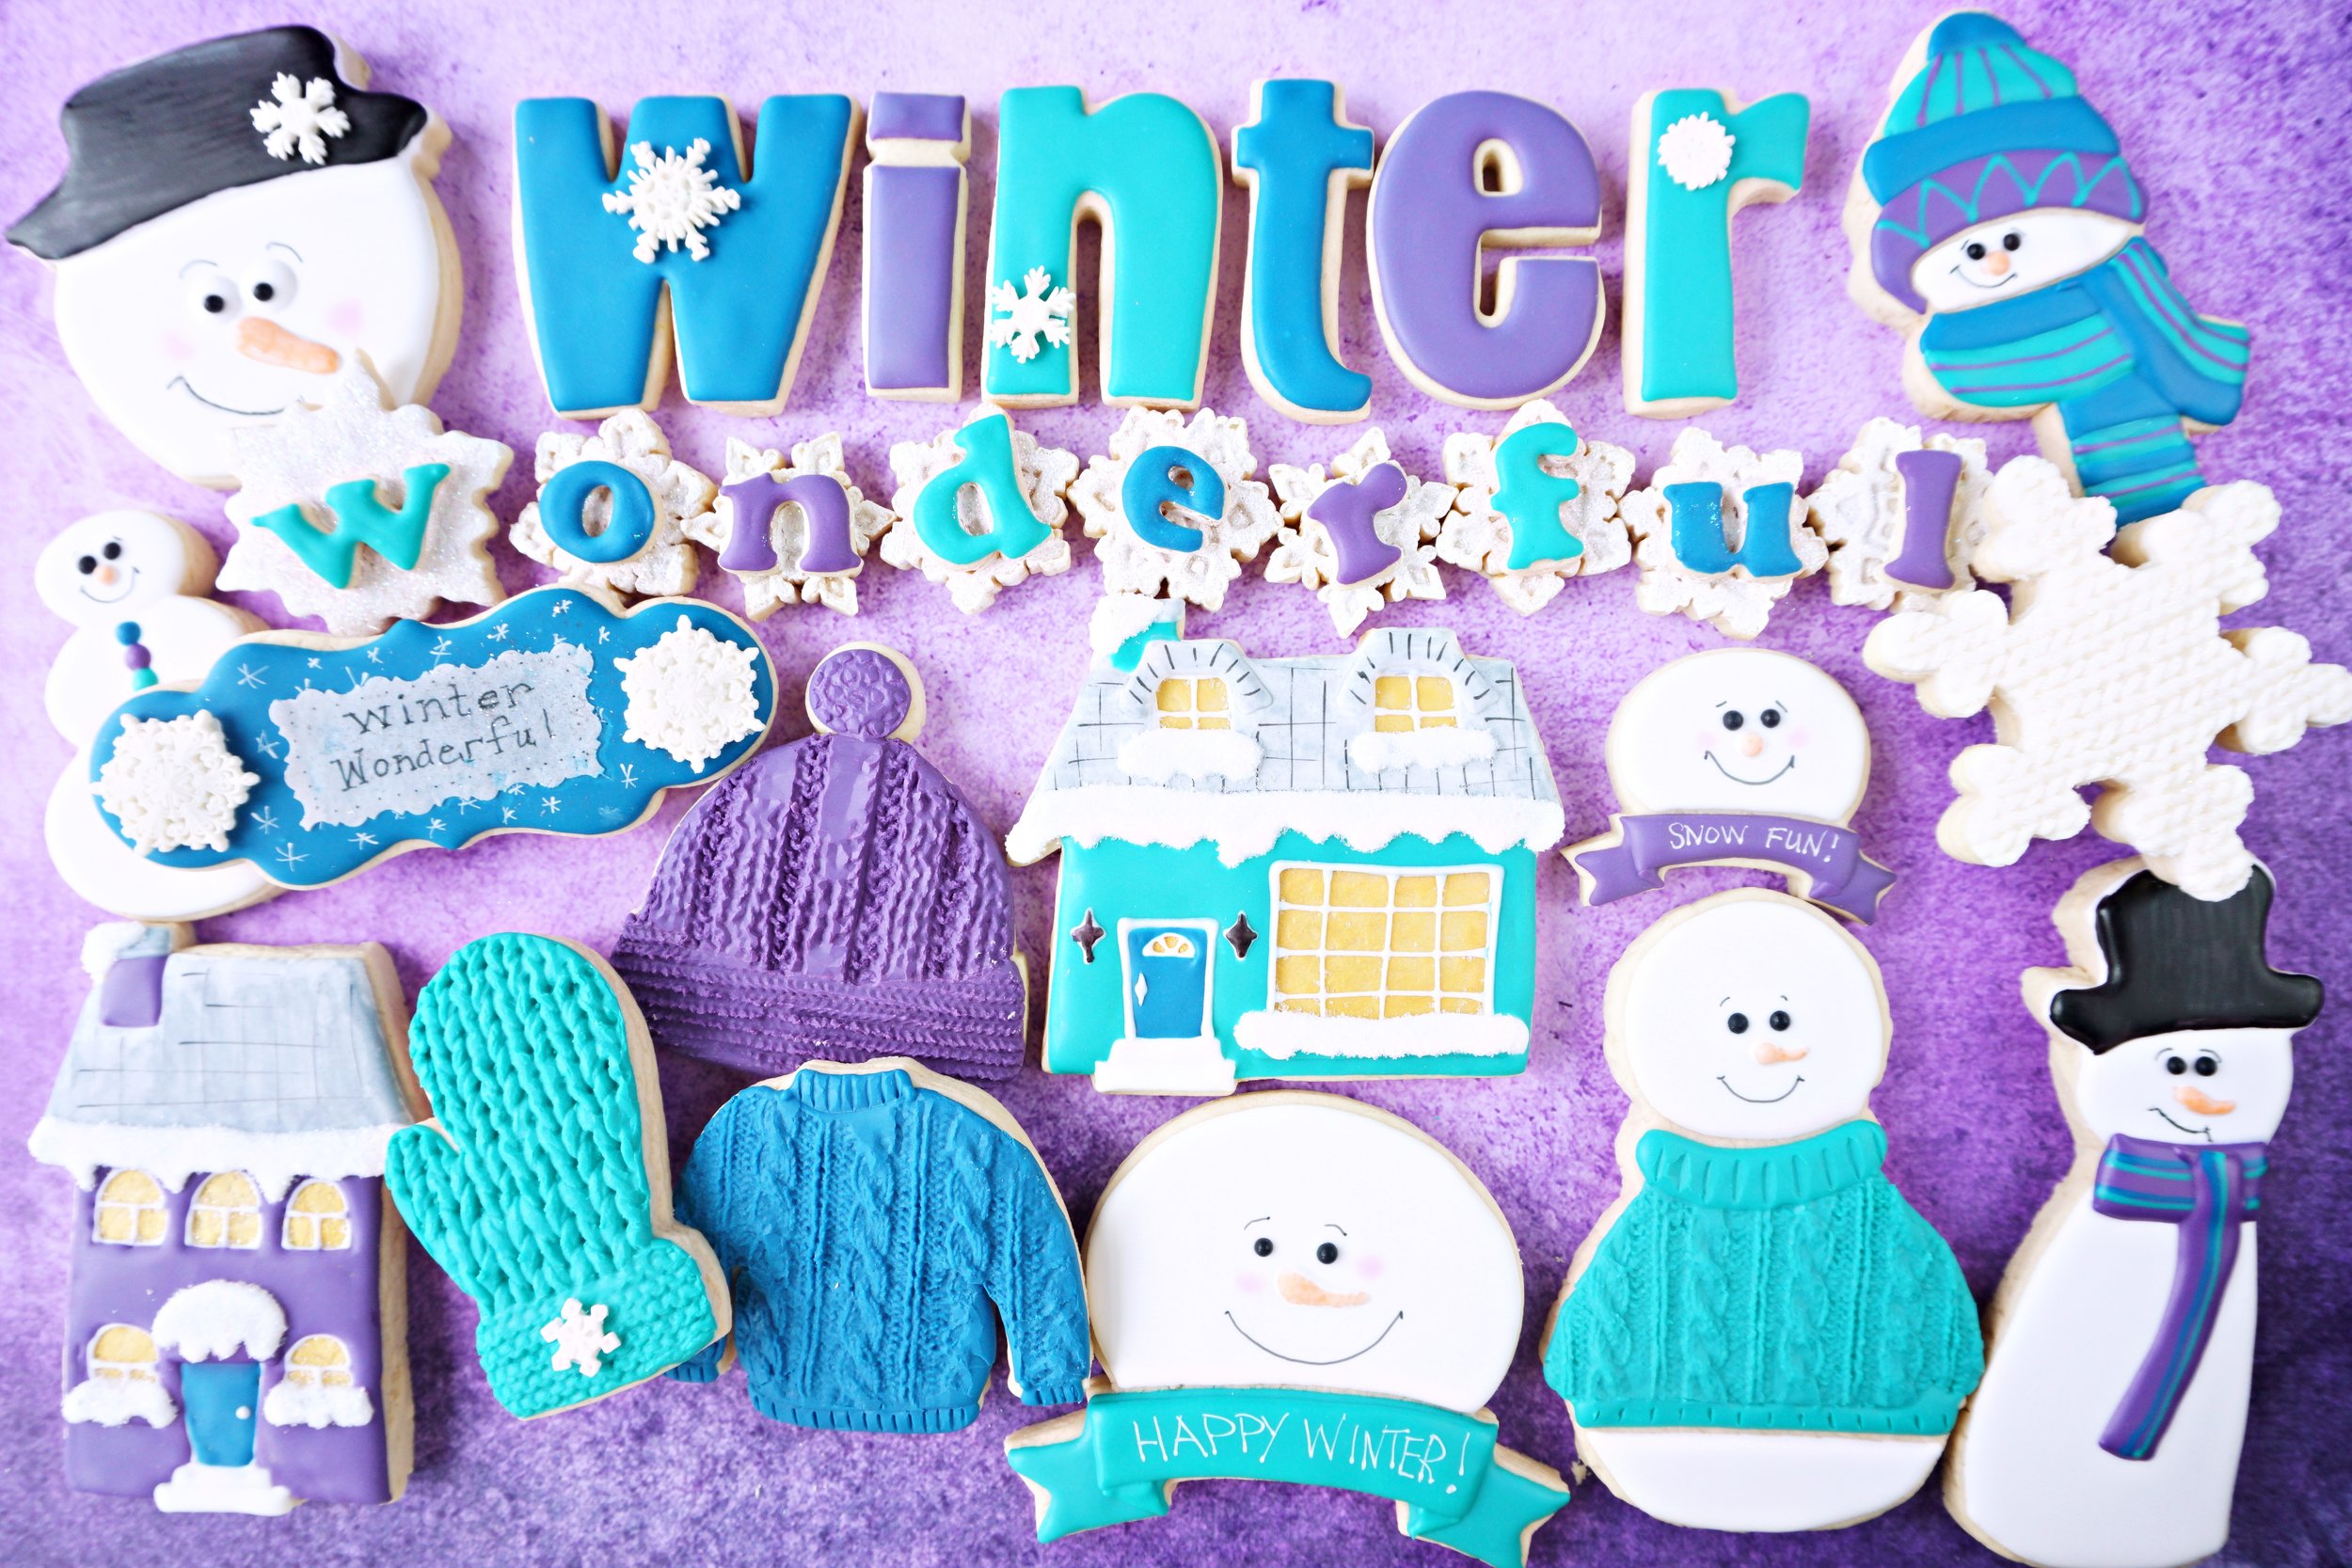
Here's how I started all of these shapes......lots of white snow, and then fun hats and scarves.

I tried to add some texture to the accessories.

And then after they dried overnight, I added the faces with markers.
(Jet Black Rainbow Dust dual marker, and Food Doodler markers for color)


Happy snowmen......just the way I like them. :)


Holiday Tessellation Decorated Cookie Collection

With my love of quilt patterns, I'm always fascinated to find new tessellation patterns.

Tessellate : to form small squares or blocks, as floors or pavements;
form or arrange in a checkered or mosaic pattern.

Tessellation Cookie Patterns from the past:


I just found some new pattern cutters and decided to create holiday-ish cookies with them.


First I used the Moroccan Cross and Star Tile cutters for the following two cookie patterns.


And then my favorite shape is this Deco de Lis cutter.


O Holy Night Christmas Village Decorated Cookie Collection

For several months, I've been dreaming of doing "main street" / "village" type cookies.
I attempted them in autumn HERE.
I wasn't pleased with that set and have been determined to "get it right" at Christmas time.
Honestly, I think the white sanding sugar "snow" in the photo above
is what made them work for me. haha

Cutters Used:
House Cutter
Pocket, Pencil, & Wedding Cake Cutters from Sugarbelle's Shape Shifters

Since I used wet-on-wet technique, I needed to ensure that I had two colors of each hue that were close enough to provide a  slight shadow with each detail.
Here's the colors used for all the buildings and trees.
Notice the small variations of each hue.

I flooded each cookie (excpet for the windows and doors) and then filled those in with the contrasting color. Next I added various lines, waves or window dividers.

They dried overnight and then I used a black food color marker to add small details.
The details are sloppy..... but this style warrants it.
That suits me well since I often feel like sloppy is the effect I get whether I'm trying or not. 😉


Heavenly Peace Christmas Decorated Cookie Collection

There's a serenity in the Christmas season like no other.
This cookie collection seeks to emulate a tiny portion of the peace that can be found in the Christmas season.

May you experience incredible peace and joy this holiday season!

"This will be a sign to you: You will find a baby wrapped in cloths and lying in a manger. Suddenly a great company of the heavenly host appeared with the angel, praising God and saying, “Glory to God in the highest heaven, and on earth peace to those on whom his favor rests.”'
Luke 2:12-14

Framed 3D Christmas Shape Decorated Cookies (Tutorial)

These cookies add dimension by using mini Christmas cutters.
(I own more than my share.....and it was fun to finally use a few.)

Plan ahead by finding the best background cookie to accommodate the mini-Christmas shape you've picked out. As you can see, the star needed a longer base, so I chose the long oval. Each mini-shape has it's unique needs for the surrounding base cookie.

The cutting out of the mini-Christmas shape can be as simple as just impressing the cutter into the base cookie before baking. But you can also add more dimension by cutting a very thin dough version of the mini-shape and place it on top of the cookie.
(see photo below)

Once the cookie is baked and cooled, start decorating the shape in the middle. There are so many possibilities on how to make it stand out and give it "bling". For the cookie below, I first flooded the cookie with white glaze and then sprinkled edible glitter white squares on top. (Warning: they tend to wander all over the house!)
But as you can see, there is a plethora of sprinkles and dusts you can utilize to add that special touch.

After this Christmas tree was flooded with white glaze, it was covered in Silver Pearlized Sugar Crystals

Once the middle shape is complete, outline and flood the background cookie.

If desired, you can also choose to make the background have all the bling/shine, and leave the middle shape plain.

To add some sparkle to a dried decorated cookie,
you can paint with a silver dust mixed with vodka or almond extract.

These cookies are simple, yet elegant and pretty at the same time.

Member Login
Welcome, (First Name)!

Forgot? Show
Log In
Enter Member Area
My Profile Not a member? Sign up. Log Out