glaze icing transfers

Blueberry Muffin Cookies (Tutorial)


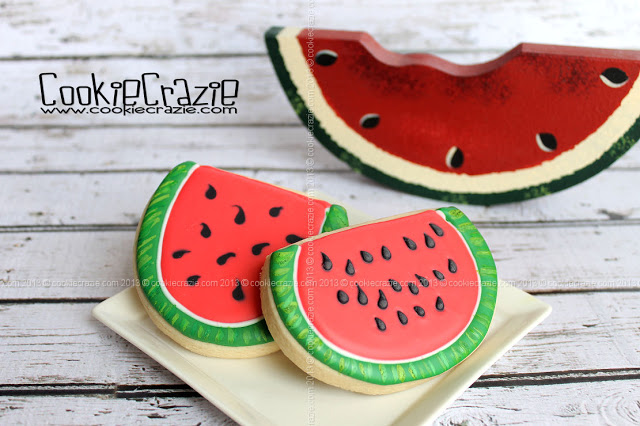
Of all the cookies made for the Serving Mom Breakfast in Bed collection,
these blueberry muffin cookies are my absolute favorite.
They turned out just the way I envisioned them.


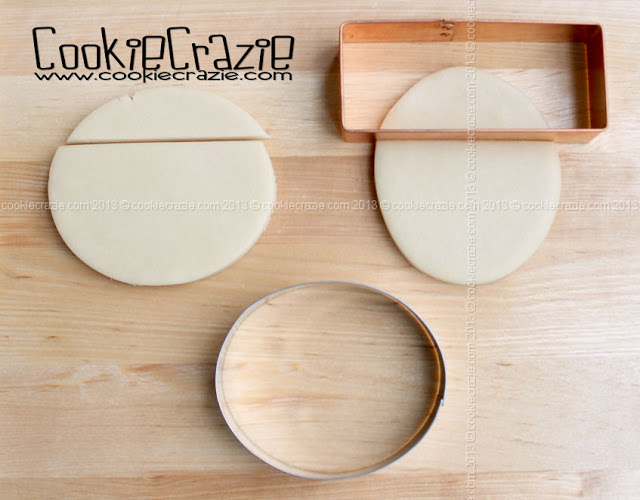
Start with a muffin-shaped cookie.
(Any cupcake cutter will work just fine.)

Using a medium brown 10-second glaze, outline and flood the top of the muffin.
Allow it to dry for at 30 minutes.
Add random swirls and blobs of the medium brown glaze all over the muffin top.


Please forgive me for forgetting to take photos of the muffin liner part of the cookie.
For the instructions on making the creases on the liner, check out this cupcake tutorial.
As seen in photos below, these muffin liners are done in a lighter brown glaze.
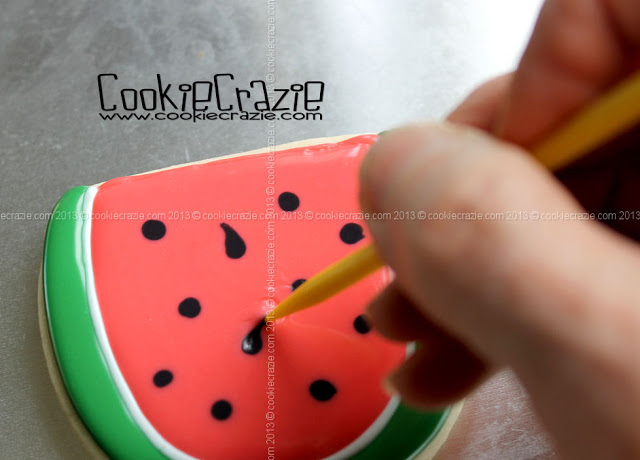
After it has dried for 1-2 hours, use a cake tester to make the creases.

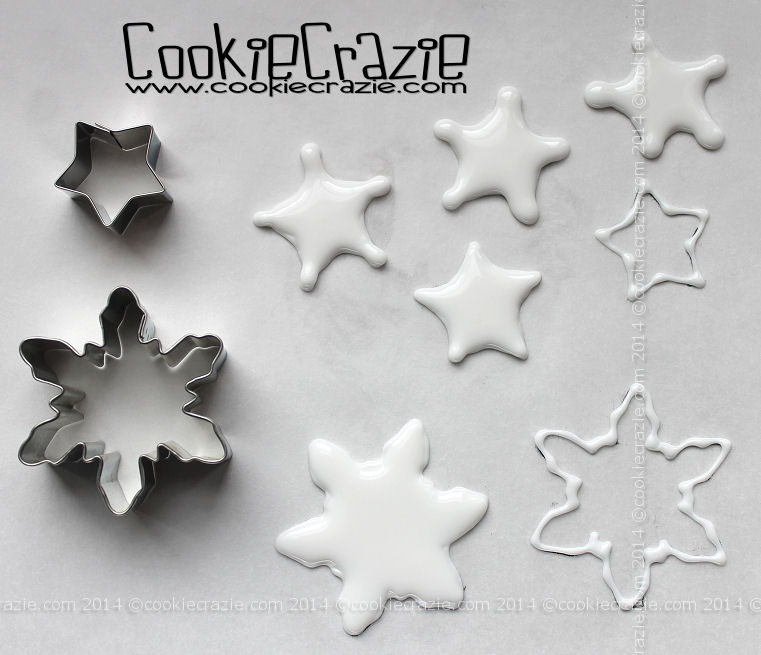
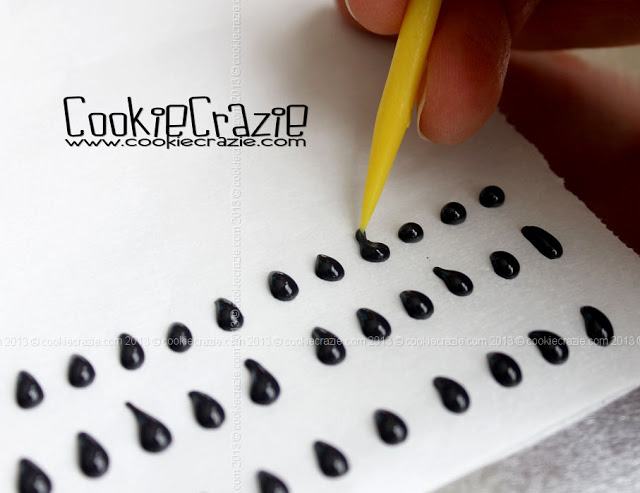
Make some blueberry glaze-icing-transfers on parchment paper.
Start with dark navy glaze and make varying sized circles and ovals.
(see photo below)
Allow them to dry for about 30 minutes.

Outline a small circle some where on each blueberry.
Allow it to dry for a few minutes and then add a squiggly line around the circle
to resemble a real blueberry.

Allow the muffin cookies and the blueberry transfers to dry overnight.


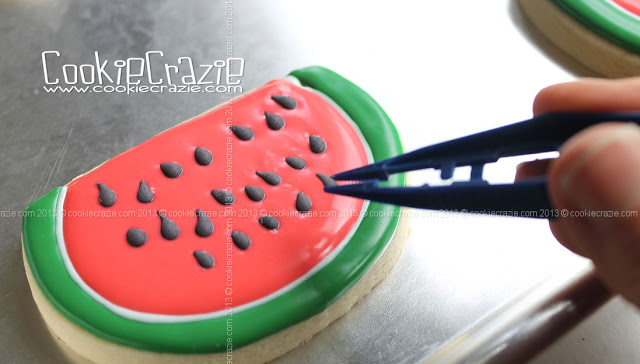
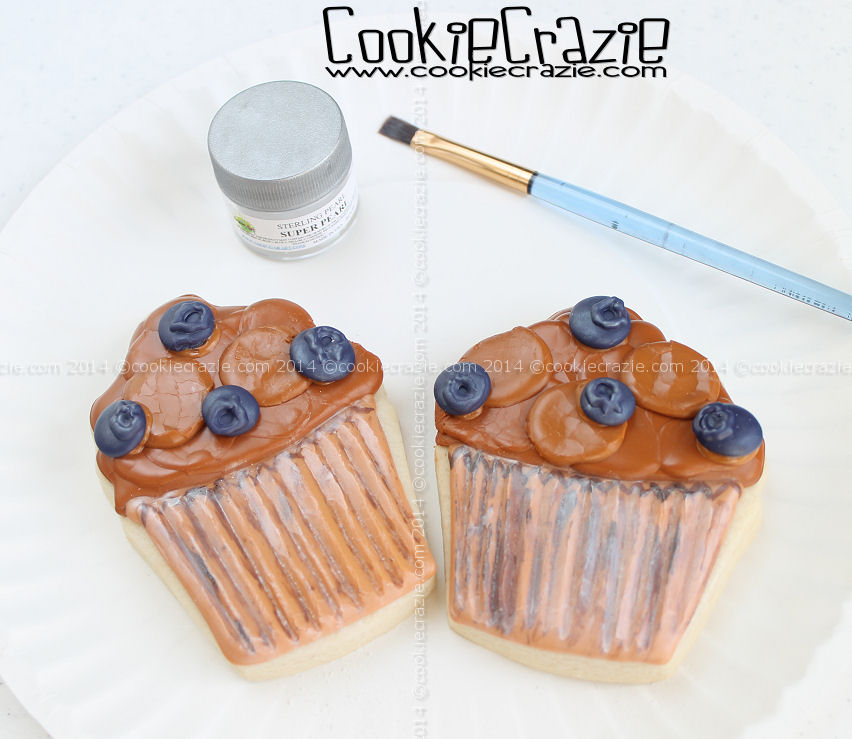
Before "gluing" the blueberries to the cookies, brush some super pearl luster dust on them.
 
Add a dot of glaze to the back of them and randomly place them on the muffin tops.


Making a mixture of Americolor chocolate brown, gold, and Bright White gels,
paint on some highlight lines to the muffin liner.
Allow this to dry well (an hour or so).

Then brush some super pearl luster dust on the liner.


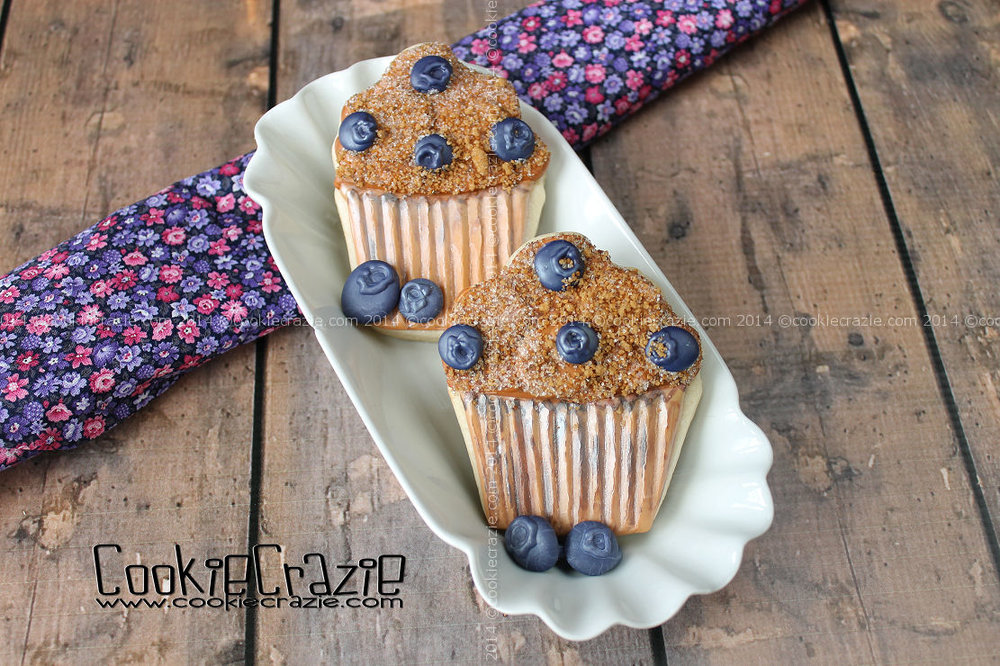
For the "crumb topping", mix demerara sugar and white sanding sugar together.
Brush a light layer of corn syrup over the brown muffin top and 
immediately cover the muffin top with the sugar mixture.
Shake off the excess.


Dessert for Breakfast Cookie Collection

Top of the Mug Cookies (Tutorial)


I love hot chocolate and hot tea in the winter time.
Even though I'm not a coffee drinker......
my husband always says I like a tiny bit of coffee with my cream and sweetener. haha

Before Christmas, I saw this really cute display in a catalog
with a bird's eye view of a mug of hot cocoa and a snowflake marshmallow.
I cut it out and hug it on my desk......wanting to remember the idea for after Christmas.

And here they are..... "top of the mug" cookies.

A large circle cutter with a small rectangle cutter are pieced together to make the mug.
Or  just hand cut the rectangle and add it to the circle.
Easy peasy.......


Outline and flood the top of the handle and a thick rim around the mug in your choice glaze color.


After it has dried for at least 30 min (longer if you're worried about bleeding color),
add light or dark brown glaze to the center of the mug (depends on your drink of choice, haha).

If you want to make "swirly cream",
add white glaze in a swirly pattern while brown glaze is still wet.


Even though real marshmallows (store bought or homemade) could be used
for the top of the hot cocoa,
you can also make some glaze transfers to look like yummy marshmallows.

Trace the pattern you want to follow (snowflake, etc) onto parchment paper,
and then pipe white glaze over the pattern.
While it is still wet, sprinkle powdered sugar over it.


Finish up the mug details by piping an outline around the mug rim and the handle top
with a 1.5 PME tip in the same glaze color.


Once the transfers have dried overnight,
carefully peel them off the parchment paper and shake off the powdered sugar.
"Glue" the "marshmallows" onto the top of the "cocoa" with some extra glaze.


Mmmm.......double the pleasure......hot cocoa with hot cocoa cookies. :)


Winter 2014 Cookie Collection

Summer Fun: Picnic Cookies (Tutorial)


On the first decorating day,
outline and flood a rectangle or square cookie with white 10-second glaze.
Allow it to dry overnight.

Also on the first day, make the ant glaze transfers.
Pipe black 10-Second glaze on to parchment paper.
First make a long oval for the body of the ant, then add a round head.

On the second day, use a red food color marker and a ruler to make a fairly precise criss-cross pattern.
Fill in every other square with the red marker.

"Glue" the ants to the picnic tablecloth with a small dot of white 10-second glaze.
 Use a black food color marker to make dotted lines forming an "ant trail".


Summer Fun: Watermelon Cookies (Tutorial)


You can decorate a multitude of cookie shapes into a watermelon slice.

Beyond a watermelon slice cookie cutter,
you can make your own with a circle/oval cutter and a straight edge cutter.


You'll need 10 second glaze in 4 colors: green, reddish-pink, black, and white.

If you'd like your watermelon seeds to be more 3-Dimensional, make transfers.
On parchment paper, pipe black dots and pull a toothpick through the top to form a seed shape.
 Allow them to dry overnight.

Outline and flood the rind of the watermelon.
After it has dried for 30+ minutes, add a white outline inside the rind.

Give them 30+ minutes to dry and then outline and flood the inside with the reddish-pink glaze.
While the glaze is still wet, carefully set the "seeds" in place.

OR......if you didn't make transfers, just use the wet-on-wet technique.
While the reddish-pink glaze is still wet,
add black dots and pull a toothpick through the tops to form "seeds".

 Once the green glaze has dried overnight, paint random stripes on the rind
with your choice mixture of green, white, electric green, and lemon yellow Americolor gels.


Panda Bear Cookies (Tutorial)


To make these panda bear cookies, I used the cutter I got from Disney last fall.

Since the ears seemed a bit too big and stand-out-ish (and Mickey-like.....heehee)
I decided to trim the edges with a heart cutter.

This photo shows the difference of the original shape on the far left
and the modified version in the middle and on the right.

The same day I baked the cookies, I also made some glaze icing transfers for the bears snout.
I did these on parchment paper and allowed them to dry overnight.

Because black and white tend to be problem colors for bleeding,
I always give them extra dry time before adding them side-by-side.
I outlined and flooded the ears and eyes of my pandas on Day 1
to allow them to dry overnight before adding the white face.

When I flooded the eyes, I immediately added a black sugar pearl for dimension.

The next day I outlined and flooded the white face.
I allowed it to dry for a few hours and then "glued" on the white snout.
You can add the black nose on the snout before or after you glue it to the face.

For a few finishing details, I painted a white outline around the black sugar pearls
with a tiny paint brush and white Americolor Bright White gel.
And with a black food color marker, add the mouth.

Member Login
Welcome, (First Name)!

Forgot? Show
Log In
Enter Member Area
My Profile Not a member? Sign up. Log Out