food color marker

Cookie'sCool in Genoa, Italy November 14-16, 2014 (Part 1)


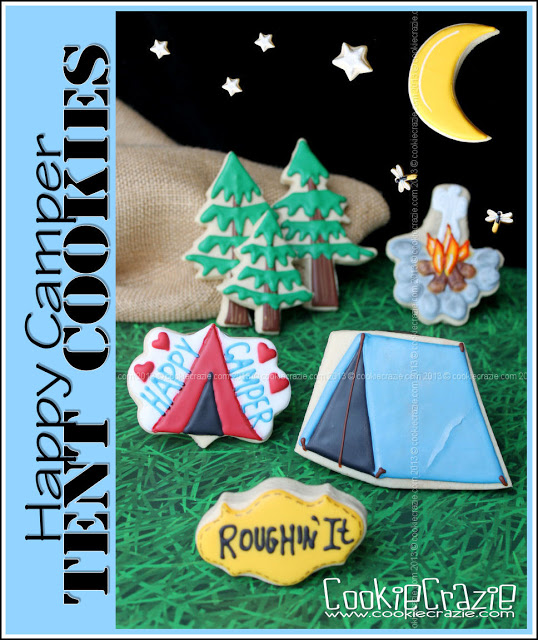
 November 14 - 16, 2014 in Genoa, Italy

http://www.cookiescool.com/en/

I have the privilege of being an instructor at a cookie school in Italy called Cookie'sCool.
The event will offer hands-on classes by several amazing cookie instructors.

Each class will be two hours of technique instructions and then actual decorating for each participant.


I thought I'd reveal some of the projects I will be presenting in my classes.


For the peacock cookie platter class......
every participant will create a feather cookie to add to the platter.
I'll demonstrate how to make the peacock head and body cookies.


The second class will be on embellishing wet-on-wet technique
using food color markers and/or a paint brush with color gels.
Each participant will design their own wet-on-wet cookie......
and then use markers and/or gel on pre-dried glazed cookies.
It's amazing how a few lines and dots with a marker or paint brush can make the cookies "pop"!


Because I love the BRP cake pop box so much,
I wanted to share how to make cookie pops without baking the sticks into the cookies....
and then show what a awesome display the box creates.
In this class, each participant will create a flower cookie.
I'll demonstrate how to attach the cookies to the sticks and how to use the cake pop box.


Stay tuned for another blog post about the rest of the projects we'll do at Cookie'sCool!

Cookie'sCool in Genoa, Italy

Happy Camper: Tent Cookies (Tutorial)


A tent cookie can be done several ways.
I chose to trim the dough off of a rectangle shape.


Once baked, outline and flood a triangle of black 10-second glaze as shown below.

To prevent bleeding, allow the black glaze to dry for several hours.
I put mine in the dehydrator (low setting) for a couple of hours.

Outline and flood the rest of the tent in your choice of glaze color.
Be sure to put an edge of tent color on the left side of the black opening.


Dry the cookie overnight.
Then add details in brown glaze with a 1.5 PME tip.


Happy Camper Cookie Collection

Happy Camper: Sleeping Bag Cookie (Tutorial)


A fun new series of cookies......Happy Camper!

To make the sleeping bag cookie, I used a jelly bean cutter.
I searched and searched for where I might have gotten it.....to no avail. :(
So......use a flip flop or an oval cutter and then "bend" the cookie a bit to look like a sleeping bag. :)

If you'd like to do an even simpler sleeping bag, make a circle cookie.
Outline and alternately flood sections of the sleeping bag roll to give it more dimension.
Outline and flood the circle as shown.


 Once the sections are flooded and the cookie has dried a few hours, 
you can add some string ties around the bunched areas.

Allow the cookie to dry overnight to add some swirls to the end with a food color marker.


If desired, you can even add a little zipper pull with some white or silver glaze.


Super simple.....super cute. :)


Happy Camper Cookie Collection

Summer Fun: Popsicle Cookies (Tutorial)


There's something just so fun and festive about popsicles. :)
I love them! ♥

I've always wanted a popsicle cookie cutter.....but haven't gotten my hands on one yet.

So here's a way to get a popsicle shape without the cutter.....

Cut a long rectangle cookie.
Cut out a small rectangle at the bottom of it.
Round out the top with a larger oval cutter.

And there you have it......a popsicle shape. :)

Outline and flood the main two parts of the popsicle in your choice of color.
Including an outline in-between the two parts of popsicle gives it a little more dimension.


Pipe a line down each side (after at least 30 min) to add even more dimension.

Once the popsicle part has dried for 1-2 hours, add a very light tan 10-second glaze
to form the sticks on each side.
Allow the cookies to dry overnight.

Using some brown, orange, and black food color markers,
add some wood grain lines.

Thankfully you don't have to keep these cookies frozen. ;)


Bottle Rocket Cookies (Tutorial)


To make bottle rocket cookies you'll need 
Outline and flood a navy triangle at the top of the rectangle cookie.

Allow to dry for 2 hours.
Outline and flood the body of the rocket (rectangle) in white 10-Second glaze.
After it has dried for a few minutes, add the white stick to the bottom of the rocket.

Allow the cookies to dry overnight.

Also on the first day, 
you can make a shiny spark to place at the bottom of the burning fuse.
On a piece of parchment paper, make a six pointed "spark" with white glaze.
(Precision and symmetry are not necessary.)
While the glaze is still wet. sprinkle it with gold and/or silver disco dust.
 Shake off excess and allow to dry overnight.

The next day, use a red food color maker to make the stripes on the base of the rocket.
 Use the yellow and brown food color markers to color the stick and fuse.

"Glue" the spark onto the bottom of the fuse with a dot of white glaze.


Member Login
Welcome, (First Name)!

Forgot? Show
Log In
Enter Member Area
My Profile Not a member? Sign up. Log Out