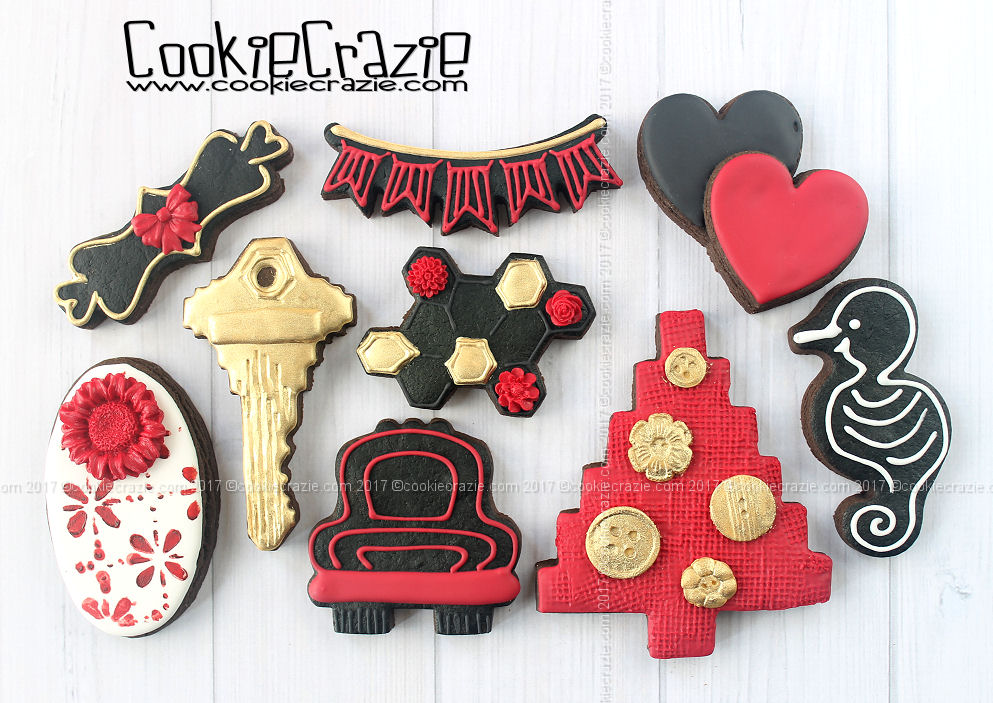
My daughter and son-in-law bought their first home this spring. I was happy to oblige Allison’s request to make some special thank you cookies for their realtor and financial advisor.
What a fun way to commemorate this special time in their lives. I love how my cookie photos become a scrapbook of memories.
Happy closing day, Jake & Allison! Welcome home.
___________________________
But as for me and my household, we will serve the Lord.
Joshua 24:15
___________________________
🏠🔑❤️🌳💵📆📝
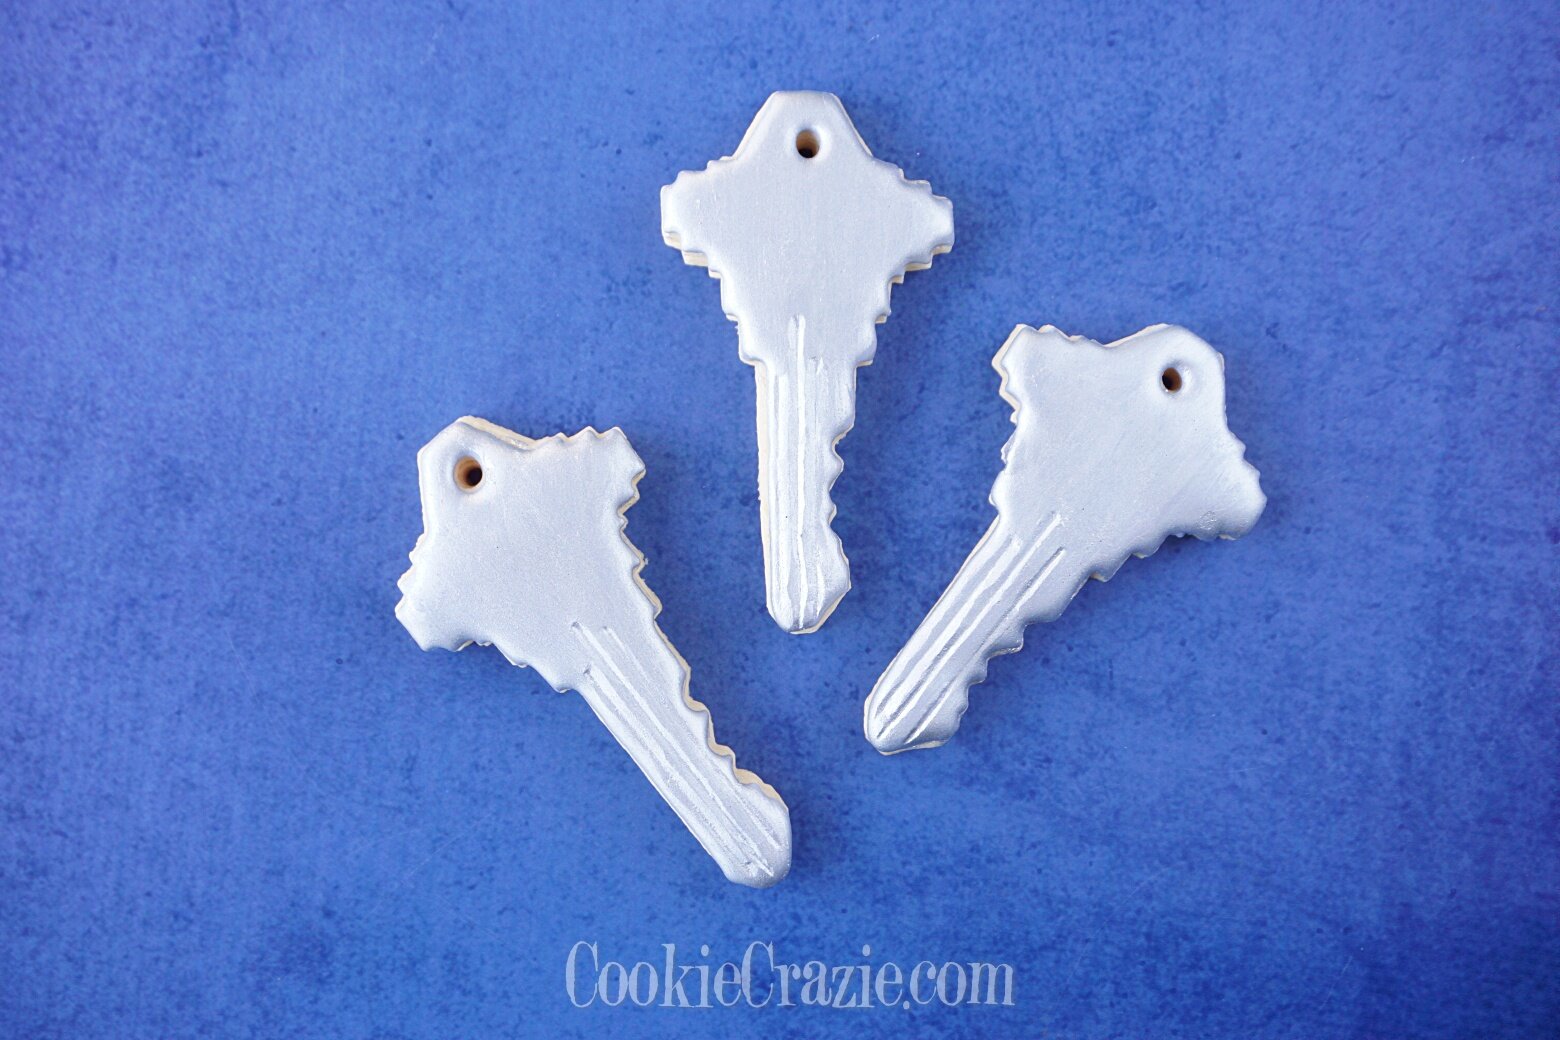
First House Key Decorated Sugar Cookie YouTube video HERE
House Decorated Cookies

New House Closing Day Decorated Cookie Collection