Summer......let's get outside and PLAY!
Life's short and only memories will last.....make the most of these warm summer days.
☀️🌳🐞🚲🎈🌤
[Hover over each photo for YouTube tutorial link]
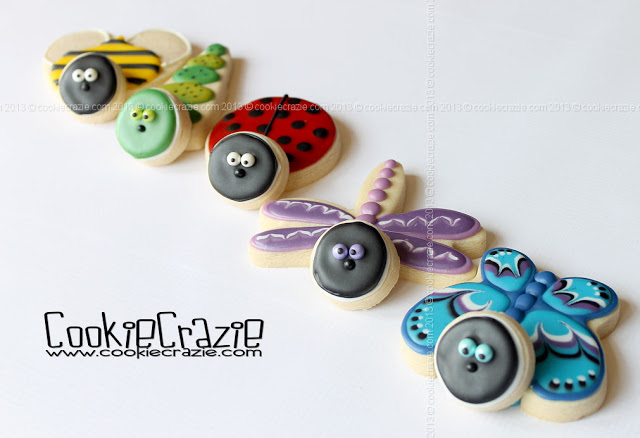
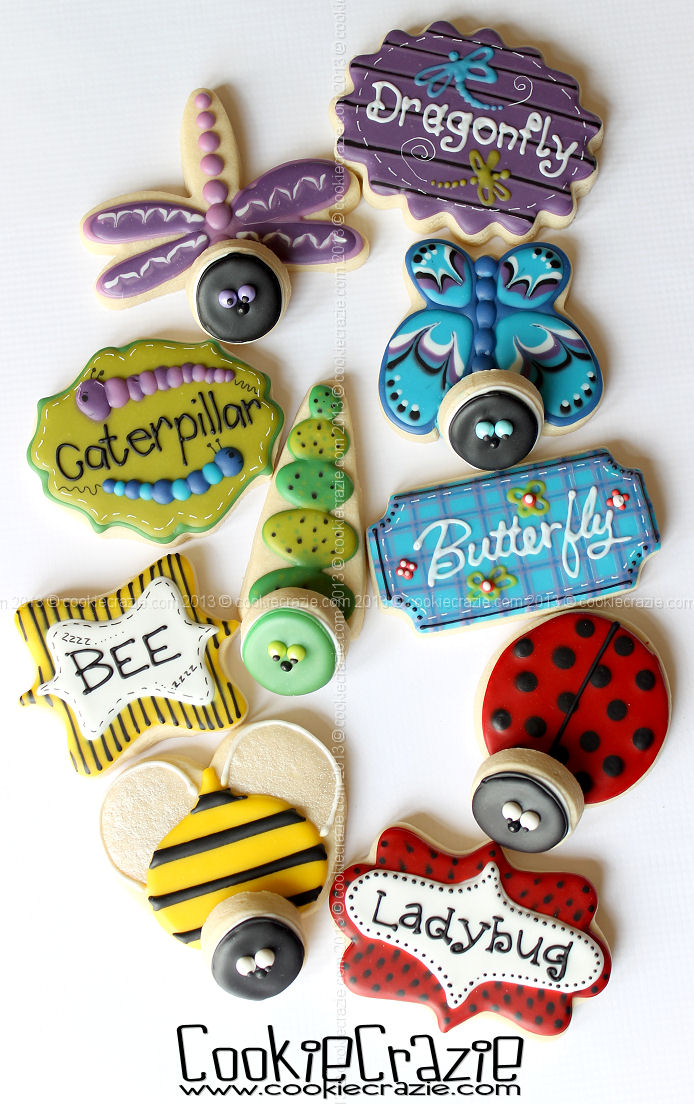
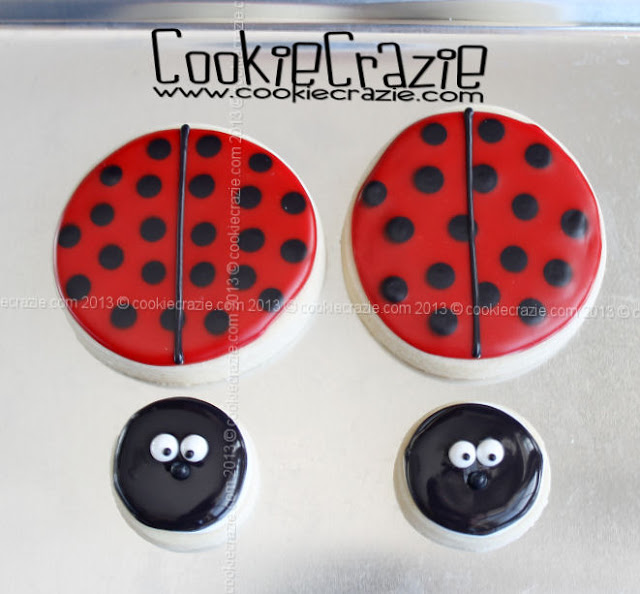
Ladybug Decorated Sugar Cookie YouTube video HERE
Sun Decorated Sugar Cookies YouTube video HERE
Butterfly Decorated Sugar Cookies YouTube video HERE
Hopscotch Decorated Sugar Cookie YouTube video HERE
Summer Fence Decorated Sugar Cookie YouTube video HERE
Summer Tree Decorated Sugar Cookie YouTube video HERE
Summer Playscape Decorated Sugar Cookie YouTube video HERE
Swing Decorated Sugar Cookie YouTube video HERE
Wagon Decorated Sugar Cookie YouTube video HERE
Bicycle Decorated Sugar Cookie YouTube video HERE
Merry-Go-Round Decorated Sugar Cookies YouTube video HERE
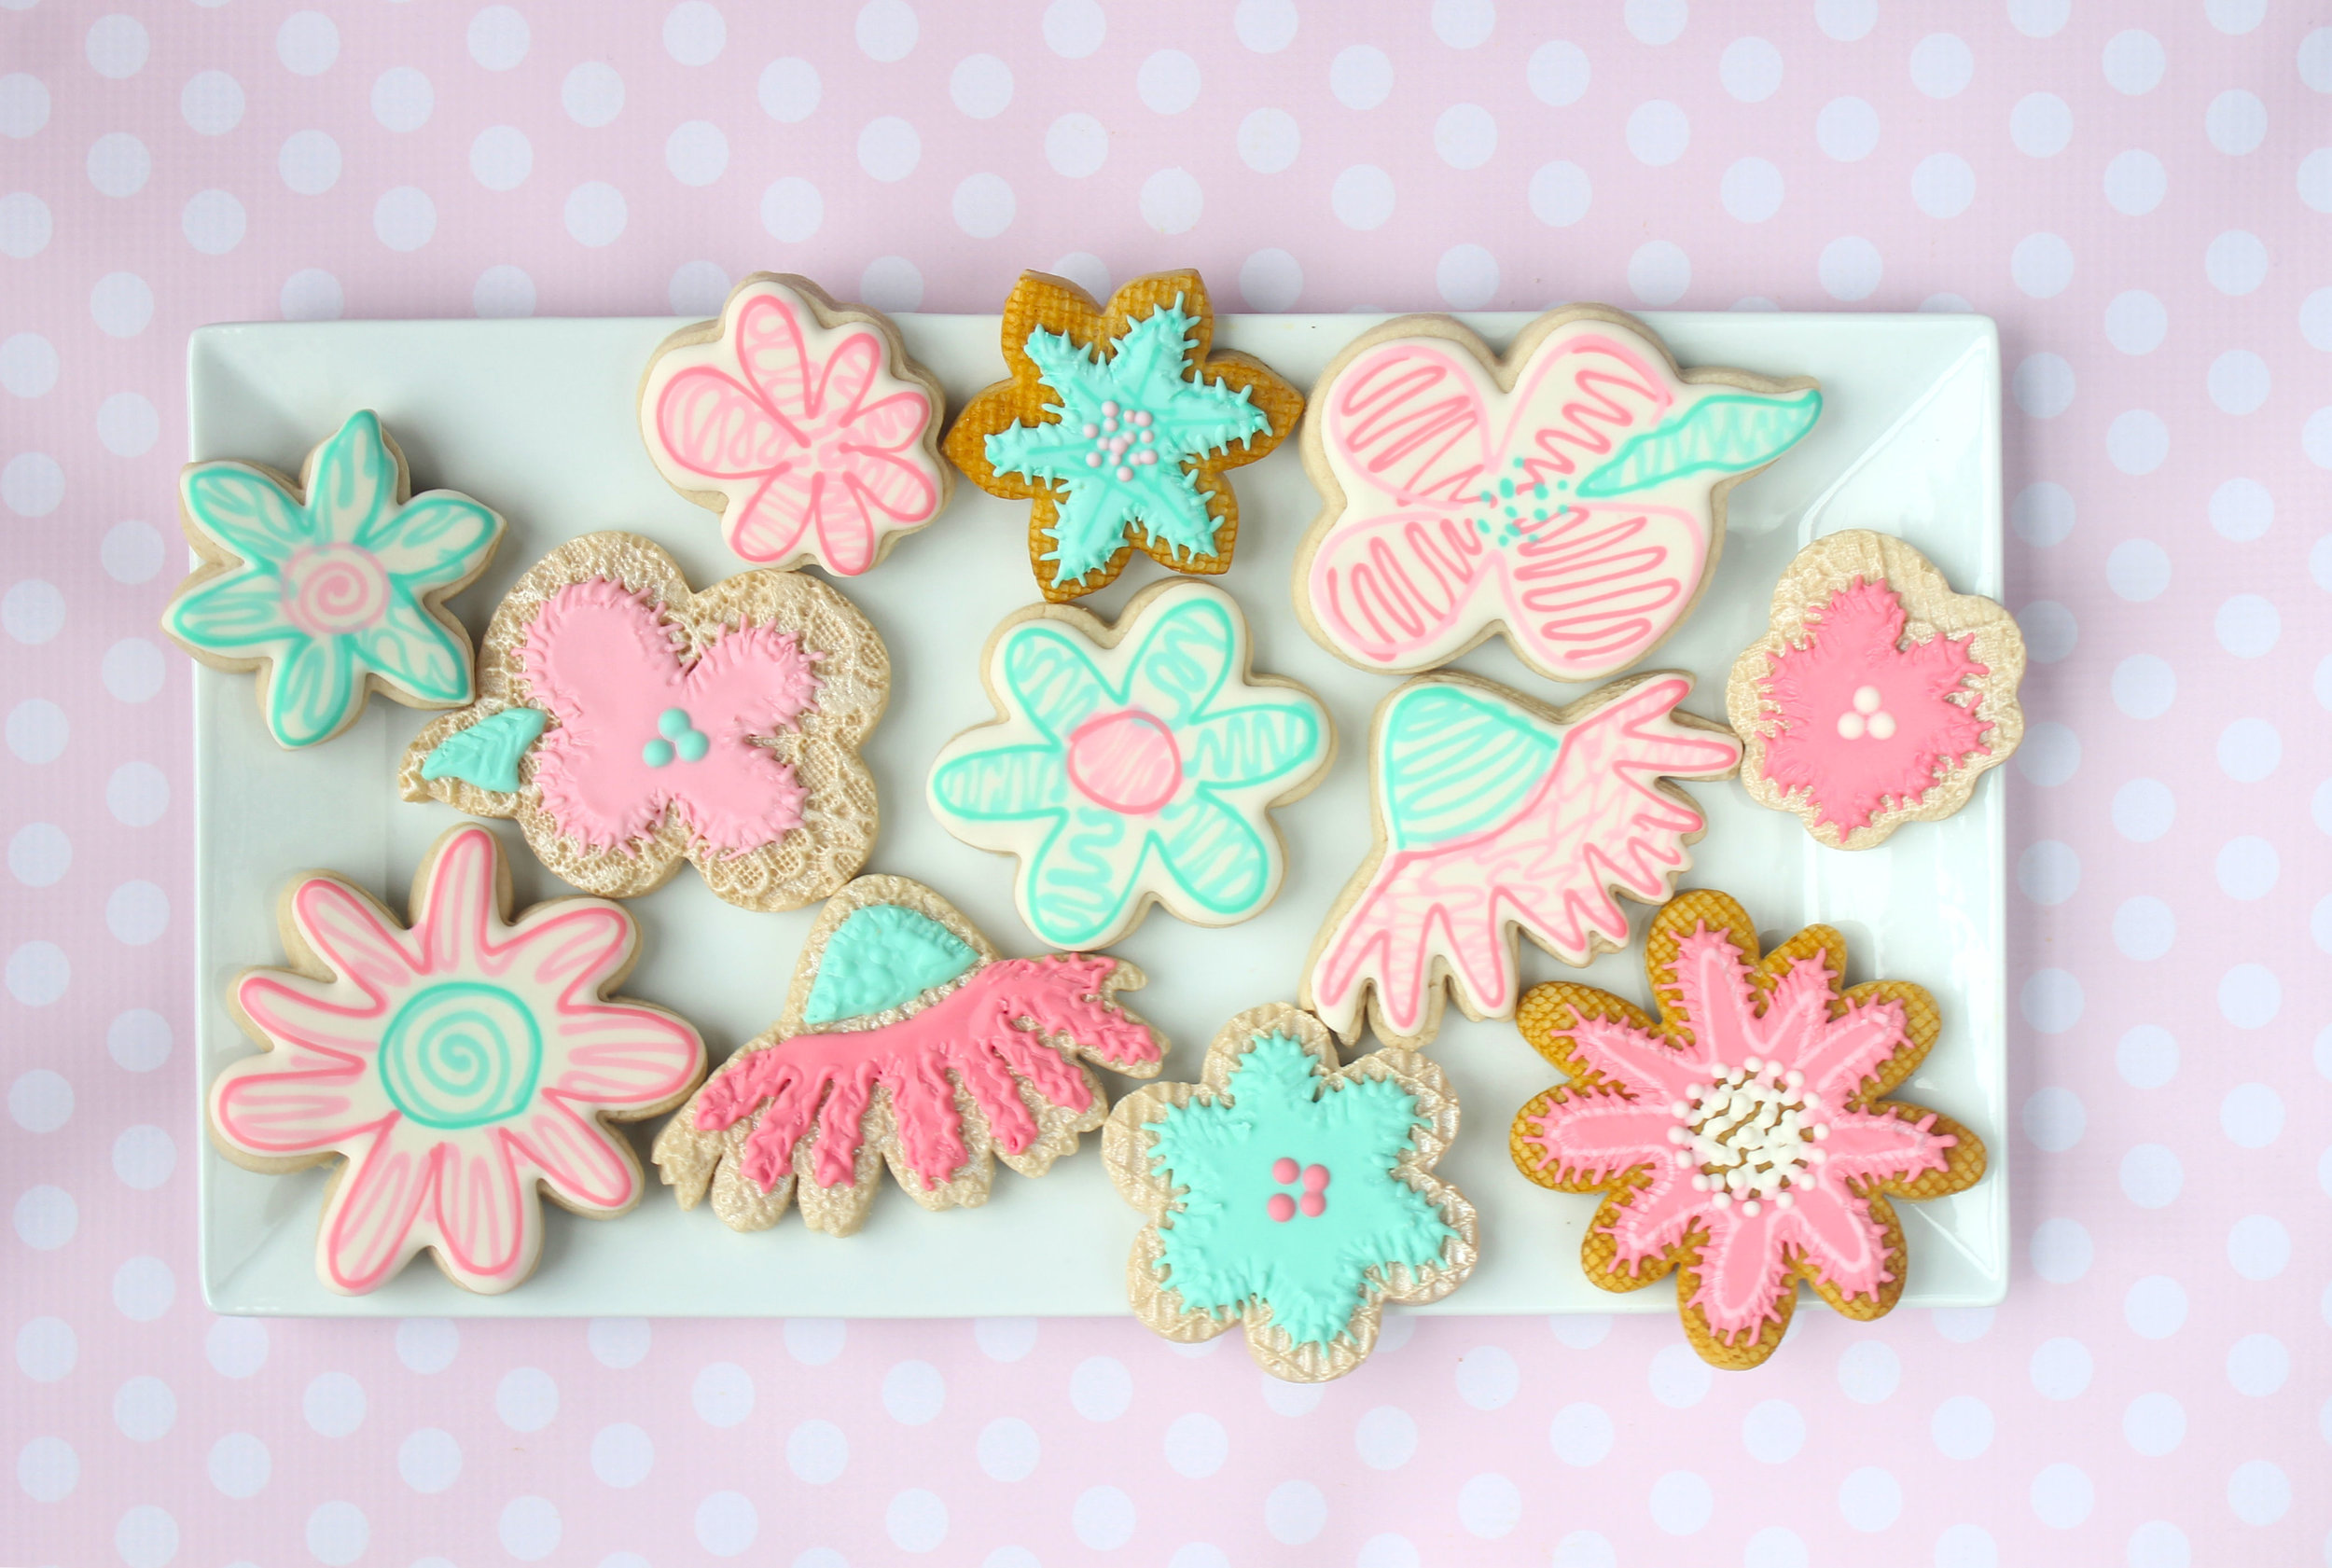
Summer Decorated Cookies
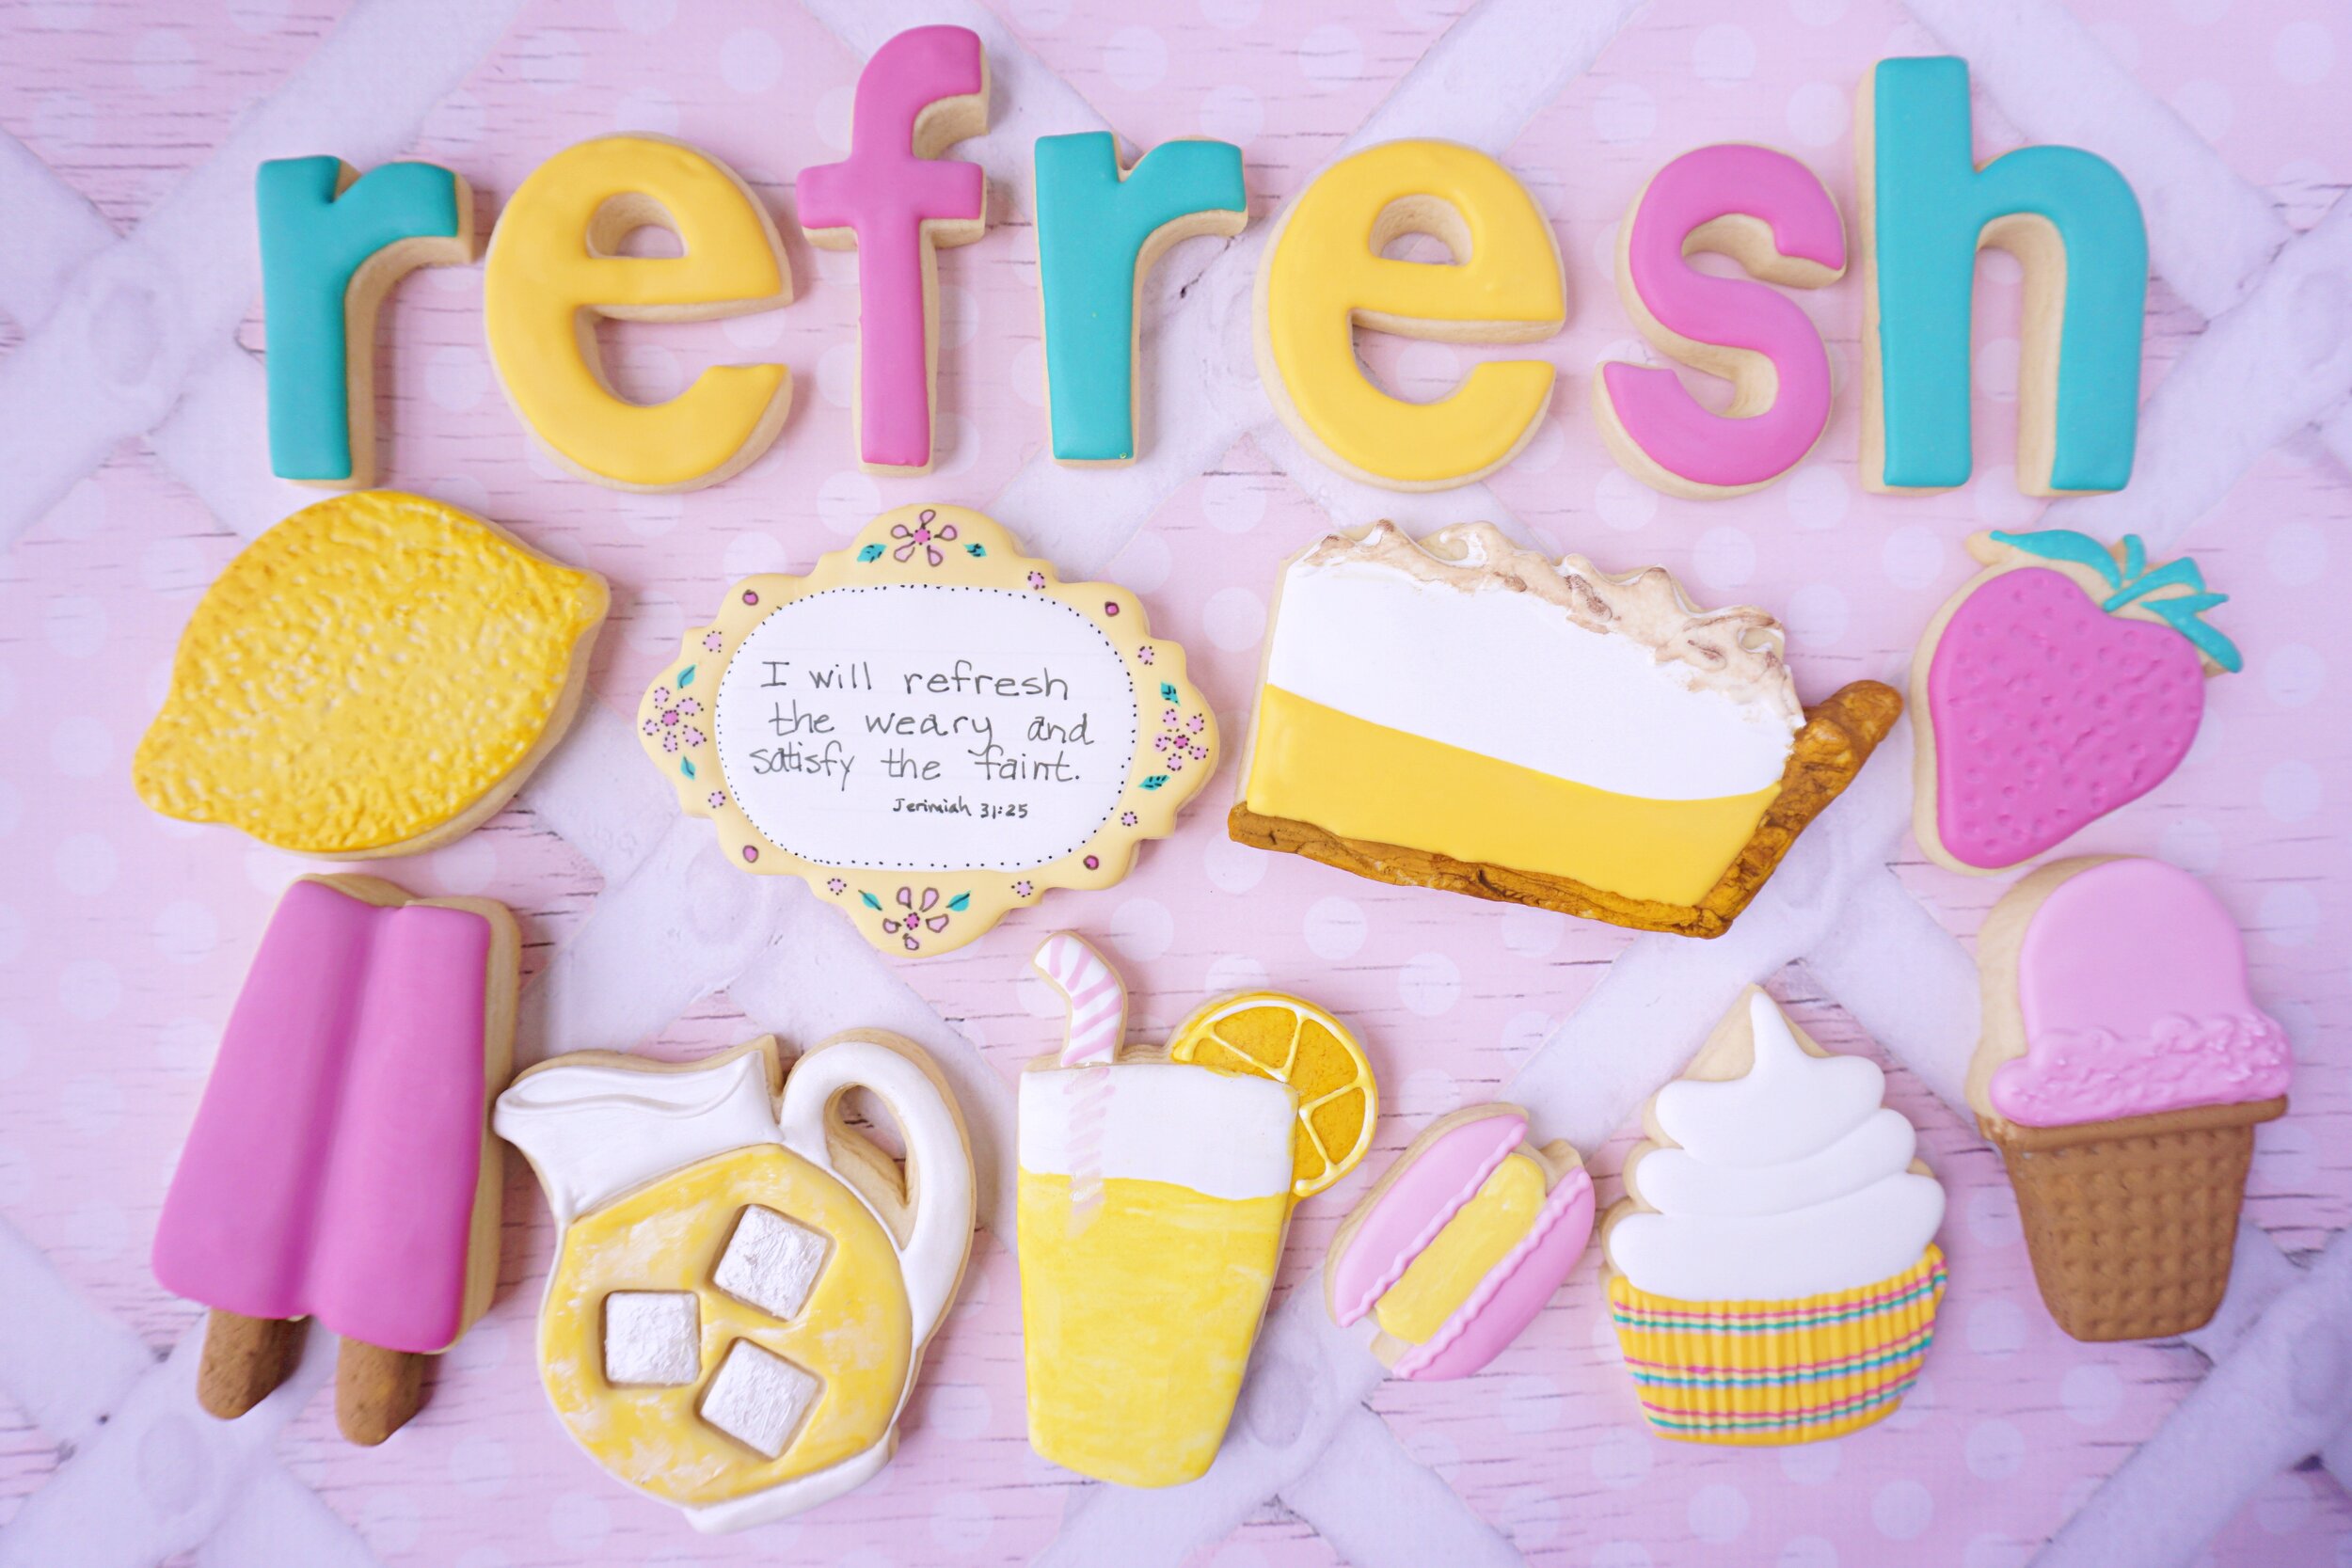
REFRESH (Lemon) Decorated Cookie Collection