Buggin' Out

CookieCrazie Chatter...... Friday, August 16, 2013


_________________________________________________________

CookieCrazie's Week in Review


_________________________________________________

Personal Side

This was one of those weeks where everything went as planned.
That doesn't happen very often......so I'm pretty excited!

Now that everything has gotten back to normal for me
(i.e. the kids are all back to their normal lives....),
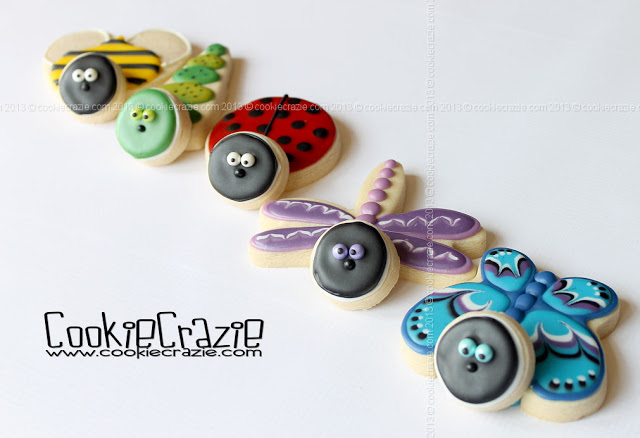
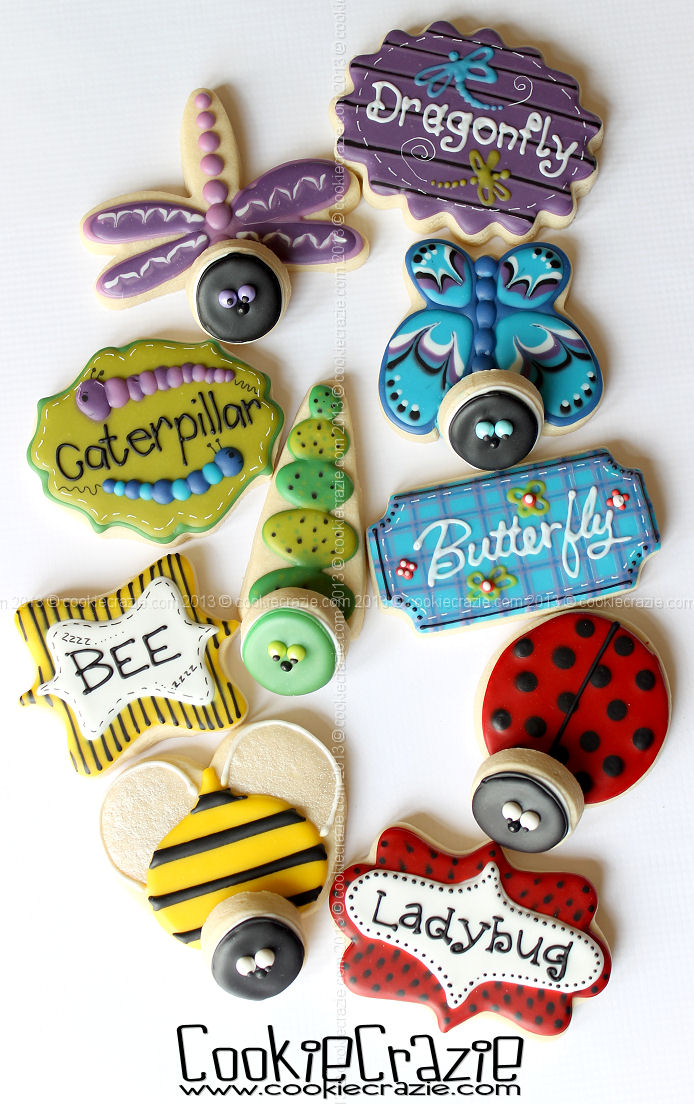
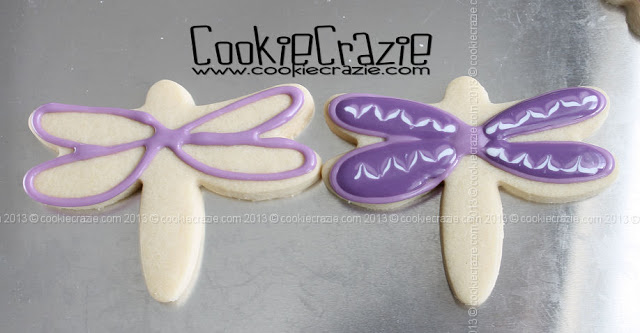
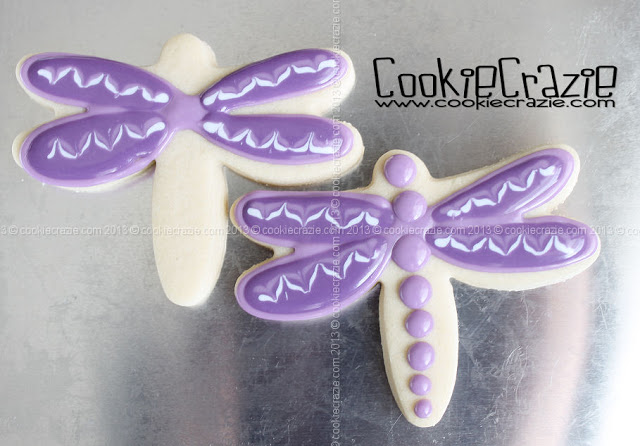
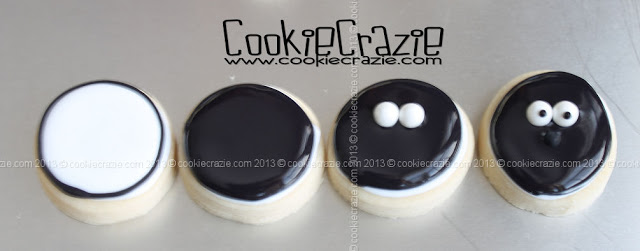
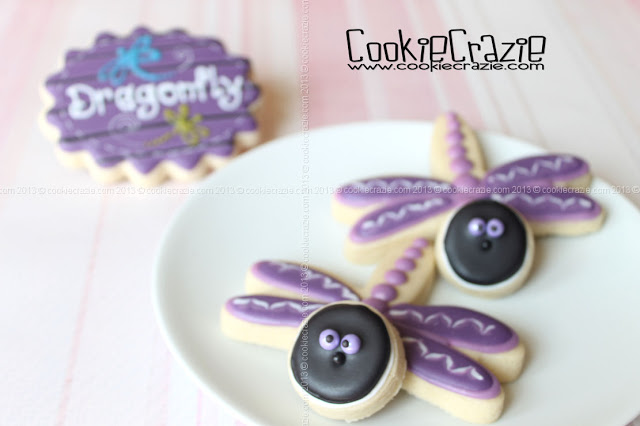
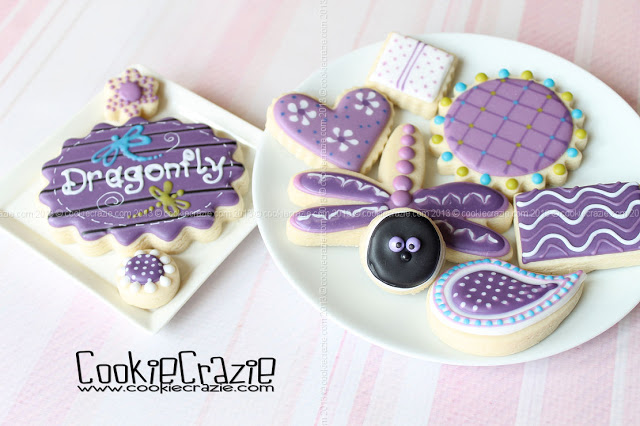
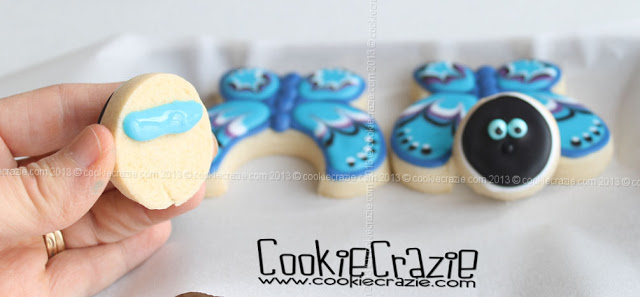
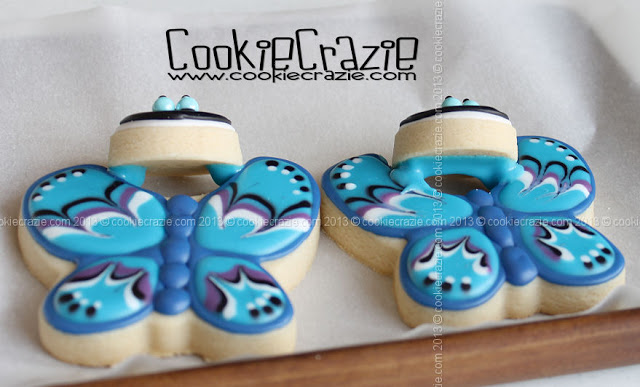
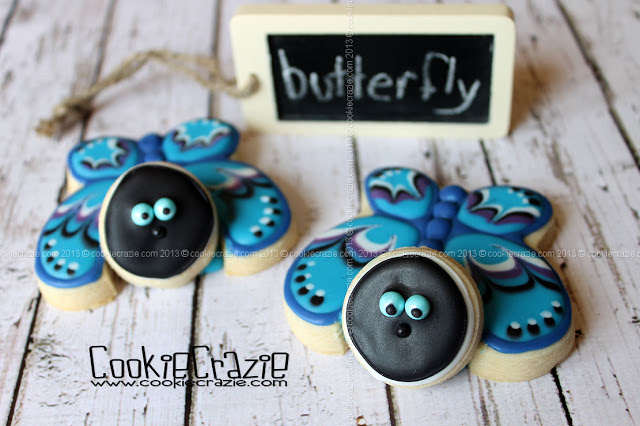
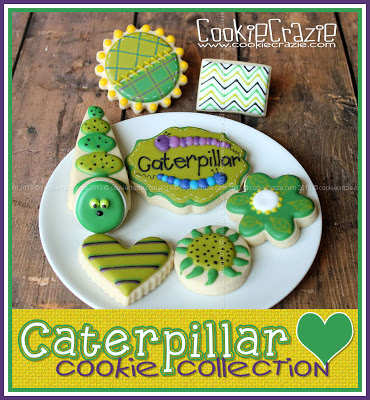
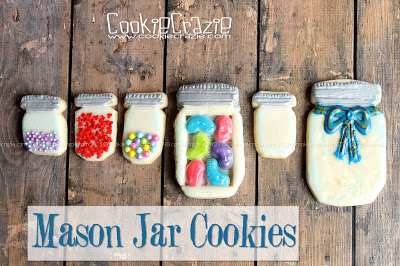
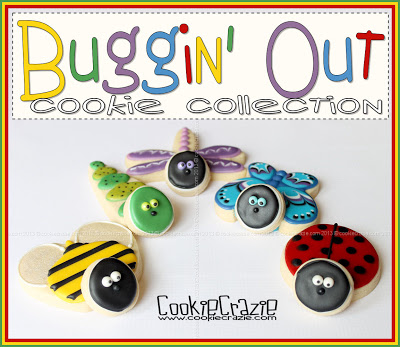
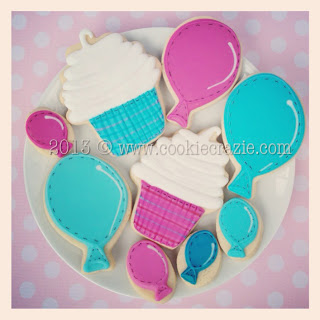
I was able to make a huge batch of fun cookies.
The colors and designs turned out as I envisioned......
and I'm feeling extra specially blessed right now.

We're going to my in-laws this weekend.
I'm taking all the cookies I just made.
Haha
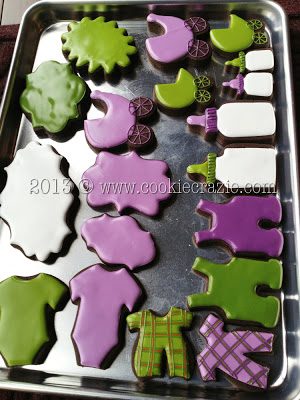
It was a baby-boy-shower theme.....just for fun. :)
I don't think the extended family will care what shapes or designs they are, right?

School started around here this week......
and the weather turned to FALL-LIKE weather.
WHAT?
I told several people.....this is bad.
Now we all have our "fall lovin'" button pushed and
it will be hard to go back to the hot summer again. ;)

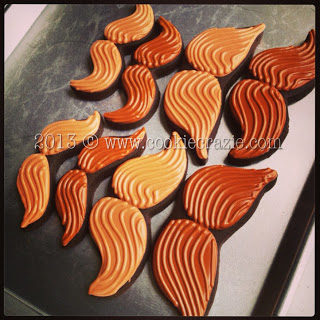
When I get back from my trip......
it's time to start some autumn cookies.
I'm rubbing my hands together.....can't wait!

:)


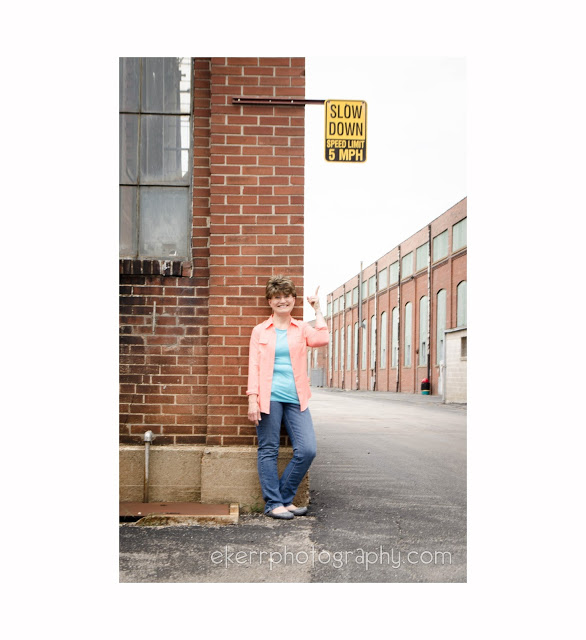
Instagram photos for this week:


More birthday cookies....I'm loving this new cake stand cutter. :)


A reminder at the photo shoot last week..... slow down.....enjoy all the blessings.
(I added that last part. ;))
Balloons and cupcakes.... Let the celebration begin. :)


I can already tell..... it's gonna be a great week. :)


I'm liking this color combo a lot. :)

Bow ties and neck ties.......super fun!


_________________________________________

Last CookieCrazie Chatter....


Buggin' Out Cookie Collection (2-D Bug Cookies)


Oh what fun I had making five different kinds of 2D bug cookies 
and adding accent cookies to each theme. :)


Click on the photos to see the tutorial posts.


Buggin' Out Cookie Series

Buggin' Out: Caterpillar Cookies (Tutorial)


A final 2D-bug cookie tutorial.......
CATERPILLARS!

Use a long triangular-shaped cutter for the body of the caterpillar
(I used a trimmed version of a surfboard cutter.)
Decorate the caterpillar body as desired.


  You will also need a smaller circle cookie for the head (I used a 1 1/2" diameter).
The size of the circle will depend on the size of the caterpillar body.
Outline and flood the circle in green 10-second glaze.
While the glaze is still wet, put two large green candy pearls in place for the eyes
(or you can use white pearls).
Add a dot of black glaze to each "eyeball" for the pupil.
And then add a large black candy pearl for the nose.


Allow both cookies to dry overnight.

And then it is time for assembly.
Add some glaze to the back of the "head" cookie. 
(Make sure the caterpillar's face is in the right direction before adding the "glue".)


Buggin' Out: Dragonfly Cookies (Tutorial)


In a continuation of the 2D bug cookie theme..... today's cutie is a dragonfly.

Start out with a dragonfly-shaped cookie.
Here's a few cutter possibilites:
Dragonfly Cutter by Ann Clark (used in tutorial)


Decorate the dragon fly as desired.


  You will also need a smaller circle cookie for the head (I used a 1 1/2" diameter).
The size of the circle will depend on the size of the dragonfly. 
Outline and flood the circle in black 10-second glaze.
While the glaze is still wet, put two large white candy pearls in place for the eyes.
Add a dot of black glaze to each "eyeball" for the pupil.
And then add a large black candy pearl for the nose.


Allow both cookies to dry overnight.

And then it is time for assembly.
Add some glaze to the back of the "head" cookie. 
(Make sure the dragonfly's face is in the right direction before adding the "glue".)


Buggin' Out: Butterfly Cookies (Tutorial)


We're moving from Bumble Bees to Butterflies in this Buggin' Out series.

Start out with a butterfly-shaped cookie.
There's tons of great cutters out there. 
Try here or here or here.

Originally, I decided to cut a partial circle out of the "head" part of the butterfly, 
but I strongly recommend NOT doing that.
I think the circle ("head") cookie would lay better on the original shape
if you will leave out that step.

Decorate your butterfly as you wish.
There's a multitude of ways to do it......so pick your favorite patterns & colors.

  You will also need a smaller circle cookie for the head (I used a 1 1/2" diameter).
The size of the circle will depend on the size of the butterfly.
Outline and flood the circle in black glaze.
While the glaze is still wet, put two large white candy pearls in place for the eyes.
Add a dot of black glaze to each "eyeball" for the pupil.
And then add a large black candy pearl for the nose.


After decorated the butterfly as you desire,
and both cookies have dried overnight, it is time to assemble the butterflies.

Add some glaze to the back of the "head" cookie. 
(Make sure the butterfly's face is in the right direction before adding the "glue".)


In this photo you can see what I mean about not
cutting out a partial circle from the butterfly-shaped cookie. 
See how there is less surface area to "glue" the head onto the body?

The best part about making butterflies is that you can make tons of them......
and they could all be distinctly different, unique, and beautiful. :)


Member Login
Welcome, (First Name)!

Forgot? Show
Log In
Enter Member Area
My Profile Not a member? Sign up. Log Out