

Probably one of the best things about summer is all the available fresh fruit.
And cherries are top on my list of favorite summer fruits!
I was hoping to have a custom cutter for this shape (the photos show hand cut cookies),
but it didn't work out.
Here's a similar cherry cutter you could use for this design.
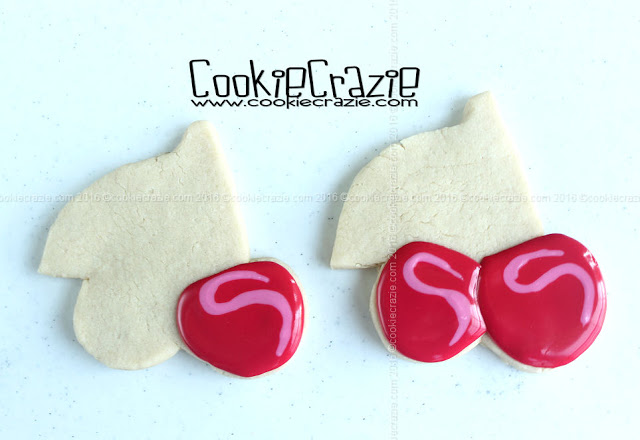
You'll need red, dark pink and green icings for this design.
Outline one of the cherries as seen below. While it is still wet,
add a dark pink swirl line around the stem attachment area and down one side of the cherry.
Wait about 15 minutes to add the second cherry.
add a dark pink swirl line around the stem attachment area and down one side of the cherry.
Wait about 15 minutes to add the second cherry.
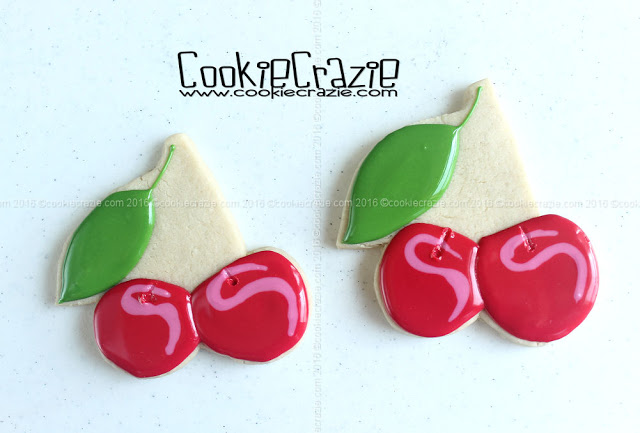
Outline and flood the leaf and add a stem as shown below.
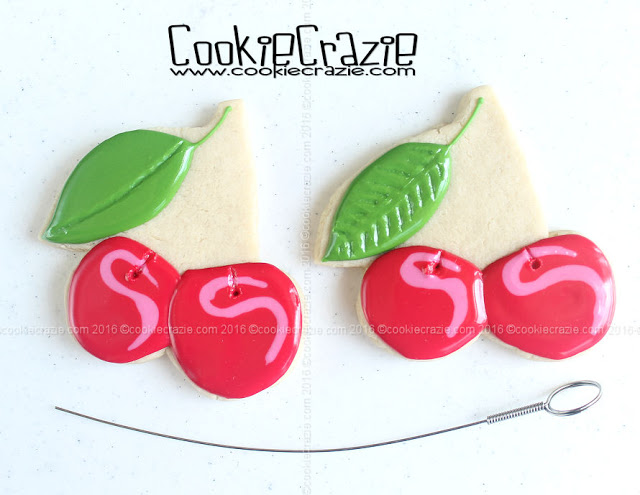
After the cherries have dried for approximately 1 hour,
use a cake tester to poke a hole where the stem will come out and
make a line up to the top of the cherry for the stem to "lay" in.
(see photo below)
Allow the leaf to dry for about one hour, and use a cake tester to make vein lines as shown below.
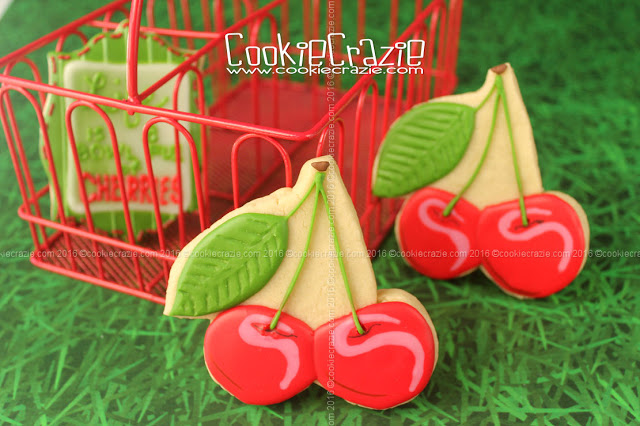
Add stems to each of the cherries and join them to the leaf at the top of the cookie.
Add a small brown dot above the stems and leaves.
(see photo below)

2016 Summer Decorated Cookie Collection