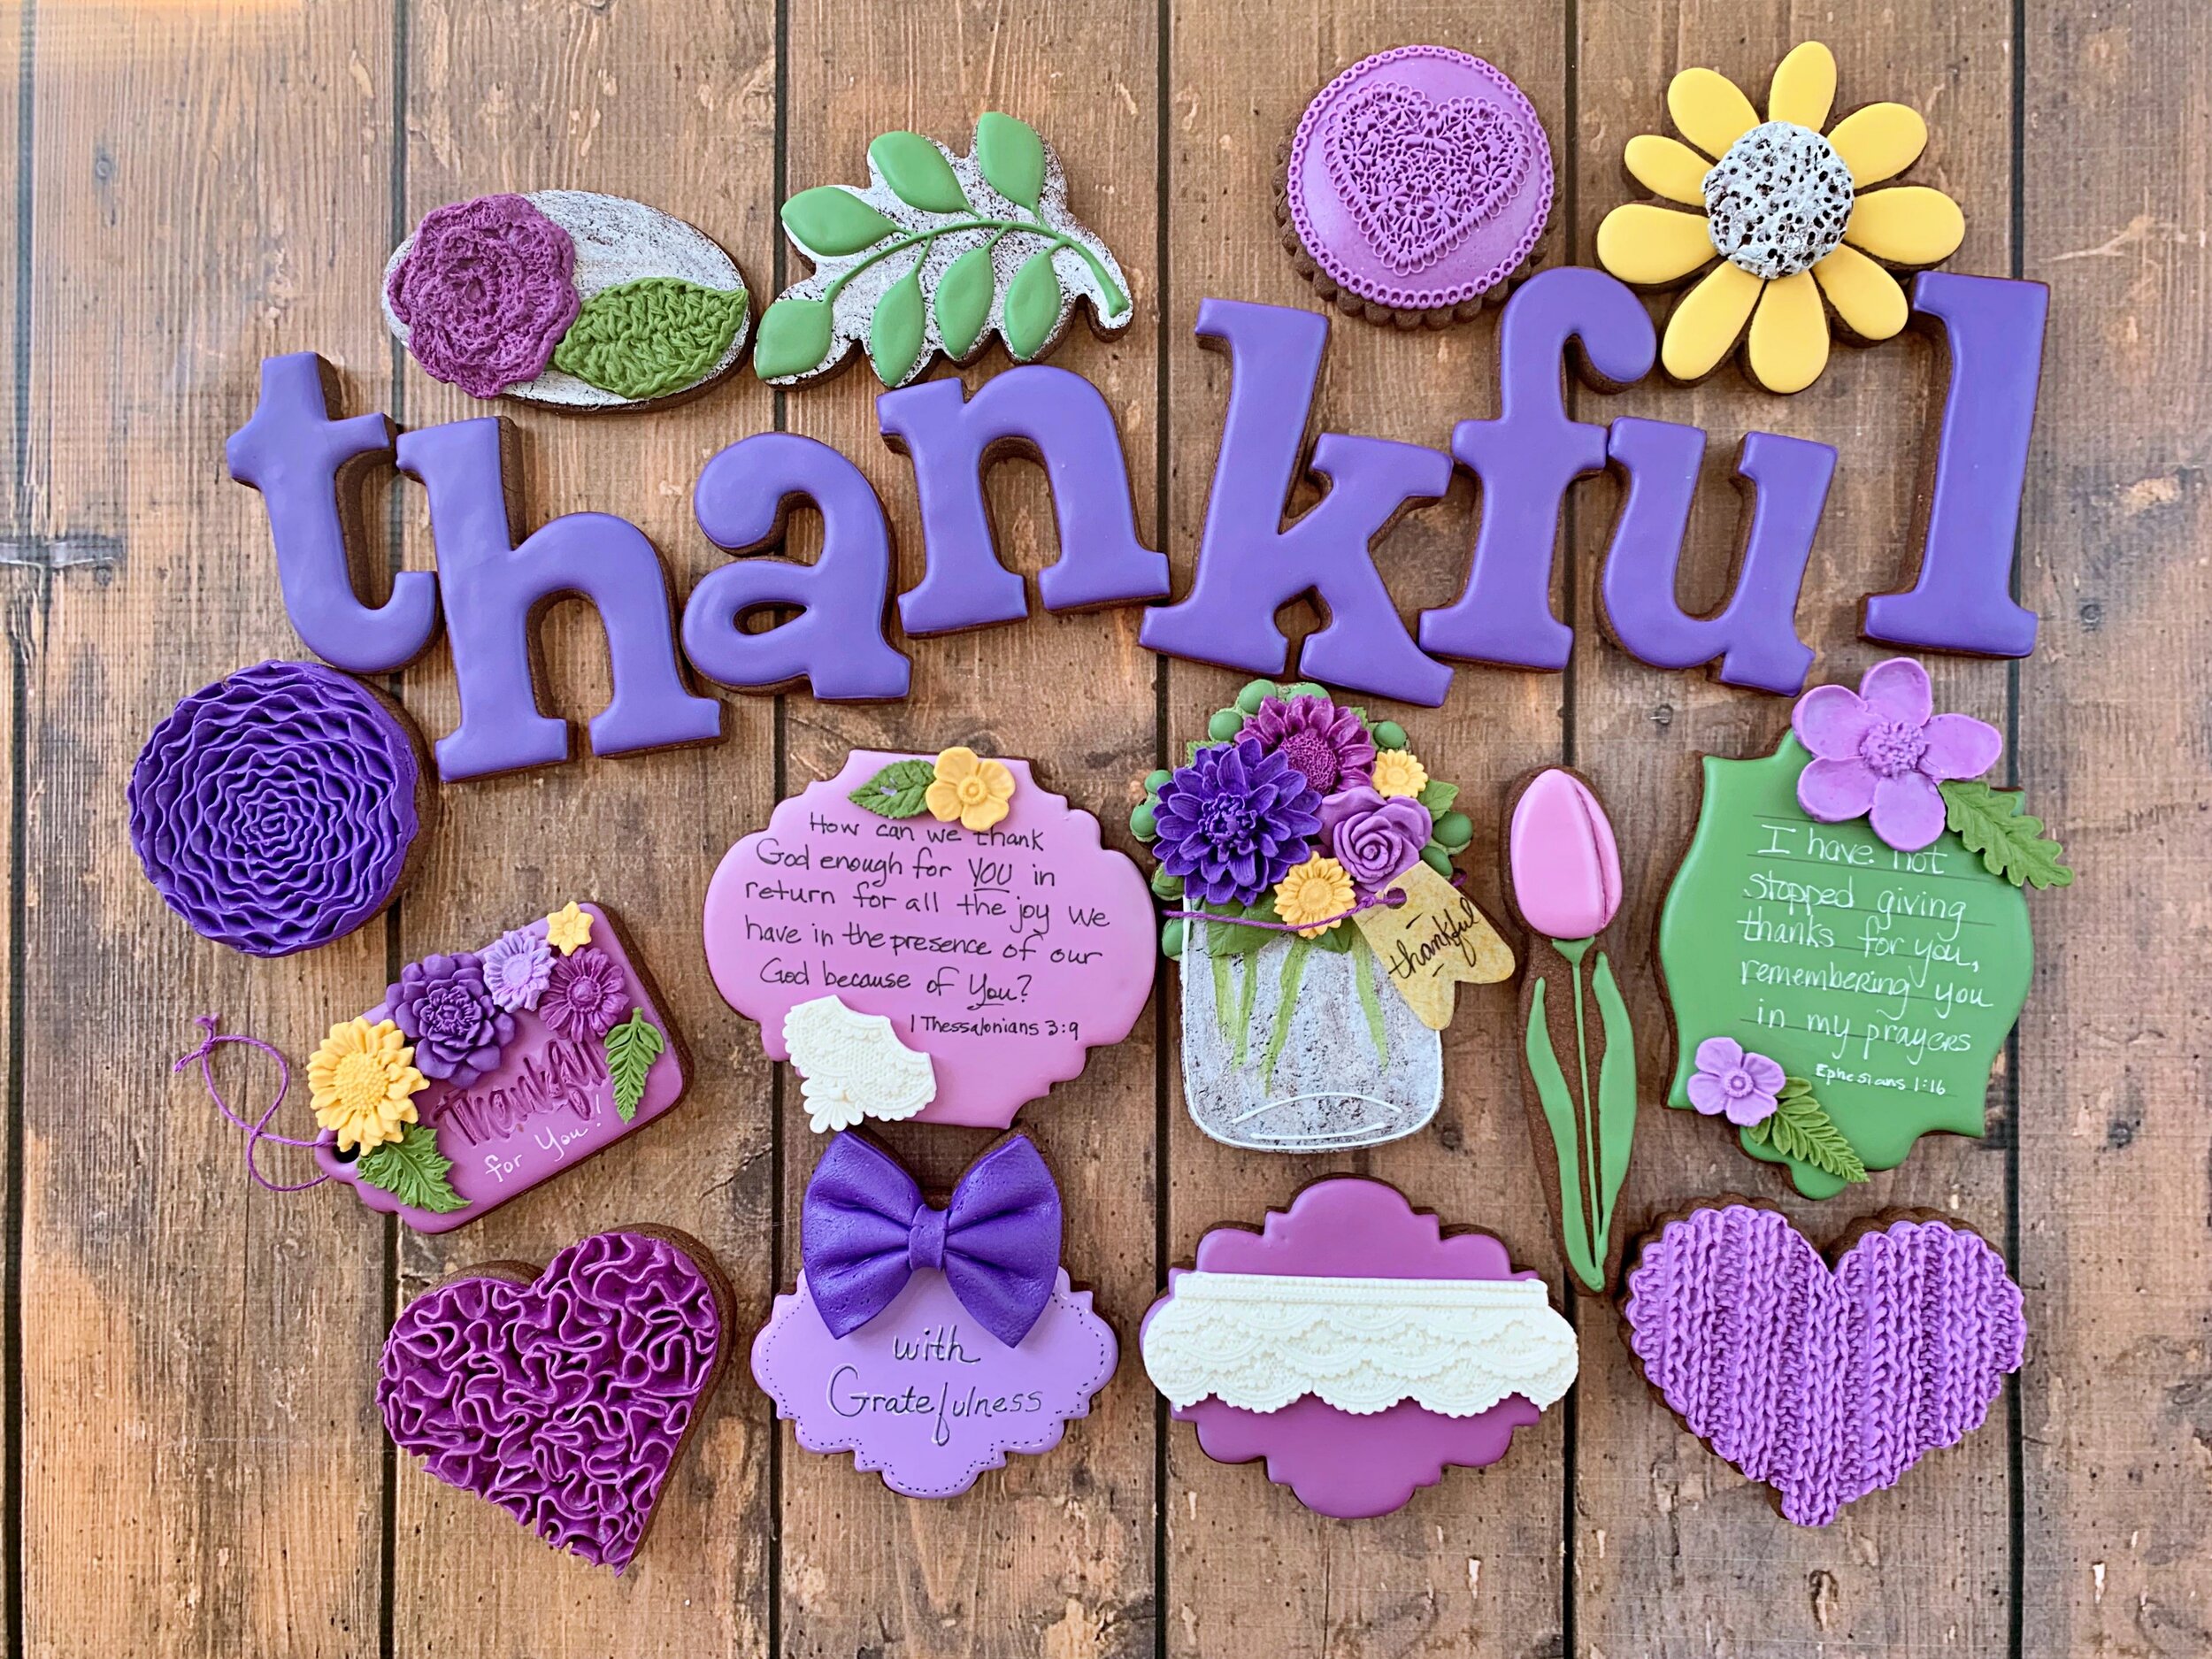
Wednesday, February 1, 2012

Random Valentine Cookie-ness

As you can see from these cookie photos.....I tried a little of this and a little of that last week.
I don't know why I think I've got to make every cookie different......but I'm driven to do so.
Why "waste" a perfectly good cookie on the "same old, same old"??

THIS defines CookieCRAZIE-ness! 


Tomorrow...............another Valentine cookie tutorial.


Tuesday, January 31, 2012

Sending Love.....Cookie Style (Tutorial)

Do you wanna send some love?


Here's some fairly simple cookies to make for your loved ones.

For the envelopes.....outline a square or rectangle cookie in white including the flaps.

 Notice the one on the left.....I did it first. I like the two on the right better. hee hee :)
In them, I made the upper flap go down deeper into the bottom.....making it looking more realistic.

Let the outline dry for 20-30 min.

Then add sections. Start with the outer two triangles. (Dry for 10-15 min between each).

Add the bottom next....and let dry.

Finally add the upper flap. Notice I added more icing on the right cookie. Do that! ;) 
(But don't add so much that it collapses.....just enough to give it that 3D puff look.)

I forgot to take pics of adding the lips. I'm so bad with that! Please forgive me?

Be sure the white has dried overnight! (very important)

Outline the lips and fill....adding red disco dust with a brush later, if you'd like.
I also added a little heart on the bottom (surprise, surprise).


Now on to the postage stamps.....


You'll need a rectangle cookie.... it could be a square cookie, as well.
I used my fluted cutters.....but it can be a straight edge.

Outline with a "bites out" edge....just like a postage stamp.
It's basically straight edge, then half circle.....straight edge, then half circle.

If you want the middle to be a different color, also outline a rectangle in the middle.
I did it both ways so you could see.

After that has dried for 10-15 minutes.....flood the middle....either the whole thing or just the outer edge.
 For a pattern like the two middle cookies, you'll need to add details while the flood is still wet.
I added a rectangle with my darker red to the one on the left.
To the one on the right, I added a rectangle & hearts in darker pink and then light pink polka dots.


I let all of the above dry overnight.

Once thoroughly dry, flood the middle of the outer two stamps with red and white, respectively.
To the red stamp, (2nd from left) I added a white outline and the word LOVE.

Later (especially later for the red middle....since red is bad for bleeding),
add hearts or "Love" or whatever strikes your fancy. :)
Use your creativity. There is so much more you could do with these.
Since I was doing a bunch of other designs.....I didn't take a lot of time with these.
I'm certain they could be so much cuter.


Now I'm sending love to all of you......cookie style! 


Have fun making Valentines cookies.

They are some of the most fun cookies to make all year.


Monday, January 30, 2012

Sealed With A Kiss......Valentines Cookies

I've been busy with red, pink & white icing. :)

Want to send some love? How about some love letters sealed with a kiss......


Be sure to put some LOVE-ly stamps on those envelopes.....either red......


or pink ones.......

Tutorial coming tomorrow.

Happy Monday!


Saturday, January 28, 2012

CookieCrazieBasics: Smooth Even Cookies....EVERY Time (Tutorial)

Who knows how many times I've been asked questions like......"How do you get such smooth even cookies?" or "How do your cookies always turn out the same thickness?" or "How do you get your cookies so thick?" etc etc. 

I wish I could say it was skill.......but no, I have the perfect tool. 


I remember when I first got my DoBord. I was so excited!
I even posted about it on this blog HERE.
That was nearly two years ago.....and my DoBord is still going strong and as good as new. 
Love, love, love my DoBord!

This quality product called the DoBord LTD is featured HERE .....the site where I purchased it.
(They have great customer service.....by the way).
Yes, it is expensive......but I'm telling you right now that it is worth ever penny.

(I did a bunch of internet searches and couldn't find anywhere else that sells it.
If anyone finds it else where, please post in the comments. )

So here's how it works.


The outside frame pieces are higher than the inner square.
You get to set the height for your dough.
When you roll the dough with the long rolling pin included.....
your dough will evenly match the height you set.
Brilliant!


One side has a removable panel.
When you undo the two screws......
you can take off the panel to adjust the height of the main platform.


The higher the frame is set, the thicker your dough will be.
The DoBord provides four settings.
1/8", 1/4", 3/8" & 1/2"

I use the 3/8" setting for all my cookies. I like my cookies thick! :) 


___________________________________________

OK......so if you can't justify buying a DoBord.....there are many alternatives.

Here's a few I've found by looking around.
This Adjustable Rolling Pin looks like it might be a terrific alternative for a fraction of the DoBord cost.


Another alternative which is even less expensive are rolling pin bands. I found some on Amazon that looked promising....


Since I've had a DoBord for quite a long time.....
I'm not incredibly savvy to the best products to use.
So I'm counting on my readers to share their favorite tools in the comment section of this post.
 Let us know how you get your dough smooth and even EVERY time.


Friday, January 27, 2012

Ultimate Cookie Quilt for MeeMaw's 80th Birthday

Not only did I make special quilted birthday related cookies for my mother-in-law's 80th birthday last week, I also created a huge patchwork quilt of cookies for the big birthday party.
This was definitely on my list of favorite cookie projects. :)


Each "quilt square" was unique. Fun. :)


It just makes me happy to see all the patterns and colors together. 
I heard some happiness in MeeMaw's voice when we talked on the phone. I'm glad. She's a very special lady who needs some extra special cookies to represent her wonderful life. :)


Related Posts Plugin for WordPress, Blogger...