Rustic

Celebrating Fall Decorated Cookie Collection

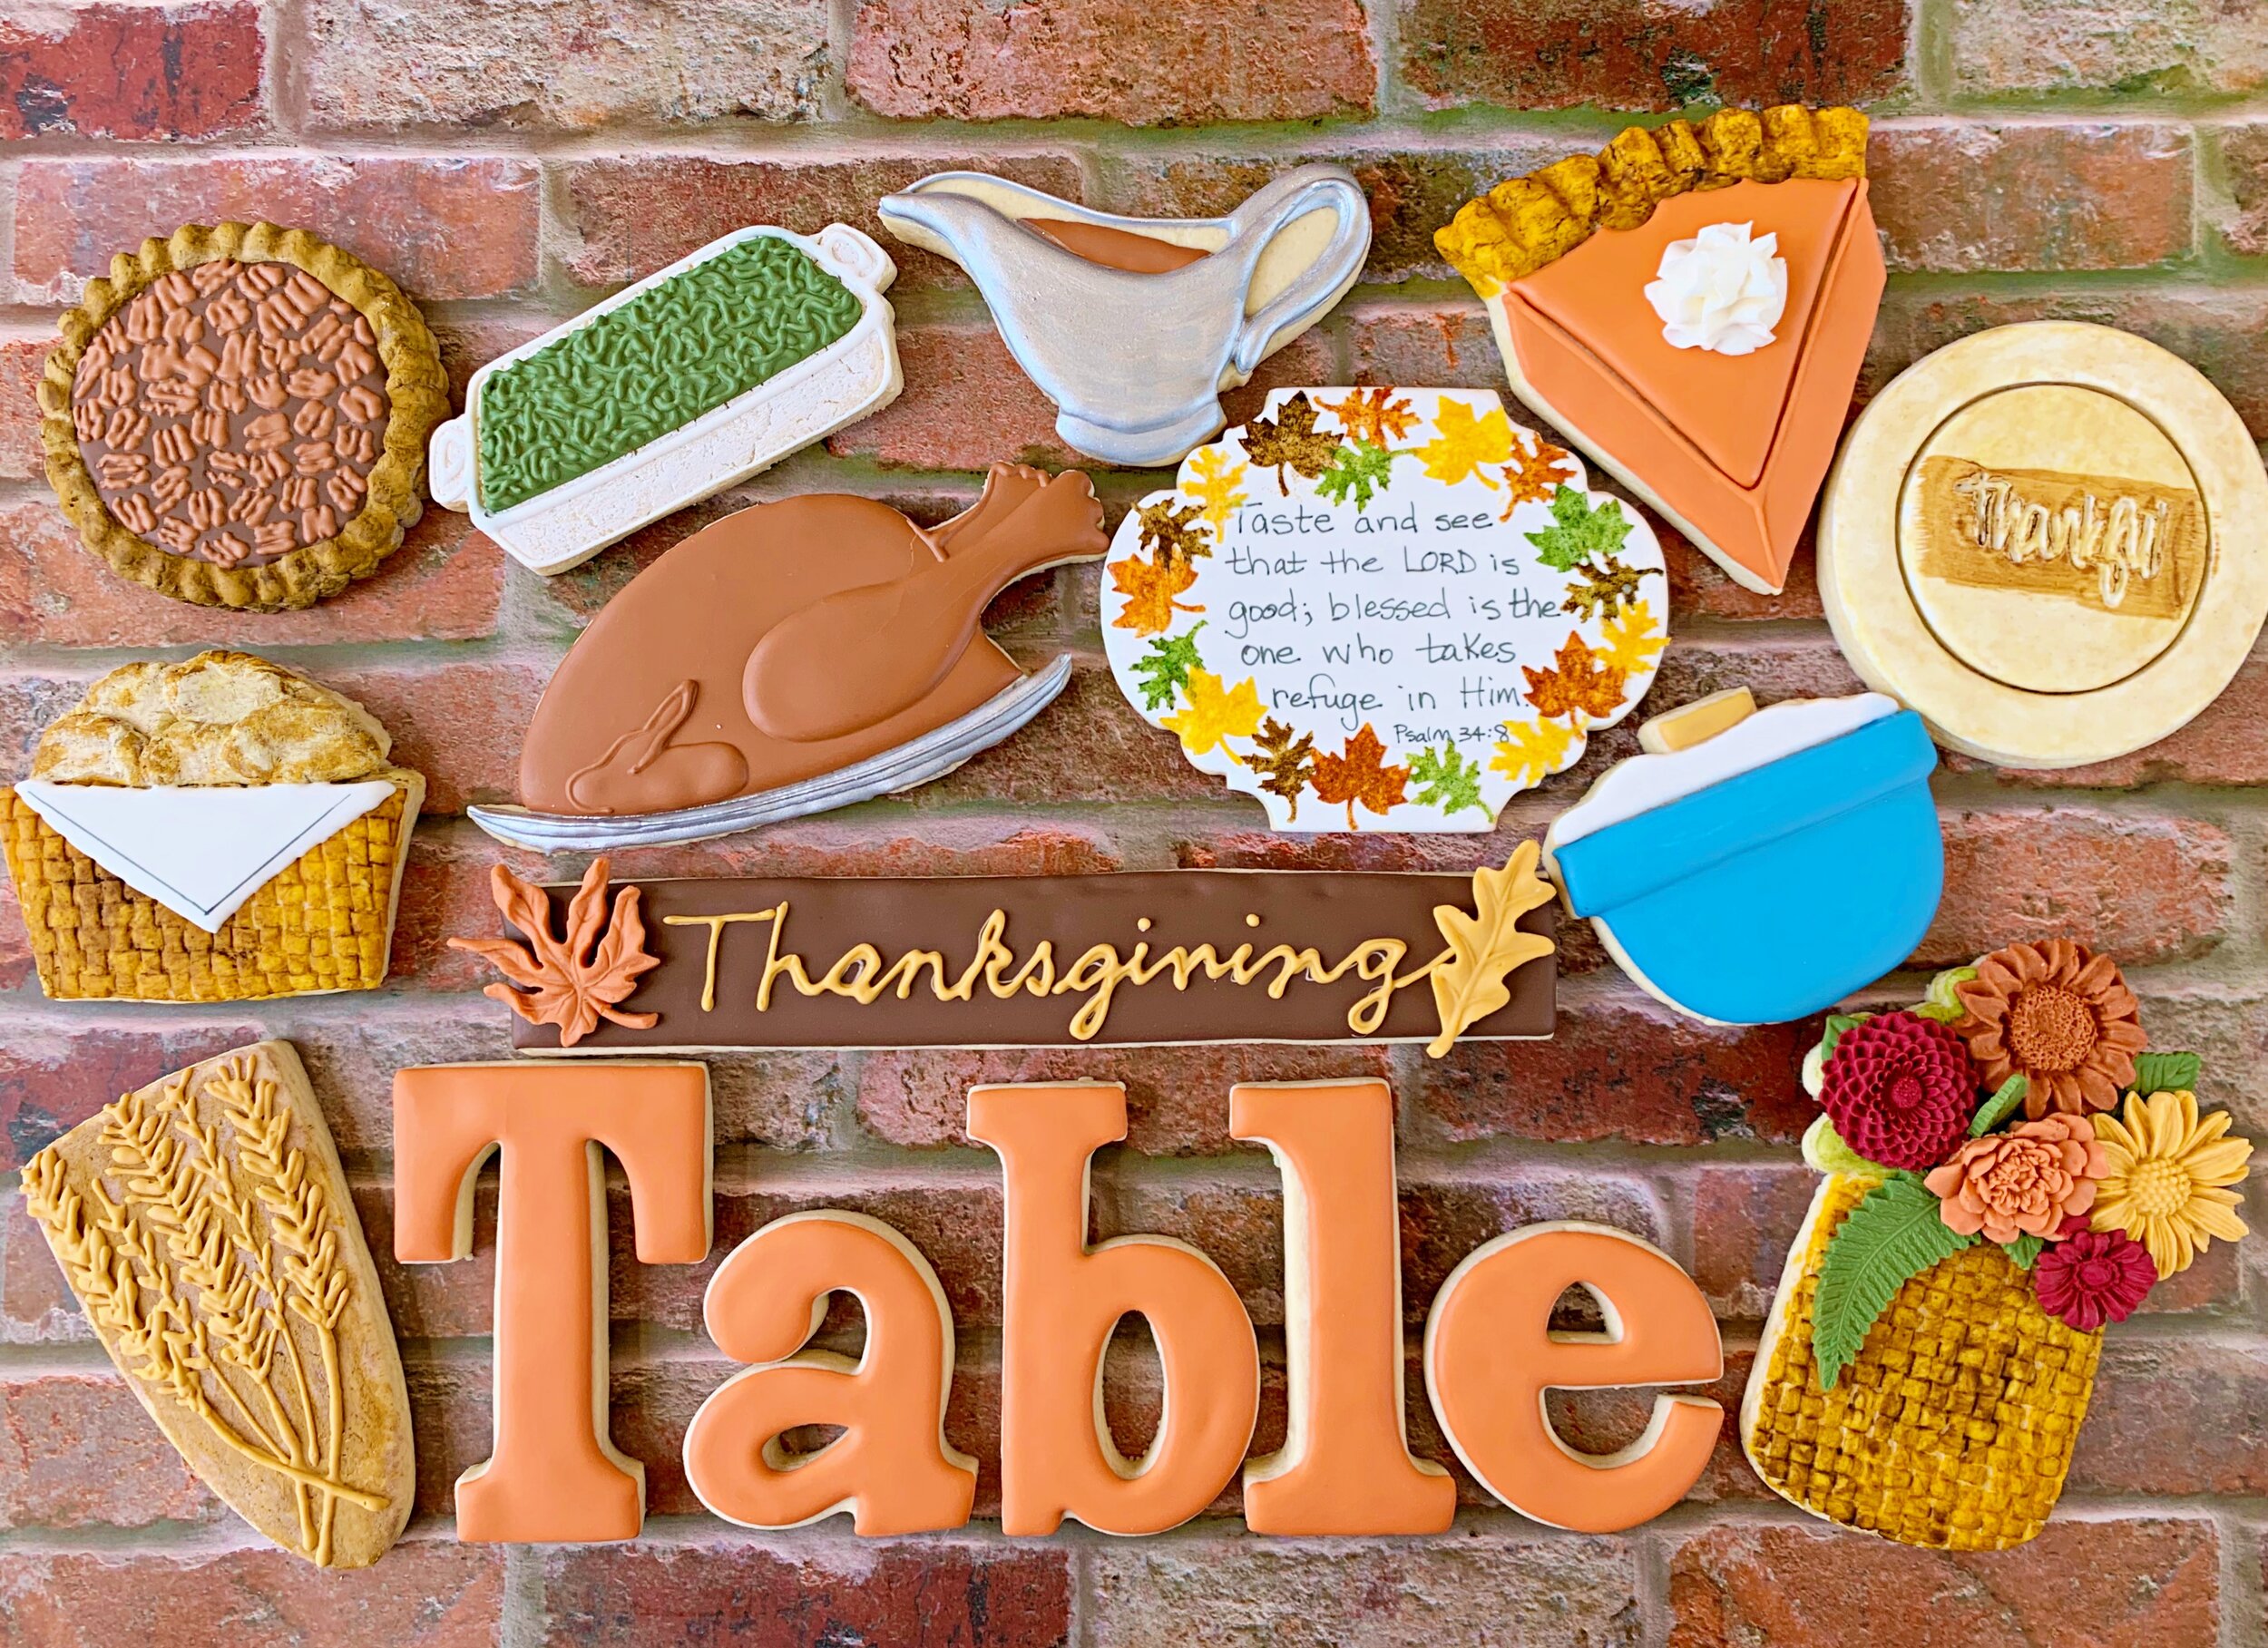
Is it obvious that I can't get enough of fall cookies? I just went back and counted that this is my FOURTH fall cookie collection this year. haha

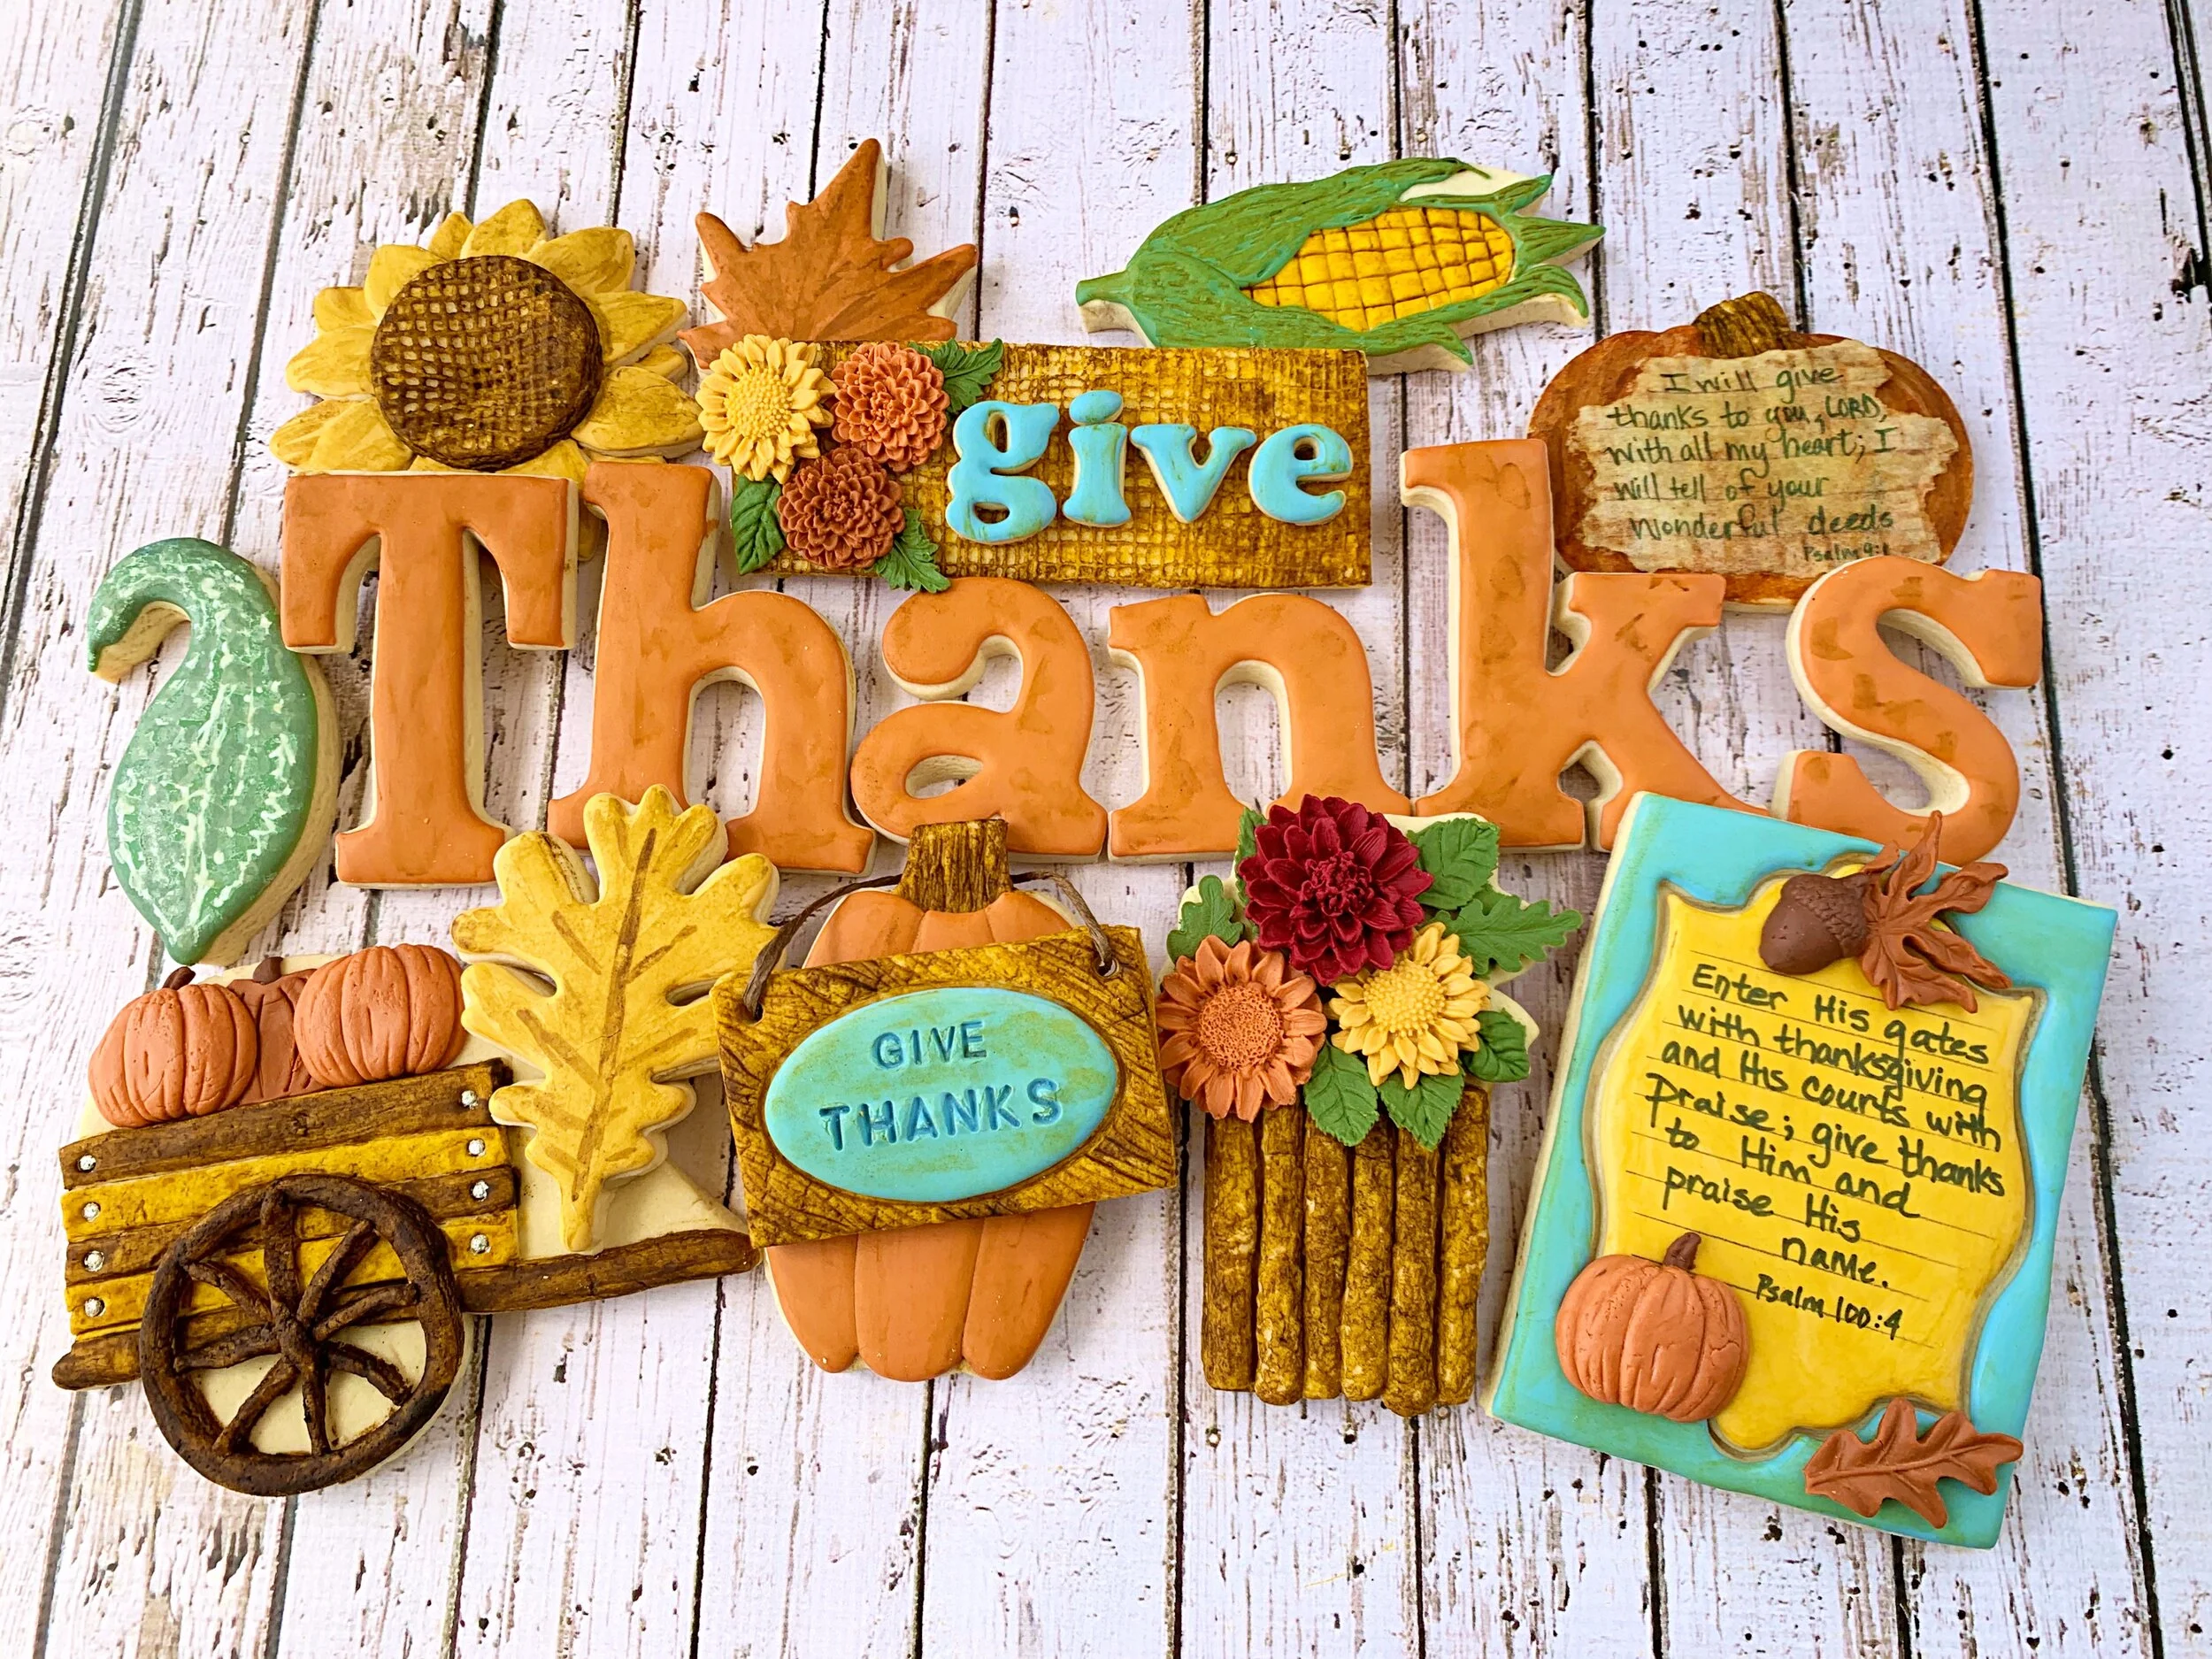
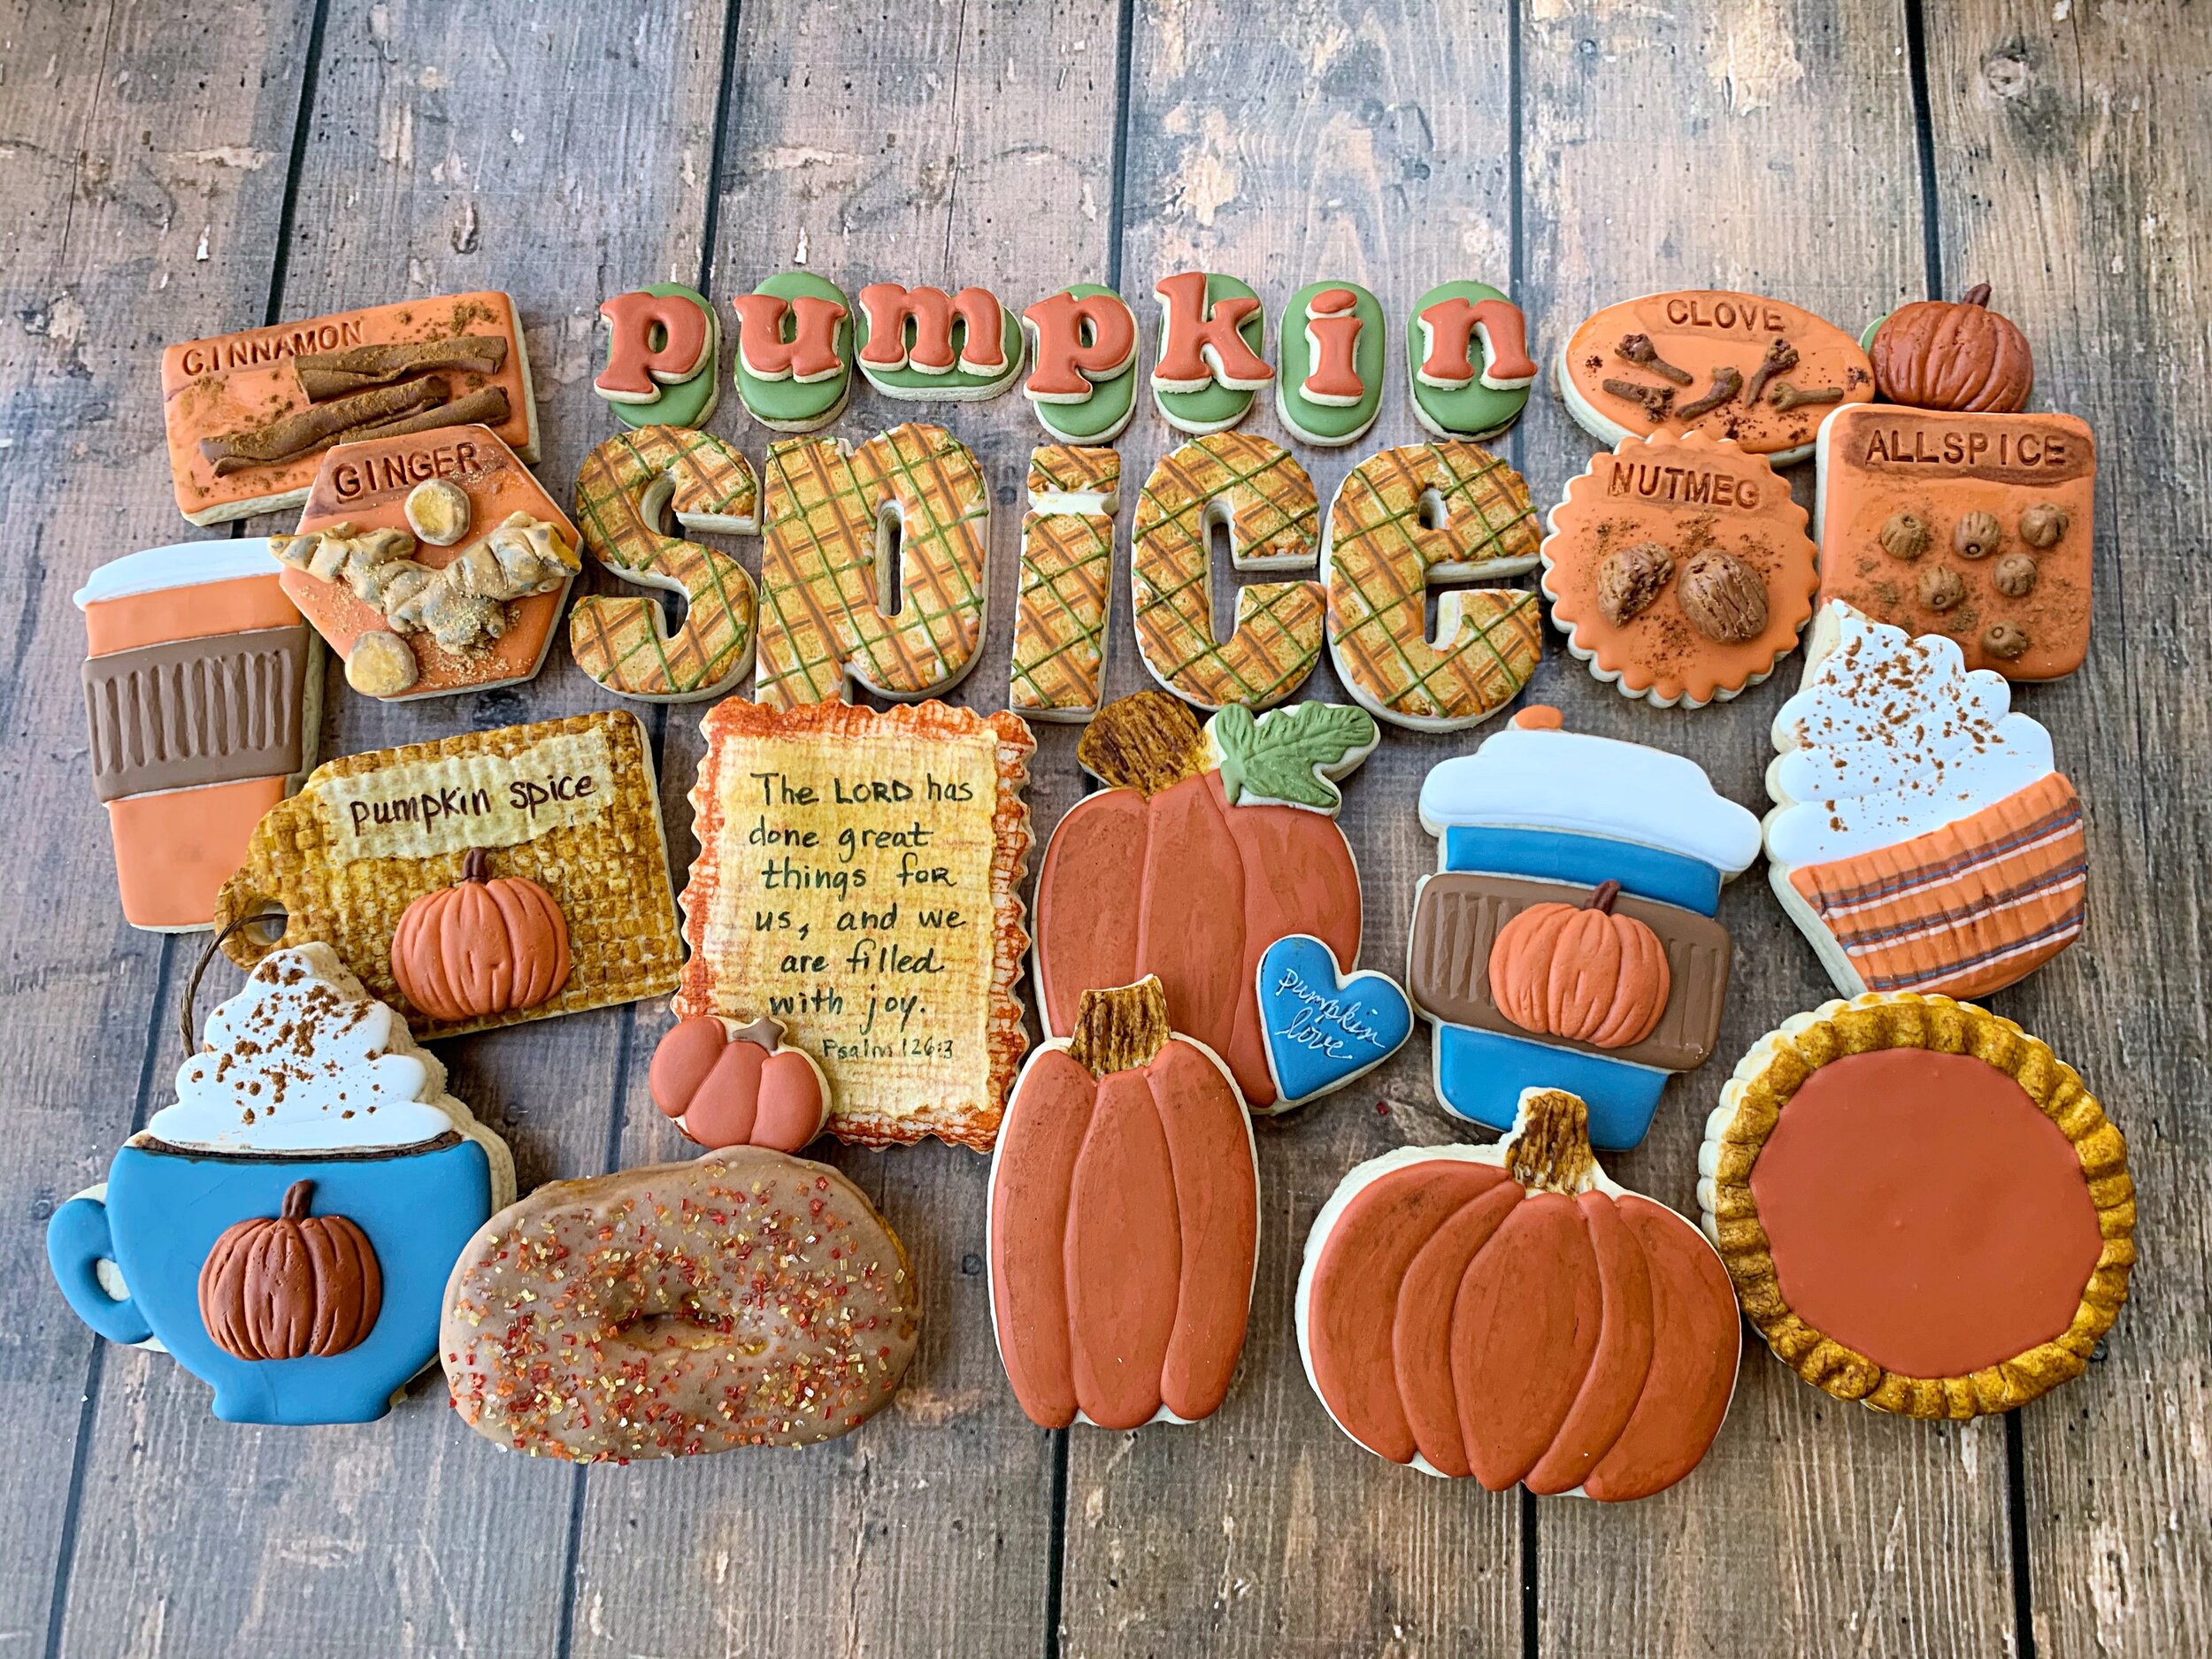
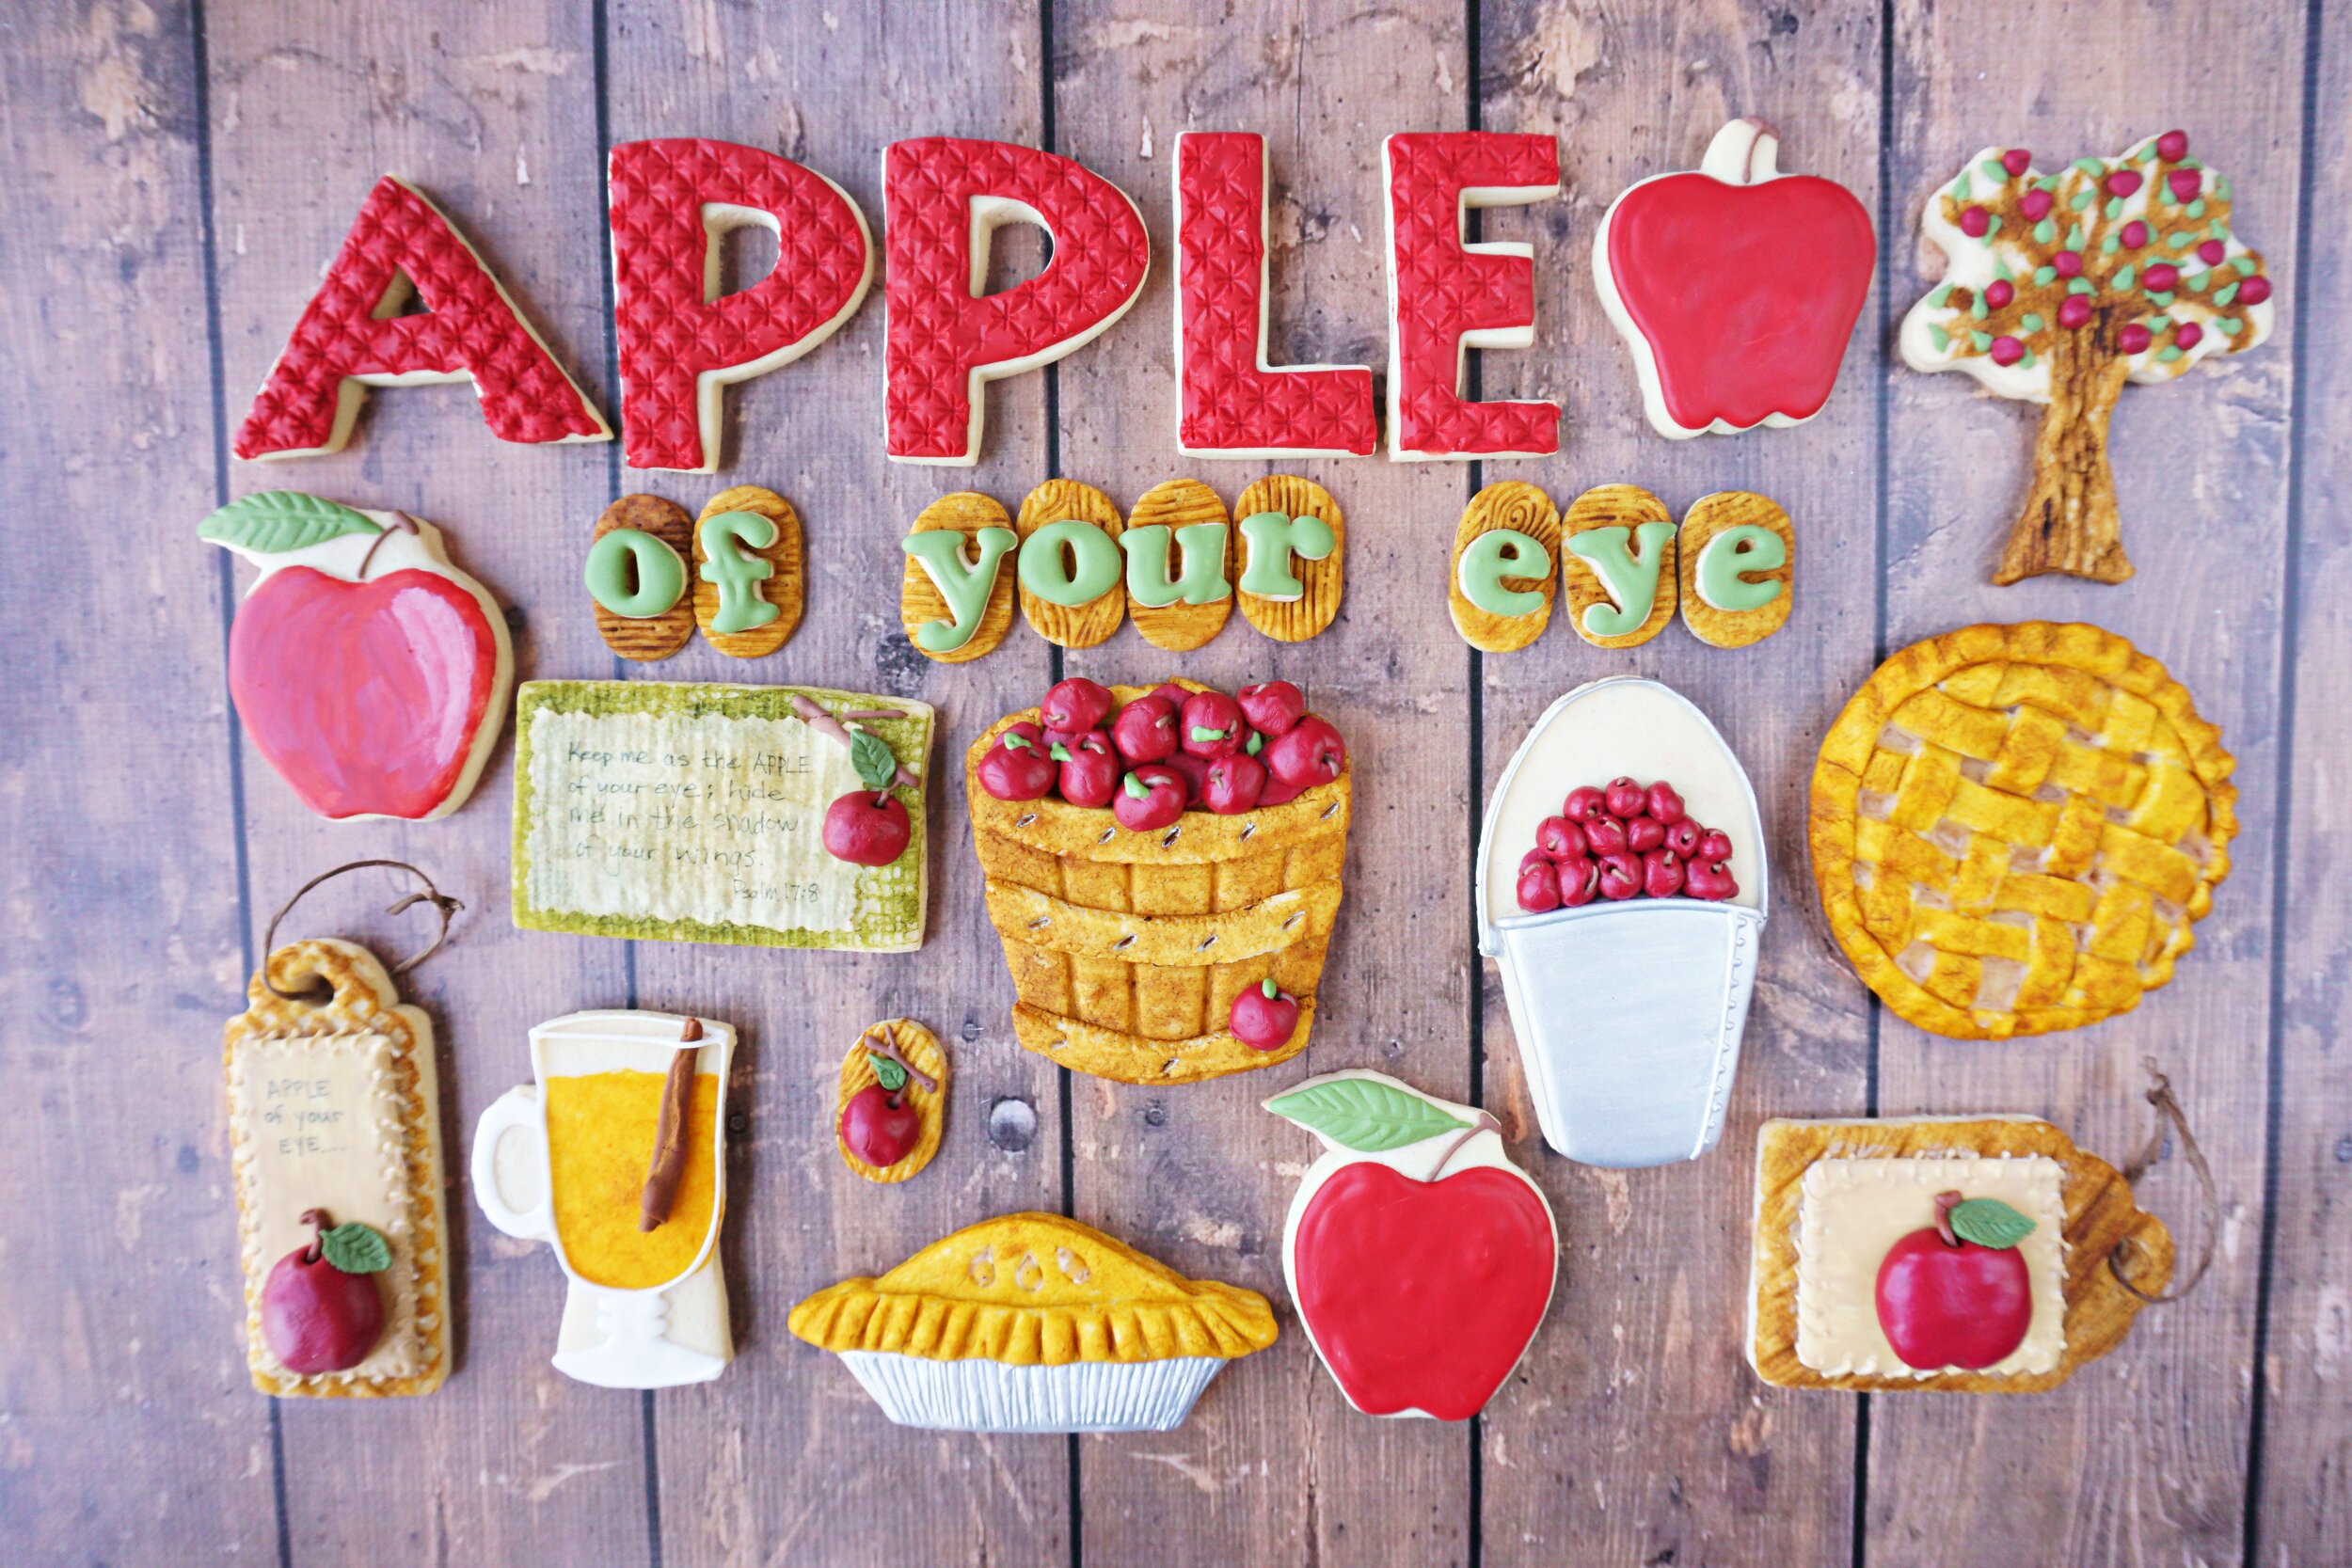
Some of you may be happy to know that this is my last one for the year (other than Thanksgiving-related cookies). This year I had so many techniques and textures I wanted to try out on all my favorite autumn shapes. This collection was no exception. I just acquired a bunch of new cookie cutters (as if I needed to buy more!) and I couldn't wait to try them all out.

So in case this is your first sighting of fall cookies from me this year......

Happy Fall! 🍁🌰🍂🍯🌻

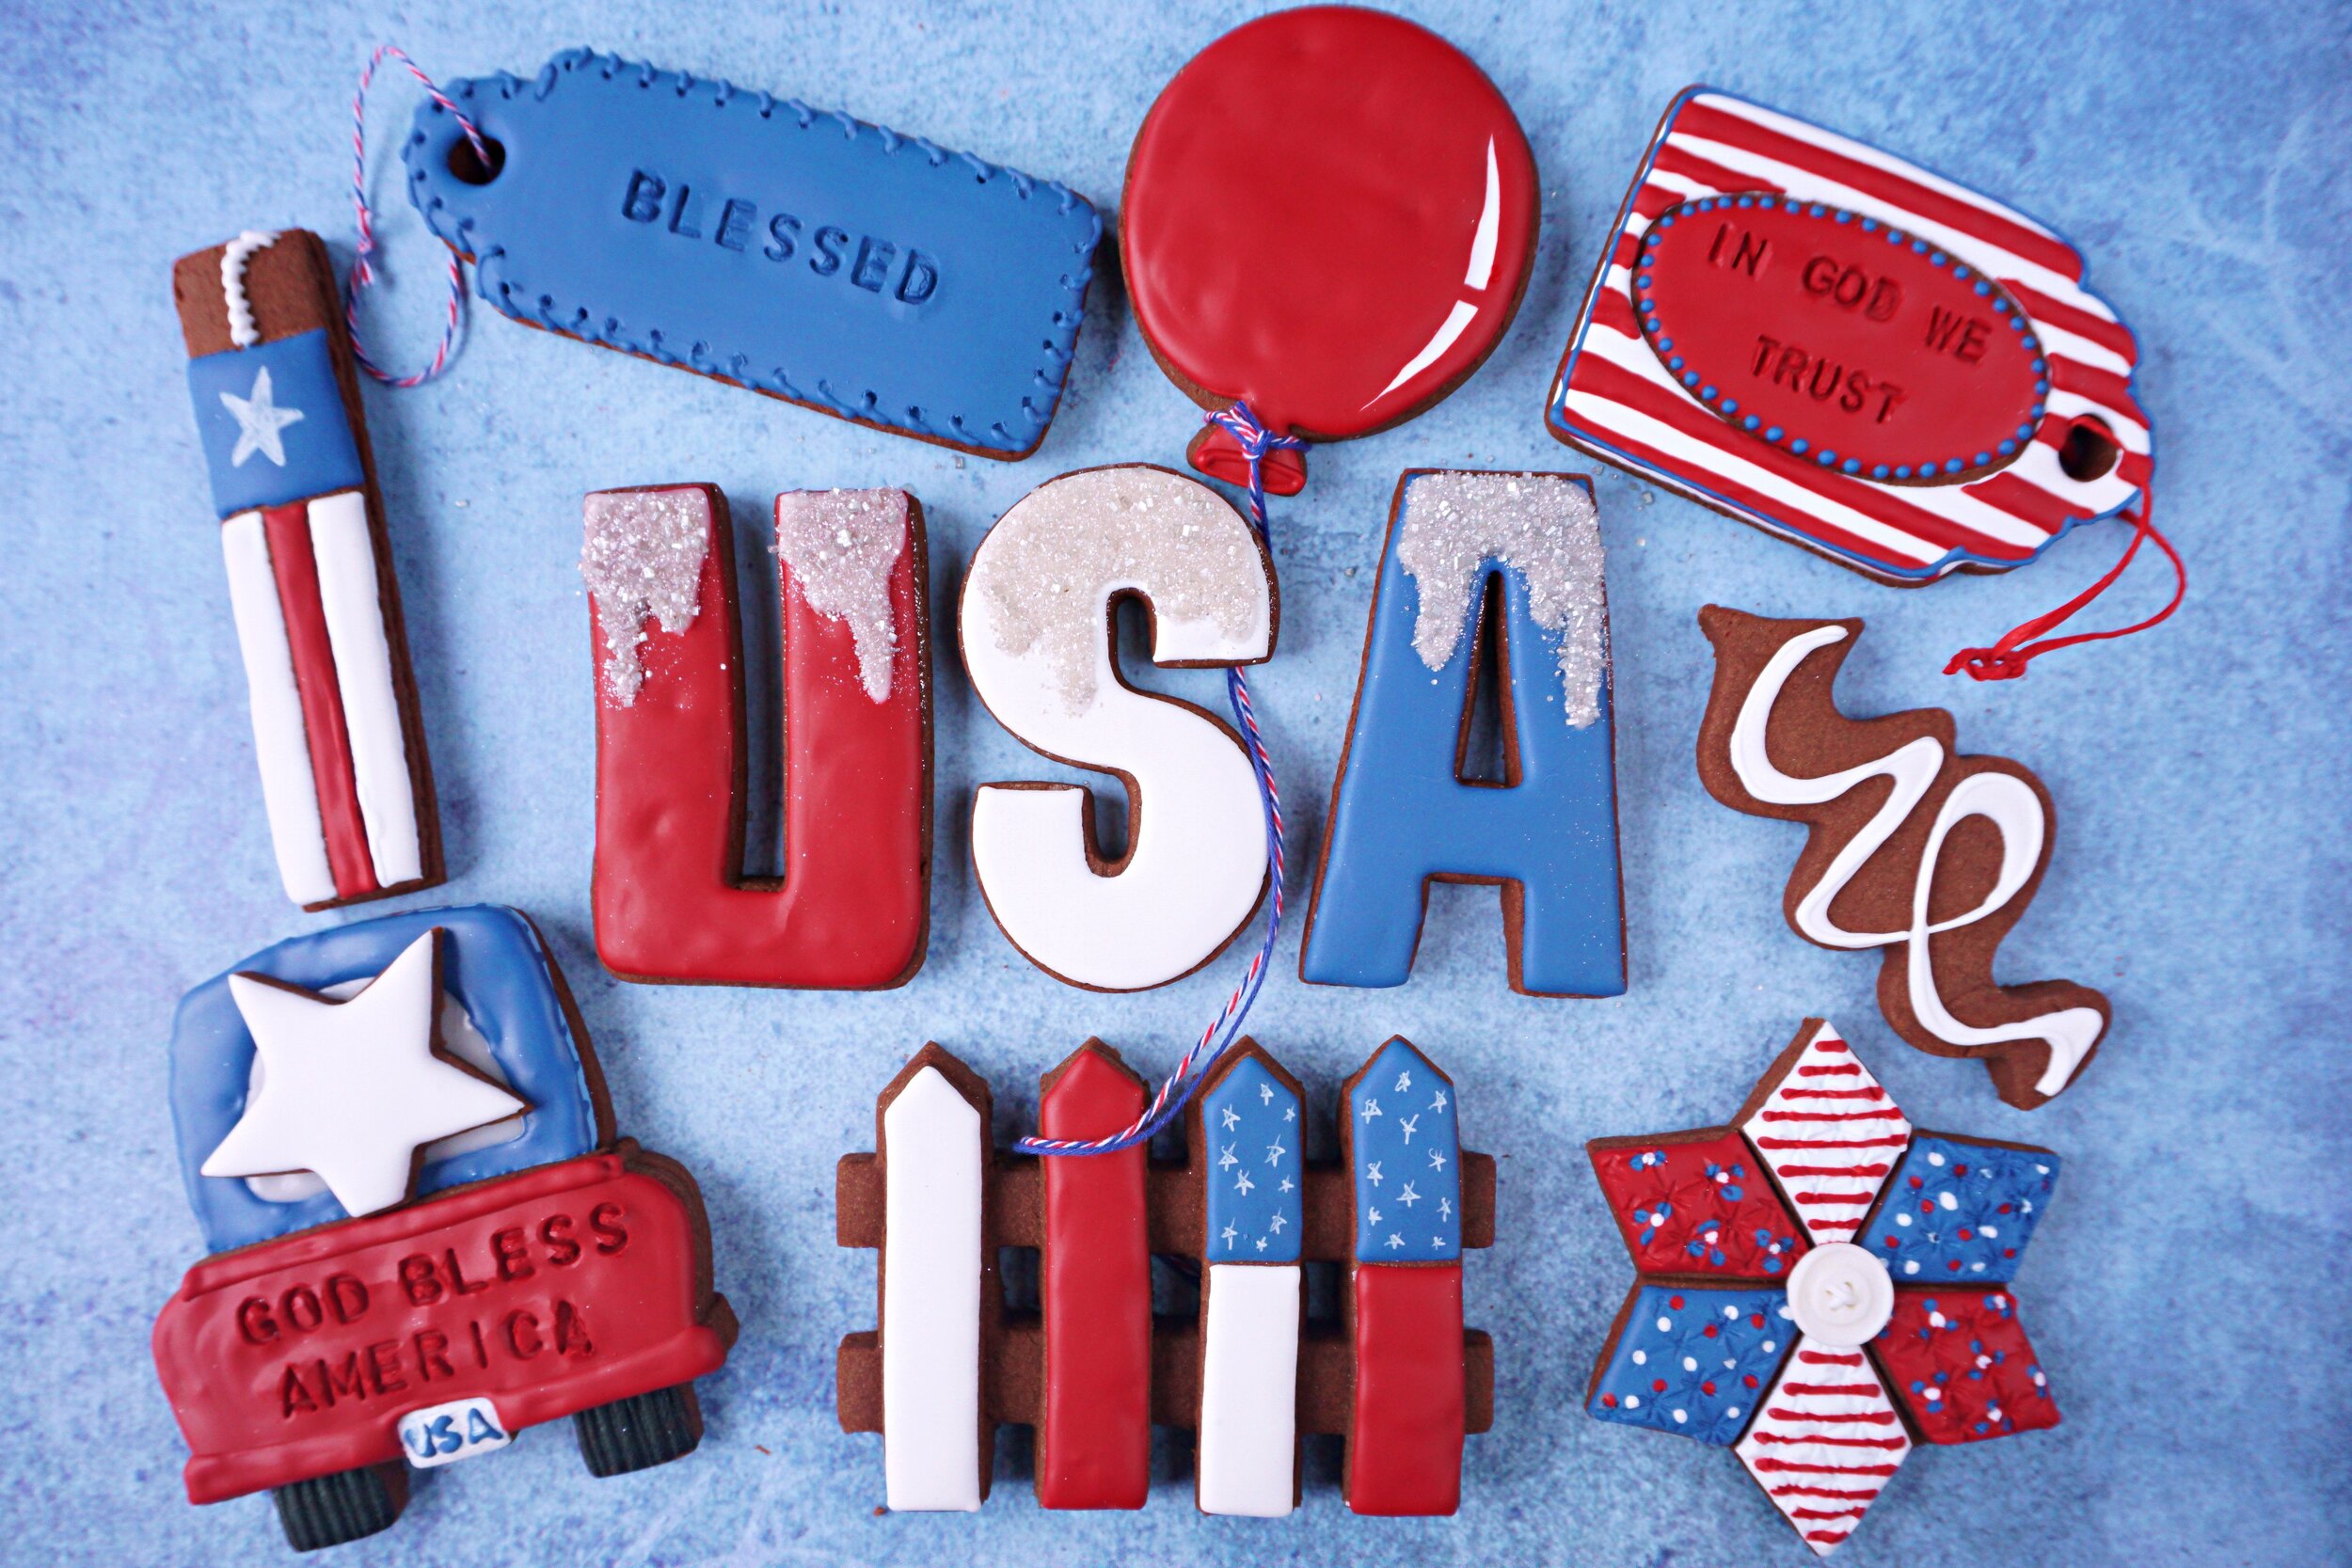
YouTube Tutorial Video HERE           Banner with Flower Cookie Cutter (modified with a pumpkin cut-out on top)

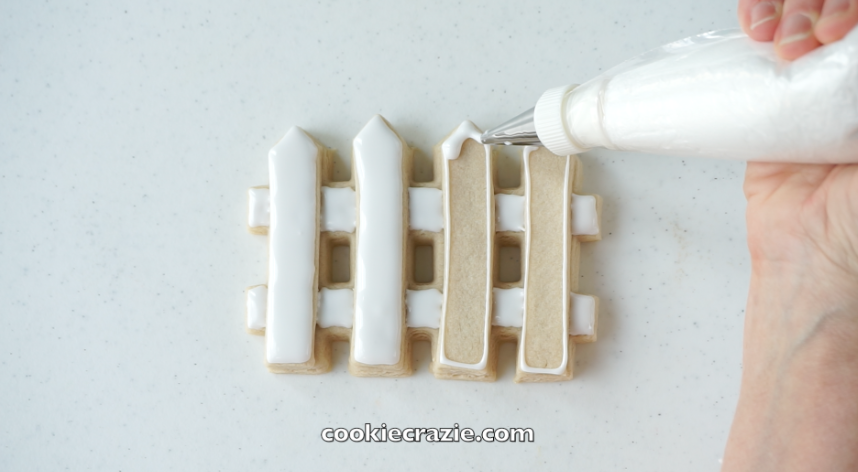
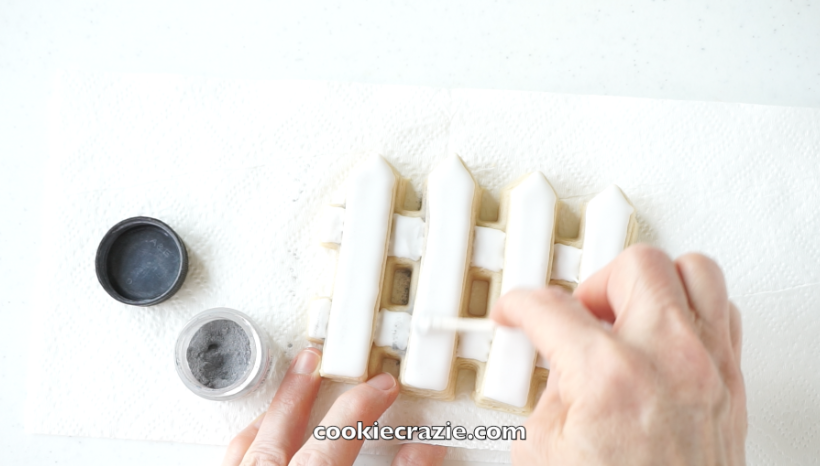
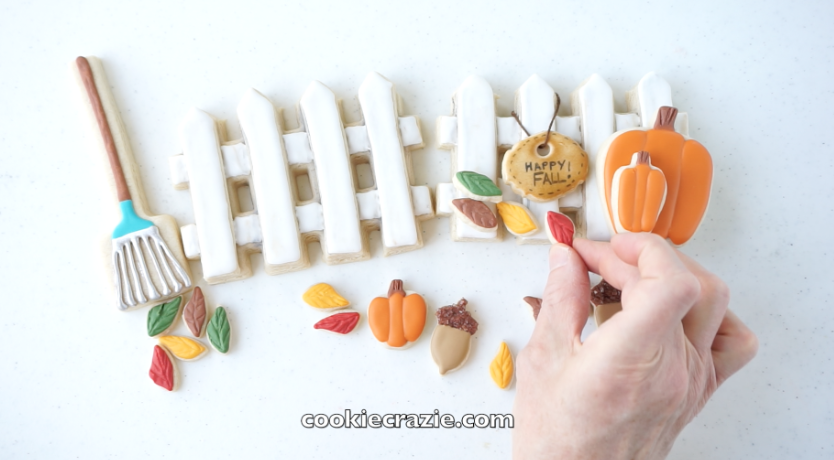
YouTube How To Video found HERE for Fall Bunting Decorated Sugar Cookie Bunting (four spaces) Cutter with mini pumpkin and acorn cookies added to the sides


Fall Picket Fence Decorated Cookie (Tutorial)

There's something so quaint and rustic about cute little picket fences. And I love them in an autumn scene. So when I found this adorable fence cookie cutter, I was anxious to create some fall cookie collections with it. :)


As I'm always trying to make cookie designs as 3D as possible, here's a way to give these fences dimension. (see photos and video)
Cut a second thin cut-out of the fence and trim the vertical planks as shown and lay them across the base fence cut-out to make the fence planks stand out.
Use a small rectangle cutter (I used the smallest cutter in this set) to trim in between each plank in the appropriate spots (see video).


Rustic Patriotic Tag Decorated Cookies (Tutorial)

I love the rustic look so much! Before I started these cookies, I had a technique in mind to try.....and in the middle of the experiment, I accidently scraped some of the color off the top  of the cookie and realized.....THAT'S IT! That's the look I was going for. :)

To make tag cookies, you can use just about any shape and then use a straw to cut out a hole on one side of the shape. For these particular cookies, I used the tea bag cutter from That's A Nice Cookie Cutter designed for me to complete the Tea Time for Mom Decorated Cookie Collection. It has a tag hole built right into the cutter. 

Once the cookies are baked and cooled, brush dry chestnut and caramel elite colors over the top of the cookie surface. (see photo below)

Combine a small amount of vodka (or clear extract, i.e. almond extract) with royal blue and red rose elite dusts separately to make blue and red "paints".

Brush the paint roughly over the cookie making sure it is not uniform in order to give it that rustic, primitive look.

Then....here's the fun discover......use a small knife or thin flat surfaced tool to scrape random parts of the painted color off the tag.

Also, if you'd like to add a shape on top of the tag, find a correctly sized mini cookie cutter and press it into the still wet "paint" to make an impression you can use later to pipe the shape with glaze. (see photo below)

Allow the cookie to dry for at least an hour and then outline and flood the shape over the top of the painted surface.

If desired, you can add an aged-look to the piped shape once it has dried overnight by brushing it with dry brown dust.


Member Login
Welcome, (First Name)!

Forgot? Show
Log In
Enter Member Area
My Profile Not a member? Sign up. Log Out