scarecrow

Harvest Blessings Decorated Cookie Collection

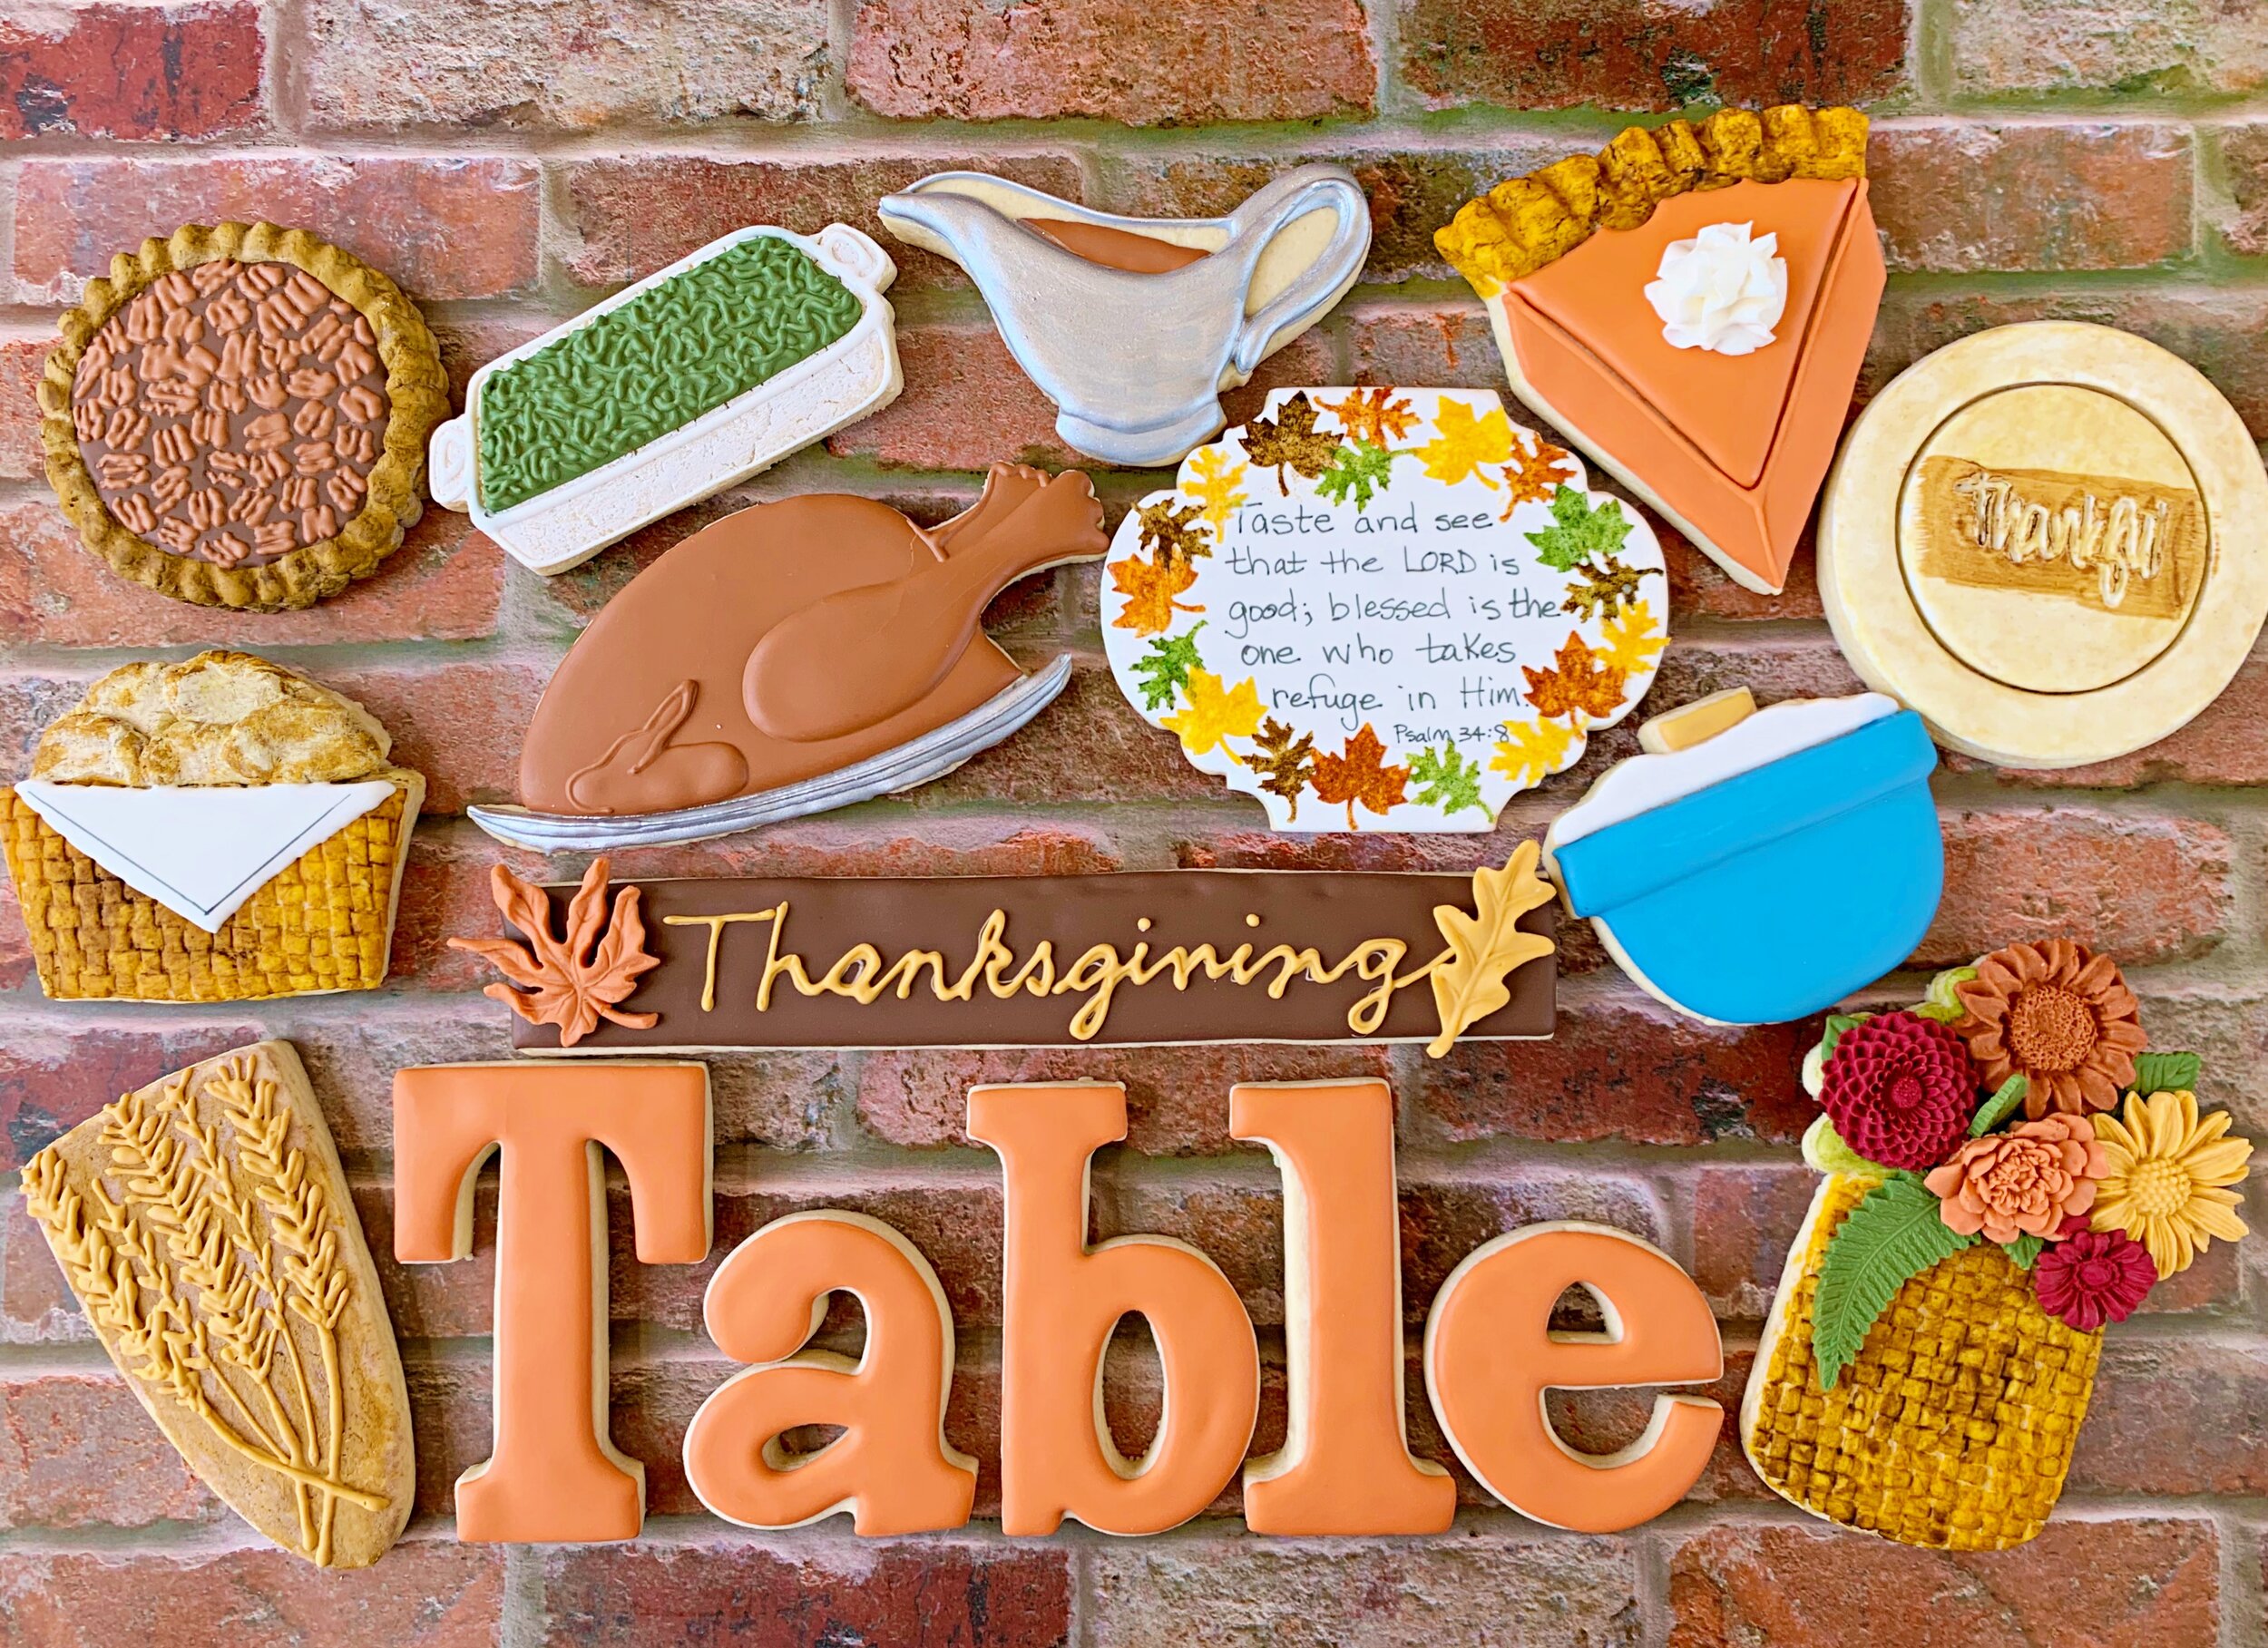
Harvest time produces blessings…..so many things to be thankful for.
It’s a perfect segway into Thanksgiving.

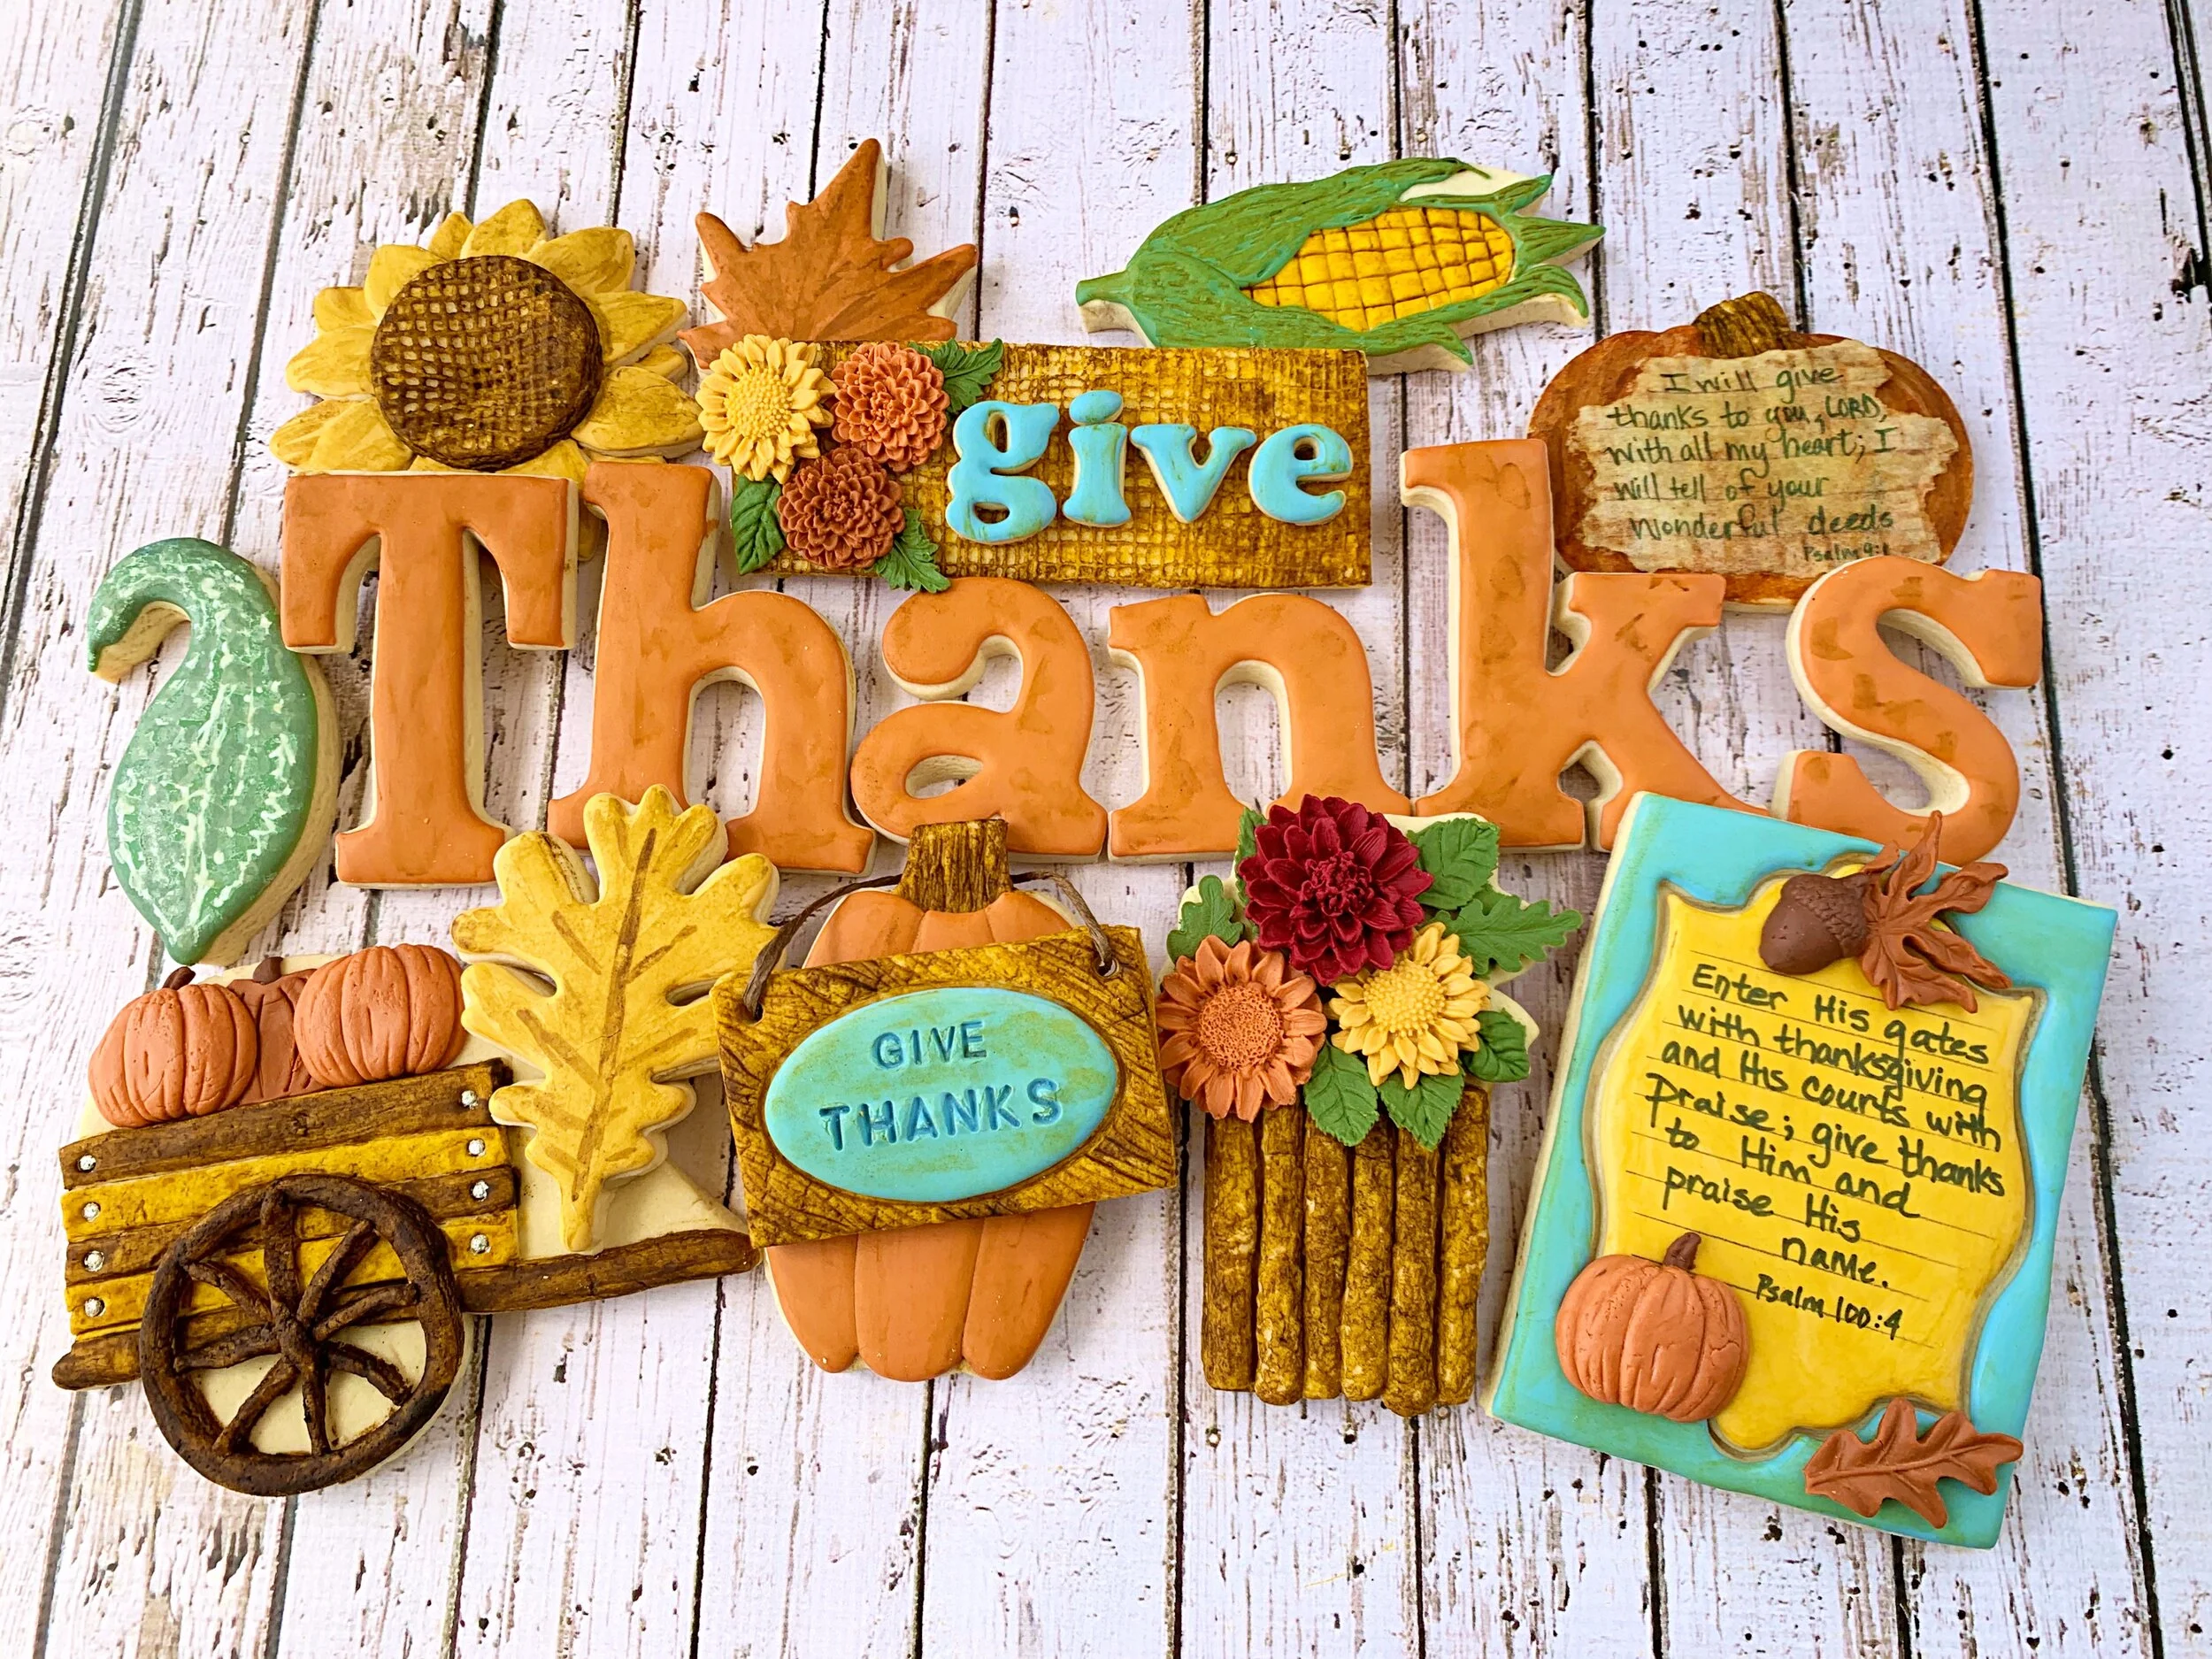
When I reflect on blessings right now, it’s hard, yet easy. I DO have so many blessings…..and I’m working to not allow the negative things to get in the way of being thankful. When you sit still and look over your life, you realize that God allows us to continually reap a harvest of incredible things HE has done.

I’m blessed. I’m thankful. And grateful to express it all here.

🍁🍂🌻🌾🧡

________________________________________

Blessed are all who fear the Lord, who walk in obedience to him. You will eat the fruit of your labor; blessings and prosperity will be yours. Psalm 128:1-2
Let us not become weary in doing good, for at the proper time we will reap a harvest if we do not give up. Galatians 6:9
The land yields its harvest; God, our God, blesses us. Psalm 67:6

Autumn Decorated Cookie Collection 2019

Autumn…..LOVE IT!

So much about it can be emulated in cookies. I always lean toward the rustic side.

And as it’s become my habit, I wanted to use this set to remind me of truth.

“To everything there is a season” Ecclesiastes 3:1.

Thank you God for all the seasons…..each year…..and in our lives…

🍂🍁🌻🌬🌳


Happy Harvest Decorated Cookie Collection

Autumn has to be top on my list of seasons!
And all the rustic-ness comes together in this favorite harvest cookie collection.

I hope this finds you enjoying the beauty and yumminess of the season!

Happy Harvest!!!

Pumpkin Patch Sign Decorated Cookies (Tutorial)   Pumpkin Decorated Cookie YouTube Video HERE


"Handy" Scarecrow Cookies (Tutorial)


To make these scarecrow cookies you will need:

 Before baking the cookies, 
you can change the position/shape of the scarecrow's hat
and straw coming from his neck, if you wish.
Outline and flood the hat on top.....adding any design or pattern you wish.
Outline and flood the "straw" (fingers) with the light tan glaze.

Allow to dry for about an hour.
Then outline and flood the face with ivory glaze.
Start adding texture to the "straw" under the scarecrow's face.

After the texture has dried for 10-15 minutes,
keep adding various lines to the straw (tan, gold, brown).

Allow the ivory (face) glaze to dry for at least 30 minutes 
before adding straw around the face.
Allow the cookies to dry overnight.
Using a paint brush, add pink petal dust to give the scarecrow rosy cheeks.
Then using a very small round paintbrush,
add thinned Americolor gels to make the scarecrow's face.
You can also use food color markers for adding details.

Member Login
Welcome, (First Name)!

Forgot? Show
Log In
Enter Member Area
My Profile Not a member? Sign up. Log Out