ruffle cake

CookieCrazie Chatter...... Friday, February 19, 2016


_________________________________________________________


CookieCrazie's Week in Review


/www.cookiecrazie.com//2016/02/lace-n-frills-valentines-cookie.html Automatic Permalink


/www.cookiecrazie.com//2016/02/pedestal-cake-stand-cookie-tutorial.html


_________________________________________________

Personal Side


Valentines Day came and went.
We had a small snowstorm that day, so a basket of cookies has waited half the week 
to be showered upon some unsuspecting recipients. :)
Thankfully sharing love is not limited to one day of the year....

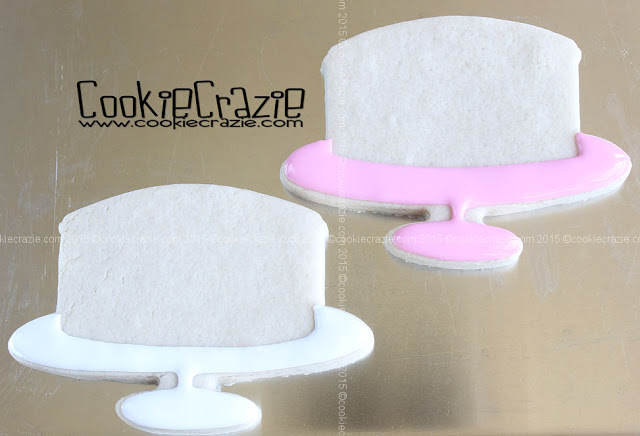
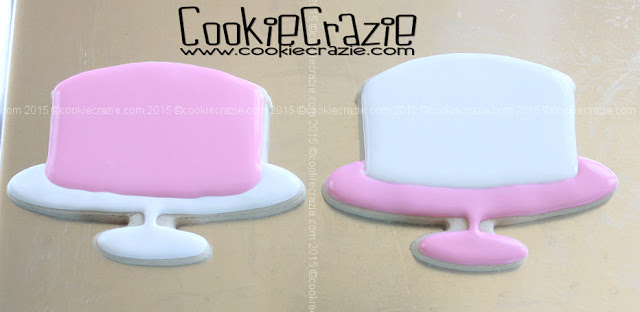
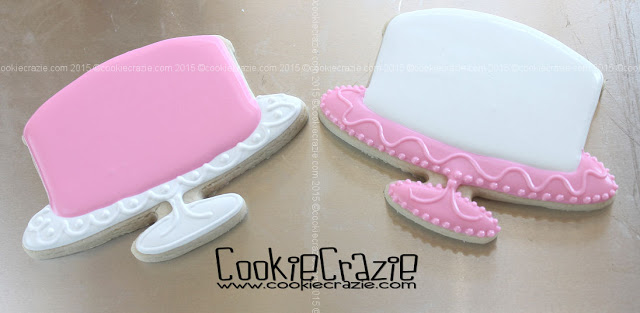
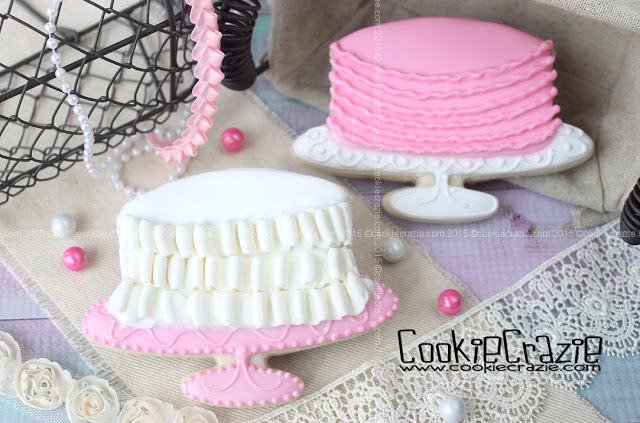
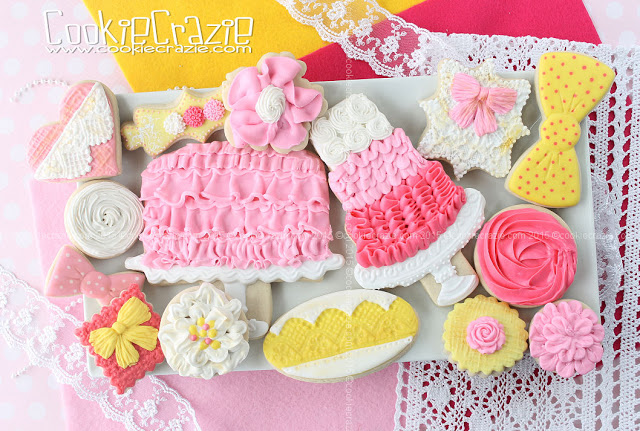
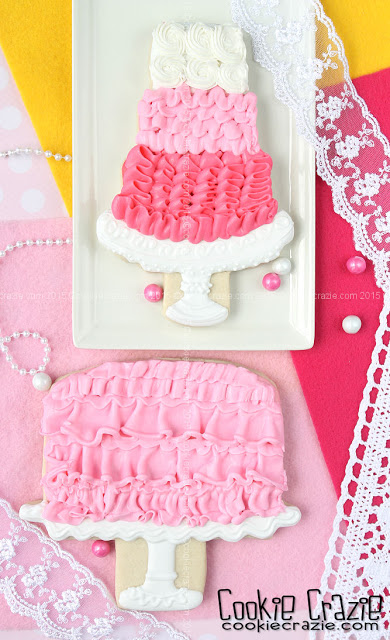
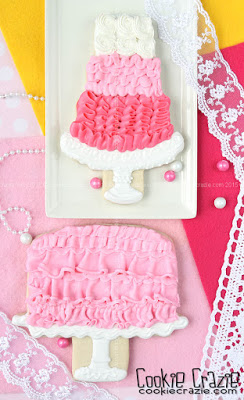
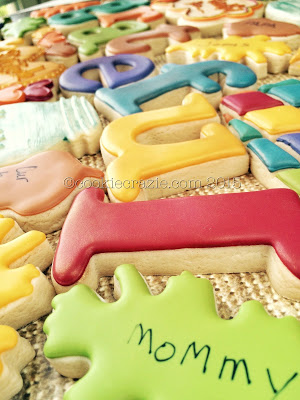
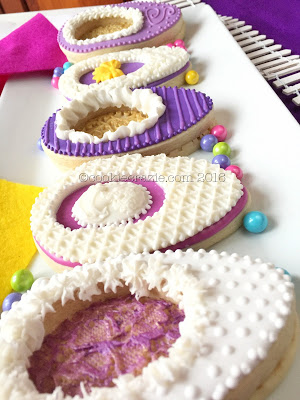
The kitchen was full of fun with this last set of cookies.
Sometimes things just click really well......
and this set of cookies was one of those times.
Everything from the shapes, colors, designs, and overall outcome came together.
I love it when that happens!

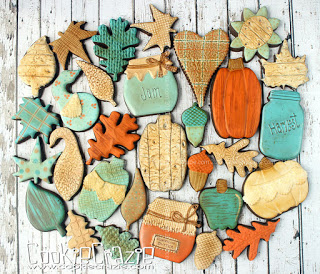
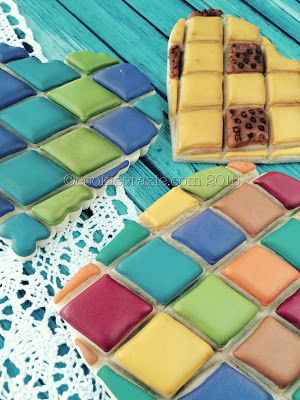
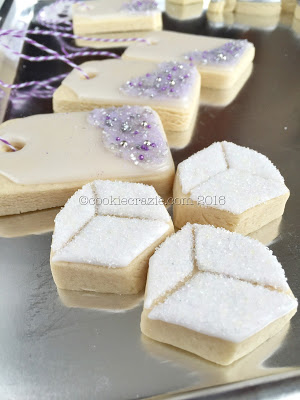
Now I'm off researching for the next project.
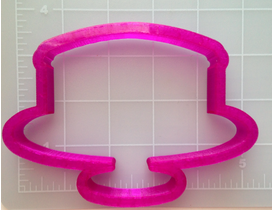
I just received a bunch of new cutters and I'm super excited to incorporate them into the theme.
Some of them are new custom cutters I worked with Ronee to make.
Go check out her website.....she has some awesome shapes to choose from!

Spring is coming!


♥♥♥


Instagram photos for this week:


A favorite Valentines cookie....


Be mine.....


Switching gears....


I'm going to miss making Valentines cookies...


Happy Valentines Day!


 Feeling the love today......hope you are too!


Windows into spring....


Cupcakes...cupcakes!


Can you guess the theme of this week's cookies?


Another throwback to last year's Valentines cookies....
/www.cookiecrazie.com//2015/02/purple-blue-valentine-cookie-collection.html


Yes, tea time is coming!


_________________________________________

Last CookieCrazie Chatter....

Pedestal Cake Stand Cookie (Tutorial)


I'm very blessed to have a friend who "gets" me and
wants to help with the cause that I'm passionate about.
Ginny Levack of CreativeCookier has partnered with me to make
CookieCrazie custom cookie cutters.
She donates some of the proceeds of the cutter sales to my Ukraine mission effort.
[Thank you Ginny! I appreciate your sweet spirit and your kind & generous heart!]

Here's one of the most recent cutters we added to the collection.
This pedestal cake stand cutter has so much versatility for making 
any kind of cake or creation on top of a cute pedestal stand.


http://www.creativecookier.com/store/p330/Cake_Stand_by_Cookie_Crazie.html


Start the decorating by outlining and flooding the base pedestal part of the cookie.
(see photo below)


After that portion has dried for 30 min - 1 hour, outline and flood the cake part of the cookie.

Add embellishments to the pedestal stand as desired.

Add ruffles to the side of the "cake" by piping edible clay as described in this blog post.


Lemonade 2015 Cookie Collection

Pink Yellow Shabby Chic Cookie Collection

CookieCrazie Chatter...... Friday, October 9, 2015


_________________________________________________________


CookieCrazie's Week in Review


/www.cookiecrazie.com//2015/10/autumn-shabby-chic-cookie-collection.html


/www.cookiecrazie.com//2015/10/autumn-shabby-chic-cookie-collection.html


_________________________________________________

Personal Side


Yeah!
I'm home again.
It was almost two weeks being away......and I was SO READY for my comfy bed and pillow.
 
I am still digging out of the "so-far-behind" hole created from my time away.......
but hopefully I can get back to decorating cookies SOON!

CookieCon 2015 was fabulous!
And my vacation following working so hard for my pre-CookieCon classes was
much needed and much enjoyed. :)

Now it's time to slide back into routine and enjoy each day to it's fullest.
Thanks for hangin' with me.

♥♥♥


Instagram photos for this week:


Happy Friday!


So grateful and thankful to God for how He has and is using cookie decorating in my life.
#grateful #thankful #masonjar


Having a fabulous vacation in Park City and Salt Lake City......
I'm so thankful for the rest, relaxation, and even cookie decorating with friends one day!


Here's a colorful mosaic-look for this lovely Sunday.
#mosaic #colorful #cookies


With a grateful heart on this fine Tuesday......here's what has me thankful at the moment:
1) safe trip home last night from Salt Lake City
2) wonderful, refreshing vacation this last week with a friend
3) fabulous time at #cookiecon2015 the week prior.
What about you?


Oh......I loved creating these pear cookies last fall. :)
#throwback #tbt

/www.cookiecrazie.com//2014/10/pear-cookie-tutorial.html


_________________________________________

Last CookieCrazie Chatter....

Shabby Chic Ruffle Cake Cookies (Tutorial)


Every time I see a cake decorated with ruffles I want to squeal.
I just love the sweet feminine look that those ruffles add to the cake.

In the past, I would never have been able to make ruffles because glaze icing does not allow it.
But now that I have edible clay, I can add a tiny bit of water to it and then I can pipe with it.

Ruffles......here we come!


Use any cake shaped cutter you'd like.
I wanted large fancier cakes on pedestals, so I hand cut both of these shapes.

Outline and flood the pedestal portion of the cookie in the colors and design desired.


The cake part will need a flood coat on the cookie so that 
the edible clay ruffles will adhere to the cookie.

You can do them in white, or in the base colors of the cake.


Allow the cookies to dry overnight with just a base coat.
This way, the heavy clay will not sink into the wet glaze.

Make some edible clay in the cake icing color of choice.
Add a tiny amount of water to the clay to allow you to pipe ruffles without injuring your hand!

For the wide cake, I used these ruffle tips.
The width of these ruffle is tall, so the cookie will need to be fairly large to use them.
As you push the clay through the tip, you'll need to have an 
up and down motion to give it a nice ruffle look.
Repeat this action all the way to the top of the cake as you make horizontal layers of ruffle.


For the tall cake, I tried for an ombre look.
I didn't quite achieve a subtle color change. :(
However, it was fun to change up the ruffles and even do some piped roses on the top of the cake.
Bottom layer ruffles = Wilton #102 tip
Middle layer ruffles = Wilton # 46 tip
Top layer roses = Wilton # 18 tip


Ruffle cakes......I love 'em!


Lemonade 2015 Cookie Collection
Member Login
Welcome, (First Name)!

Forgot? Show
Log In
Enter Member Area
My Profile Not a member? Sign up. Log Out