snowmen

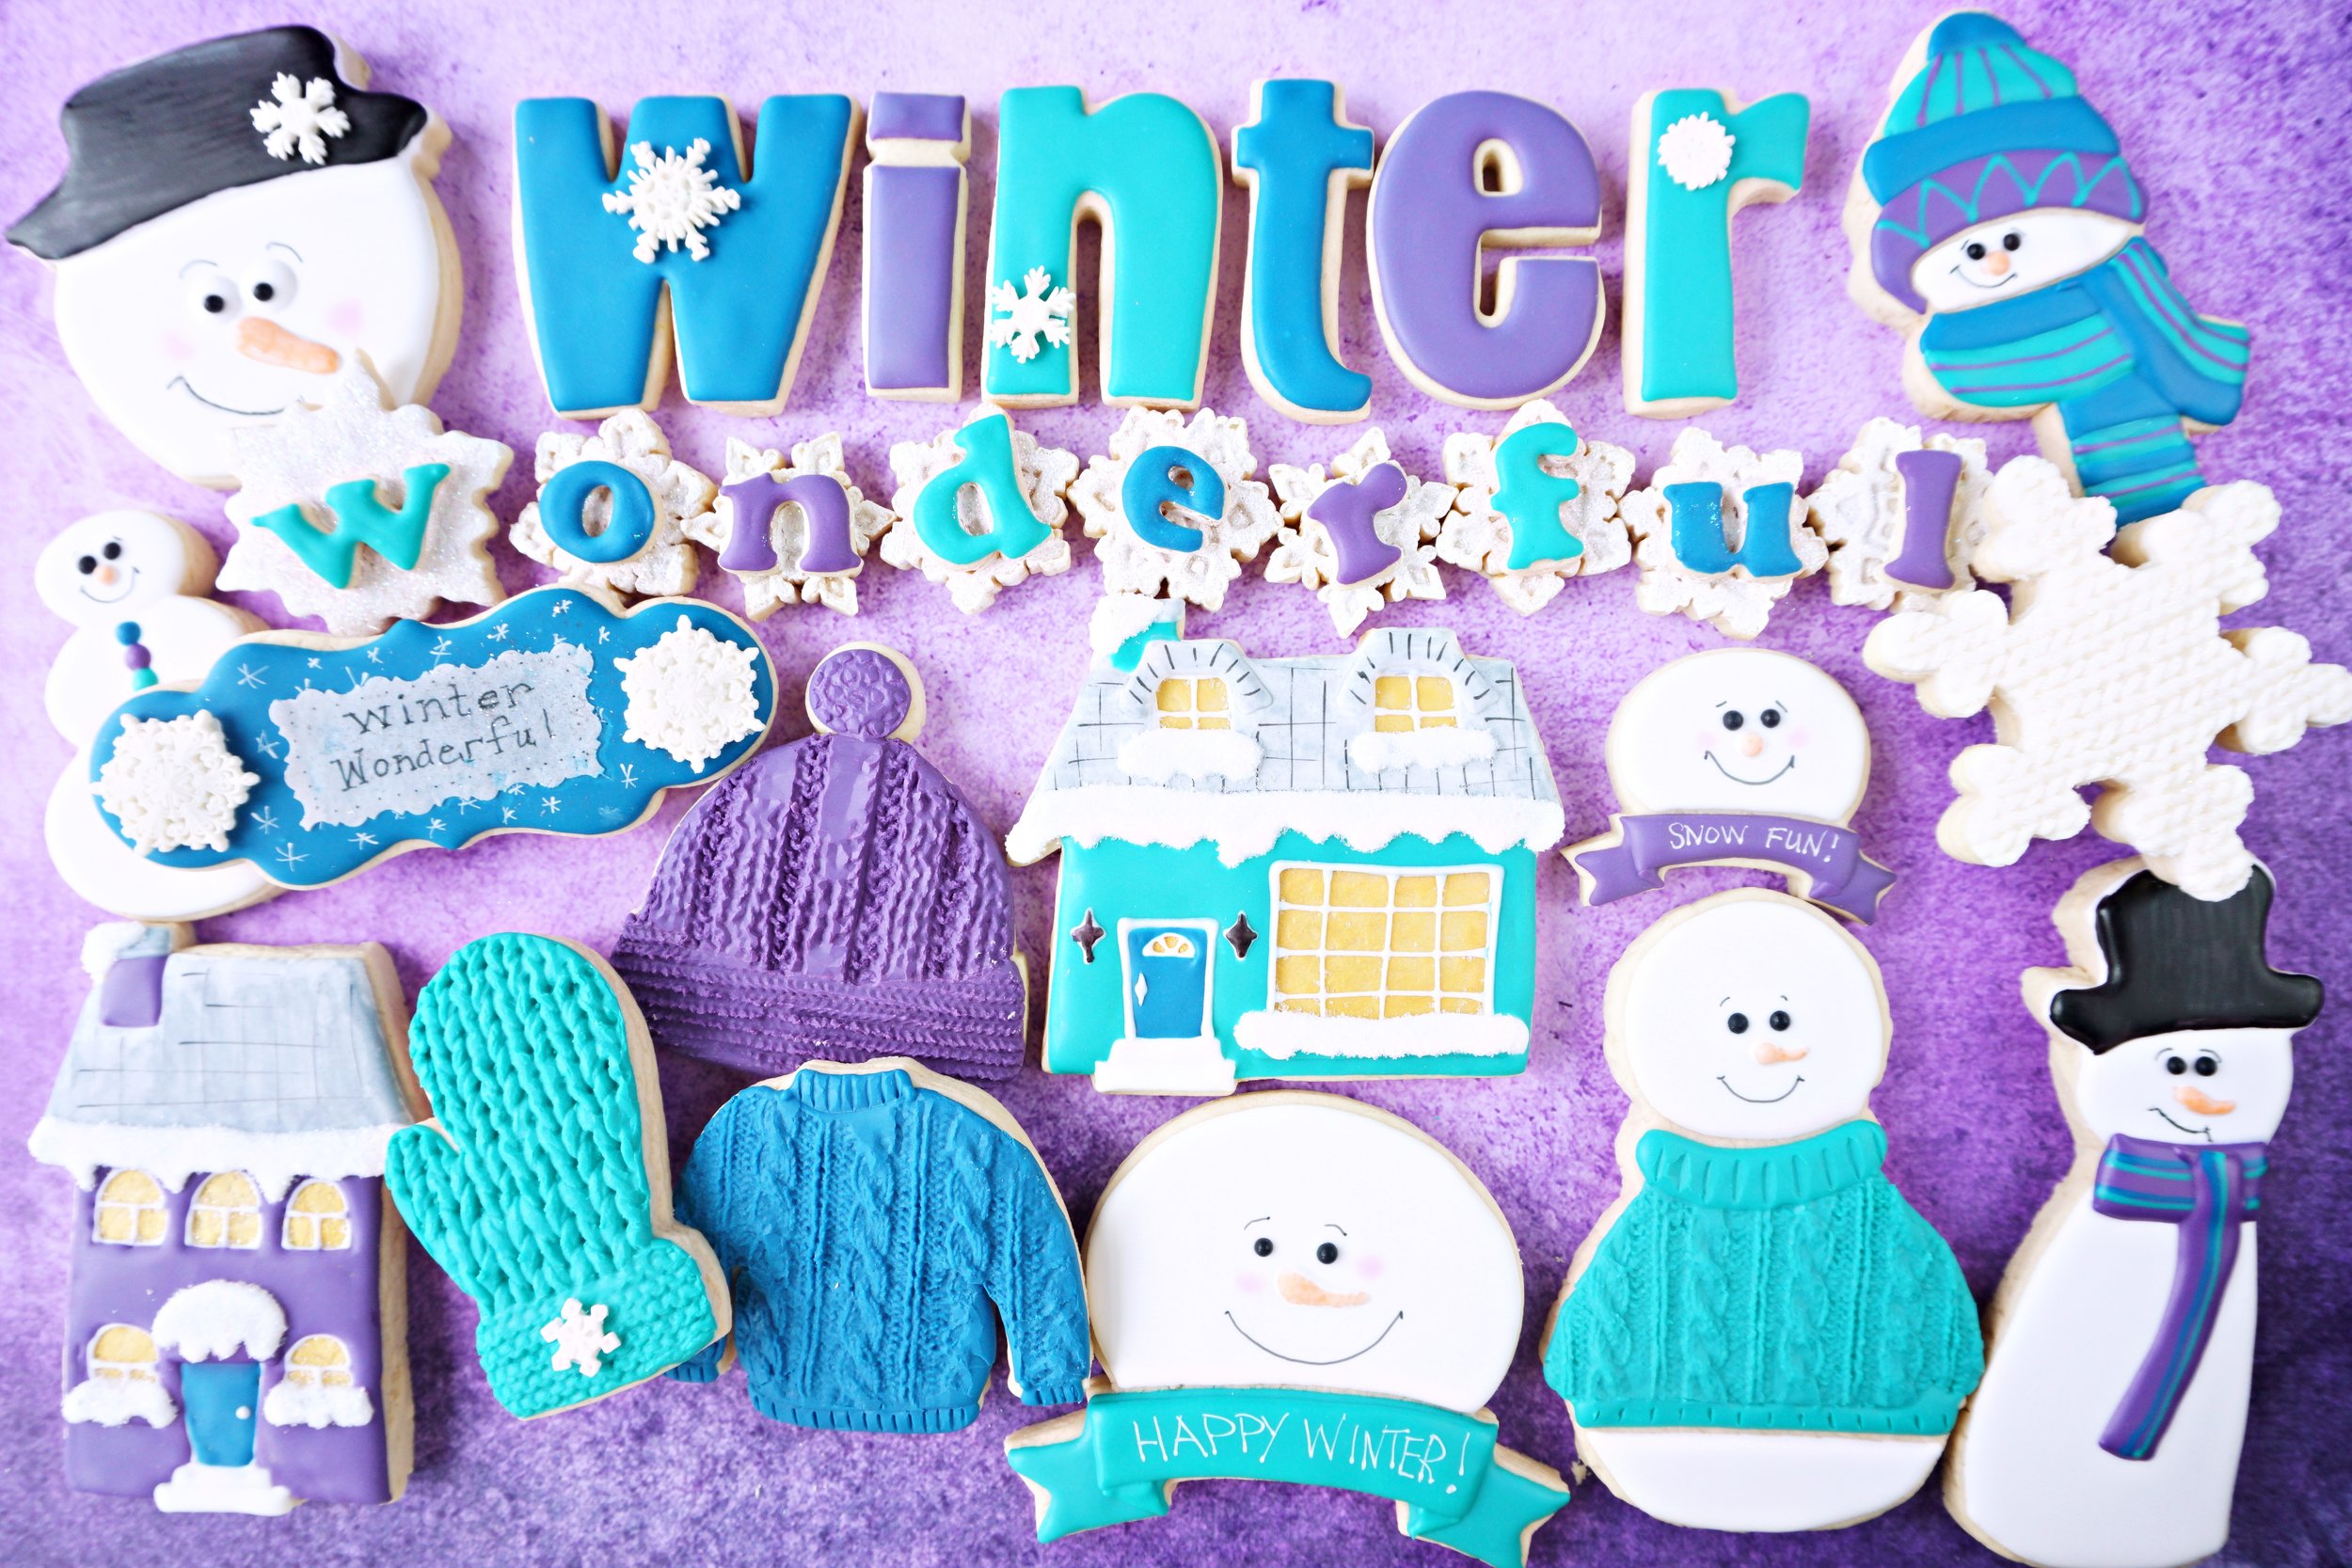
Frosty Winter Decorated Cookie Collection

I love winter! 
I know that's not a popular preference, but nevertheless, it's mine.
And snowmen top my favorites list.
So every year, I try to do at least one set of cookies featuring snowmen and all things winter.
Now that Christmas is past, I look forward to snowy days snuggled up with some hot chocolate and a good book/movie.
Happy Winter everyone!


Snowmen Cookies from SugarBelle Cutters (Tutorial)

When I first purchased some of SugarBelle's new cutters,
I immediately saw snowmen shapes galore.
So finally, I'm getting a chance to try them all out. :)

These snowmen could be done many different ways, so this is just my versions.
I'd love to see your variations, if you try these out.

All of these cutters are found in the ShapeShifters set, except for the scarecrow (found in an exclusive harvest set at Michaels) and the baby bottle (in the Special Delivery set). The cutters from L to R and Top to Bottom: tombstone/horseshoe (SS), Scarecrow, baby/flip flop (SS), skull/ballerina head (SS), baby bottle, snowman/baby rattle (SS).


Here's how I started all of these shapes......lots of white snow, and then fun hats and scarves.

I tried to add some texture to the accessories.

And then after they dried overnight, I added the faces with markers.
(Jet Black Rainbow Dust dual marker, and Food Doodler markers for color)


Happy snowmen......just the way I like them. :)


Winter Rectangle Buddie Cookies (Tutorial)


I divided my rectangle buddie cookies into two sets......

Here's the snowmen, reindeer, and penguins...


For the rectangle snowman cookies, I did a top hat snowman and a knitted cap snowman.

Outline and flood the entire cookie with white 10-second glaze.
Give it a few hours to dry since black and white tend to bleed together.
Add the top hat shape in black glaze, a knit cap in your choice color,
 and the draping part of the scarf with any pattern you'd like.
At this point you can also add white circles for eyes and drop black pearls in the middle of them.
Add a white glaze carrot nose and paint it the next day (once it is dry) with orange color gel.
(I always try to keep from making extra colors of glaze that can be dealt with other ways.)
Add tiny dots of "coal" in black glaze for the smile.


Once the hat and scarf have dried a bit, 
add the pom pom to the top of the hat and the hanging end of the scarf.


The next day, if desired, you can add details like pink cheeks by brushing on pink pearl dust,
and eye brows with a black food color marker.


Reindeer require outlining about 2/3 of the rectangle with brown glaze.
Add some curly antlers also in brown glaze.


After they've dried for an hour or two,
add huge white glaze circles for the eyes and drop a black pearl in the centers.
Make the muzzle with a large brown circle under the eyes.
Drop a black or red pearl on the top part of the muzzle for a nose.


The next day, use a black food color marker to add eyebrows, mouth, and other details.


Penguins.....always a favorite!
Cover the entire rectangle with black 10-second glaze.
Because of bleeding problems, I dried mine overnight.
On Day 2, add "heart shaped" face and a long white front with white glaze.
Drop black pearls onto the white glaze for eyes.


Add brown glaze "feet".


I wanted the penguin to have a red "plaid" scarf but didn't want to mess with the bleeding issues.
So I added a white neck band and then painted it with red color gel the next day.


If desired, add some pink cheeks with pink pearl dust and a mouth with a black food color marker.


Rectangle Buddie Cookies

CookieCrazie Chatter...... Friday, January 18, 2013


_________________________________________________________

CookieCrazie's Week in Review


______________________________________________________

Personal Side


A nice quiet week.
I like those kind. :)

This week I started in on Valentines cookies.
Wow......it is so exciting!
Ideas were flowing like crazie.
I can't wait to show you all the fun things I made this week.

We're starting to plan for our June 2013 Ukraine mission trip.
As a friend said last night......it will be here in a blink of an eye.
So true.
Time flies at super speed.
I am SO GRATEFUL that as of this month,
 since August 2012, I've raised all the money I need for my travel in June.
Now everything I make between now and then is for ministry needs.
I'll work my tail off just to make sure that is a significant amount of money. ;)

Next week.....more Valentines cookies.
I'm sure my dreams are going to start coming up in red, pink, & white. lol
And when I can't sleep, I'll count heart cookies. ;)

Thanks for being here and supporting me in a million ways.
I appreciate you. :)


Instagram photos for this week:


 Good morning, sunshine. Where's winter?
  
Uh oh..... His nose fell off. :o/

It's been a good week for wintry cookies. :)

I think my cookie tribute to winter is working. We've got snow flurries today. :)


Ummm.....I think I read on other blogs to wear gloves when coloring dough. Oops! ;)

 I can already tell....,this is going to be a really fun week. :)

Cookie decorator turned candy maker? Gotcha. ;)
 
Experiment is working. Very. Happy. :)

 
Today I get to add finishing touches. The best part.....


Colored dough makes decorating super easy. :)


_________________________________________

Last CookieCrazie chatter....


Simply Winter Cookies: Snowman with Knit Cap (Tutorial)


To make a snowman cookie with knit cap you'll need:

 Cut out a cupcake cookie and a circle cookie and piece them together as shown.
Note: The cookie in the middle of these next two photos is the snowman with top hat.
The cookie on the left  is the snowman with knit cap.


Outline the "piles" of knitted cap on the top of the cookie.
After it has dried for about 15 minutes, add the flood icing and any pattern you'd like.

Outline and flood the little pompom on top of the hat.
Allow the cookie to dry overnight.

 Using black and orange glaze, add eyes and a carrot nose.
 Use a food color marker to make a mouth, eyebrows, or any other details you'd like.


Here's the three snowman cookies I made with my new cupcake cutter.
Tutorial for the snowman with top hat HERE.
Tutorial for the snowman scene coming soon.

Simply Winter Cookies

Member Login
Welcome, (First Name)!

Forgot? Show
Log In
Enter Member Area
My Profile Not a member? Sign up. Log Out