cap

Cookie Graduation Cap (Tutorial)


You know me.....and 3D cookies. Love 'em!

You'll need some chocolate cookie dough (or just color regular dough with black food color gel).
For one grad cap, you'll need 3-ovals cookies and 1-diamond cookie slightly bigger than the ovals.


With black 10-second glaze, "glue" the ovals and diamond together.

Add a black button to the mortarboard.

Then make a few tassel cookies (tutorial here) with bakers twine attached.....and you're ready to go!


Graduation Cap Cookies (Tutorial)


There's plenty of graduation cap cutters out there that have become rather ordinary.
I wanted to create a unique graduation cap that would be fairly simple for anyone to cut.

I ordered my long rectangle from Ecrandal (it's 5" by 2")
but you can get something similar at Plastics in Print or Cheep Cheap Cookie Cutters.

Use a larger diamond cutter to to give the cap it's shape.
And then just rolled a bit of dough into an oval and add to the top of the cap for a button.
Easy peasy..... :)

Outline and flood the bottom part (skull cap) in black 10-second glaze.
Once it's dried for 30+ minutes, flood the "mortarboard".
And finally, outline and flood the "button" on the top.


And then to make them more authentic and much more interesting,
add a tassel cookie that has some baker's twine attached.

For a cute presentation, package the two cookies together in the same bag. :)


Graduation Tassel Cookies (Tutorial)


There's lots of options when making tassel cookies.
They can be made in any color needed.
You can color the cookie dough or not.
(Colored dough adds a little "pop" to the appearance.)

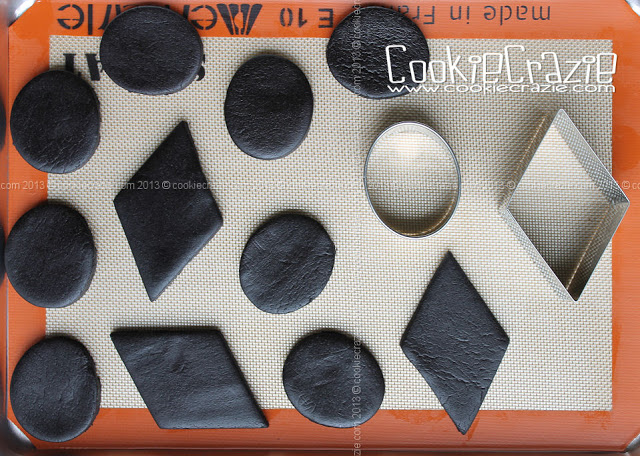
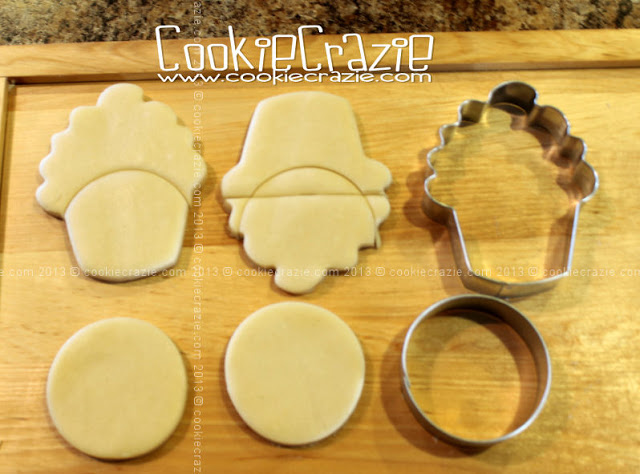
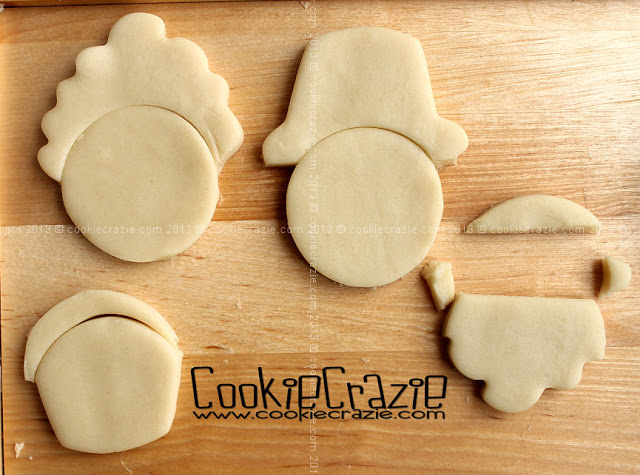
For a 3D effect, you can roll the dough like a "snake" between your hands as shown below.....
or use a long rectangle cutter or a tie cutter.

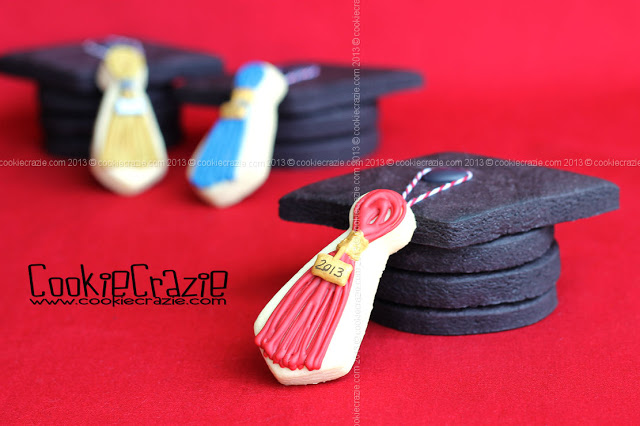
Here's the 3D-look cookies.
 I pinched a neck towards the top to make it look like a tassel.

Start off the decorating portion by making lines with 10-Second Glaze.
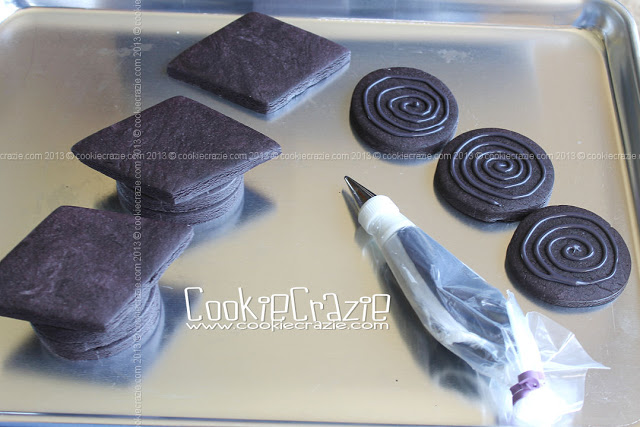
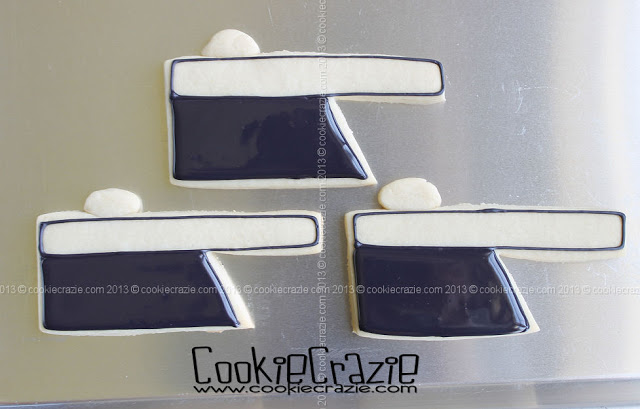
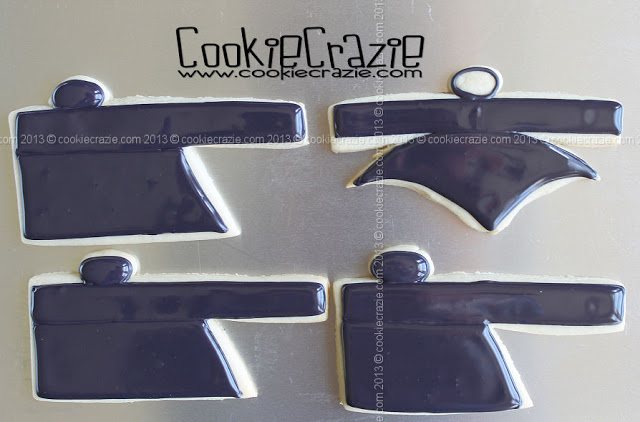
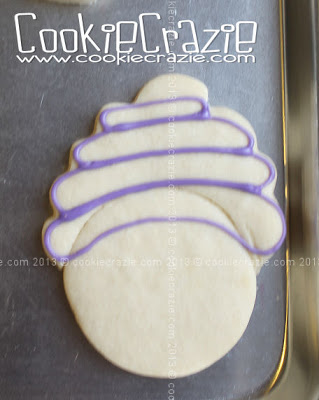
Remember that glaze will run together if the lines touch.....so pipe them separate.
This will require several layers.
Here's the first layer.
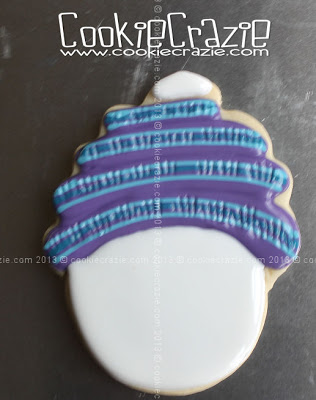
Second layer......

While waiting for layers to  dry on the tassels, start work on the year plates.
On a piece of parchment paper, make small rectangles that will "hang" across the upper part of tassel.
Allow them to dry overnight.

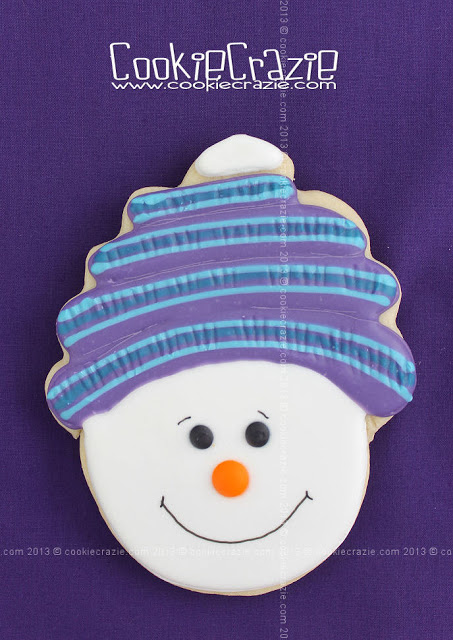
Finish layering the tassel strings to have a nice textured look and
allow the tassel cookies to dry overnight  too.

On the second day, paint on a mixture of almond extract & gold luster dust to each of the year plates.
 Allow them to dry for a few hours....then write the year on the plate with a black foodcolor marker.

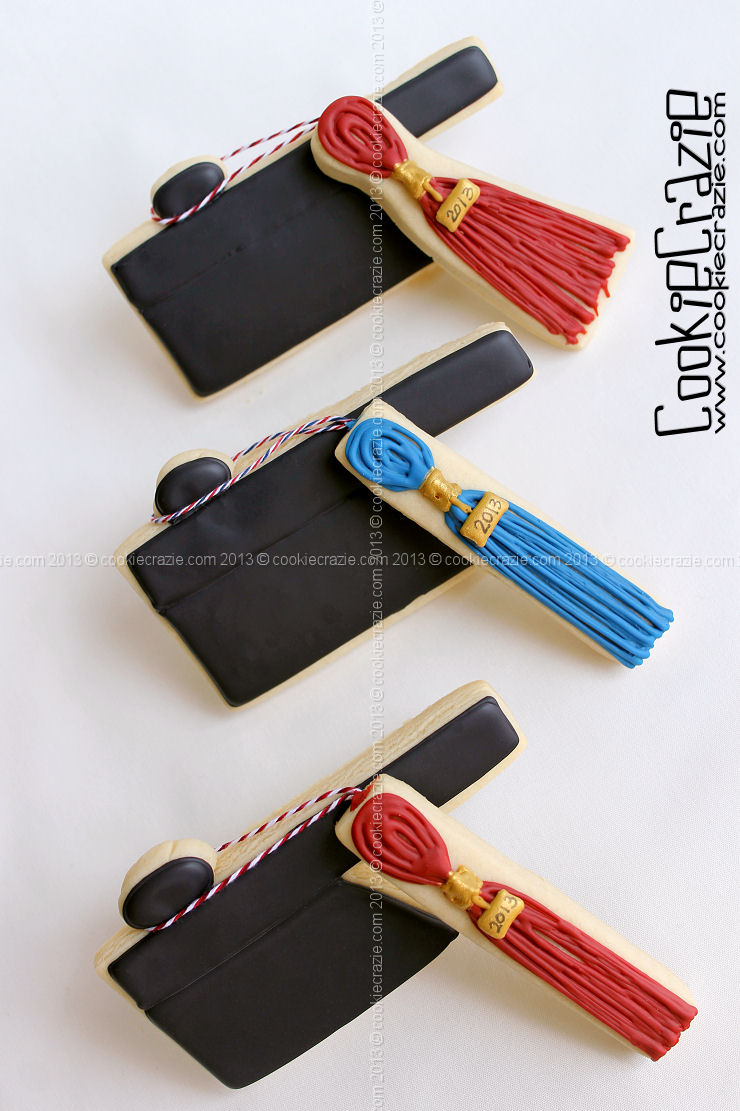
Add a gold band across the crimped part of the tassel.
Once it has dried a few hours.....you can add luster dust to it as well.

"Glue" the year plates to the tasel with a dab of the tassel glaze color.
If you'd like, you can add a small gold piped line from the band down to the plate
to make it look like it is hanging on the tassel.


I added bakers twine to the tassels so they could be hung.
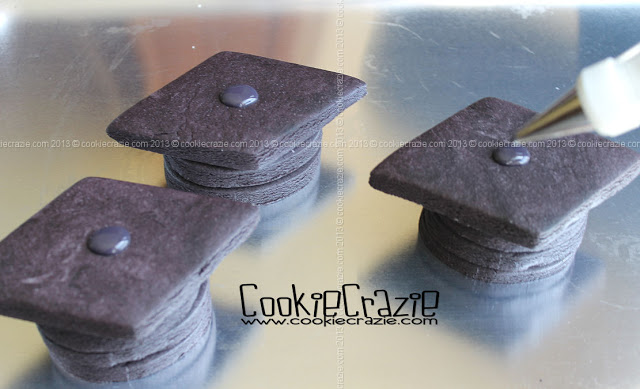
If you plan ahead, you can indent a hole in the top end of your cookie tassel.
This will allow you to add a dab of glaze into the baked cookie hole
and then stuff the twine into the hole.
Here's a link to SweetSugarBelle's perfect tutorial for adding string to the cookie.

The alternative is to just put a dab of glaze on the top of the back of the cookie and
press the two ends of the loop into the glaze. This will need to dry overnight.

Simply Winter Cookies: Snowman with Knit Cap (Tutorial)


To make a snowman cookie with knit cap you'll need:

 Cut out a cupcake cookie and a circle cookie and piece them together as shown.
Note: The cookie in the middle of these next two photos is the snowman with top hat.
The cookie on the left  is the snowman with knit cap.


Outline the "piles" of knitted cap on the top of the cookie.
After it has dried for about 15 minutes, add the flood icing and any pattern you'd like.

Outline and flood the little pompom on top of the hat.
Allow the cookie to dry overnight.

 Using black and orange glaze, add eyes and a carrot nose.
 Use a food color marker to make a mouth, eyebrows, or any other details you'd like.


Here's the three snowman cookies I made with my new cupcake cutter.
Tutorial for the snowman with top hat HERE.
Tutorial for the snowman scene coming soon.

Simply Winter Cookies

Member Login
Welcome, (First Name)!

Forgot? Show
Log In
Enter Member Area
My Profile Not a member? Sign up. Log Out