I love winter!
I know that's not a popular preference, but nevertheless, it's mine.
And snowmen top my favorites list.
So every year, I try to do at least one set of cookies featuring snowmen and all things winter.
Now that Christmas is past, I look forward to snowy days snuggled up with some hot chocolate and a good book/movie.
Happy Winter everyone!
Featured
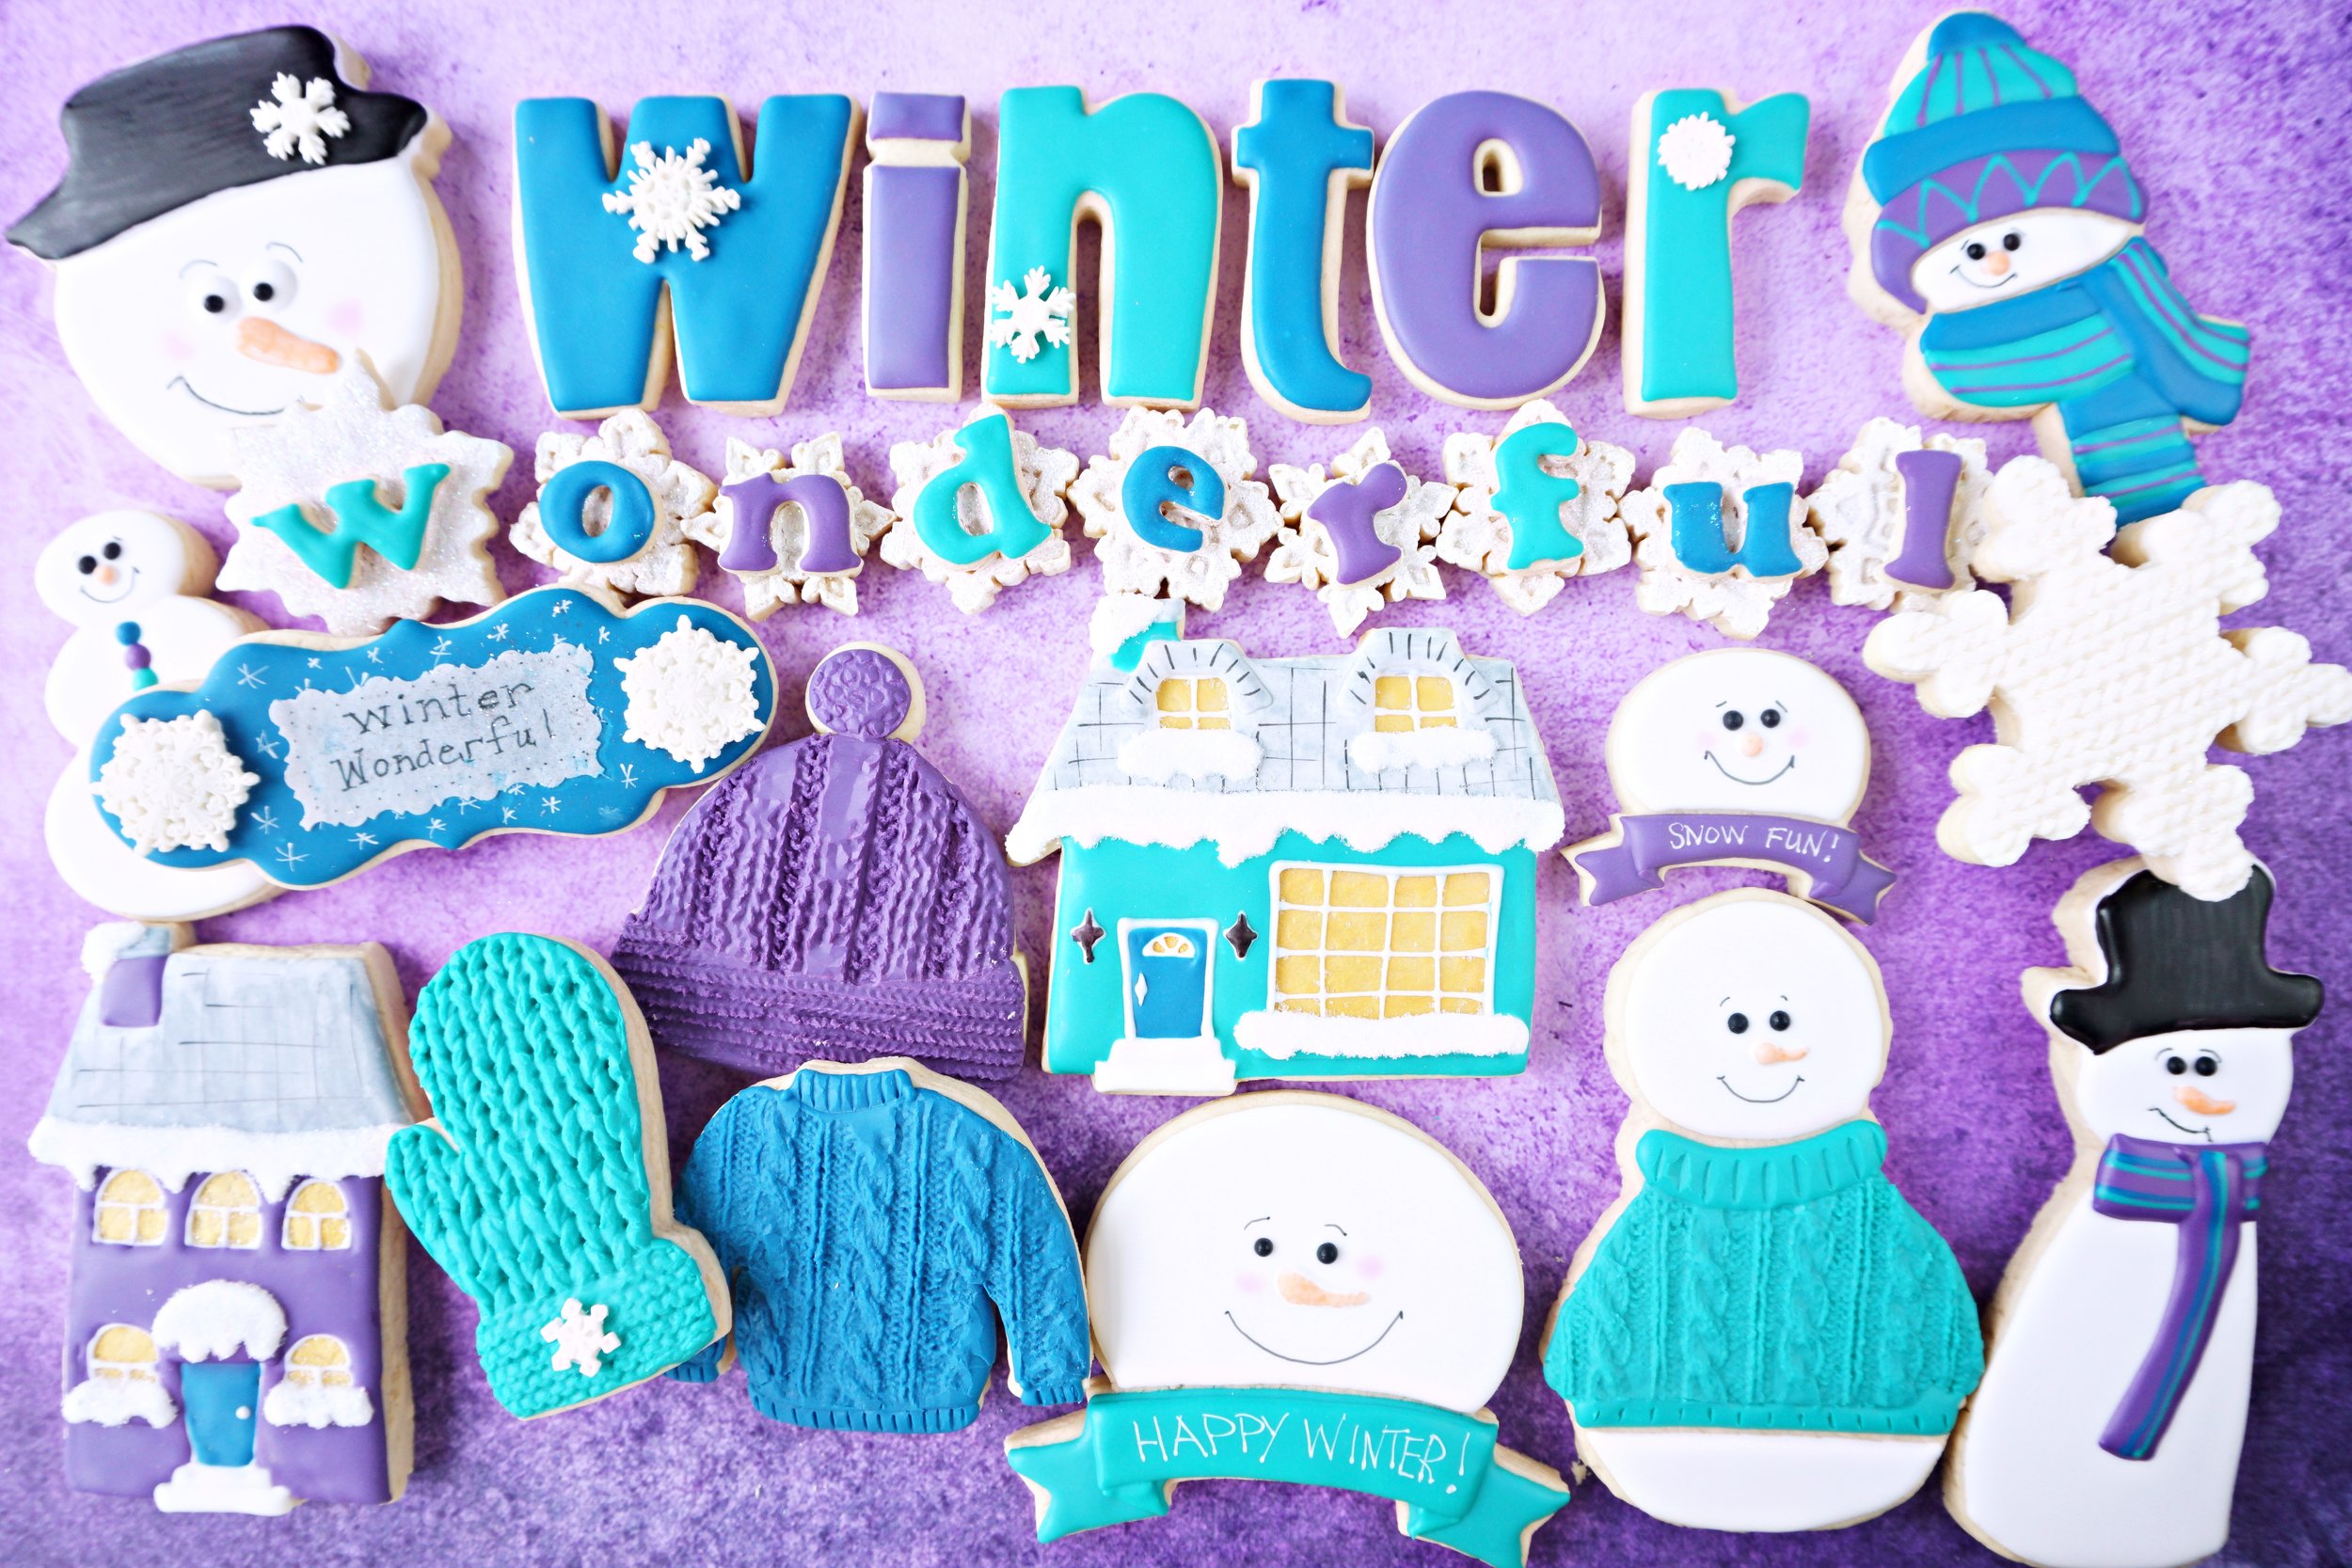
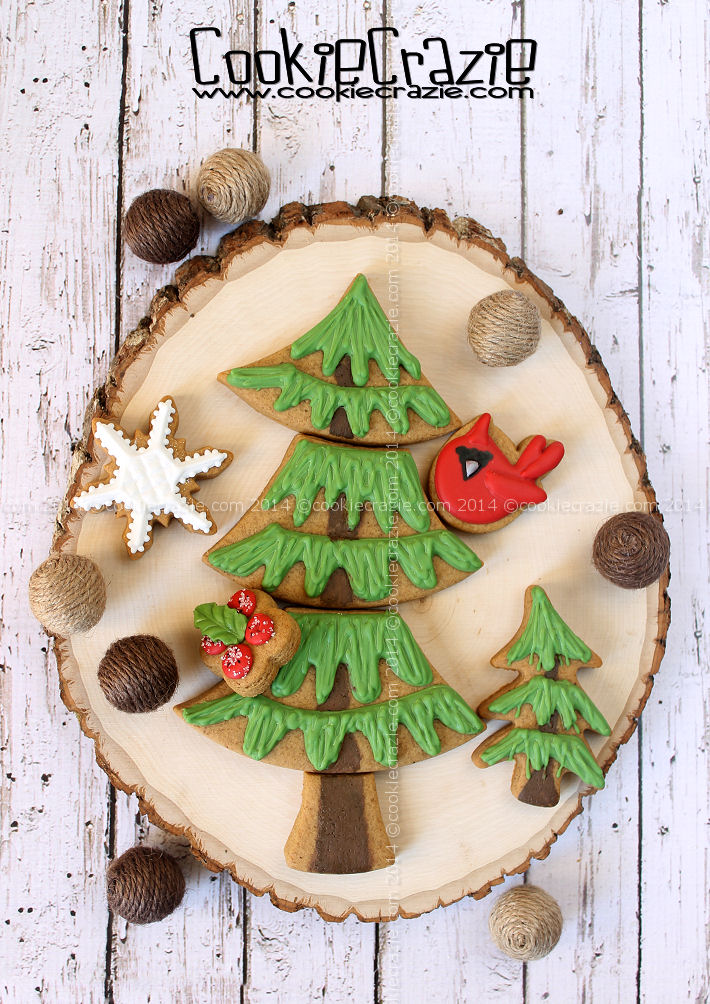
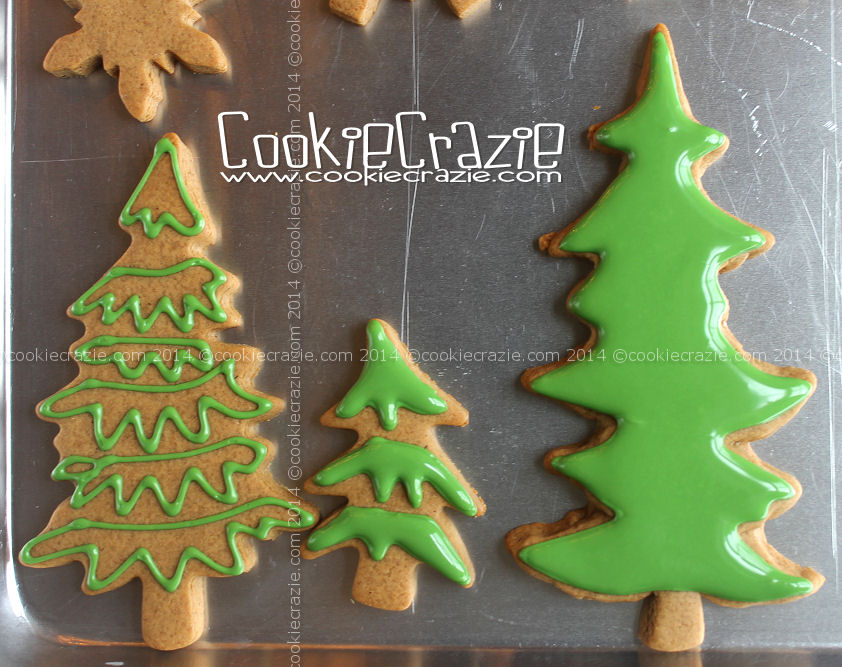
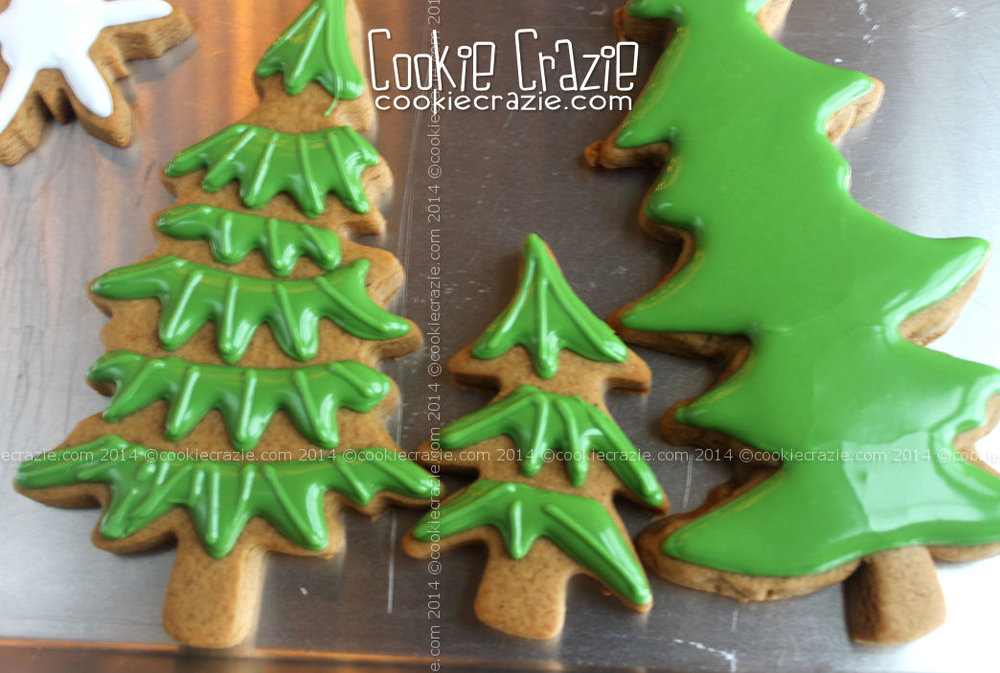
Winter Wonderful Decorated Cookie Collection