CookieCrazie started a line of custom cookie cutters last fall.
The proceeds from the sale of the cutters supports
the Ukraine missions effort we do with my church each year.
A couple of months ago,
I asked several cookie friends to design a cookie with the homespun tree cutter.
We had such a good time working together on that project,
that this month I asked them to make something with the cupcake cutter.
Are you ready for this?!
You're going to be amazed. :)
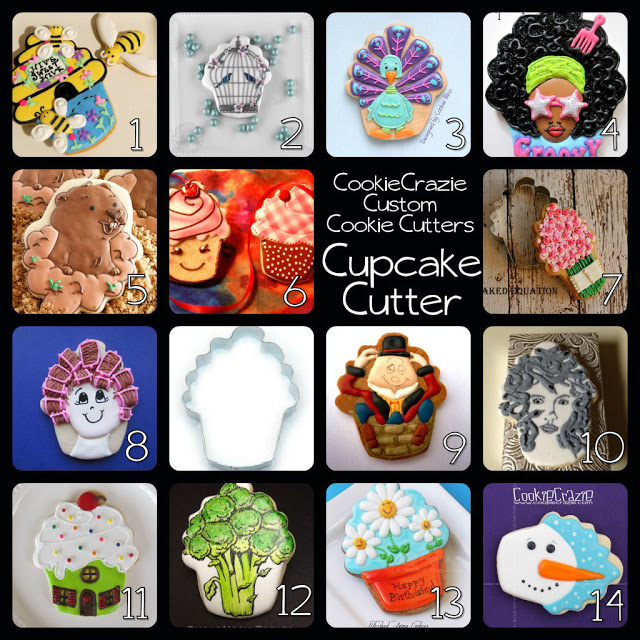
1 Jacinda - Ali's Sweet Tooth
2 Shannon - Artfully Delicious
3 Laurie – Cookie Bliss
4 Andrea – Cupookie
5 Nicole - Life's A Batch
6 Lorraine – Lorraine’s Cookies
7 Melissa – The Baked Equation
8 Nancy – Seasons
of Joy
9 Michelle Jones
10 Penny – Grammie’s
Cookies N Goodies
11 Tricia – The Cookie Loft Girls
12 Heather – Sugar Nosh Treats
13 Tracy - Whisked Away Cookies
14 Pam - CookieCrazie
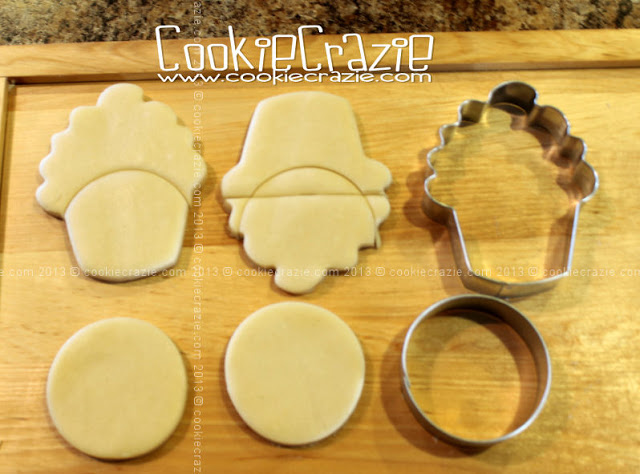
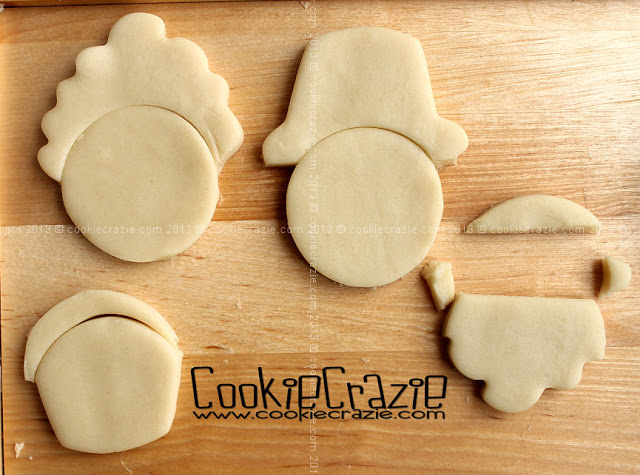
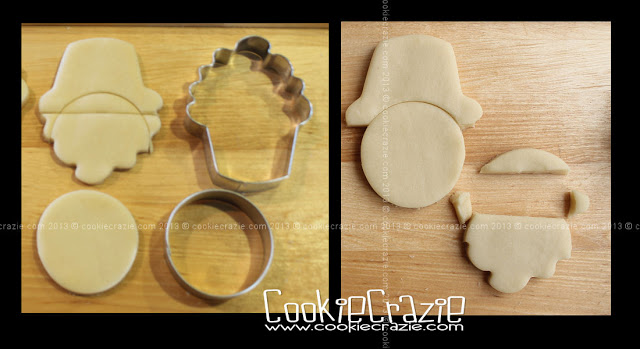
Who would have thought that you could make all these things with a cupcake cutter, huh?
Do me a favor and go check out all of these talented cookie decorators and their wonderful sites.
You will be so glad you did.
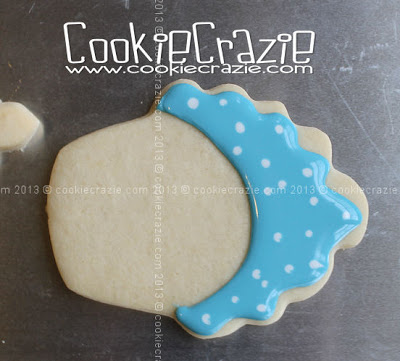
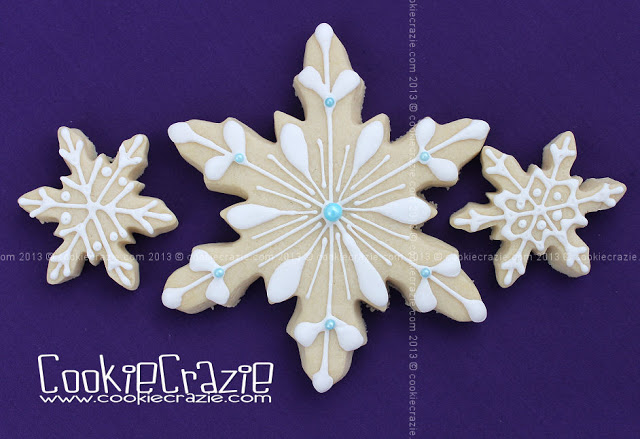
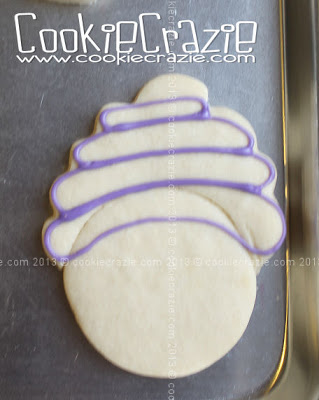
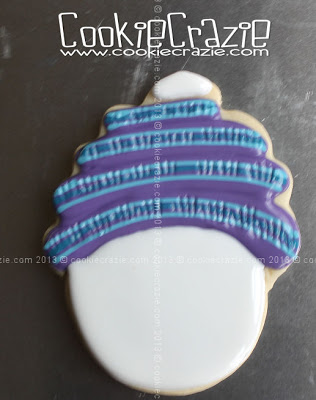
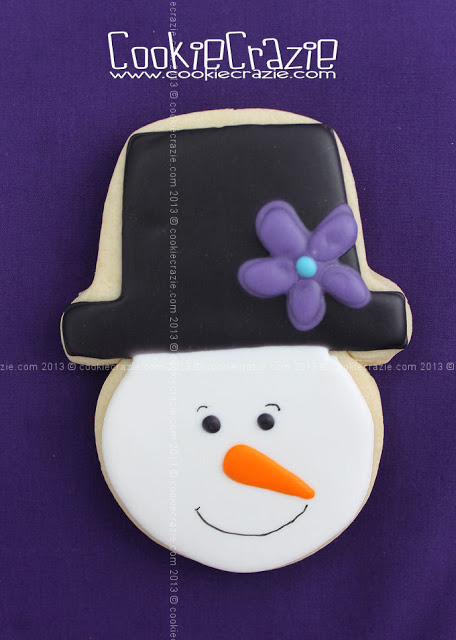
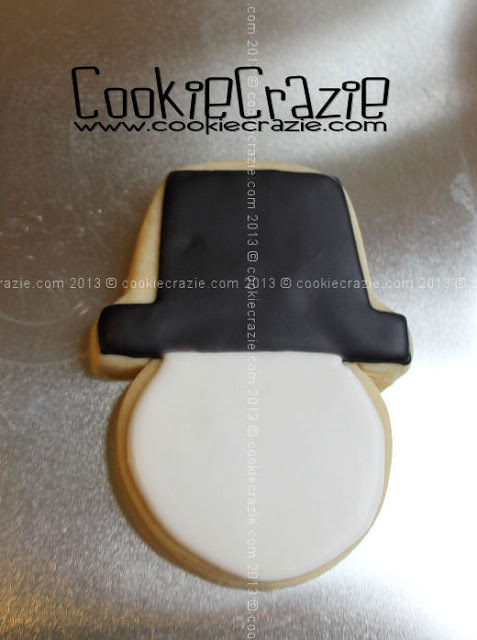
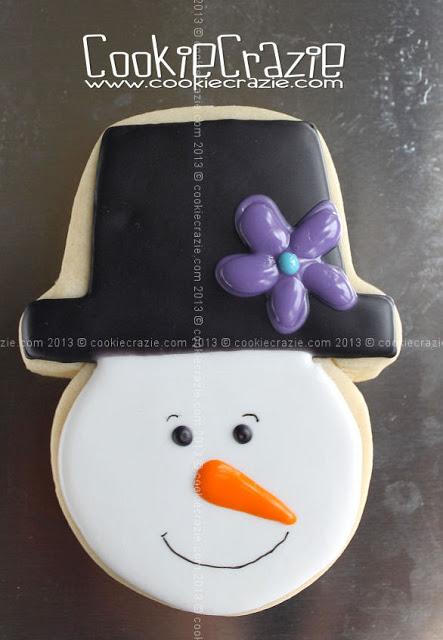
And if you'd like to see how to make the snowy snowman I did for the collage....... tutorial.
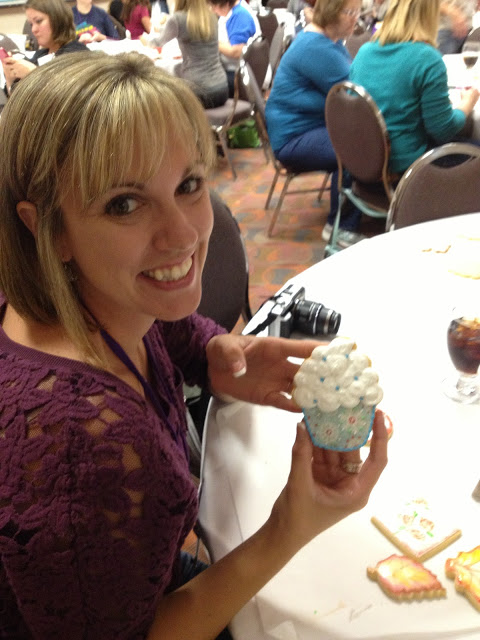
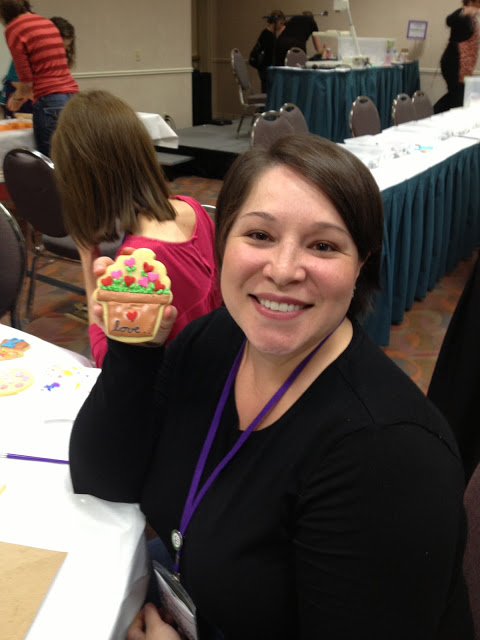
Here's some fun photos of cupcake cookies decorated by CookieCon participants in November.
And don't forget......you can always decorate this cookie like a plain old cupcake. haha

If you'd like to get your hands on my two custom cutters, click on the links below:
If you'd like to get your hands on my two custom cutters, click on the links below:
Crazie Cupcake Cutter
Homespun Christmas Tree Cutter
And if you make cookies with these cutters, please send a photo my way.
Homespun Christmas Tree Cutter
And if you make cookies with these cutters, please send a photo my way.
CookieCrazie Custom Cutters: Cupcake Cutter!
CookieCrazie Custom Cutters: Homespun Christmas Tree Cutter
More Homespun Tree Cutter Cookies
Birthday Cupcake Cookies
CookieCrazie Custom Cutters: Cupcake Cutter
Cupcake Wrapper Cookies (Tutorial)
CookieCrazie Custom Cutters: Homespun Christmas Tree Cutter
More Homespun Tree Cutter Cookies
Birthday Cupcake Cookies
CookieCrazie Custom Cutters: Cupcake Cutter
Cupcake Wrapper Cookies (Tutorial)