lamb

Easter Decorated Cookie Collection

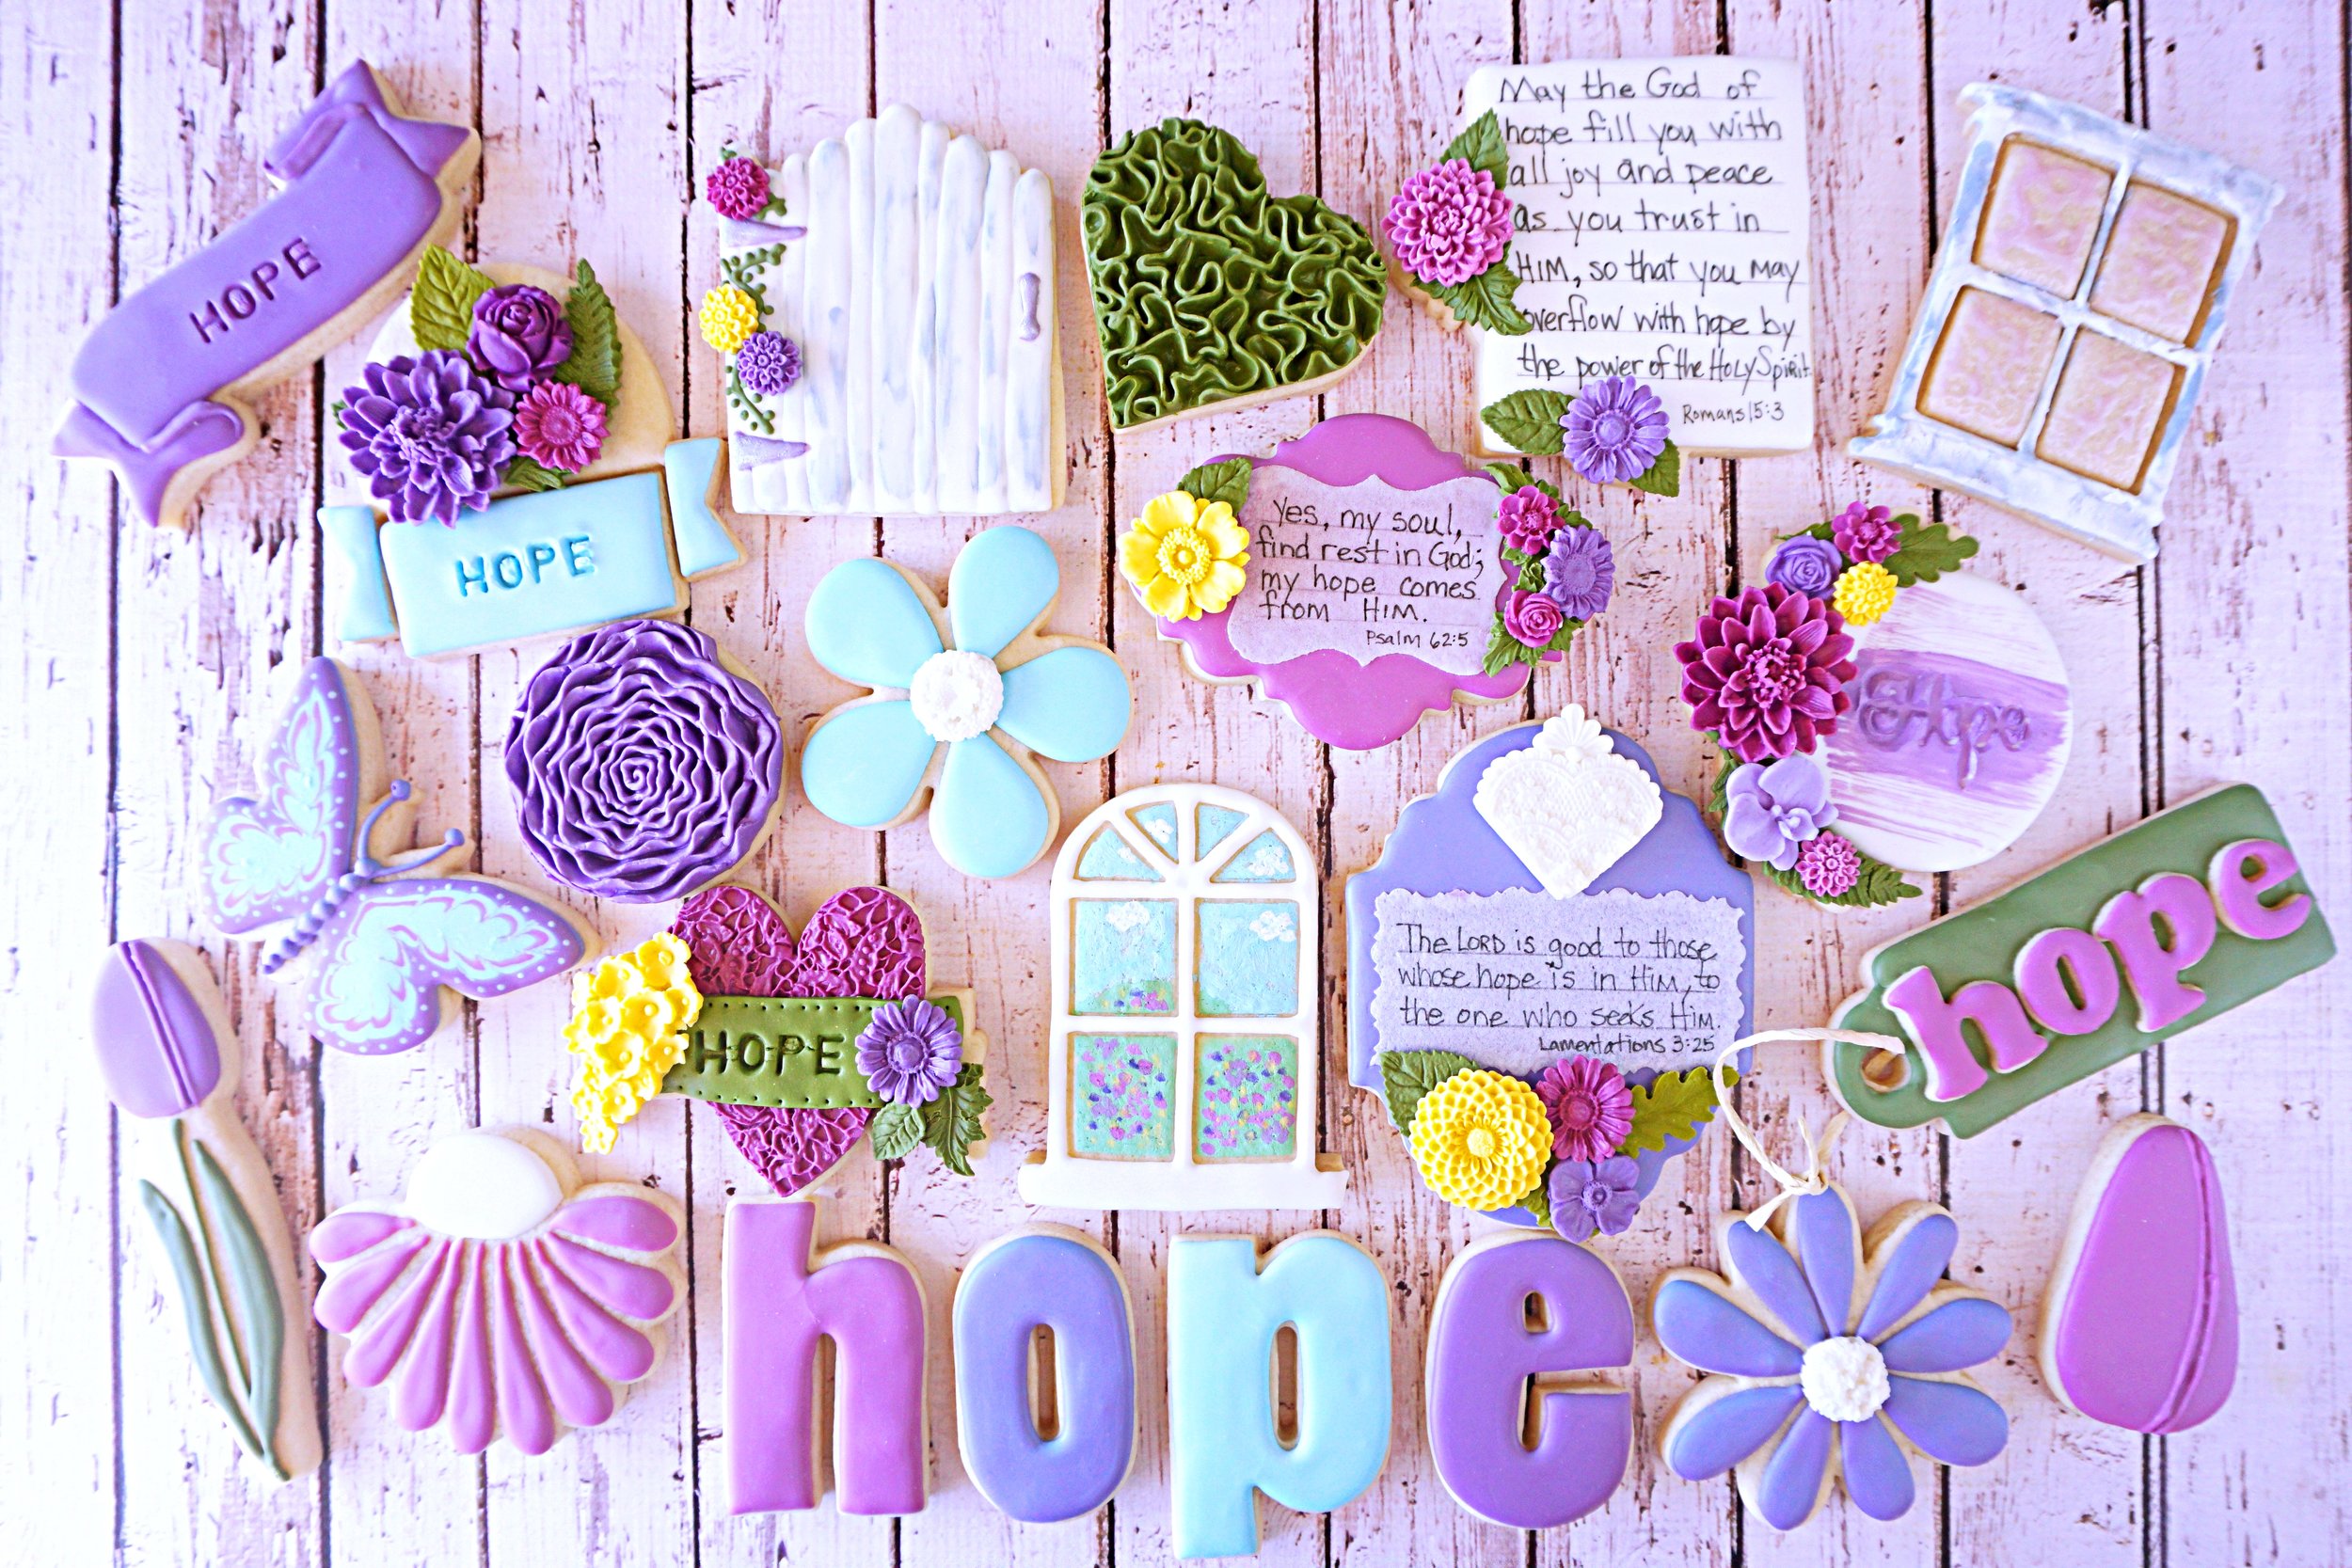
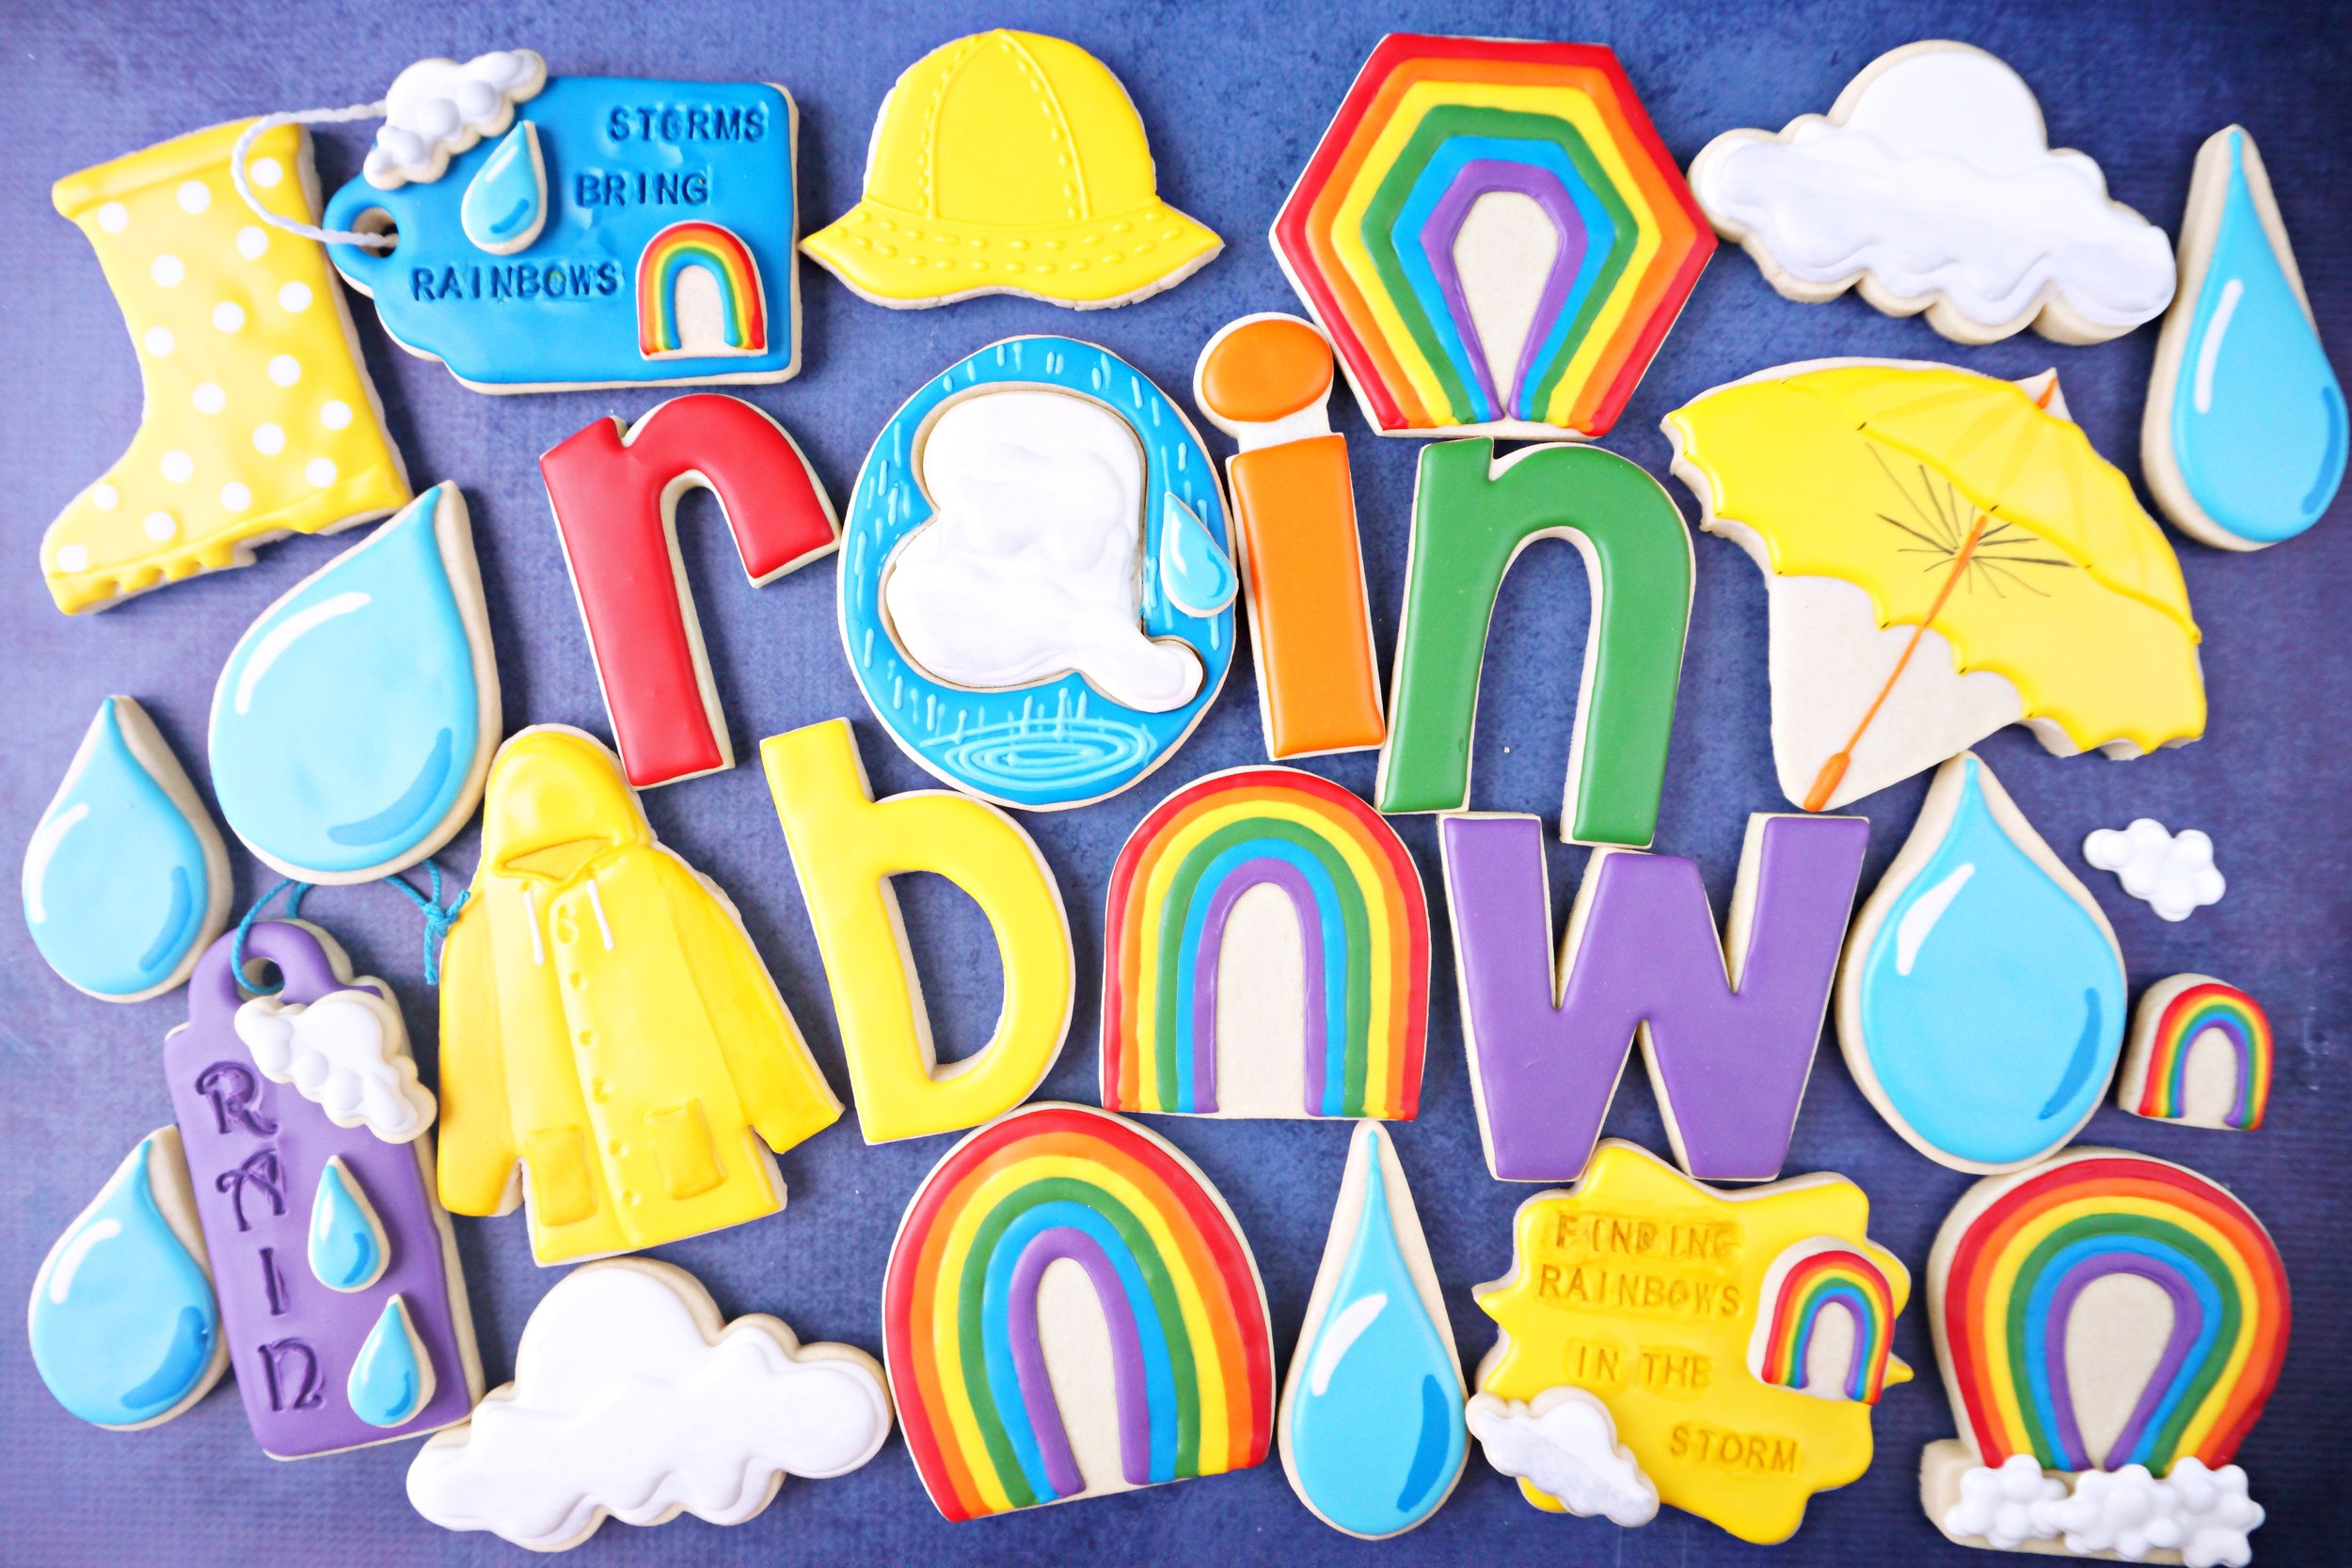
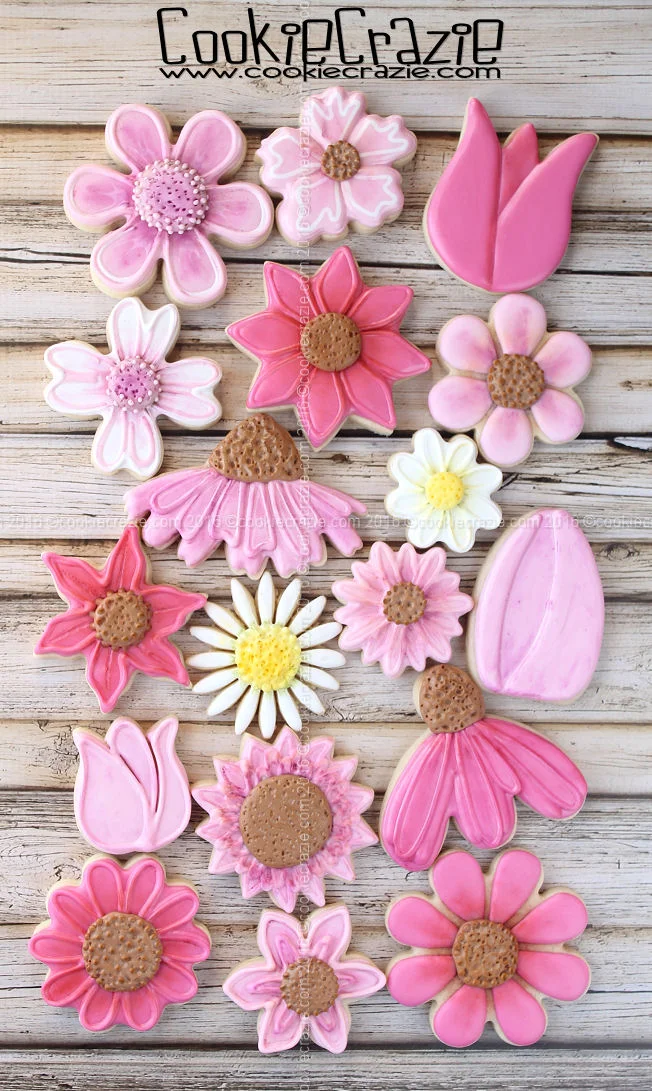
It is such a fun time of year…..when we break out all the colors of the rainbow and prepare to celebrate such a blessed holiday.

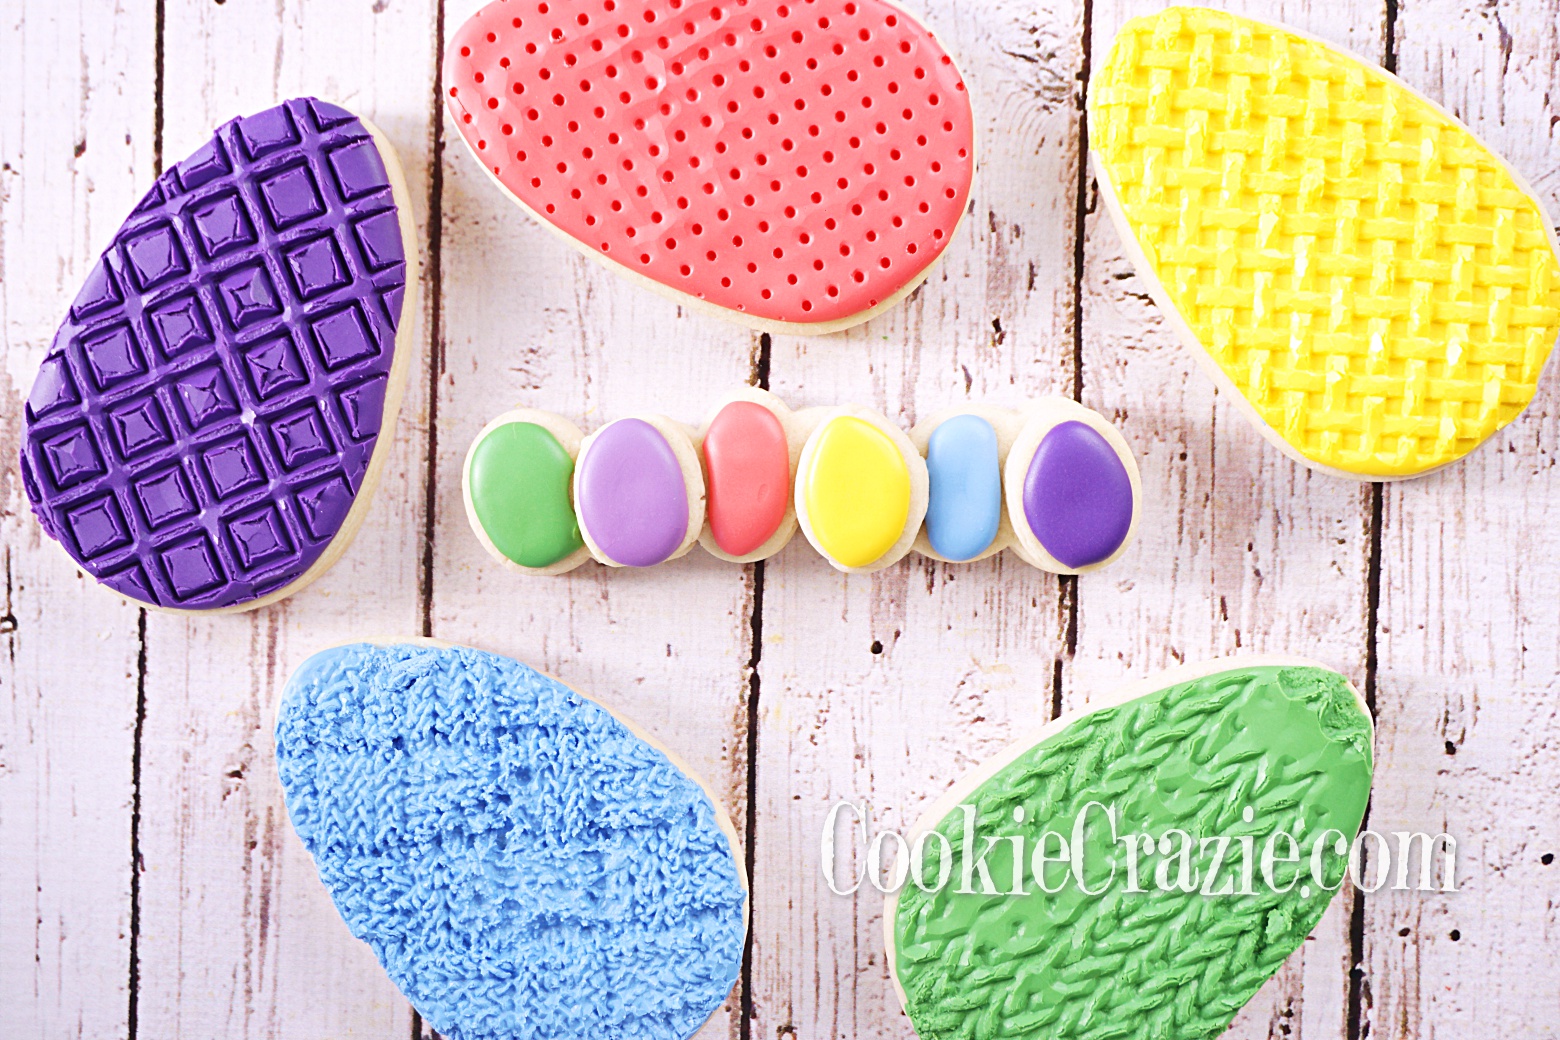
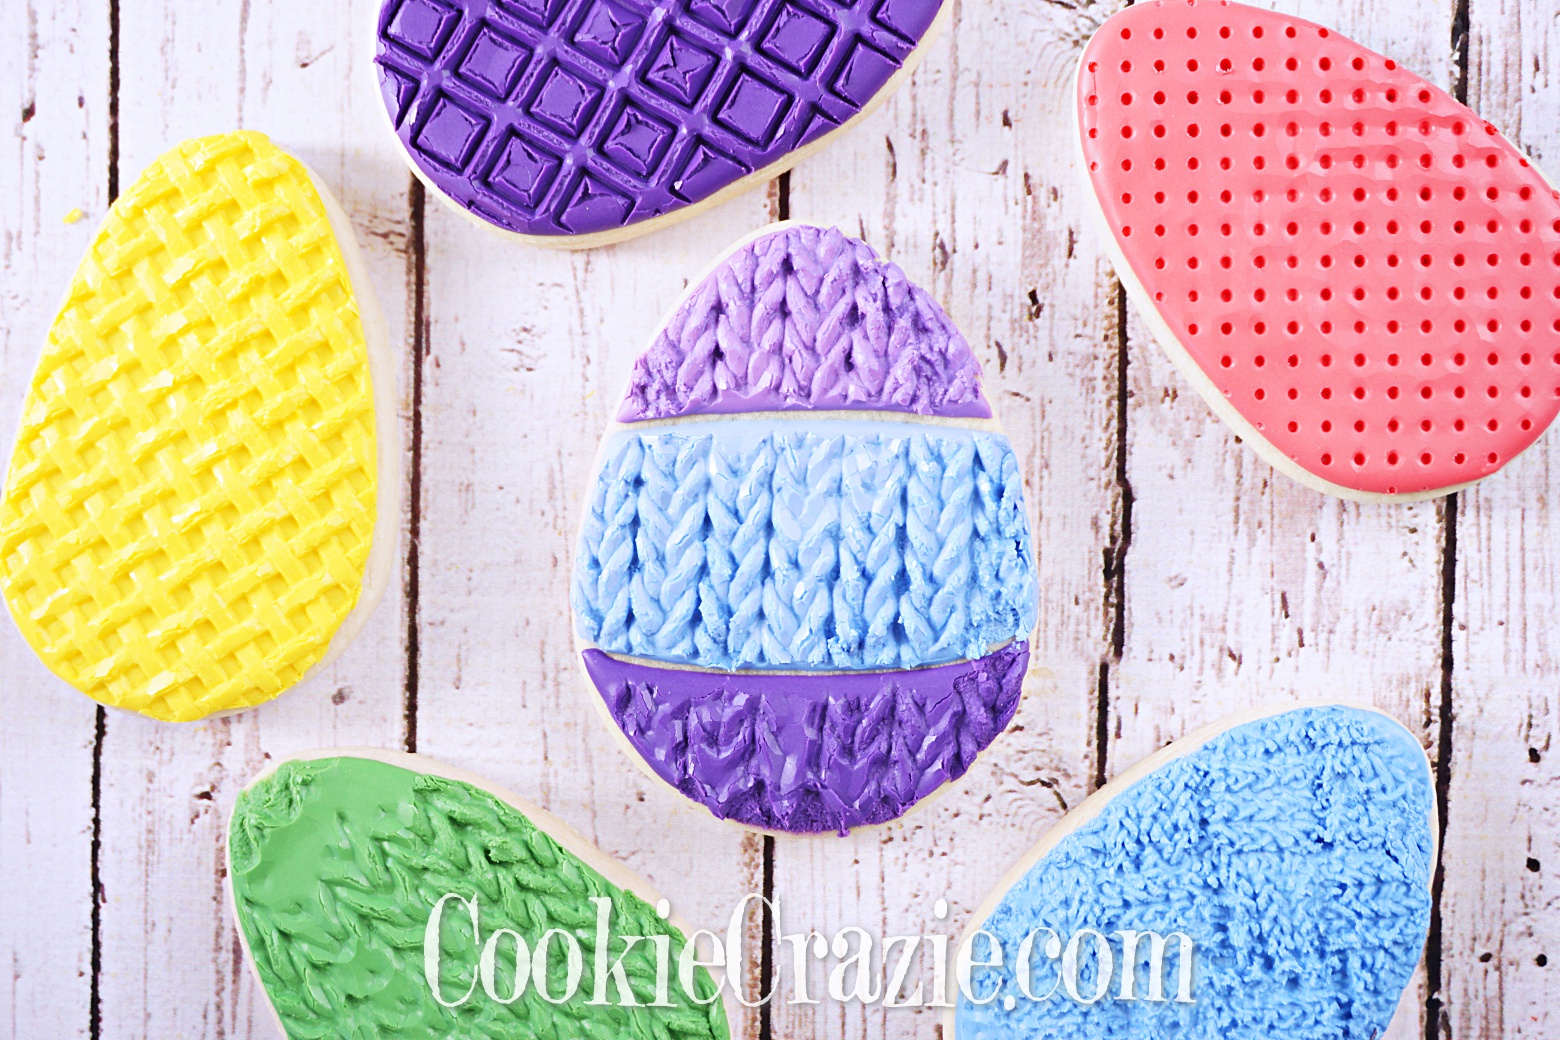
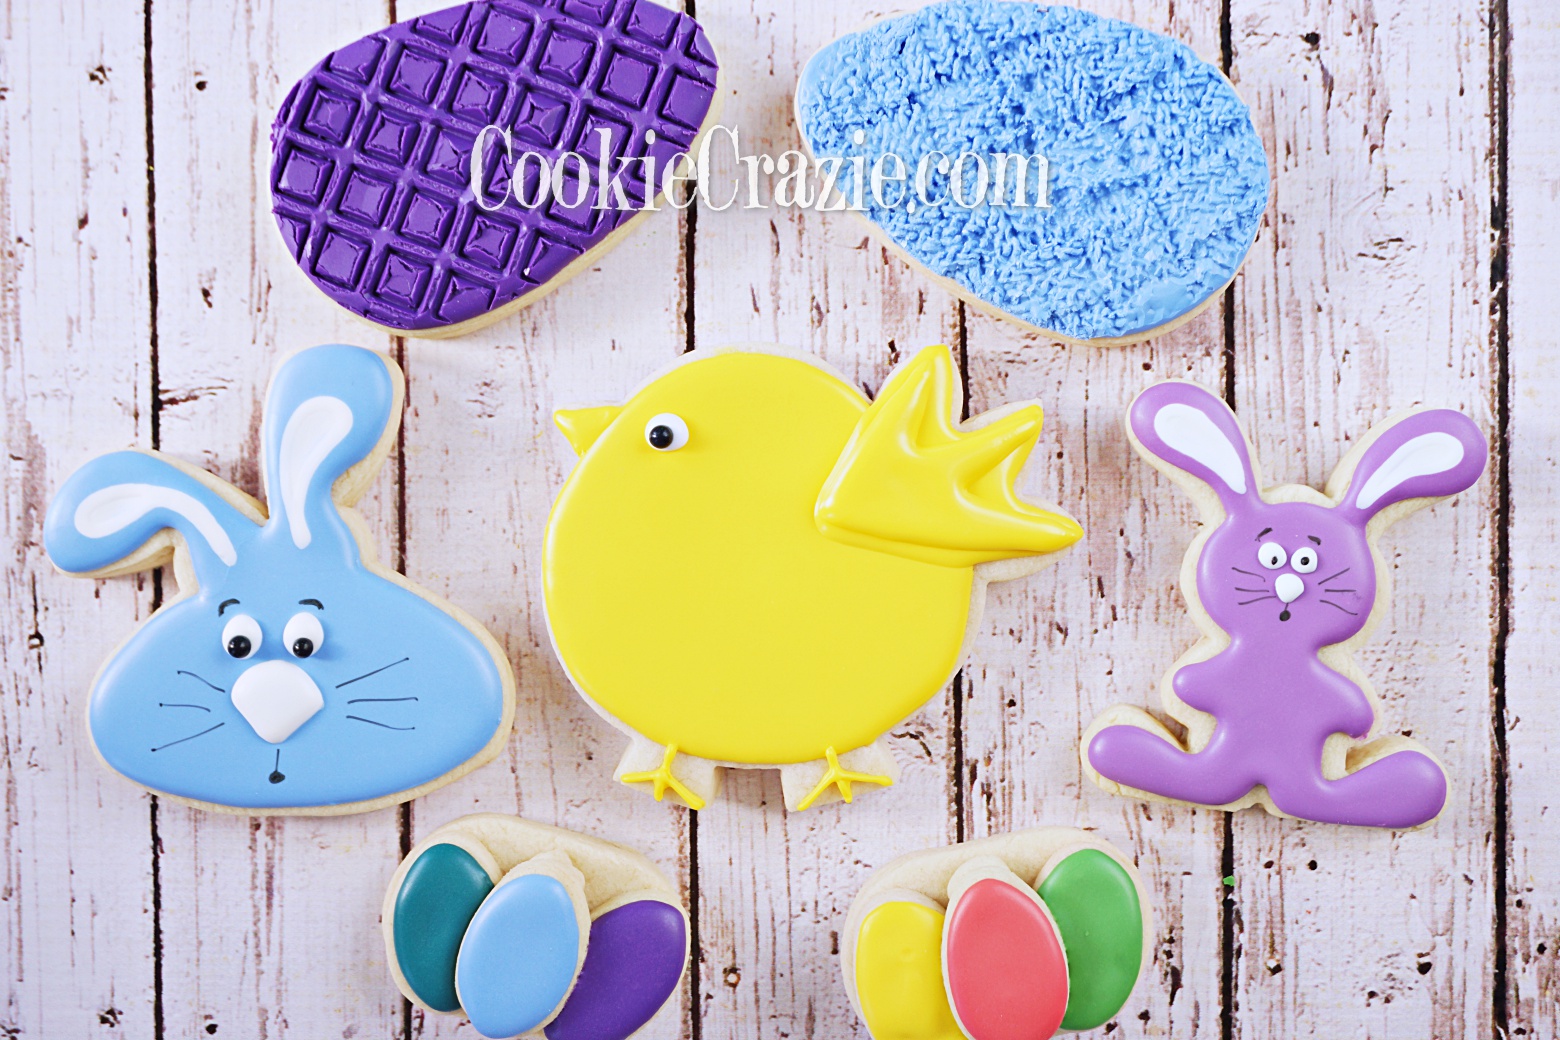
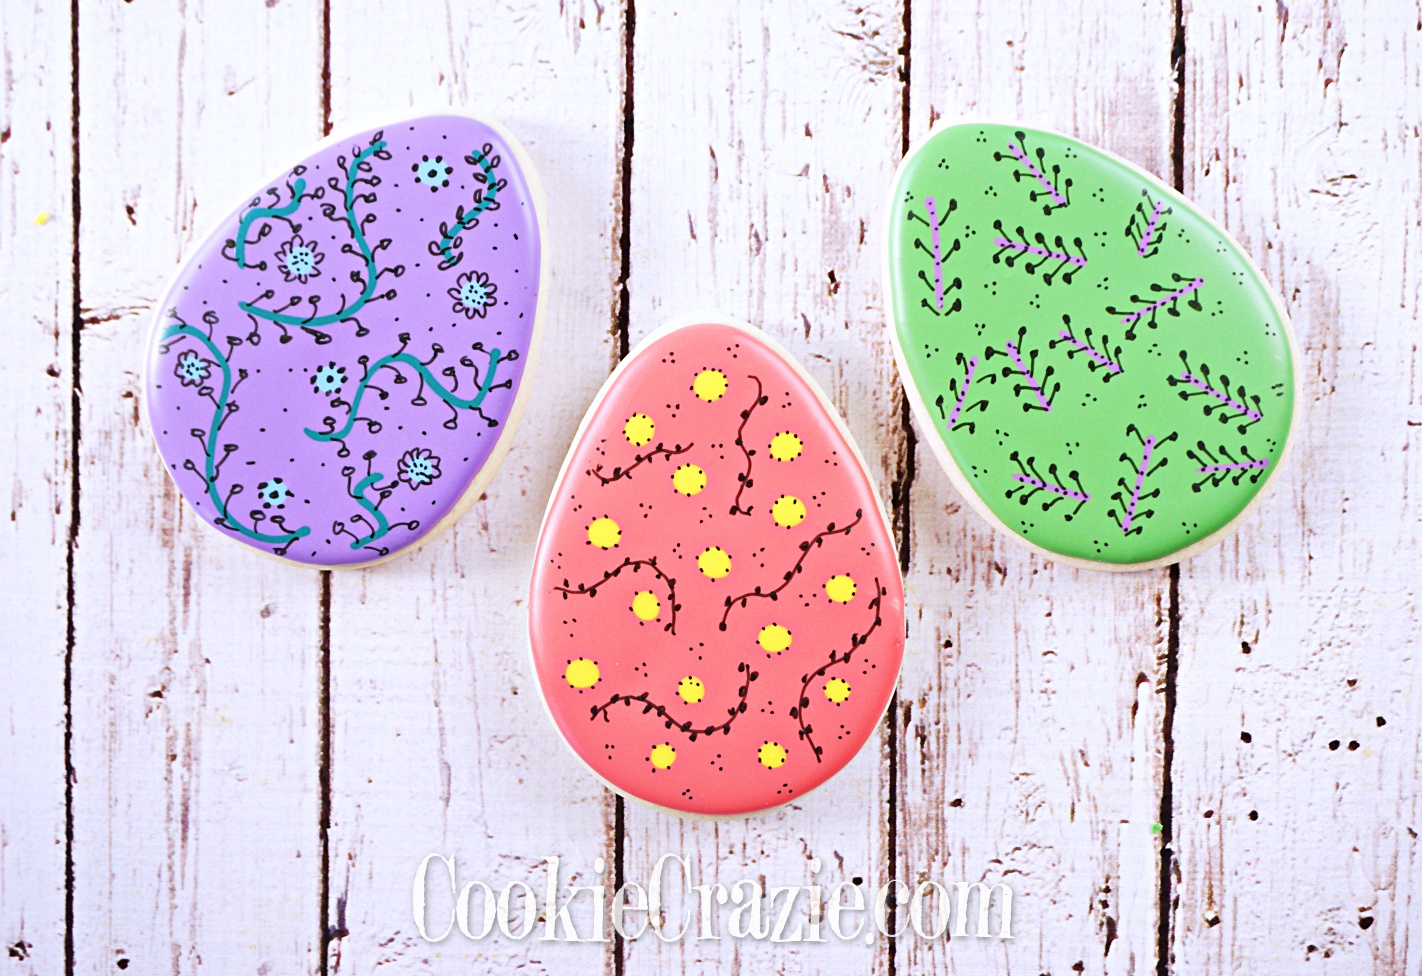
Easter egg cookies are like Valentine heart cookies to me. There are SO MANY things you can do with the plain shape. Love it!

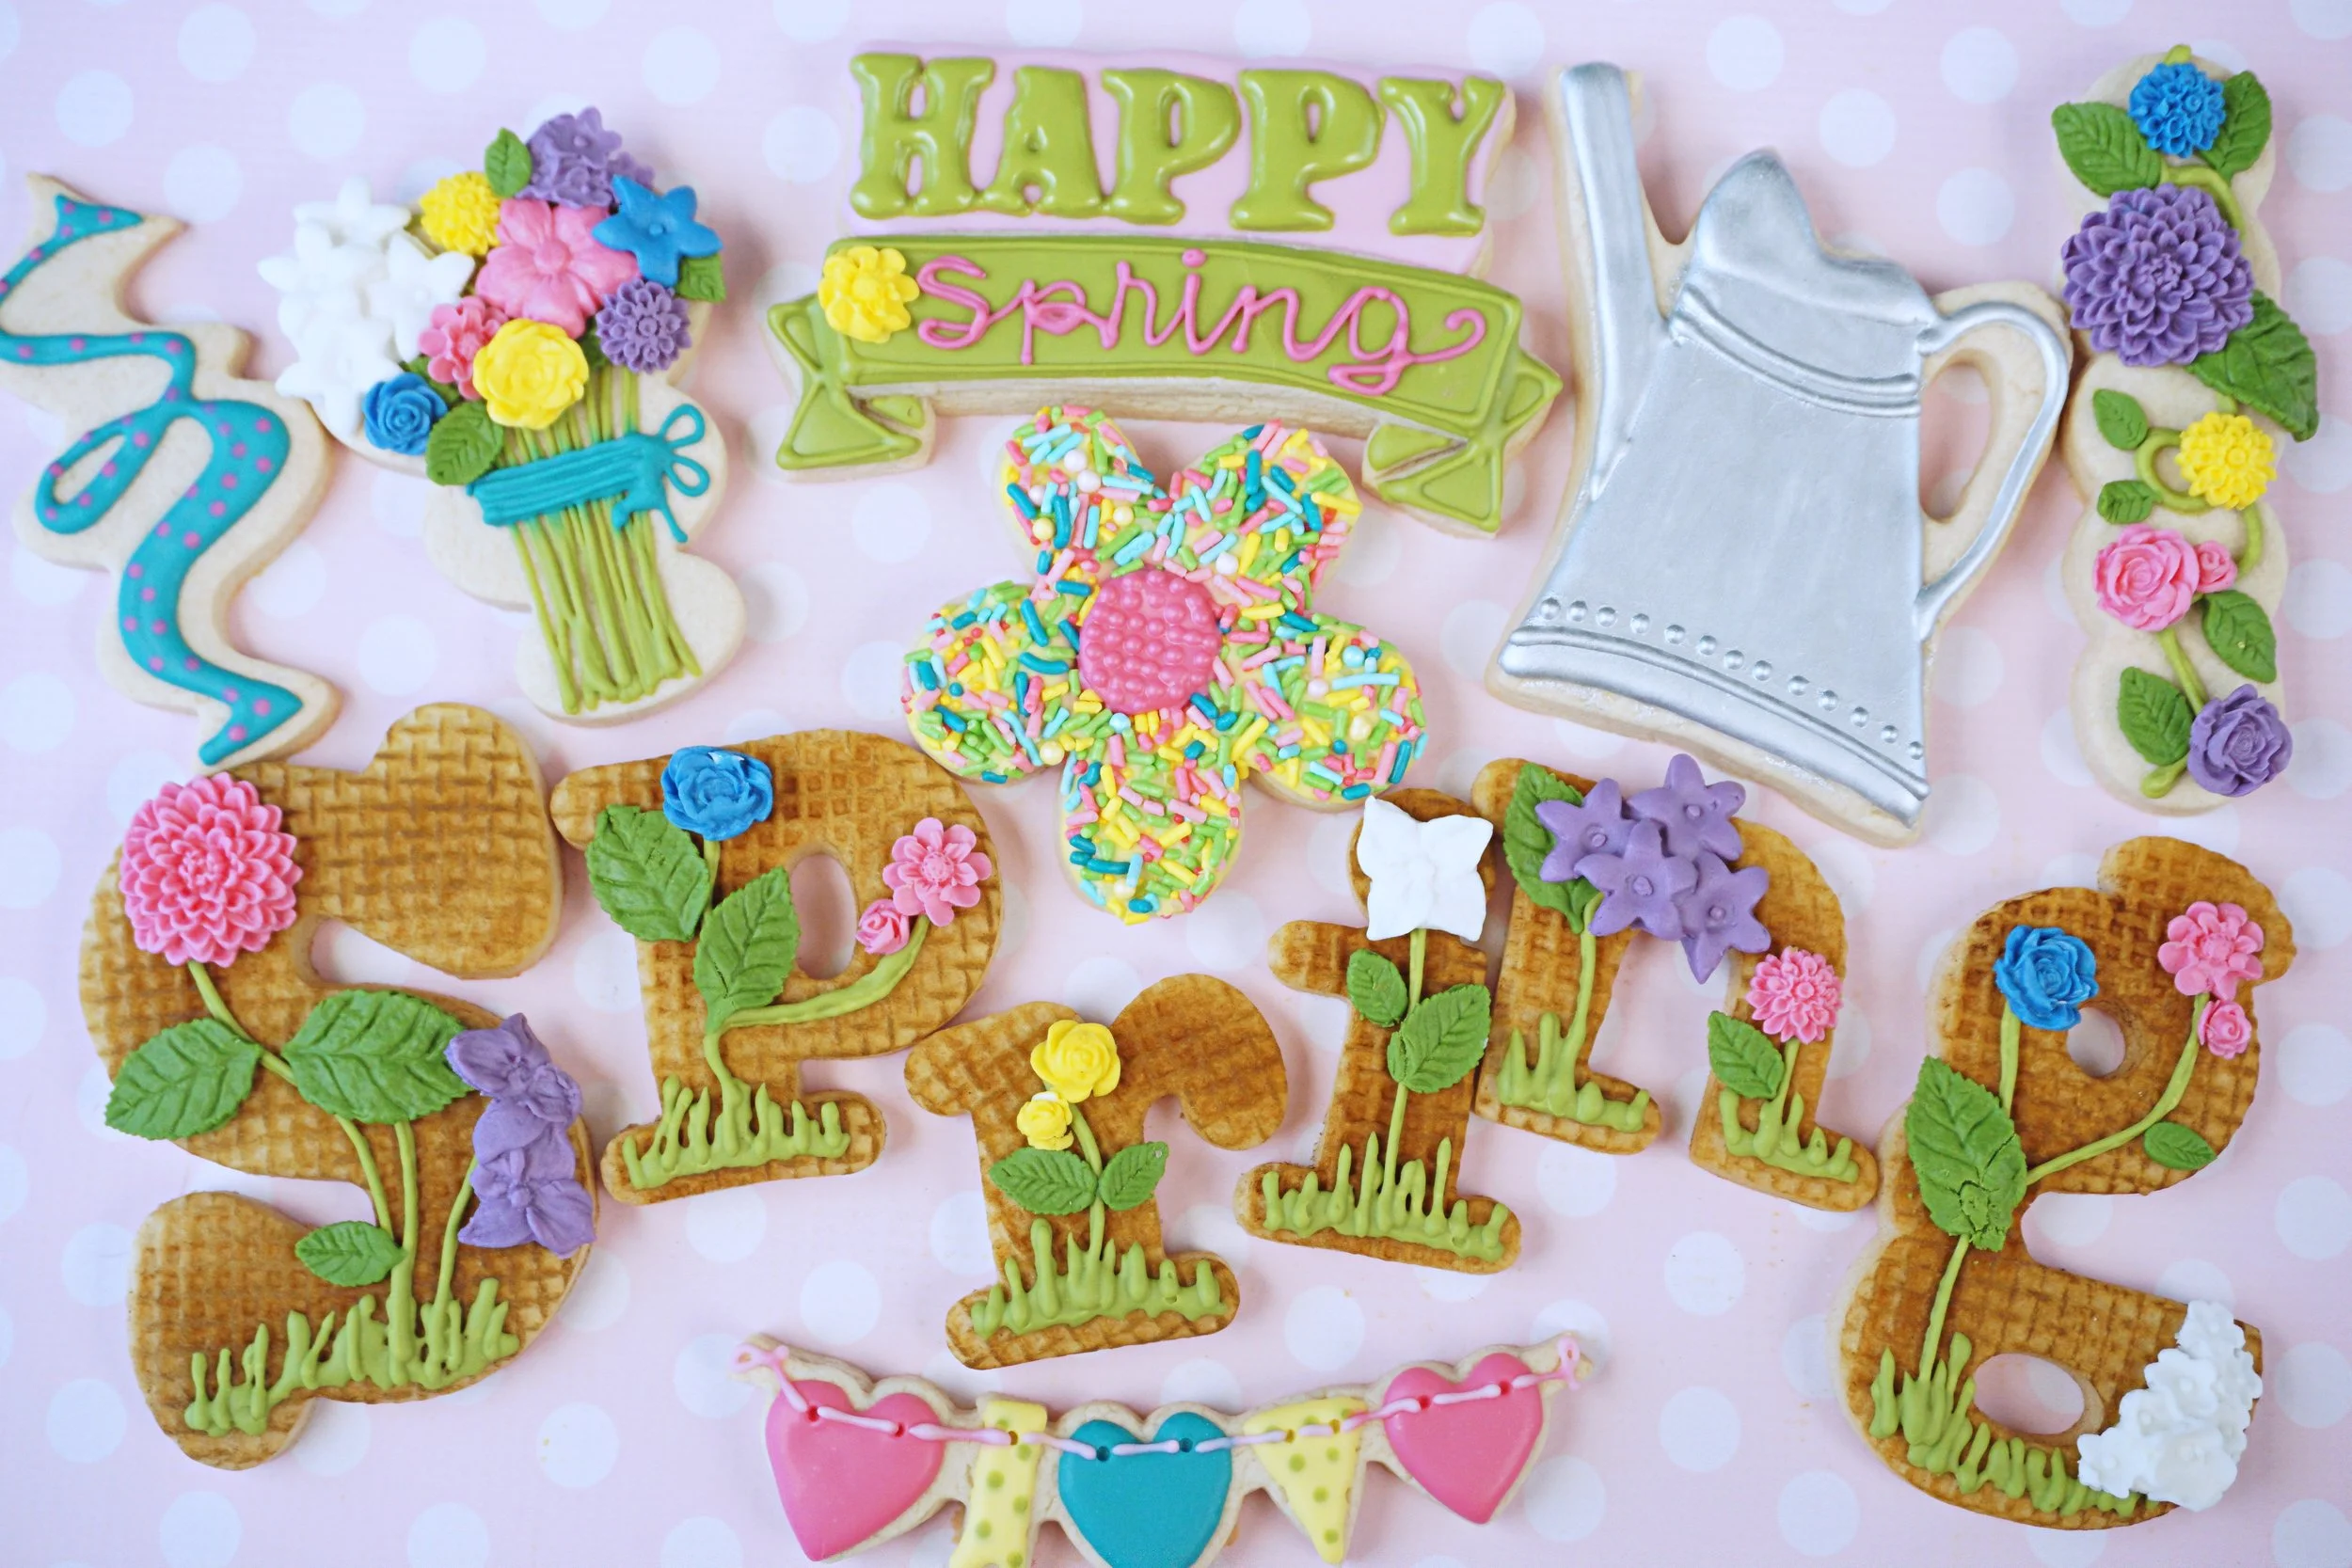
I hope this spring-y holiday allows you to stop and enjoy all the wonderful things we are blessed to be surrounded by.

For me, every holiday has become a time to reflect and be reminded of how valuable each day is and how precious each relationship is.

Happy Easter!

💗💜💛💚💙


Happy Easter 2018 Decorated Cookie Collection

What a joyous time of year......Spring and Easter!

To celebrate the newness of life and the resurrection with lots of happy pastel colors.....it wipes away all the drabness of the long winter months.

Happy Easter everyone! 💜💛💙💜


[YouTube tutorial video links and much more can be found on the hover drop-downs within each photo.]

Splatter Easter Egg Decorated Sugar Cookies YouTube video HERE

Basket Decorated Sugar Cookie YouTube video found HERE

Sprinkle Easter Egg Decorated Sugar Cookies YouTube video HERE. Sprinkles found HERE.

Marbled Easter Egg Decorated Sugar Cookies YouTube video HERE

Pinwheel Decorated Sugar Cookie YouTube video HERE. Pinwheel cutter found HERE

Easter Gift Tag Decorated Sugar Cookie YouTube video found HERE Gift Tag cutters found HERE

Leaf Decorated Sugar Cookies YouTube video HERE

Jellybean Decorated Sugar Cookies YouTube video HERE

Lamb Decorated Sugar Cookies YouTube video HERE Lamb cutter found HERE

Chick Decorated Sugar Cookie YouTube video found HERE Chick cutter found HERE

Bunny Hop Decorated Sugar Cookies blog post found HERE


Hippity Hoppity Easter Decorated Cookie Collection

It is so fun to change up the colors and styles of cookies going from the winter months into spring. The bright cheery colors lift the spirit and remind everyone of all the new life that occurs during this season.

I wish you all a very Happy Easter and a blessed Resurrection Day!


Painted Background Silhouette Easter Decorated Cookies (Tutorial)

After discovering the neon sign style for cookies, I wanted to transfer that simple, clean look into a pastel spring color setting. I tried by using a white background on the cookies, but it was not the look I was going for. However, when I painted the cookies with bright spring-y colors and used white glaze for the silhouette and detail lines, it matched what I was envisioning.

Just like with the neon sign style, once you get the background painted on, the decorating is super quick and easy.

Using a mixture of bright Americolor gels and vodka (or a clear extract like almond), paint the surface of each cookie completely.

Allow them to dry for a few hours.

Using white glaze, add the outlines and detail lines to each cookie.
There are no set rules here, so have fun with this!
P.S. I had to keep reminding myself that simple is better. :)


Knitted/Crocheted Spring Animal Cookies (Tutorial)

Now that I've found

these awesome texture mats

that resemble

knit

and

crochet

work,

it seemed like that texture would be a perfect for all-things-spring and Easter.

Basically, you just need to outline and flood

10-second glaze

onto your favorite spring shapes,

let them partially dry for about 4 hours, and then press the mats into the glaze.

Once they've been textured, add the details as desired.

For the lambs, I omitted the face, hooves, tail, and ears when flooding

so that I could go back and add a flat surface for contrast.

Let them partially dry for about 4 hours, and then press the mats into the glaze.

After you've textured the lambs, go back and fill in the face, hooves, tail, and/or ears.

(Oops.....I forgot to fill in the ears on the left lamb!)

Allow the lamb to dry overnight and then add some pinkish cheeks with

luster dust

,

pink eyes, nose, hooves with a

pink Foodoodler marker

,

and black eye pupil and eyebrows with a

black Rainbow Dust marker

.

For the bunny faces, flood everything but the eye and mouth area (shown below).

Let them partially dry for about 4 hours, and then press the mats into the glaze.

Once the texturizing is complete, flood the rest of the cookie with white glaze.

Wait about 15 min and then add eyes and a tiny nose. (see right bunny on photo below)

Dry overnight.

Use a

black Americolor gourmet writer

to color the eyes completely black.

Add some pinkish cheeks with

luster dust

,

pink nose and mouth with a

pink Foodoodler marker

,

and black lashes, eyebrows, and whiskers with a

black Rainbow Dust marker

.

Member Login
Welcome, (First Name)!

Forgot? Show
Log In
Enter Member Area
My Profile Not a member? Sign up. Log Out