chicks

Springtime Faces Cookie Collection: Lambs (Tutorial)

Time to share another tutorial for Springtime Faces......


Today we'll make the precious lamb face.


To make the lamb cookies you'll need:


Outline and flood the fluted round cookie with white icing.


After it has dried for at least an hour, 
outline......

and flood the pink face. 
Be sure to add the
black sugar pearls (eyes) right away.

After the face has dried for at least 30 minutes,
the wooly crown to the lamb's head. :)

Several hours later (or overnight)
you can add any embellishments 
to the lamb's face you'd like.

 I love lambs!
So soft and sweet.....kind of girly.

To see the other tutorials in this series:
Springtime Faces: Chick


To see more lamb cookies I've done in the past.....

Easter is in two weeks.
Yikes.....how does this happen! ;)

Spring Faces: Duck (Tutorial) Part 4 of 4

My final funny face for spring.......a cute little duck. :)


Yep.....I used a funny angle of the mini teddy bear for the ducks feathers. :)

You have to do this in parts so you get the 3D effect of the duck bill. I put on the top of the bill first.

Then I added the bottom part of the bill......let it dry, and then flooded the yellow over everything but the eyes.

After the yellow dries.....add the white eyes one at a time so there is a distinctive line. More dry time. Then add the black eyes and add the white in the eye while the black is still wet. I used marker to make the eye lashes after it was completely dry.

There you have it......a complete set of spring faces....with pictorials for all. :)

Happy Friday!

Spring Faces: Lamb.....My FAVE! (Tutorial) Part 3 of 4

So here's my favorite spring face.......the cute little lamb. :)


I found the prettiest glitter sprinkles at Hobby Lobby.
They've got that opalescent look....perfect for a little lamb. :)


I let the white dry before I added the pink.

After some more drying, I added some eyes and a cute little button nose. :)

I drew in the mouth the next day with my Food Doodlers.

There you have it.....some cute little lambs to brighten your day. They make me smile. :)

Chick Face Tutorial
Bunny Face Tutorial
Duck Face Tutorial

Spring Faces: Bunny (Pictorial) Part 2 of 4

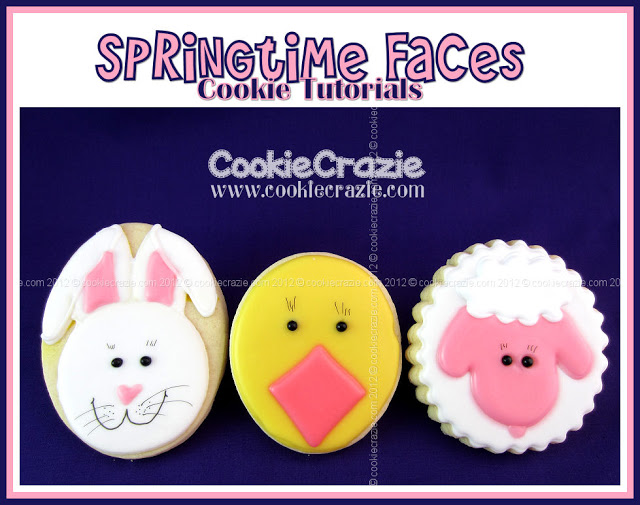
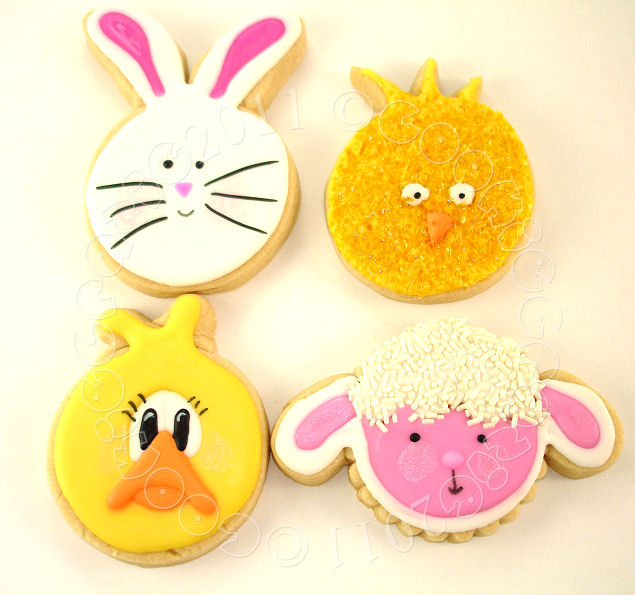
As promised.....another pictorial. This time I'm doing a bunny face.

I'm sure it is fairly easy to pick the bunny parts for this one. ;)


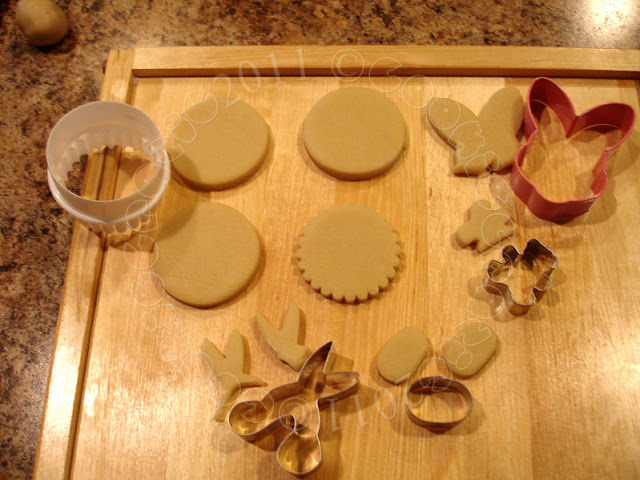
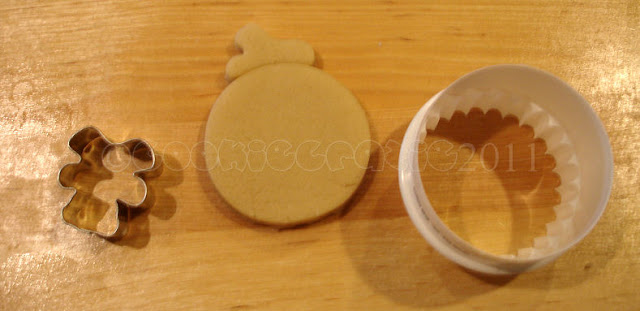
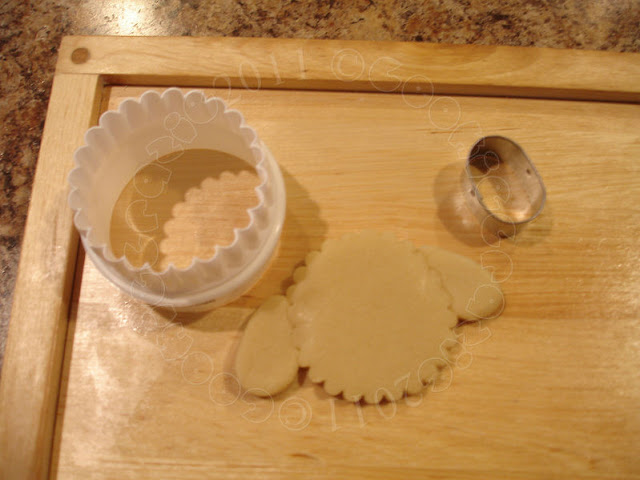
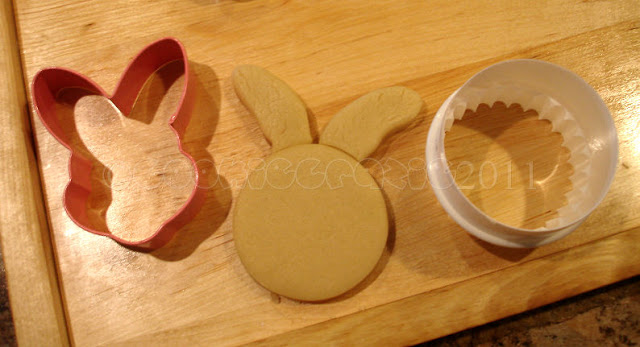
You may ask......why piece together a bunny face when you already have a cutter for a bunny face??? Well......call that my crazie-ness. I wanted to try to make faces from simple circles. Yes, you're right.....I'm making it more complicated. lol But I wanted the bunny ears to be more separated and unique. SO.....here we go. 


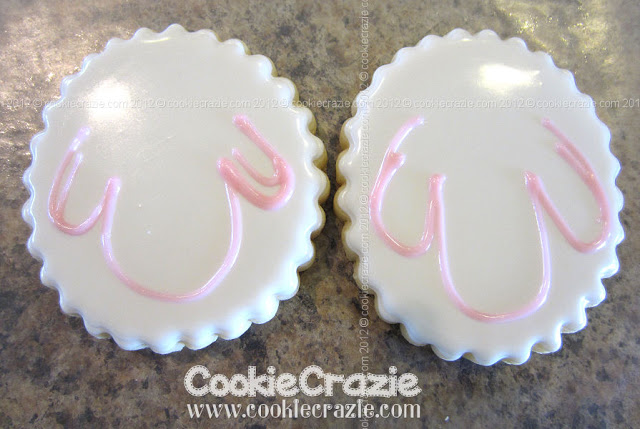
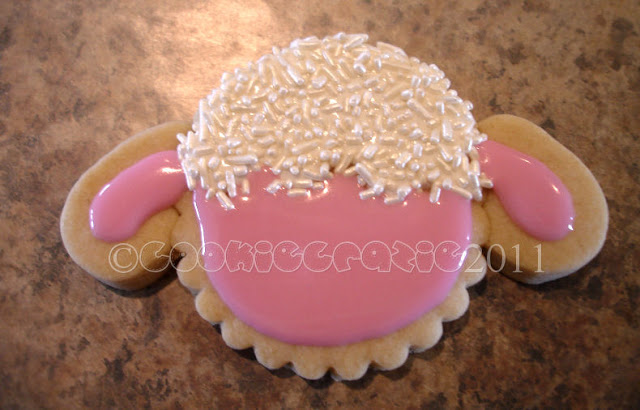
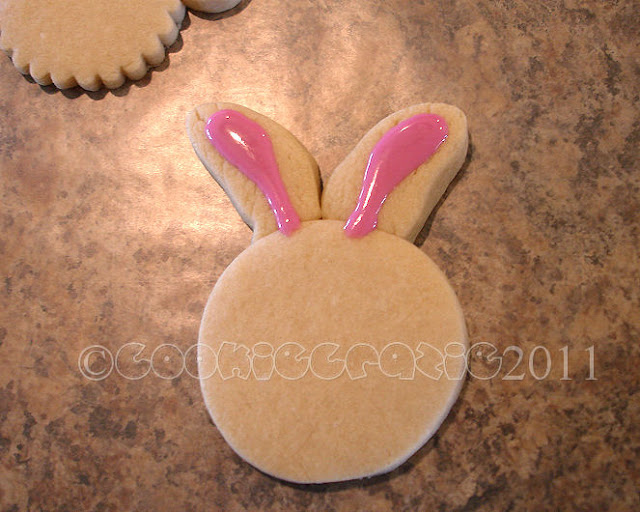
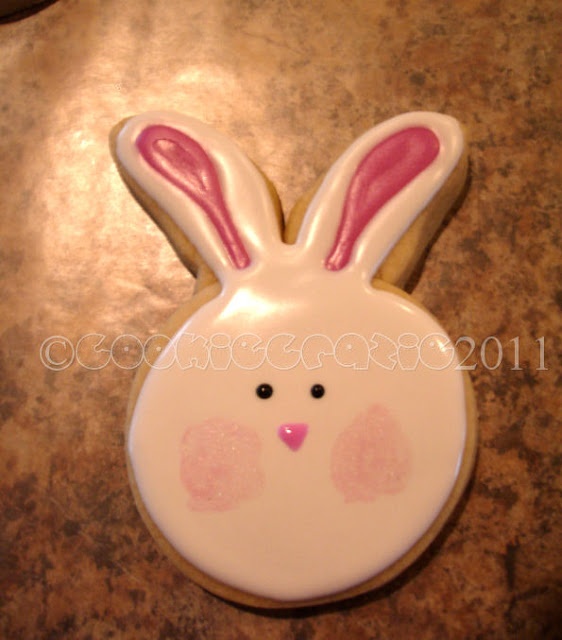
First I added the pink of the bunny's ear. I wanted it to dry first before I added the white.

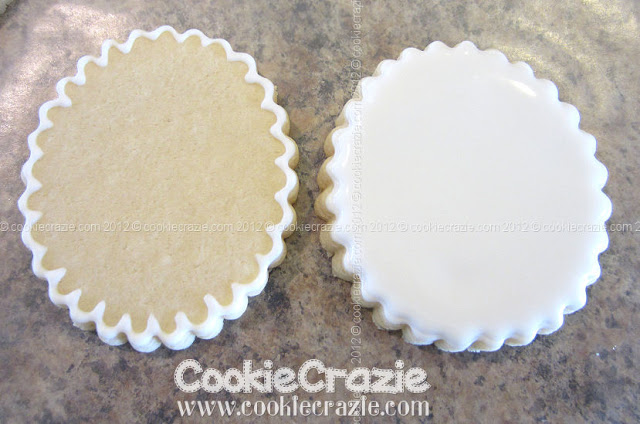
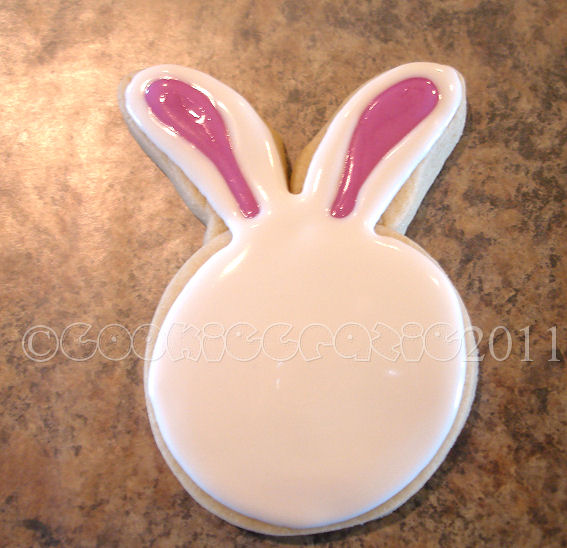
Next I outlined and flooded the rest of the cookie with white.


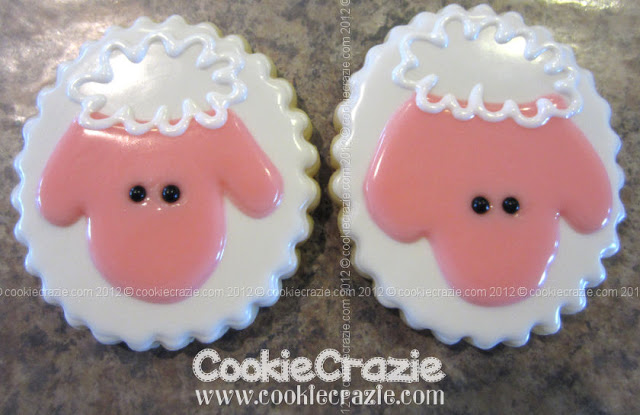
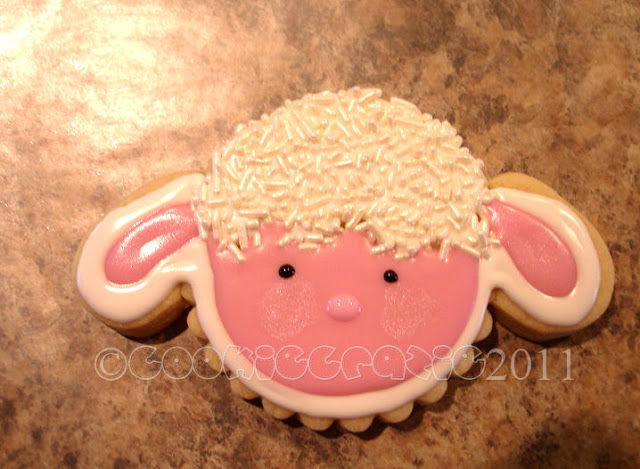
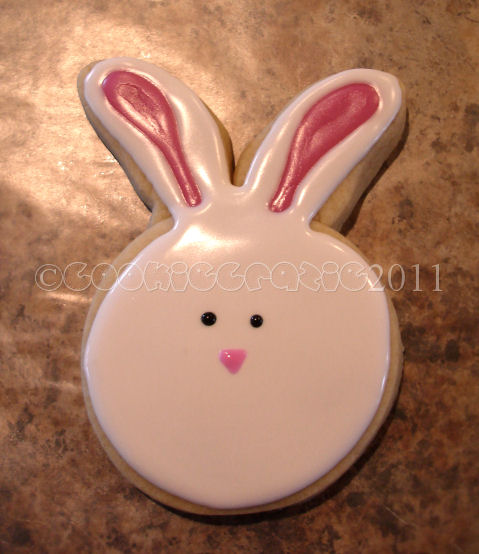
I let that dry.....and then added eyes and nose.


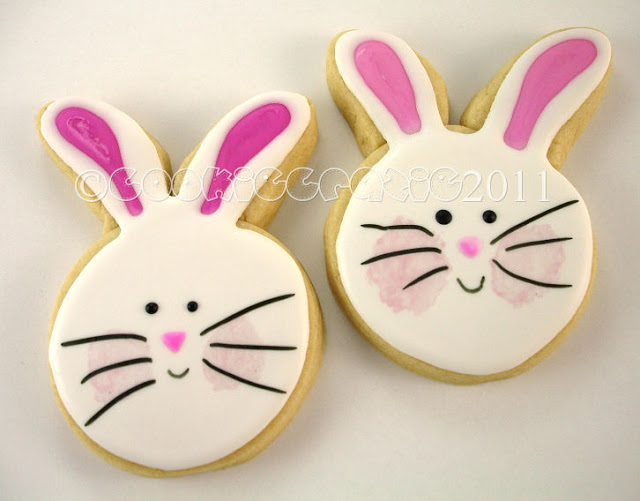
Added pink rosy cheeks with some luster dust. :)


Put the finishing touches of some whiskers and a cute little mouth.....and they are all set. :)

Have a hippity hoppity day. =)

Member Login
Welcome, (First Name)!

Forgot? Show
Log In
Enter Member Area
My Profile Not a member? Sign up. Log Out