


After serving 40 faithful years to our church, my pastor retired last month.
There were lots of special events done in his honor.
One was a men's breakfast where they did a pastor "roast".
For the centerpieces at the tables, they pulled together lots of things that represented Bro. Pat.
My pastor wears cowboy boots most of the time,
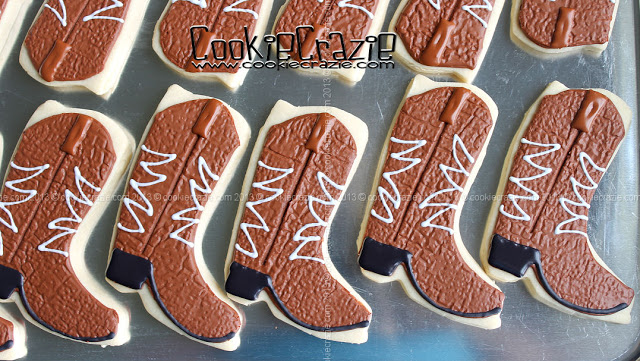
so I was asked to make a cowboy boot cookie for each table.
I used THIS cutter......cutting off the spur.
Outline and flood the entire boot with brown (or black....or whatever color chosen) 10-second glaze.

After it has dried for more than 1 hour, press a texture mat into each boot's glaze.
I used a combination of the cobble stone and sand textures in this set.
Also take a long thin tool (like a cake tester) and add a seam down the boot side (as shown below).

Allow the base to dry for 2 or more hours (to prevent bleeding).
Add details like the white pointed pattern and the rectangle at the top.
(Study whatever boot you're trying to emulate for custom designs.)
Also add the black heel and sole line (as seen below).
After the cookies have dried overnight, use a black food color marker to add stitches
down the seam and around the heel and sole.

It was fun to add some special love to the event by making these boot cookies to honor my pastor. :)

Ride 'Em Cowboy Cookie Collection