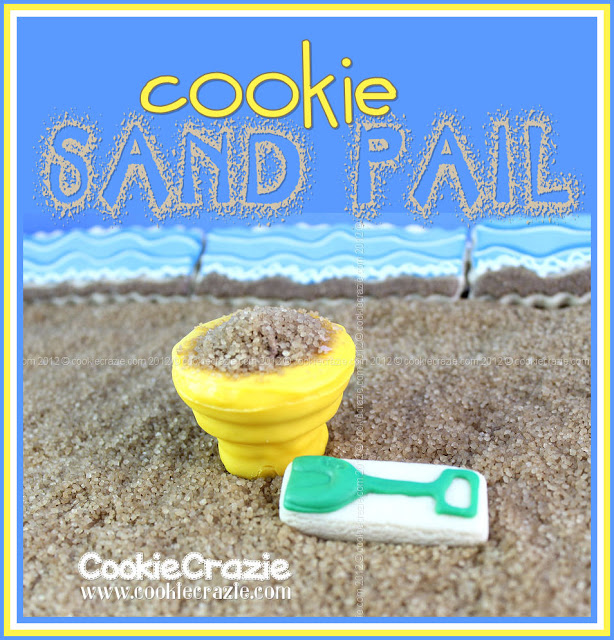
%0Ahttp%3A%2F%2Fwww.cookiecrazie.com%2F2012%2F07%2Fsand-n-surf-cookie-sandcastle-tutorial.html "Pin It")
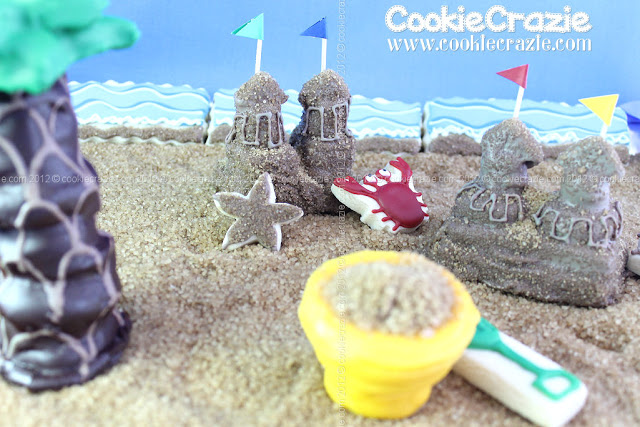
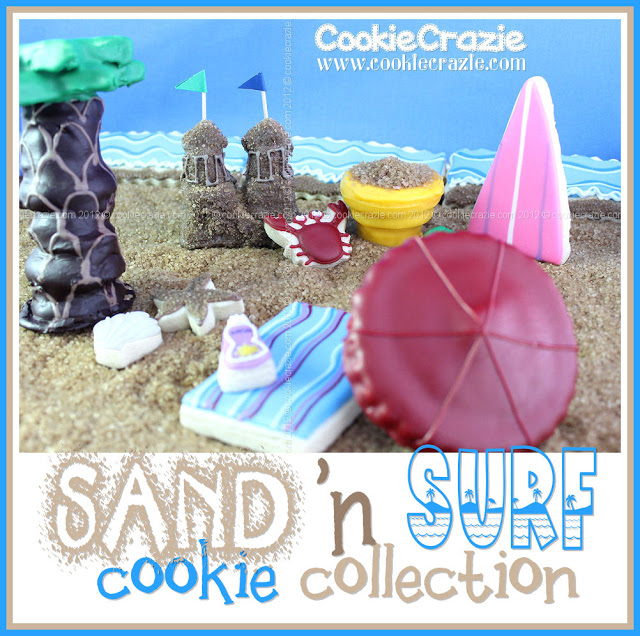
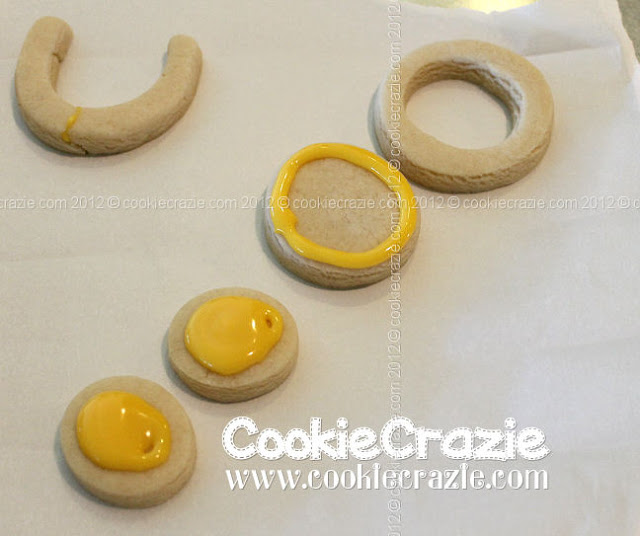
To make a cookie sandcastle you will need:
- Large Rectangle Cookie (for base)
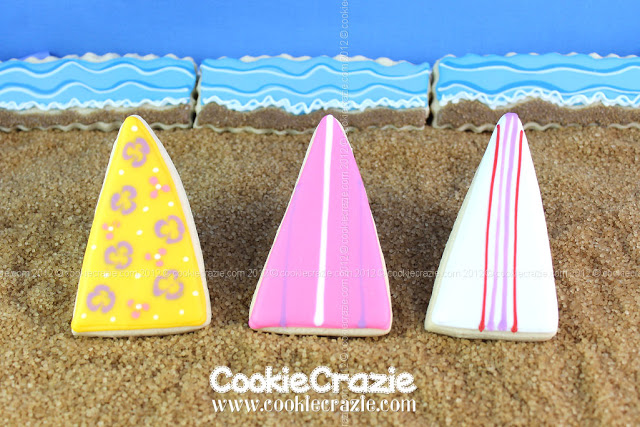
- Various Square, Circle, & Triangle Cookies (for towers)
- Sand-Colored 10-Second Glaze
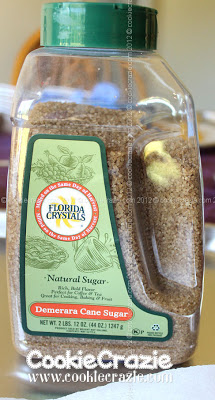
- Demerara Sugar ("sand")
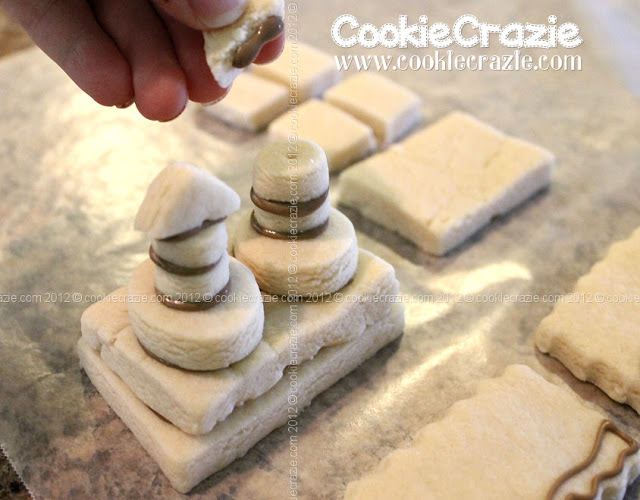
The cookie shapes and sizes are completely up to you.
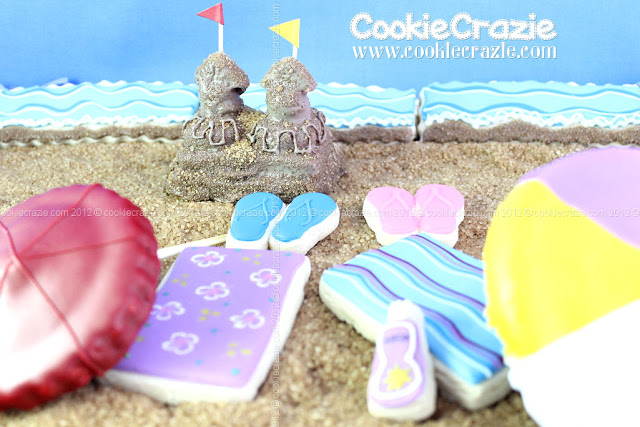
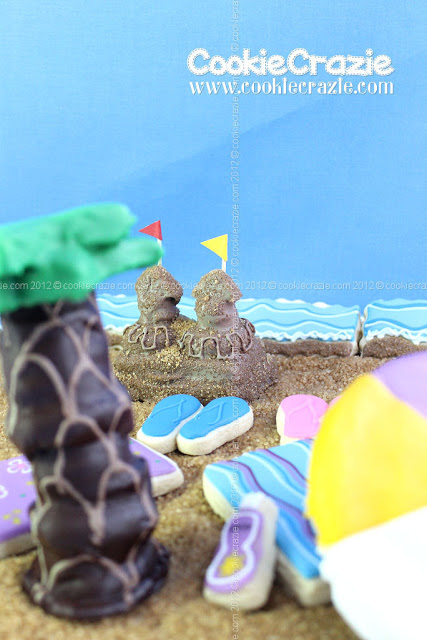
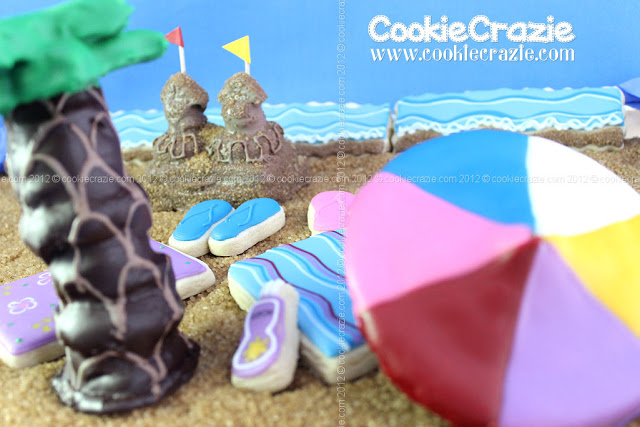
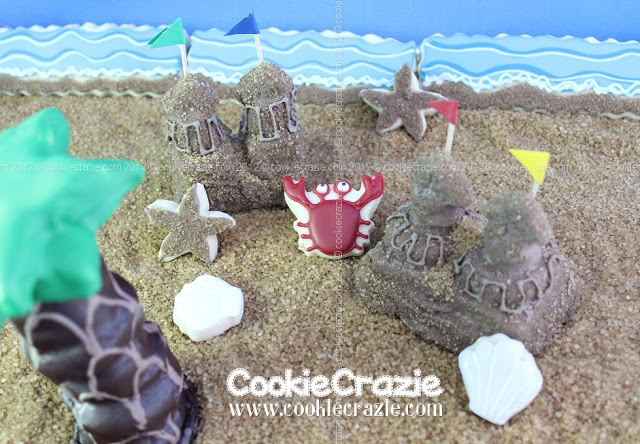
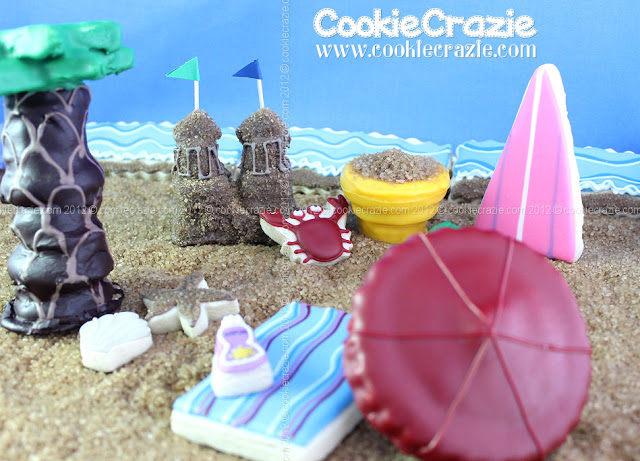
I "googled" sandcastles and decided on a two tower castle
with a large rectangle base and then squares, circles, and triangles stacked on top.
(Note, I put holes in all the smaller cookies thinking I would put my toothpick flags into the holes,
but in the end, I didn't use the holes.....so they are not necessary.)
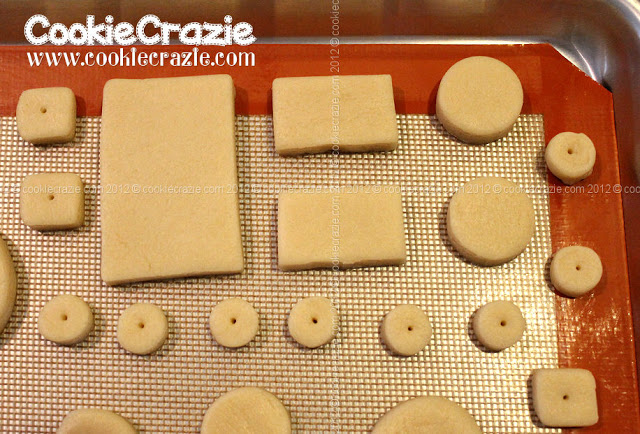
I like to line up the cookies in the order I am going to stack them together.

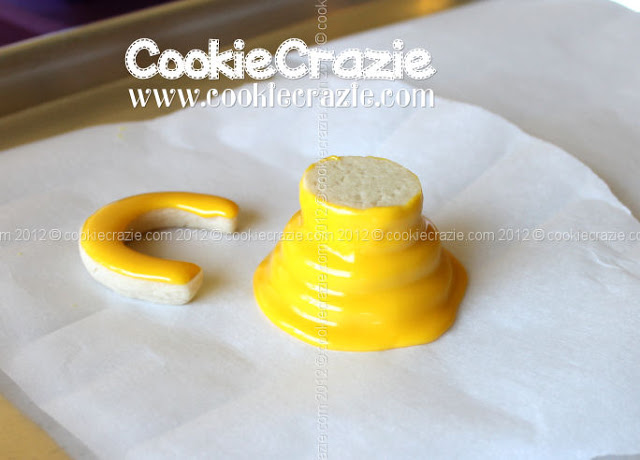
Use Sand-Colored 10-Second Glaze to glue the pieces together.


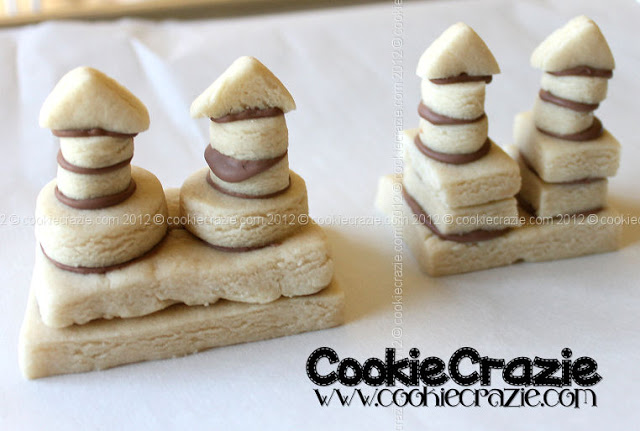
Allow the cookie sandcastle to dry for an hour or two before
covering the entire castle in Sand-Colored 10-Second Glaze.


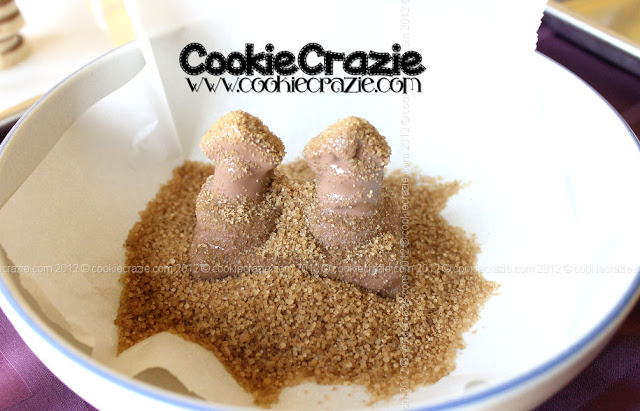
Place the still-wet castle (parchment paper and all) into a deep
container that will contain all the Demerara Sugar you will pour over it.
I made some tiny flags with toothpicks, colored paper, and
scrap booking double-sided glue tabs.
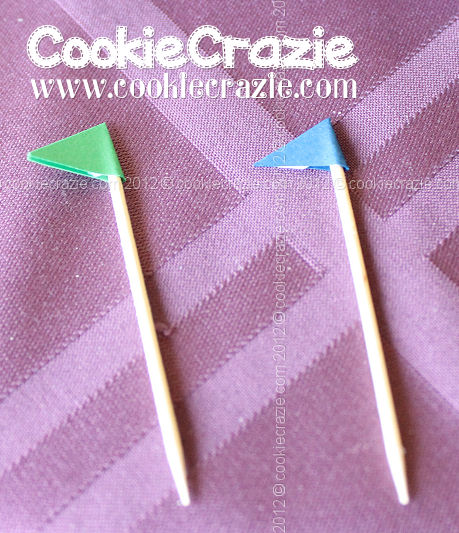
I attached to the back of the towers and used
extra glaze to glue them securely.