Easter cookies

NEW CookieCrazie Online Decorating Class: Easter Cookies!

A NEW CookieCrazie Academy Online Class has just been released:

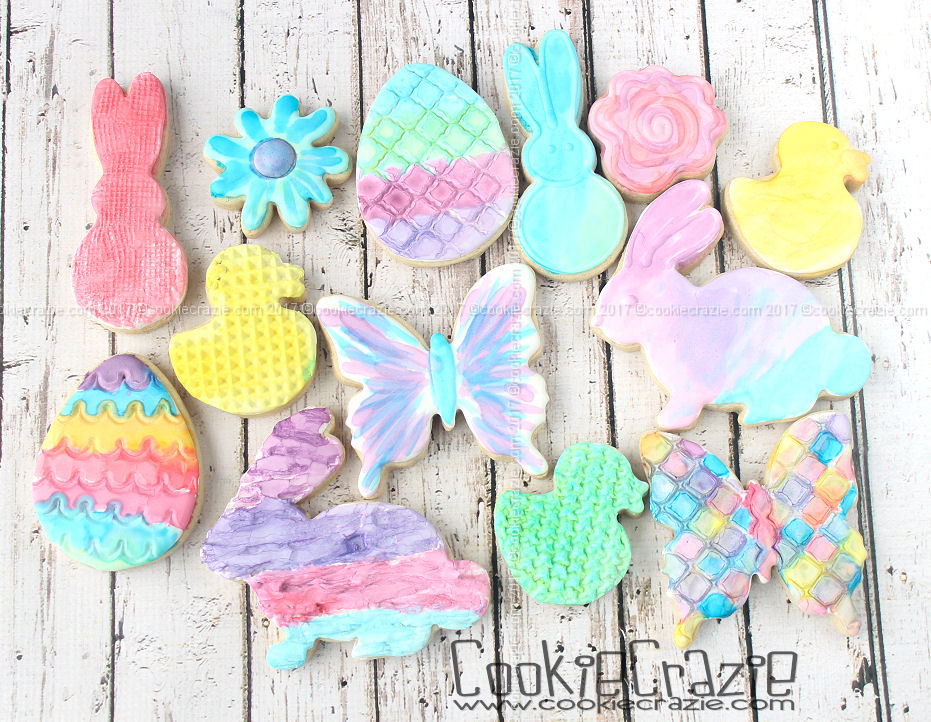
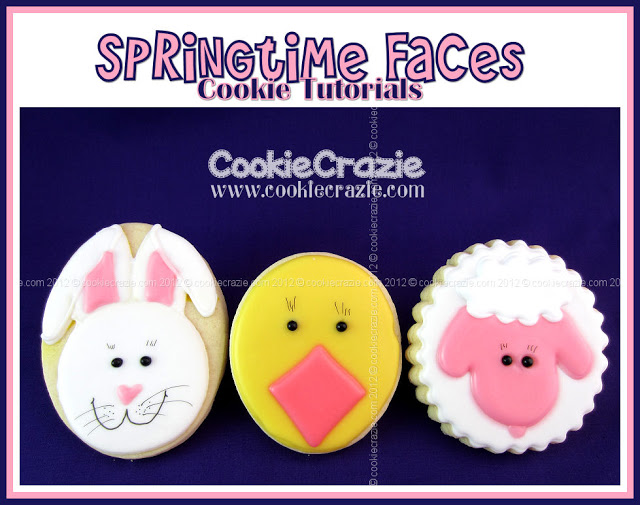
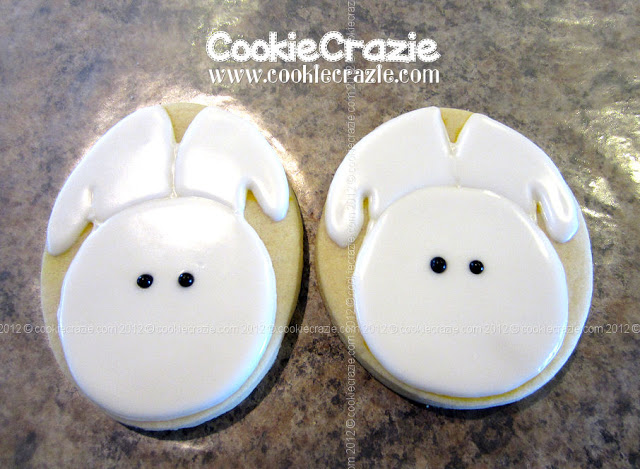
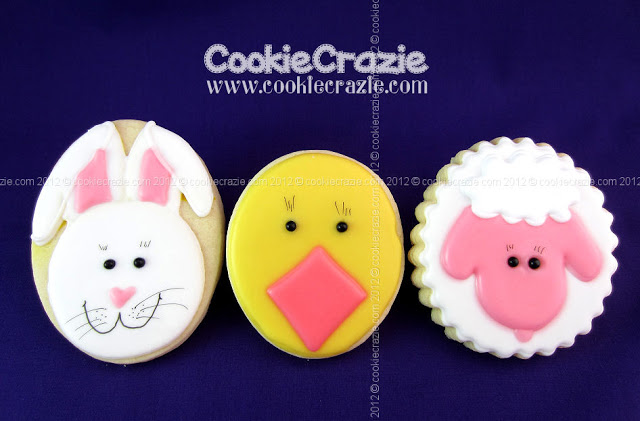
CCA318 Easter Cookie Class

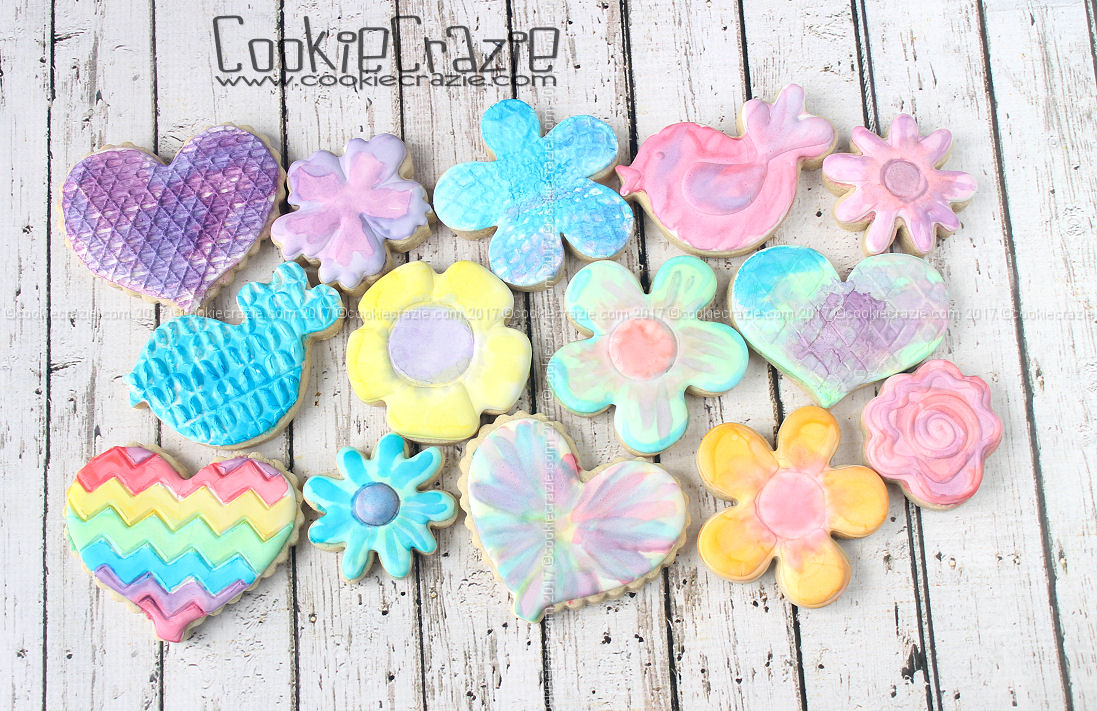
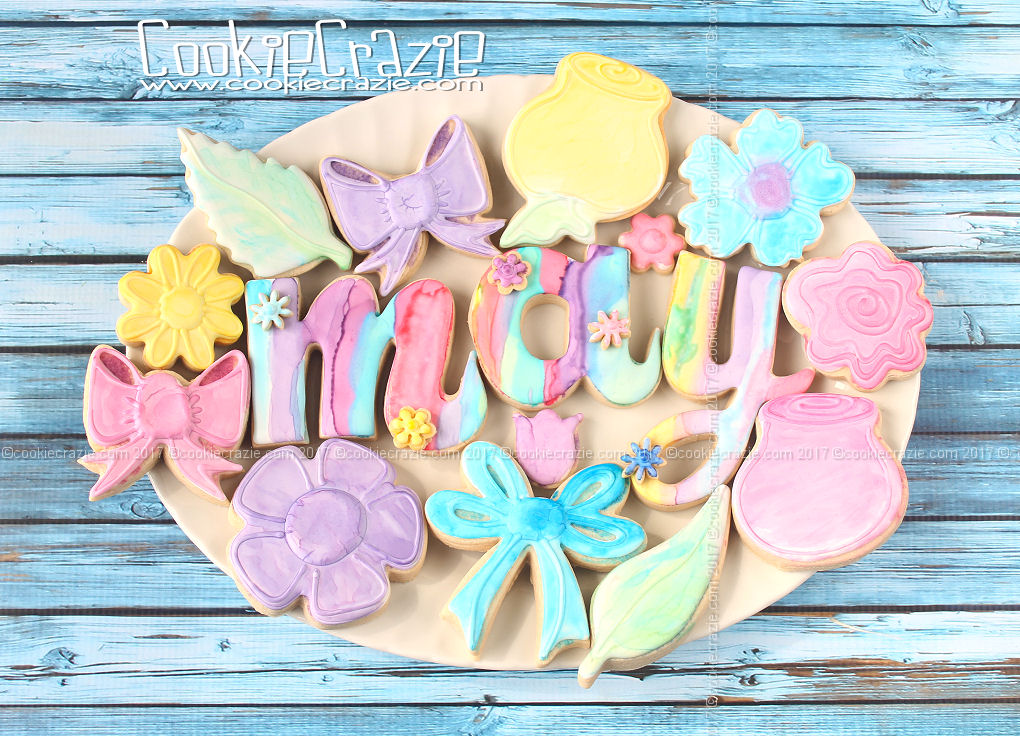
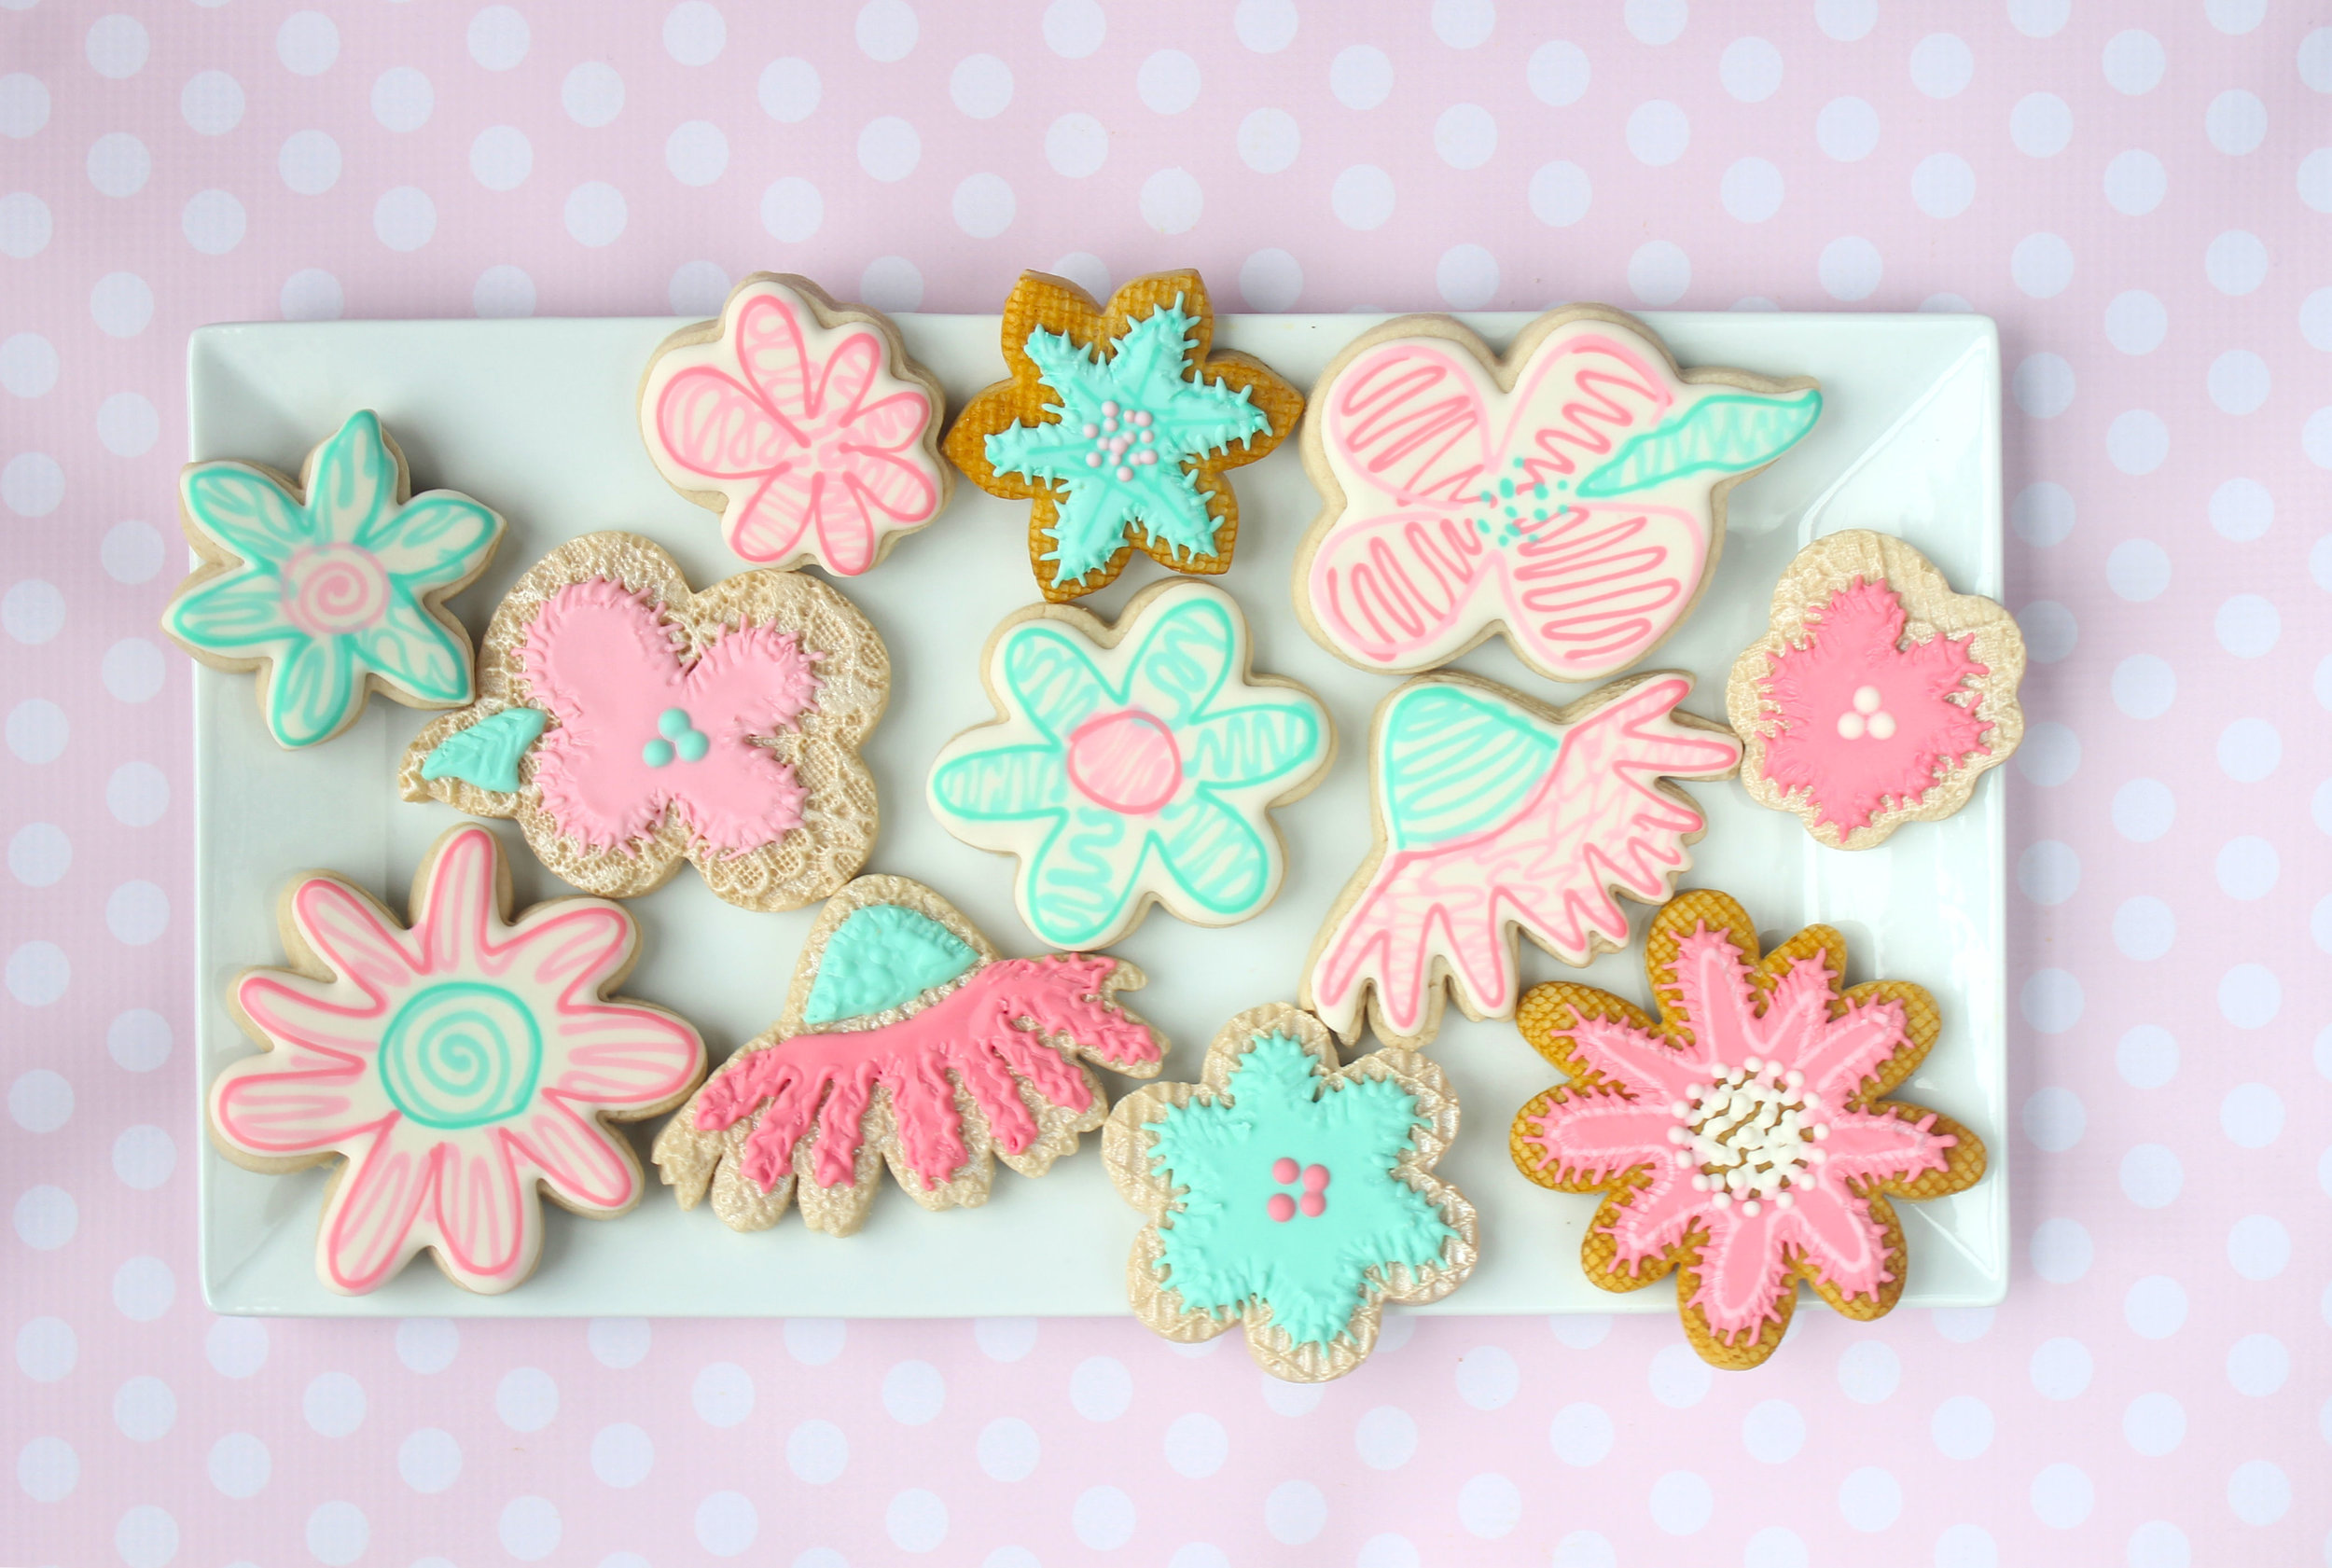
These online classes share with you the CookieCrazie methods of decorating cookies. We'll explore all the different techniques, tips, and products used to create delightful cookies with glaze icing, molded cookie dough, thickened glaze, and edible clay.

This class features Easter cookies decorated from start to finish.

To register for the class, go HERE

Sign up today!

All the details are found at www.cookiecrazie.com/classes.

To receive notice of future classes, sign up for CookieCrazie's blog post notifications HERE

WaterColor Decorated Cookies

Ever since I was in The Painted Box (Angela Nino)'s class at CookieCon2017 I've been itching to do some "watercolor" designs on cookies. The fact that she uses my glaze recipe for her "canvas" means I've got a head start.

Angela was gracious to make a YouTube video about how she creates her "watercolors paints" for cookies. After watching it a few times, I quickly purchased some glass stopper bottles, strainer, glass funnel, half pint mason jars, and some EverClear. 

Angela makes it look super easy. I have no idea what I'm doing when I pick up a paintbrush, so these look like a child painted them. But thankfully, watercolors are pretty forgiving. Even though these are pretty rough.....they were still super fun to create and it just makes me want to practice and improve my technique. :)

Thank you, Angela, for sharing your beautiful art with all of us! 

Even though this photo was not taken with the cookies featured in this blog post, I wanted you to see the set-up I used to create my watercolored cookies. Angela's YouTube video explains how to make the bottles of color.


Springtime Faces Cookie Collection: Bunnies (Tutorial)

For our final springtime face cookie collection tutorial.....


Bunnies!

To make the bunny faces, you will need:


This design is a little trickier than the other two.
You'll need to start by outlining a circle
on the bottom two-thirds of your cookie
using a round cookie cutter
and a light colored food color marker.
I used a yellow one.


Add your sketch of the floppy ears.

Notice I changed my mine and scribbled
all over my cookie.
That's OK....because you'll cover it up with icing. :)

Outline the circle and ears
with white icing and allow
it to dry for 20-30 minutes.

I flooded the ears first and let dry,
because I wanted the face to be puffier
and stand out more.
Who knows if my logic works. haha

When you flood the face,
be sure to drop the black sugar pearls for eyes right away.

Let it dry for an hour. Then add the pink ear parts and nose.
Later go back and outline the "tops" of the ears
with white so they look folded.

After drying overnight,
use your food color makers to add
some personality. :)


To see the other tutorials in this series:
Springtime Faces: Chick
Springtime Faces: Lambs


To see more bunny cookies I've done in the past.....
Happy Easter
Even More Easter :)

Last year's Spring Faces Tutorials:
Duck Face Tutorial

Oh the new things I have to show you.....
Can't wait!!!!
Member Login
Welcome, (First Name)!

Forgot? Show
Log In
Enter Member Area
My Profile Not a member? Sign up. Log Out