love messages

Love Message Cookies (Tutorial)


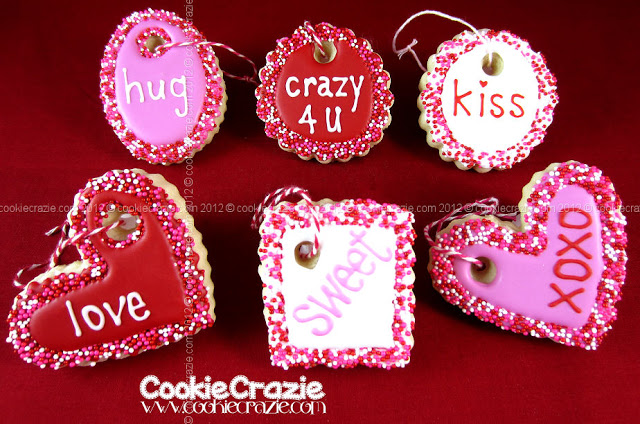
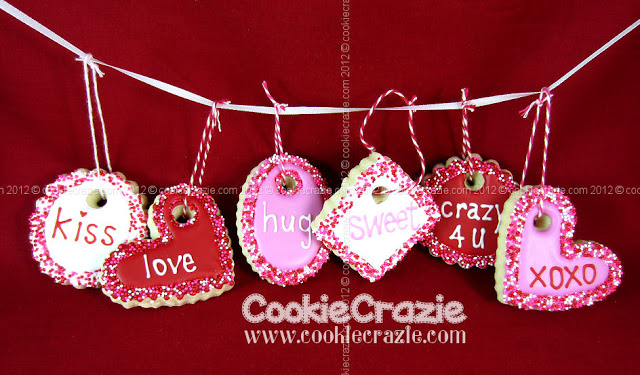
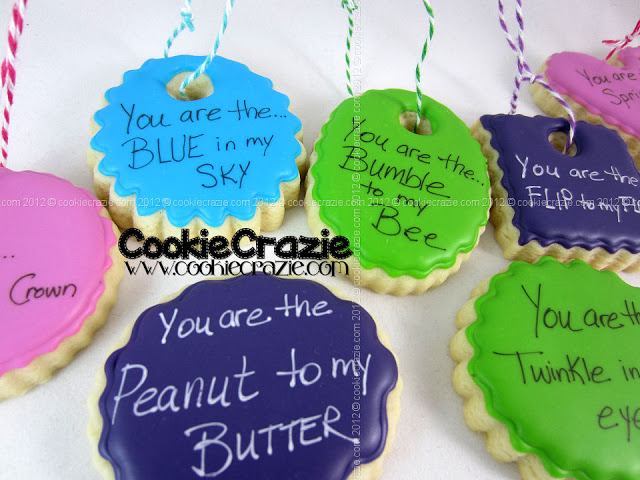
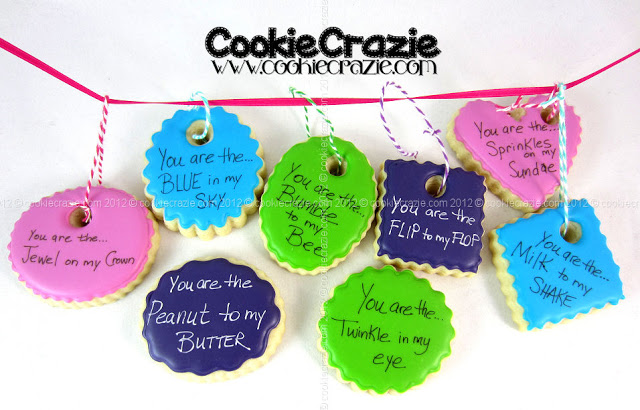
Putting messages on heart cookies is perfect for Valentines Day.
 
And I received the BEST birthday present for doing just that!

This little set of impression letters is just the right size for putting little messages on hearts.
My dear sweet daughter-in-law saw this online and decided it would be something I might like.
She's so smart!


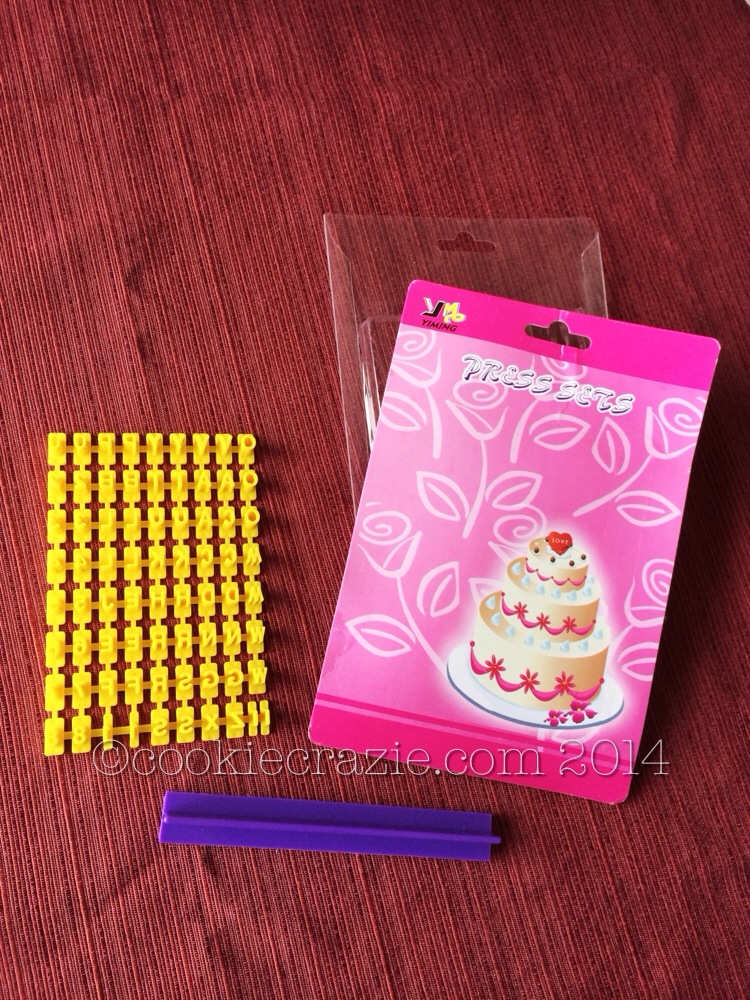
It's pretty inexpensive.....and comes directly from China.
Warning: These little letters have to be carefully snipped of their plastic sides 
to fit into the slider just right.
It's a bit tedious.....but worth it in the long wrong.


Here's the best part......
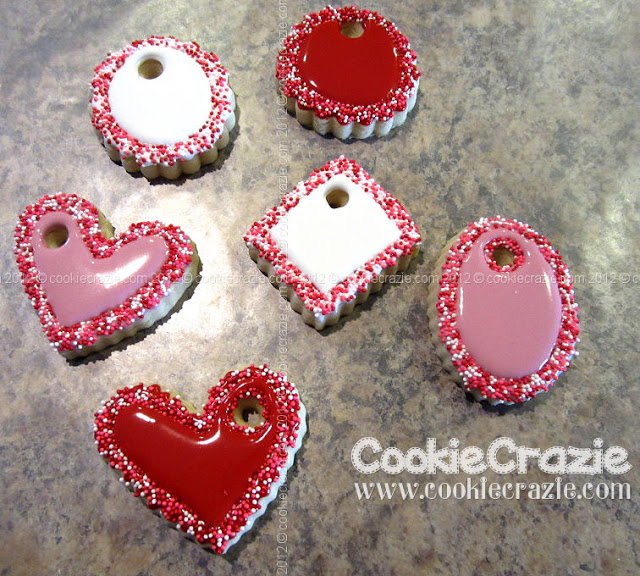
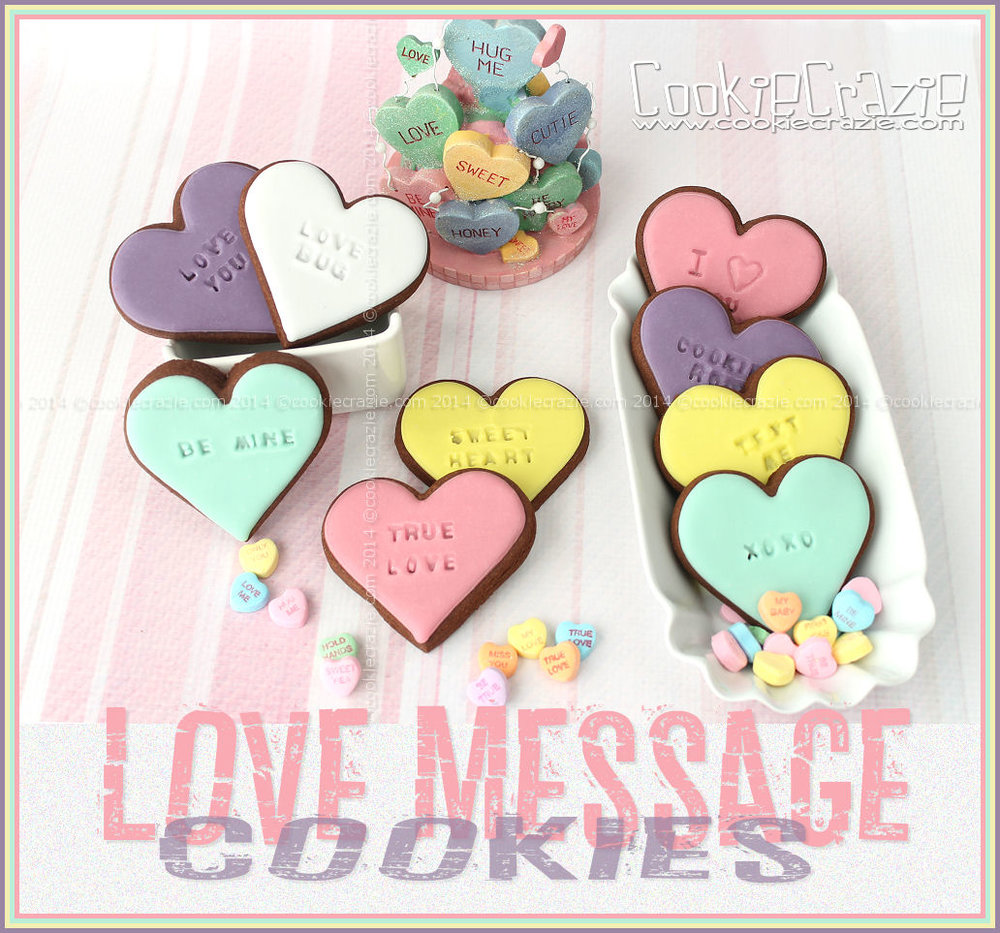
Decorating these cookies are a snap!
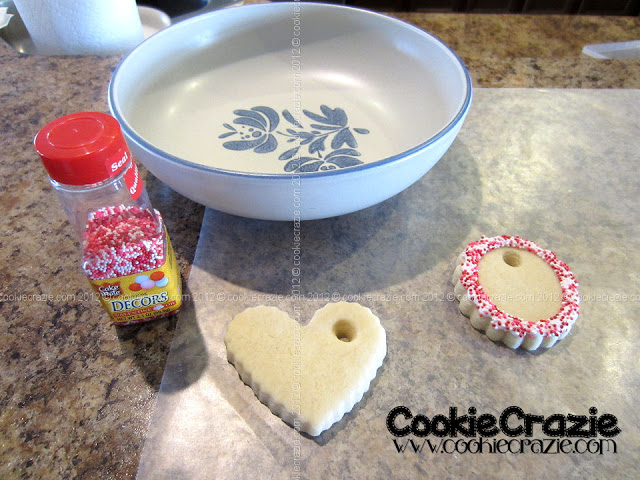
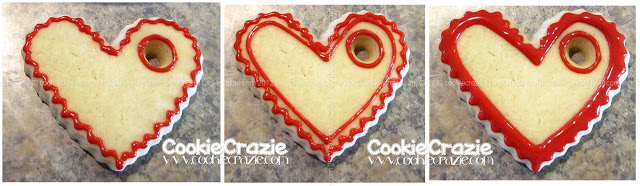
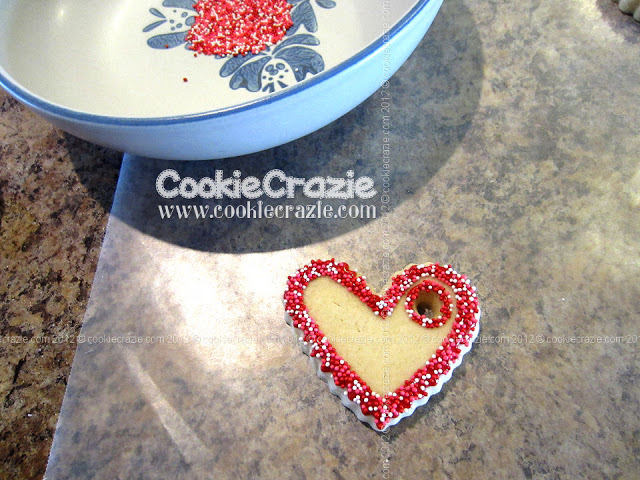
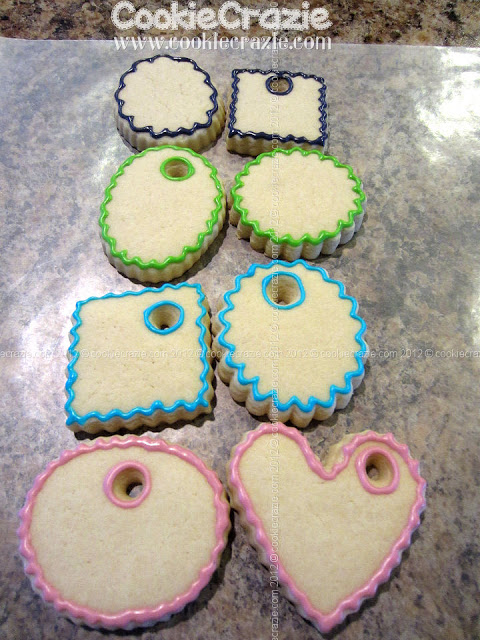
Outline and flood the heart cookies in your choice of glaze colors.


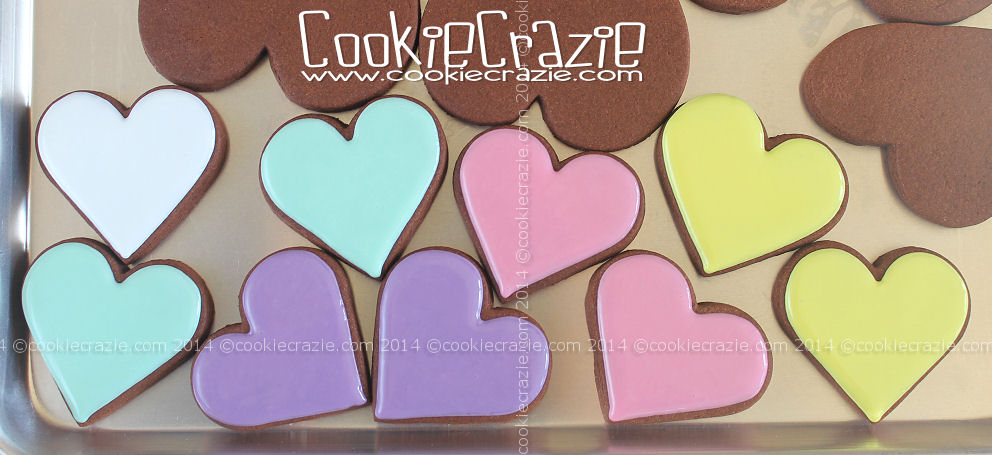
Allow them to dry for about 2-3 hours.
(The timing will be something you have to work out for your particular environment)
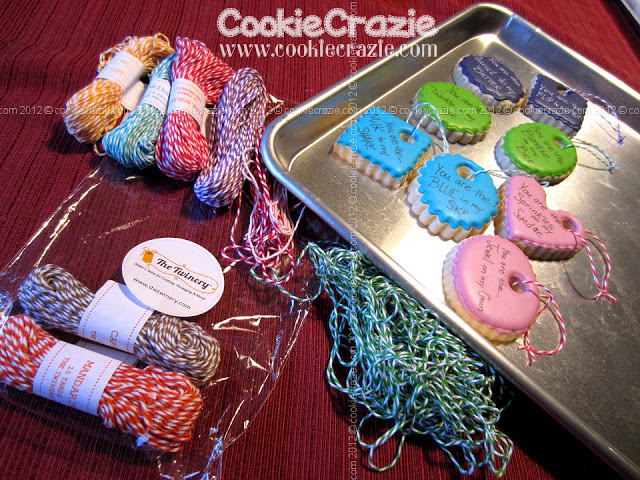
Then align the words you want to impress into the glaze on the slider.....
gently press them into the crusted glaze......
and you have a cute simple message cookie. :)


Valentines 2014 Cookie Collection

String-A-Long Valentine Cookies Using Nonpareils (Tutorial)

One more tutorial in time for Valentines cookie baking......


 You'll need:
  • cookies in varying shapes with a string hold cut out (I used a wide straw)
  • icing in your choice of colors
  • nonpareils (I'm using Valentine-sy colors of red, pink, & white)
  • a wide surface bowl, dish, or pan with sides (to keep the lovely nonpareils from escaping all over your kitchen...hee hee)
  • twine, ribbon or string to match our icing colors


Outline your cookies with a #2 round tip including an extra line close to the outline to make your outside border be thicker to hold nonpareils. Be sure to outline the string hole if you'd like.

Fill in between the outline and the extra line to make your thick border. While it is wet, place it in your container with sides and sprinkle the nonpareils over all the icing areas.

Shake off the excess and let dry for 20-30 mnutes.

Flood the rest of the cookie with a #4 round tip and dry 30 minutes or more.
(Dry it more if it is red icing.....to prevent bleeding.)

Once the base is dry, add your text with a #1 round tip and dry overnight.

Tie cute twine or ribbon through your cookies and have fun displaying them anyway you like.


Enjoy your holiday baking and decorating......make lots of memories.

So many possibilities....so little time. :)

Sweet Valentine Text Cookies (Tutorial)

More cookies on a string......but THIS time......
you get to personalize them for that special someone. :)

A few weeks ago, I saw this adorable poster on Pinterest.
I loved the sayings so much.....and knew I just HAD to put a few on some Valentine cookies. heehee


I picked out a bunch of varying shapes to go together for these text cookies.
It was fun to even change up some shapes by putting the string hole in a different spot.

Ok....so you know the drill for cookies with strings after my last post of the
hanging stitched valentine hearts, right?
Cut out your shapes with a small hole for the string.
I used a wide straw.....but any small cylinder will work.

You can pick any colors you'd like.
I chose more electric colors for this one......rather than the traditional red & pink.

Outline each cookie with a #2 round....and "inline" the string hole too.


Let them dry for 10-15 minutes......then flood the insides with a #4 round.


You can add text right away (with a very small tip like #1 or #0) for wet on wet. 
Or you can let them dry for 20-30 minutes and then add your text.
OR......the easiest way is to let them dry overnight and then add your text with markers.
(This might be a fun project to do with the kids.....
have them write their own texts on cookies.)

I use FooDoodlers.....but any food coloring markers will do.

Once the cookies are dry....add your twine or string.
I used twine from The Twinery.
What fun colors!

I had a few stray cookies that I forgot to put holes in.....
so they are just hanging out with the rest. lol


So many possibilities for these cookies. Enjoy!
Member Login
Welcome, (First Name)!

Forgot? Show
Log In
Enter Member Area
My Profile Not a member? Sign up. Log Out