Heart Cookies

CookieCrazie Chatter...... Friday, September 2, 2016

_________________________________________________________

CookieCrazie's Week in Review

/www.cookiecrazie.com//2016/08/stacked-heart-decorated-cookies-tutorial.html
/www.cookiecrazie.com//2016/08/meagans-wedding-shower-cookie-collection.html

_________________________________________________

Personal Side

It truly is GOOD to be home.

We arrived safely from Ukraine on Friday night at around 11 PM.

I was back in the saddle early Saturday morning and stayed up all day.

Jet Lag has not plagued me at all.

I'm so thankful.

My daughter had her gender reveal party Sunday and we are having a BABY BOY!

We are greatly anticipating his arrival in December.

This holiday season is definitely going to be like no other.

No cookie decorating here yet......but I'm planning on

working on cookies during this holiday weekend.

And I have some VERY EXCITING news coming up soon.

Once I arrived home from Ukraine.....some pretty crazy things happened....

so buckle up and start anticipating some huge changes around here.

God is so good to bless me in this way!

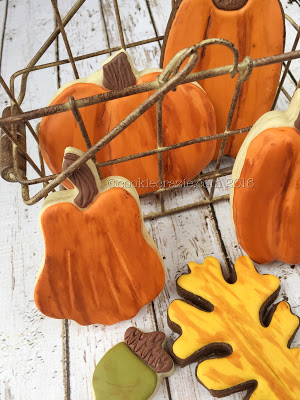
Autumn is just around the corner.

I can't wait to start decorating the house for the season.

♥♥♥

Instagram photos for this week:

Happy Friday!

It's an extra happy day for me.

I'm sitting in the Lviv airport......almost ready to take off on the first of three flights

to be HOME late tonight. :)

Home Sweet Home.....Happy Saturday!

Here's some SWEET memories from my Ukraine trip.

Summer is fading......

good thing ice cream cones are not seasonal...
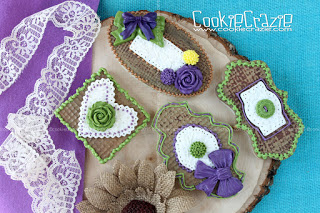
Happy Tuesday!

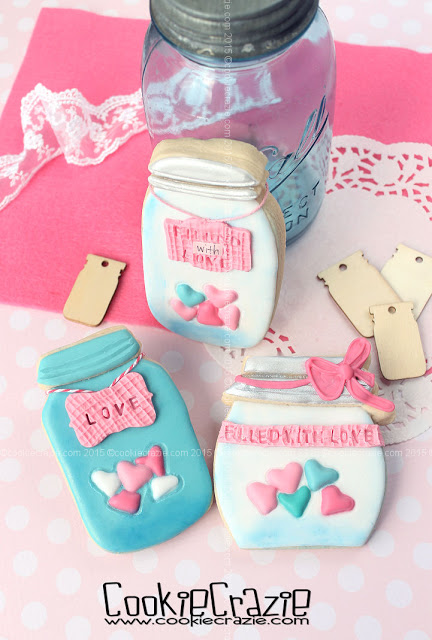
Some burlap plaque cookies from last year....

/www.cookiecrazie.com//2015/08/burlap-plaque-cookies-tutorial.html

_________________________________________

Last CookieCrazie Chatter....

CookieCrazie Chatter...... August 26, 2016

Meagan's Wedding Shower Cookie Collection

My daughter, Allison, was matron of honor at her best friend's wedding in June.

Her BFF, Meagan, LOVES my sugar cookies.

She's been one of my biggest fans for many years.

So of course I wanted to make some cookies for her wedding shower.

It was so fun to take her wedding colors and make some elegant & pretty cookies.

And she was thrilled!

It always makes me so happy to delight others with something I love to do. :)

💗💗💗

Here's sweet Meagan (center) with my daughter, Allison (L) and me (R).

What a fun day we had celebrating her upcoming marriage.

/www.cookiecrazie.com//2016/08/stacked-heart-decorated-cookies-tutorial.html

Stacked Heart Decorated Cookies (Tutorial)

Last year I fell in love with these super cute heart stacks from

That's A Nice Cookie Cutter.

Each time I make them, I want to give them a 3D look.

It's achieved by cutting extra hearts and stacking them on the base cookie.

To keep the dough from becoming too thick to bake all the way through,

roll super thin dough for for the "add-on" hearts.

Cut them out using the same stack cutter.

First cut out a stack, then move the top of the cutter down to the bottom heart to cut a single one.

(see photo below)

You can also move the bottom of the cutter to the top of the stack and cut a single heart there too.

The same method applies to the horizontal stack. 

I usually only cut one extra heart and place it in the center of each heart trio.

For the tall stack, place the hearts from the top to the bottom in a layered effect.

(see photo below)

For the horizontal stack, place one extra heart in the center.

Once the cookies are baked and cooled, you can decorate them in your choice of colors/designs.

With the layered dough, you have a template shape with each heart to make it easier to outline.

Lace 'N Frills Valentines Cookie Collection

Eyelet Lace Valentine Heart Cookies (Tutorial)


Eyelet lace is one of those delicate treasures that reminds me of vintage valentines.

It's fairly simple to achieve an eyelet lace look on a cookie by making a very thin glaze
that has no color gel added whatsoever.
Since glaze is very transparent on it's own, it is the perfect medium to use for eyelet lace.

Decorate the middle of your cookie as desired.

Pipe regular 10-second white glaze for the border and holes (eyelets) of the lace.
(see photo below)
Note: It is recommended to allow the white outline to dry for a few hours before adding the thin glaze within the border walls. If the white outlining does not dry long enough, the white coloring will bleed into the transparent thin glaze over time......giving it a cloudy look.


Once the white border has been piped and dried thoroughly, make some very thin glaze without color.

You'll want it to be runny, as shown by the photo below.


Here's a video to show the process of adding the thin transparent glaze.


If desired, pipe additional dots around the eyelet lace border with regular 10-second white glaze.


2016 Valentines Cookie Collection
Member Login
Welcome, (First Name)!

Forgot? Show
Log In
Enter Member Area
My Profile Not a member? Sign up. Log Out