heart cookie

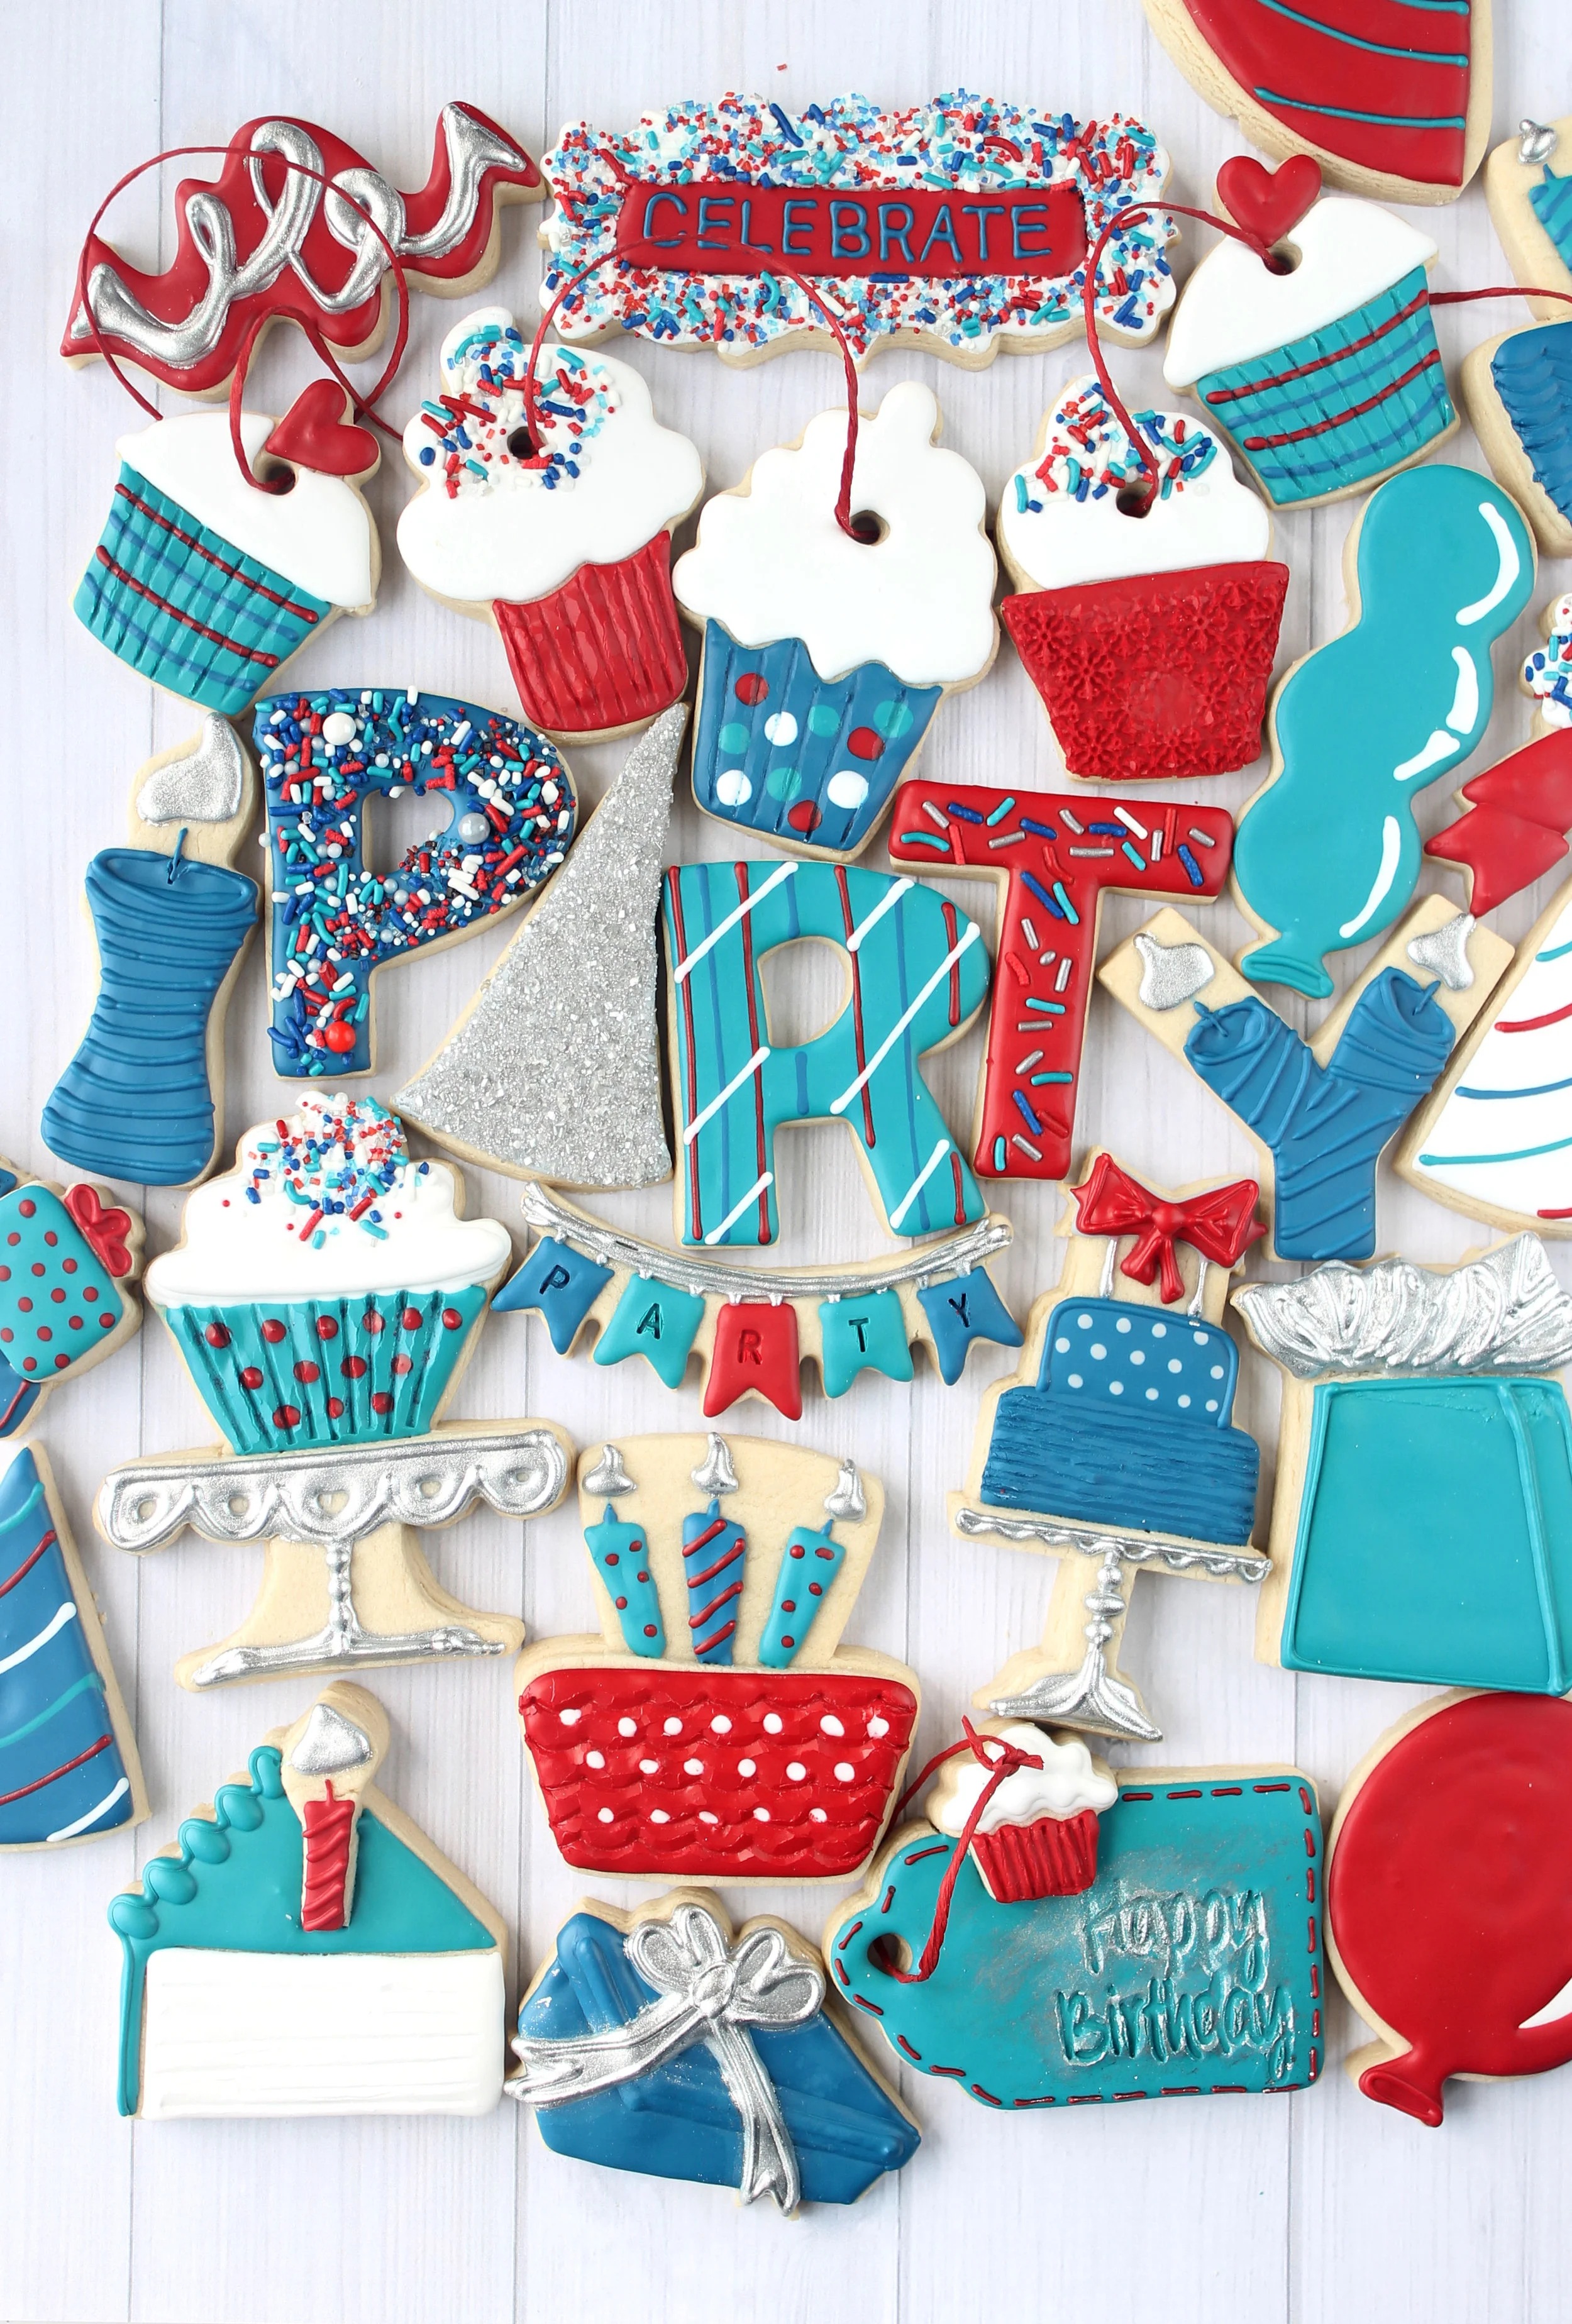
Navy & Pink Birthday Decorated Cookie Collection

I wanted to make birthday cookies for a special friend who is sensitive to gluten. Instead of using my grain-free cookie recipe, I decided to try subbing gluten free flour blend for the regular all-purpose flour in the CookieCrazie Sugar Cookie recipe (cup for cup). The cookie dough turned very similar to my regular recipe and they baked up with sharp edges just like normal. YEAH!

This set included several new shapes and I enjoyed using the Sail Away Sprinkle Mix from Sweets & Treats as the color combo for the entire set.

[Note the links when hovering over each photo]

YouTube MiniCupcake Tutorial Video HERE. Cupcake cutter found HERE and Sprinkles found HERE

Balloon Decorated Cookie Tutorial Video on YouTube HERE        Balloon Cutters found HERE and HERE

Happy Birthday Gift Tag Decorated Cookie YouTube Video HERE Happy Birthday Impression Tool found HERE

Pedestal Cake YouTube video HERE Pedestal Cake Cutter found HERE 


Simple Valentine Heart Cookie (Tutorial)


Well.....it is about time I got to Valentines Day cookies. :)
 
Actually I decorated hearts a couple of weeks ago.....but the snowmen revolted and took charge. hee hee

I've got several simple tutorials to share with you for making some fun patterns on hearts.
So here we go.....


The day I did these cookies was one of those "happy days".
Everything was "right with the world".....if you know what I mean.
 
It was snowing outside....which always makes me happy.


It was bright and cheery, warm and wonderful inside.....


And I was getting to decorating cookies.....which always makes for a good day. :)


 So I got a little CRAZIE with the photos. ha ha

I was enthralled with how pretty these Americolor gels looked all staged together.....so I just HAD to take a photo of them too. :)


But I digress.....back to the heart cookie tutorial.

For this particular heart pattern, I used a larger heart (over 4") to accommodate the border.
To make the border fairly uniform, I found a small heart cutter to trace a border line with a yellow food color marker.


It doesn't matter if the line's not perfect....because you're going to cover up your markings with icing.

Pipe a outline of the inner heart with a #2 round tip and then flood the inside with a #4 round tip.
(I use the same consistency icing for both outlining and flooding using the 10 second rule.)

I dry each "layer" or addition of icing with a heat gun to give it a nice sheen, lessen bleeding, and prevent sink holes (especially when doing small areas).  For more on the heat gun, check out this post.


Once the inner heart has dried for a while (at least 30 minutes), I add the outside border outline (with a #2 tip) and dry it with the heat gun.


 I let the outline dry for about 10 minutes, and then fill in the border with a #4 tip.
By letting the outline dry first, you get a more "puffy" look to the border.

At this point.......you can use your imagination and add whatever you'd like to this simple heart.
I forgot to take a photo of the addition of the writing "iloveyou" on the center heart and the white border dots and stitches I added when  the border was wet.
Both are simply done with white icing using a #1 and #0 tip.
But certainly don't limit yourself to my particular design.
Run with the basic idea and make it your own.

This was my first time using my new half sheet lids. This is a much prettier photo with all the happy hearts inside than the ones I took of just the plain pans and lids. :)

And the finished heart.......

 Much more to come.

You can also check out my Valentines cookies from last year. I went a little CRAZIE as usual. ;)

Valentine's Day.....here we come!


Almost to the Finish Line :)

I didn't post yesterday. It's hard on Saturdays when I work. Plus, yesterday when I got home, I had to photo lots of cookies, bag lots of cookies, finish three cookie jars, etc etc. I finally sat down at 5:30 PM and I was ready for bed. lol It was a hard, hectic day at work.....and then lots to do when I got home. 

But now I've had a good night's sleep and all is well again. Plus, it is Sunday....the most wonderful day of the week. :)

How about some pink Valentine cookies?  You'll see repeat designs.....but I'm tweaking them and making them a little better each time.


Tomorrow's the day! Are you ready to show extra love to the ones near to your heart?

Oh Valentines Day......you are almost here. ;)

More V cookie photos for you.

 Double hearts...


These kisses turned out as I had hoped. I'm so happy with them. :)


And here's the mauve and teal cookie jar....


Today's my last Valentines decorating day. I've enjoyed this season immensely.....but I'm also ready to move on from red, pink, and white. lol

And They Just Keep Coming......

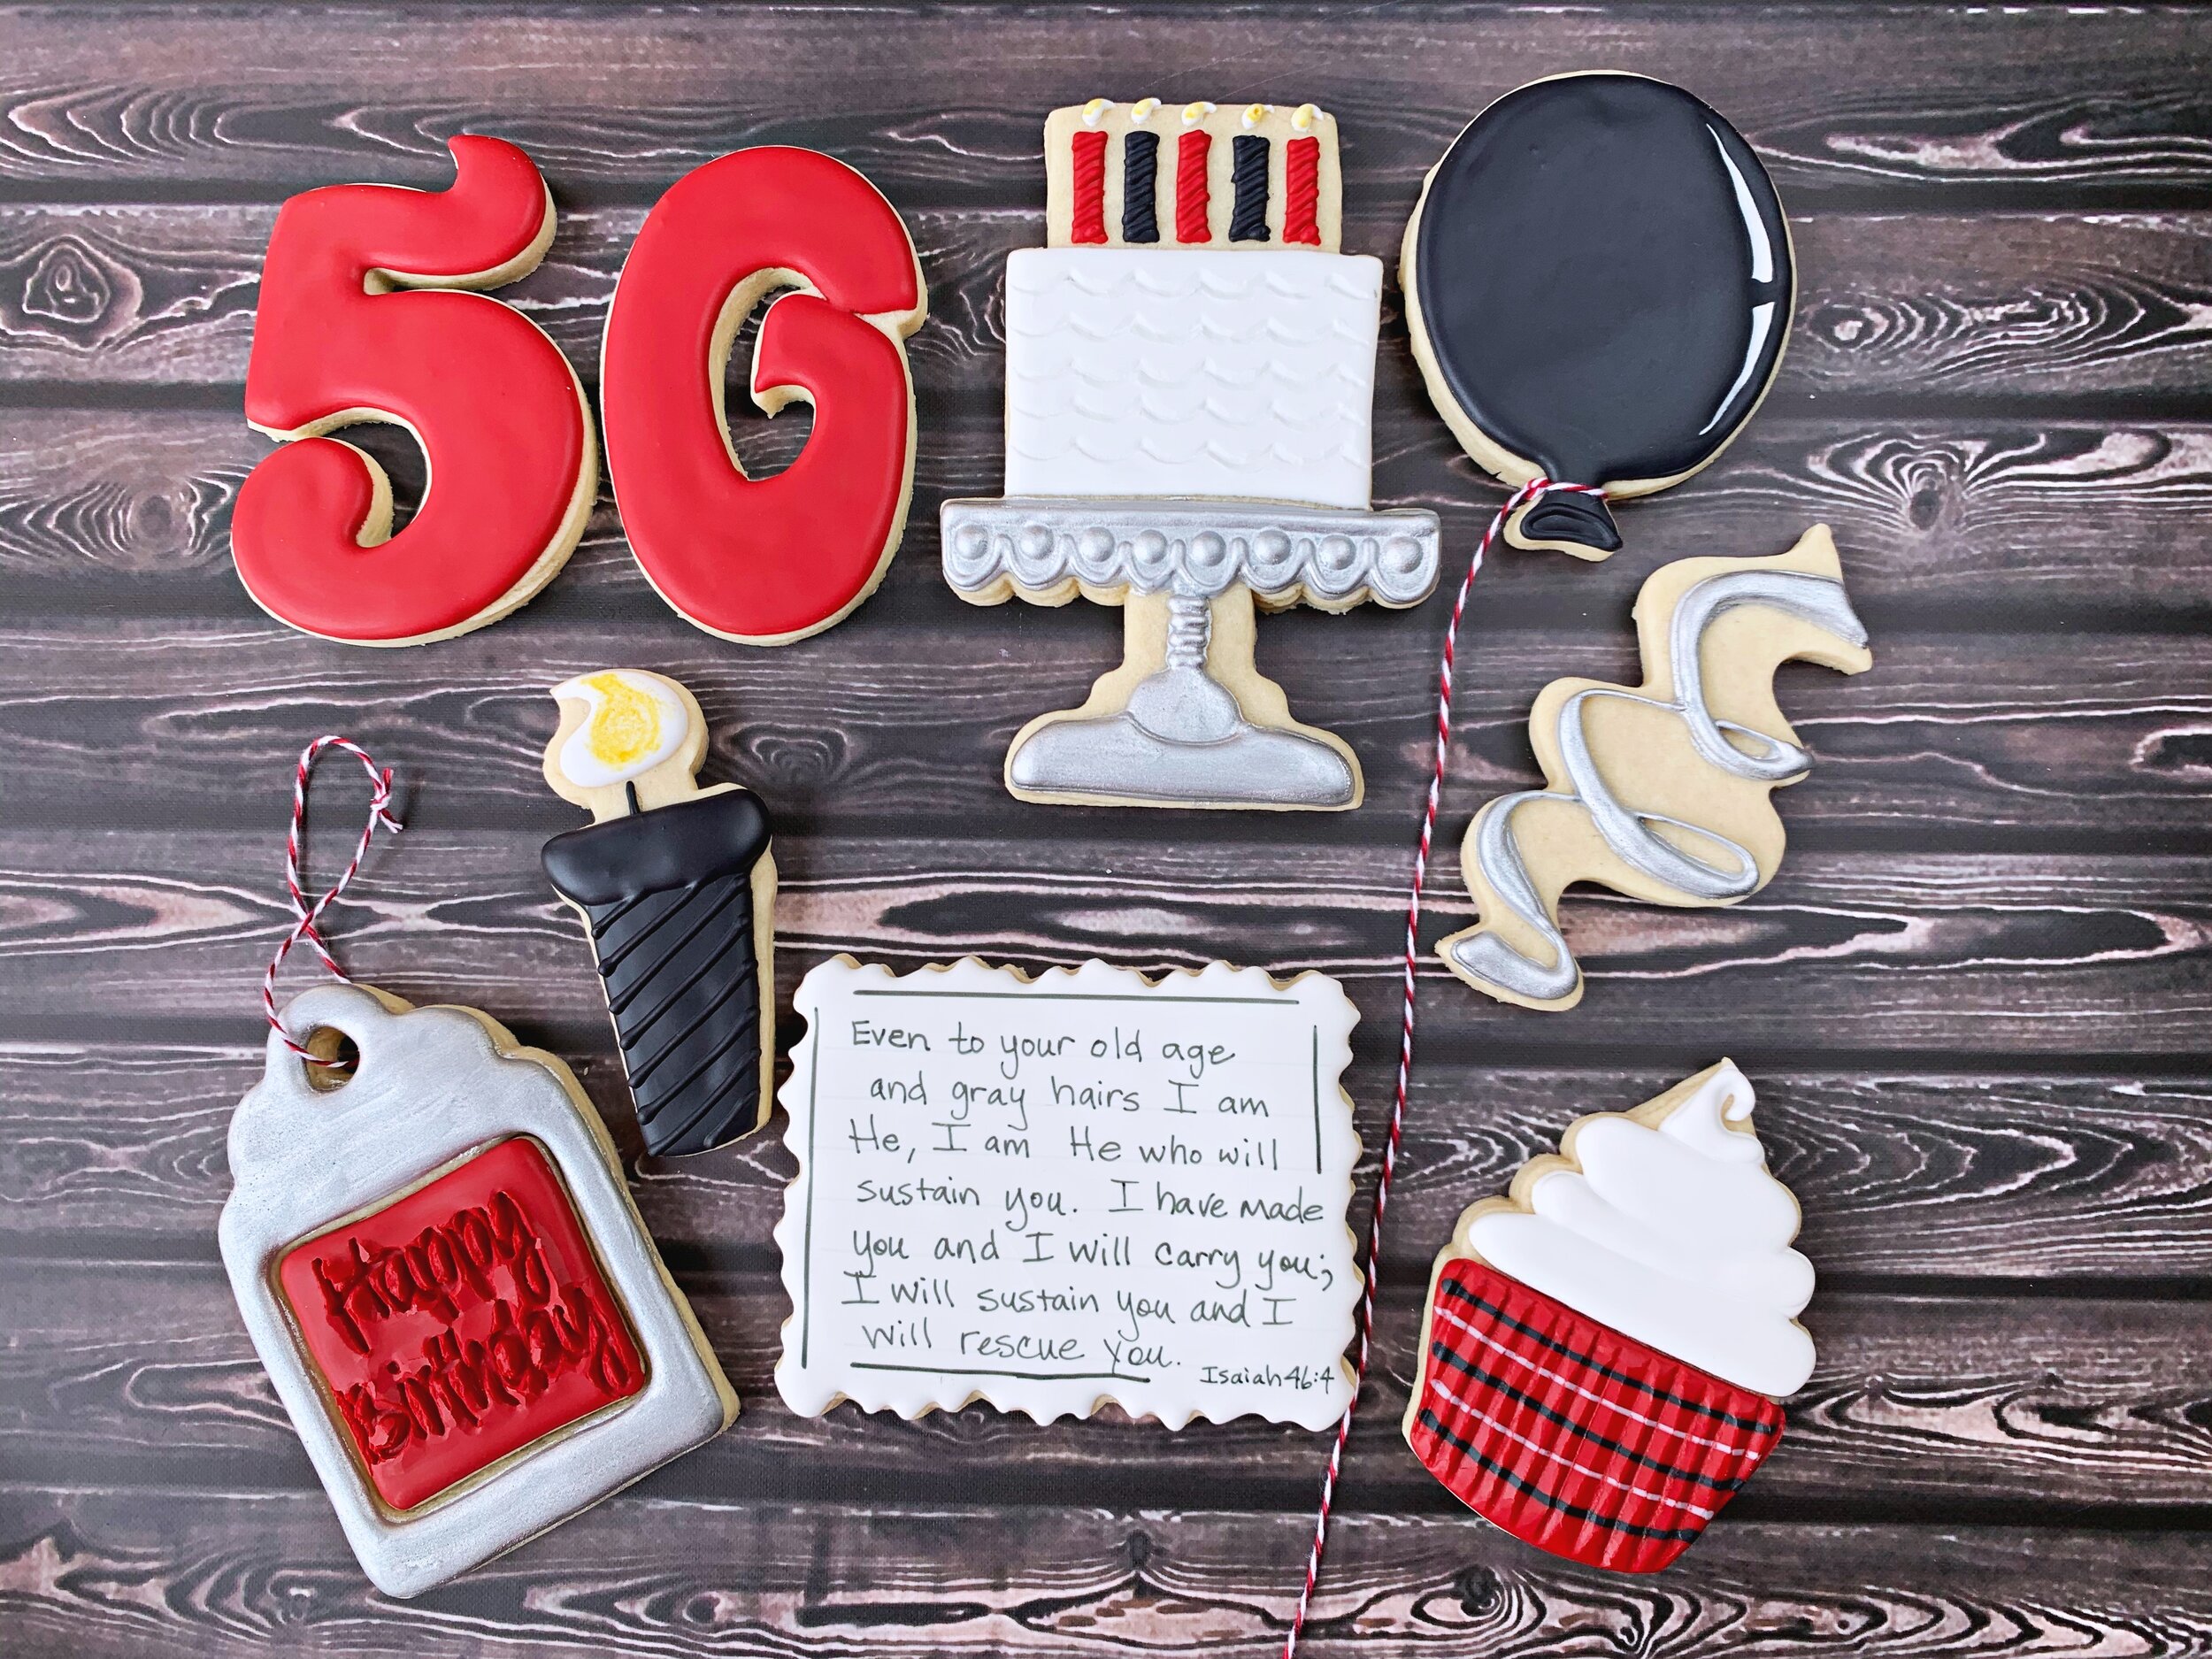
If you're tired of Valentines cookies.....I'd suggest you not look at my blog until late next week. lol That's all of I've got for now. But next week, I'll be making some DIFFERENT cookies and also, I've saved some birthday cookies from a few weeks ago to show you after the LOVE-ly day. :)


I'm a bit busy these next several days.....so I may be just showing you photos.....but I promise to get back to a variety of posts as soon as things settle down here.
Member Login
Welcome, (First Name)!

Forgot? Show
Log In
Enter Member Area
My Profile Not a member? Sign up. Log Out