
Just a reminder......cookie decorators do things differently. The way I show you the following tips is not necessarily like most other cookiers. At cookie camp.....I was amazed at how many different ways everyone did things. So you just find what works best for you and go with it. Since I tend to be unconventional.....you may find my methods too crazie! That's OK. Find what works for you.
Probably the hardest part of decorating cookies is getting the consistency of icing right. For me, I use the same consistency to outline, flood, and detail. It makes it so much easier than having to make two consistencies of each color!
I use the 10 second rule. Dip a knife (or your clean finger) into the icing and make a peak when you pull it out. Count slowly to 10.....looking for the icing to go completely smooth/flat in 10 seconds. If it is longer....add a tiny amount of water. If it is shorter, add a small amount of powdered sugar.
I've made a VERY CRUDE video of the 10 seconds rule. Please don't laugh. ;) I hope it helps those of you that need a visual.
Once you have the right consistency.....you are ready to make your colors. (Since I'm so picky about my icing colors.....this often takes me a very long time!)
First add your Americolor gel. Certain colors only need a little bit of gel.....so go slow with this until you've learned which colors come quick and which ones take more gel. (This photo shows me making red icing....which requires lots of Super Red gel. Don't put this much gel in the bowl for most colors!)

Karen of Karen's Cookies has some great videos to help in all parts of cookie decorating. Be sure to watch the one on color mixing and bag filling. She uses one bowl......one spoon....mixes three colors.....and best of all.....she shows you how she puts her icing in rolled up plastic wrap before putting it in the decorating bag. That is one of the BEST tips I've ever learned from Karen. Love it!!
So here's my pictorial version....minus the cool twisting trick of the plastic wrap from Karen. (It's kind of hard to show that in pictures.....and since I'm not so good at videography......I'll leave that part out and trust that you watch Karen. :))

1) Mix up your icing and then pour it out onto your plastic wrap.
2) Roll up the plastic wrap and twist it like Karen shows you. :) Then pull one end of the wrapped icing through the coupler and cut off that end....adding your tip and screw on the coupler.
3) Twist the other end of the bag around several times....
4) Then fold it over and add add a purple bag tie. (I fold it over first because I want to prevent icing from coming out that end of the bag!)
5. A finished bag
6. Lots of finished bags. :) I keep the tips under a wet towel to keep them from clogging.
Since corn syrup glaze icing doesn't have anything in it that can spoil, you can save any icing you don't use. I keep icing for at least a week. I just put one of those tip covers on each bag and set them all in a ziploc bag (for no particularly good reason.....lol) and keep them stored with the tips up at room temp. How awesome to have those colors the next time I need to decorate!

So.....I think we've finally covered everything in preparation to decorate. Yippee!
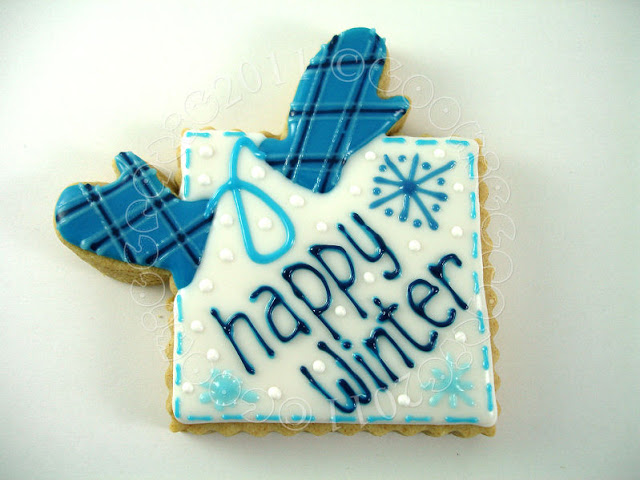
Now I have to show you some more of my final winter collection....just so we can get to Valentines Day cookies soon. lol

Don't forget to enter the January Ecrandal Giveaway!