3D cookies

Exposed Brick Wall Decorated Cookies (Tutorial)

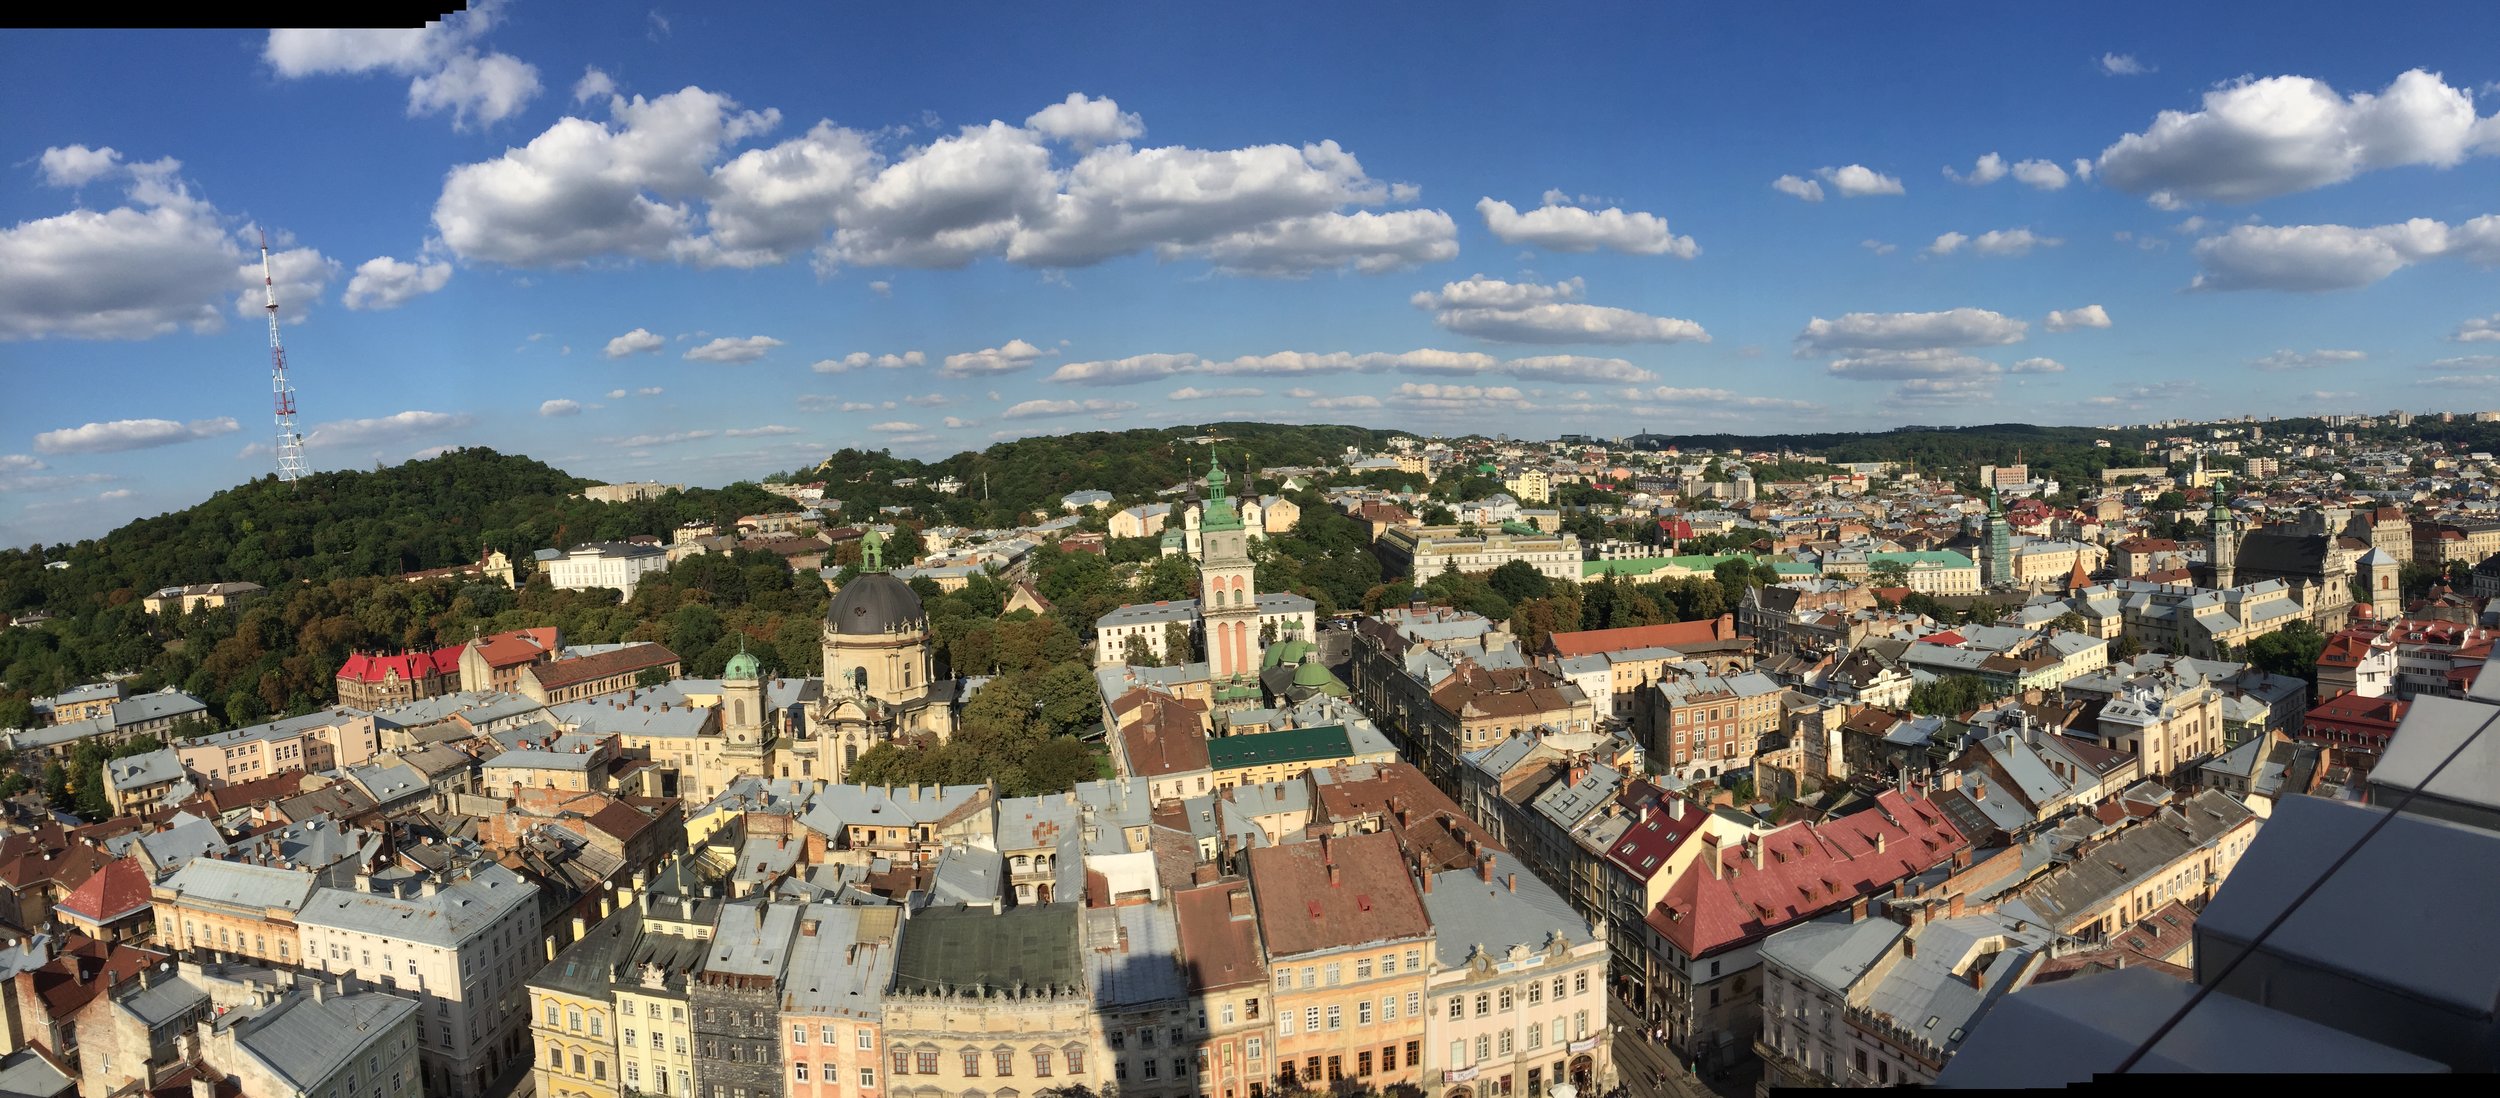
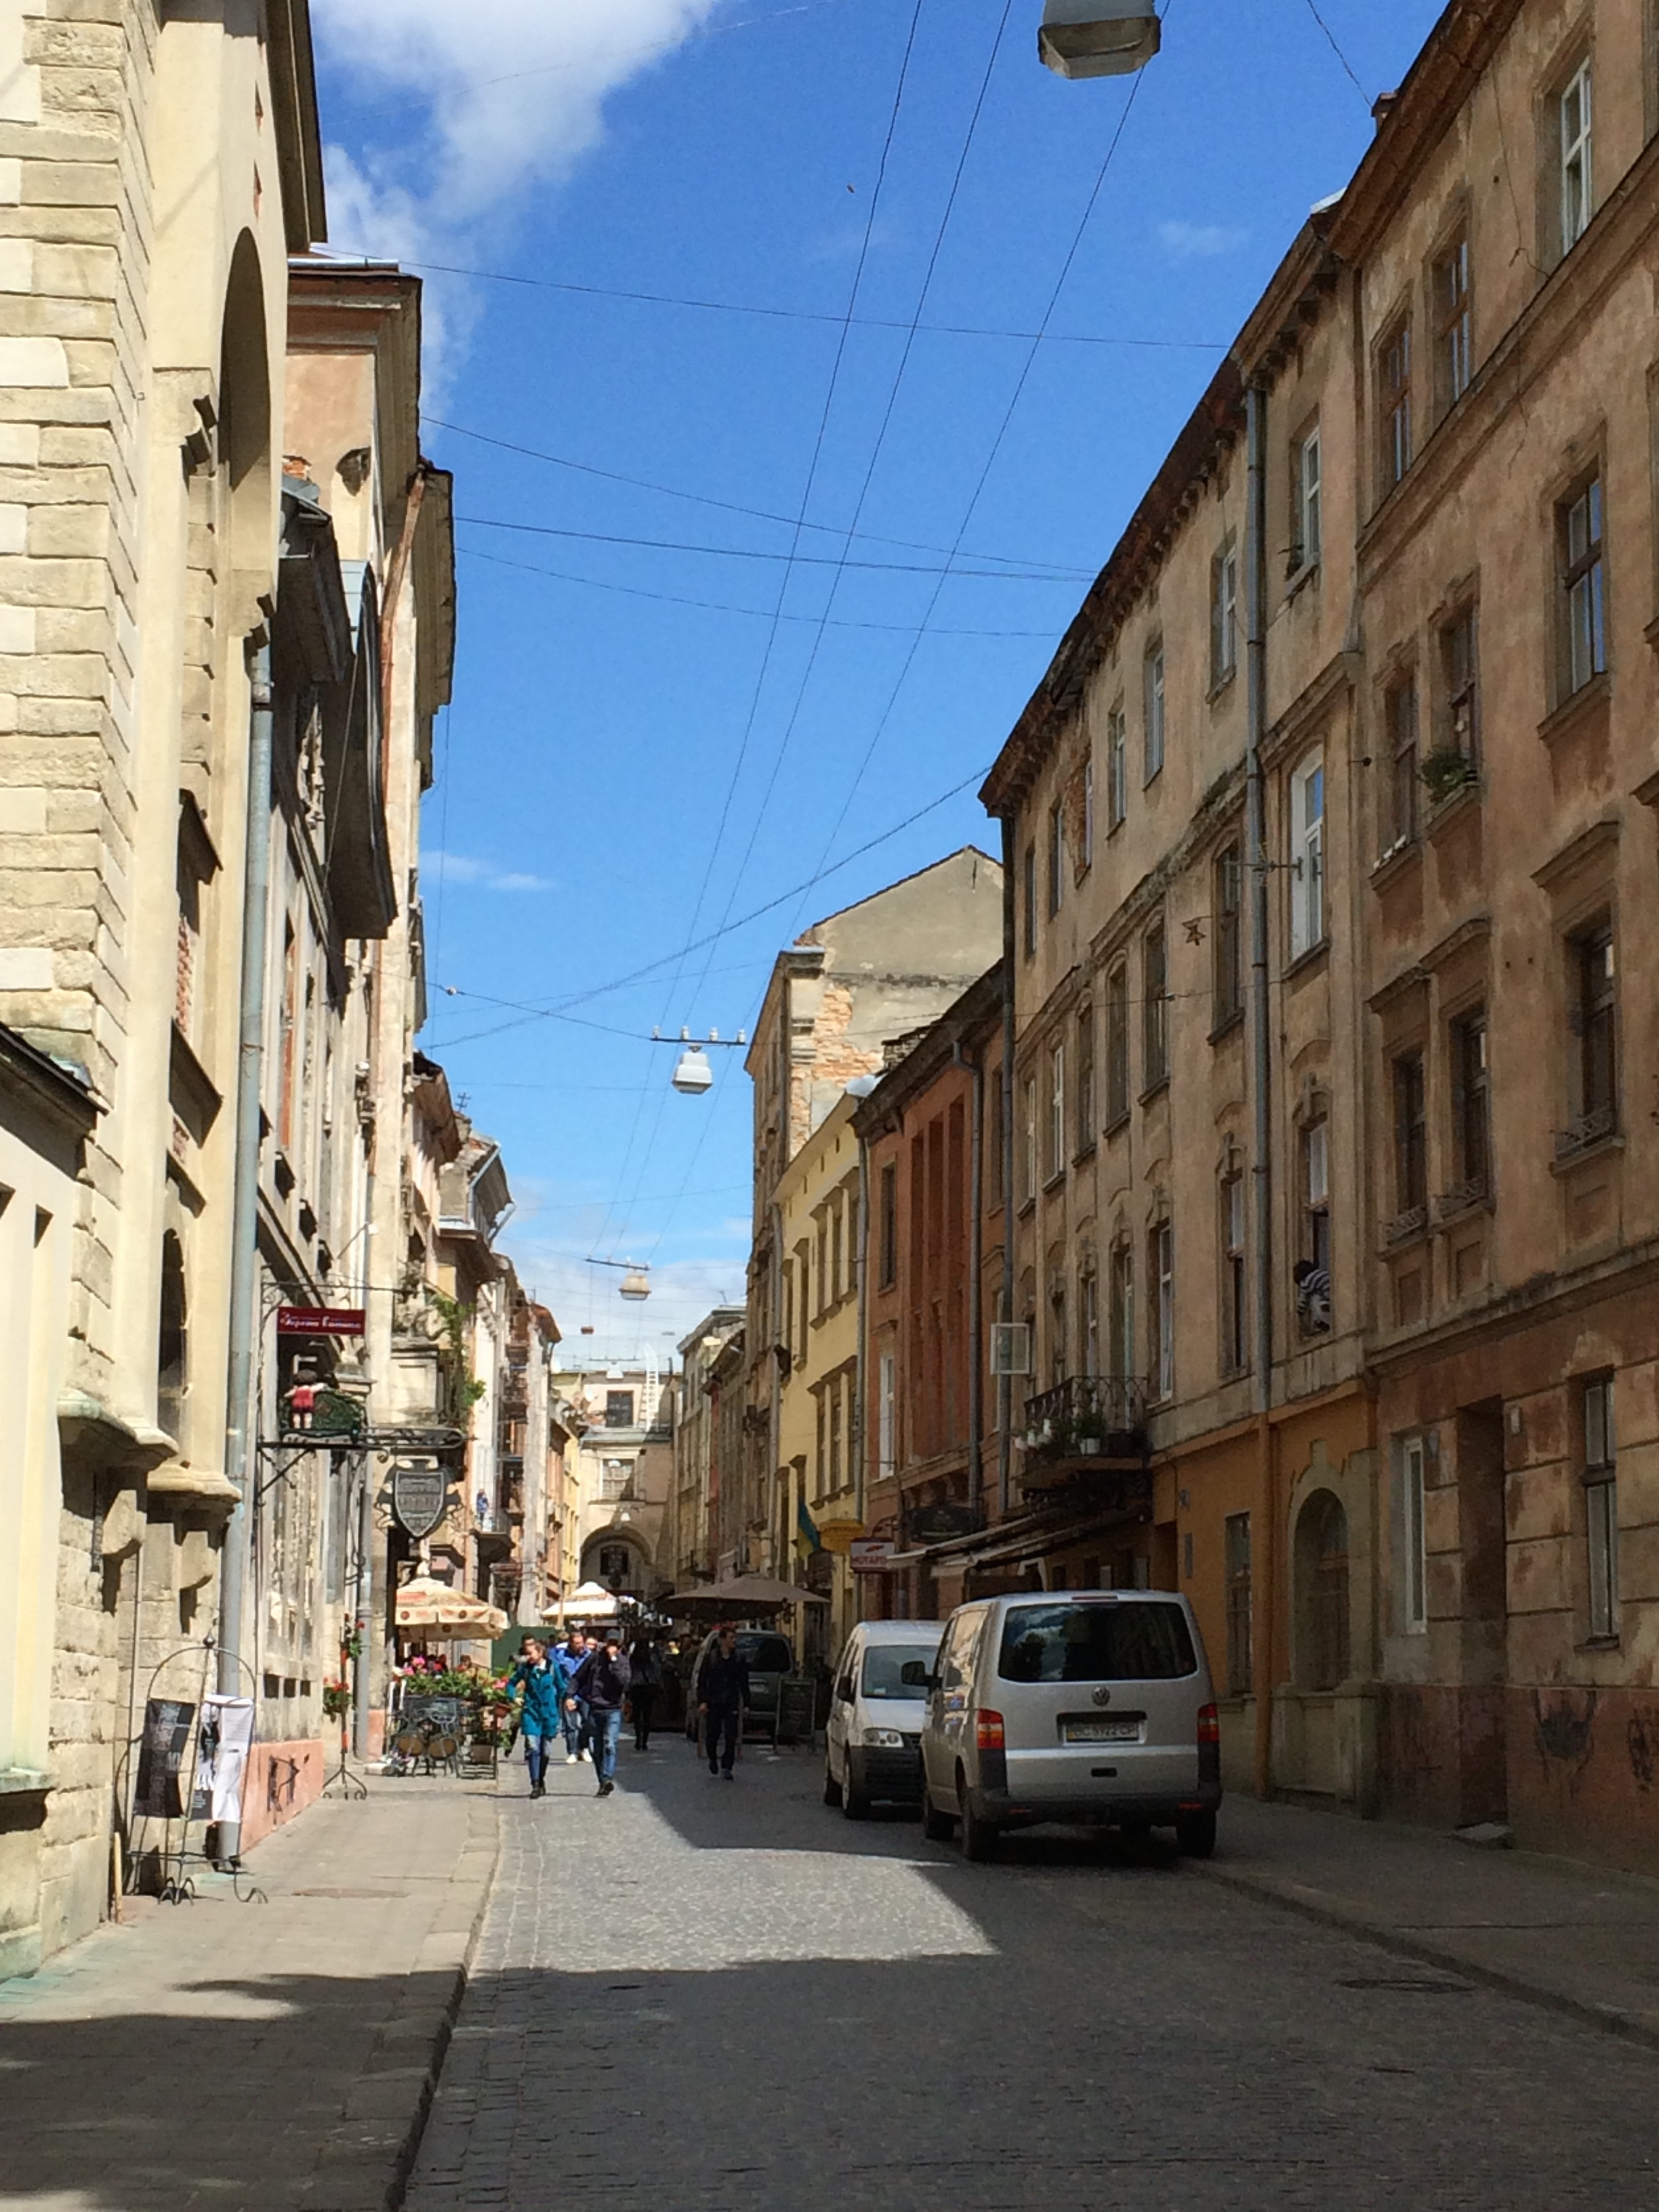
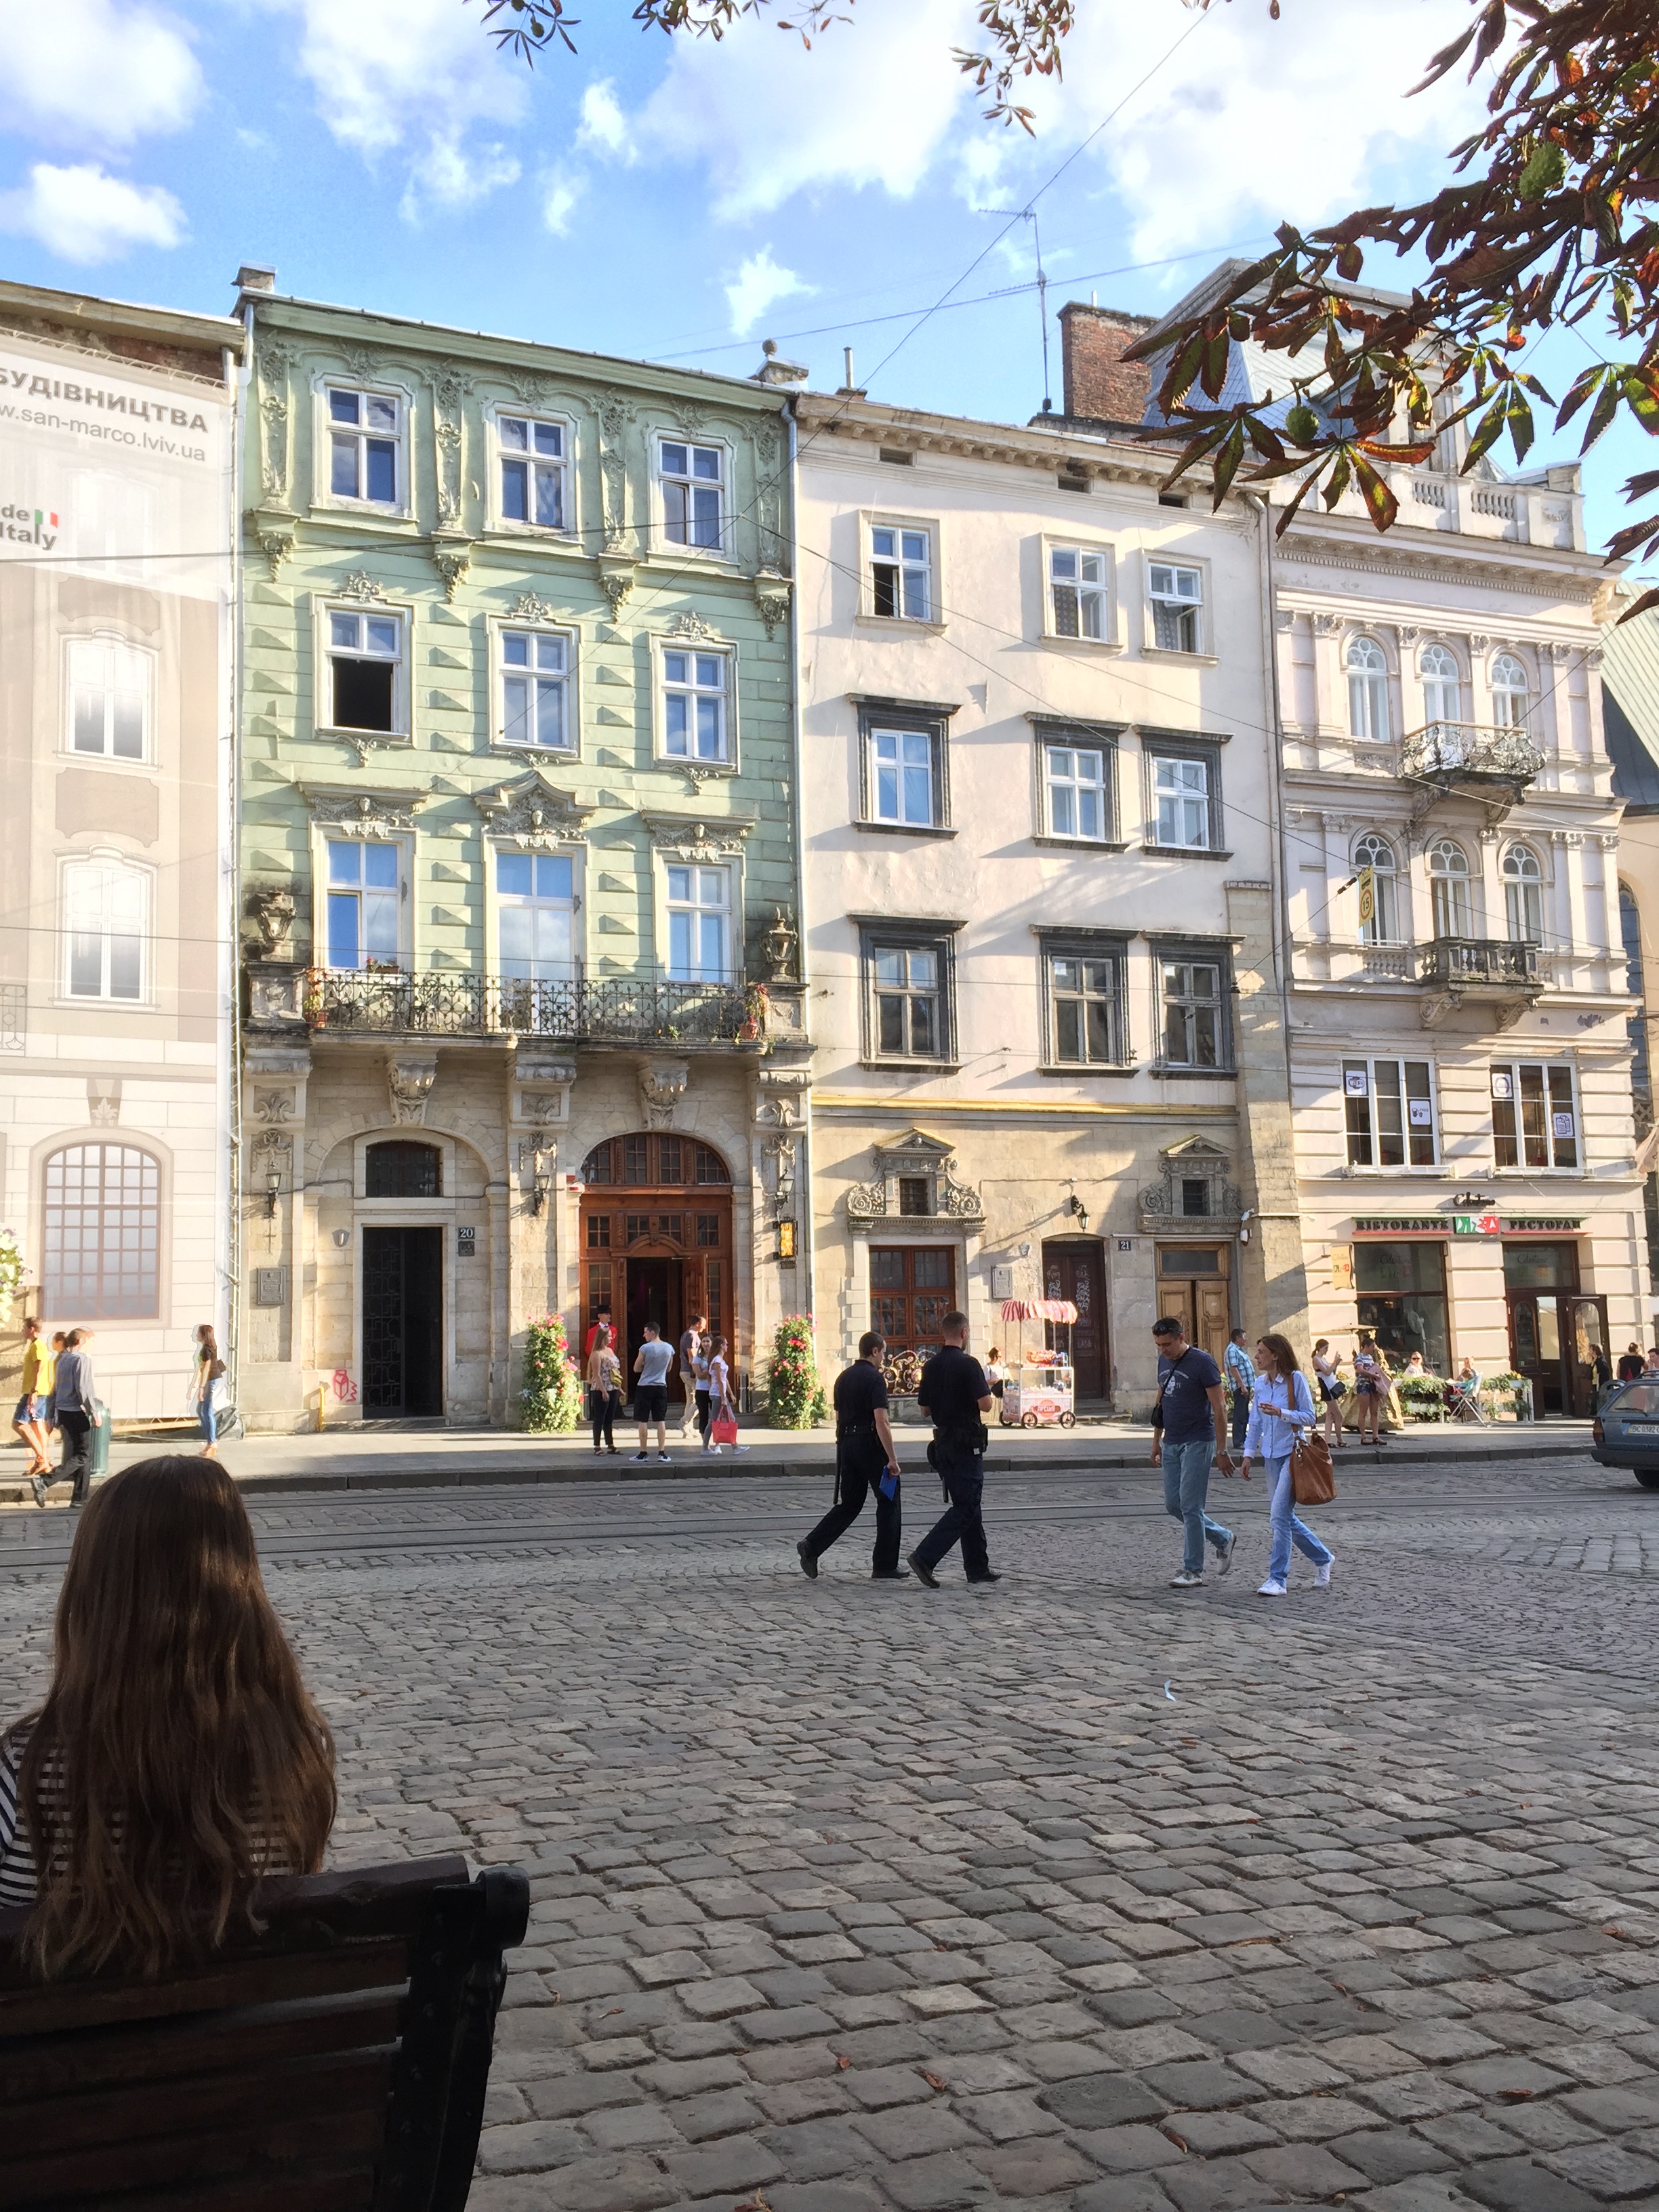
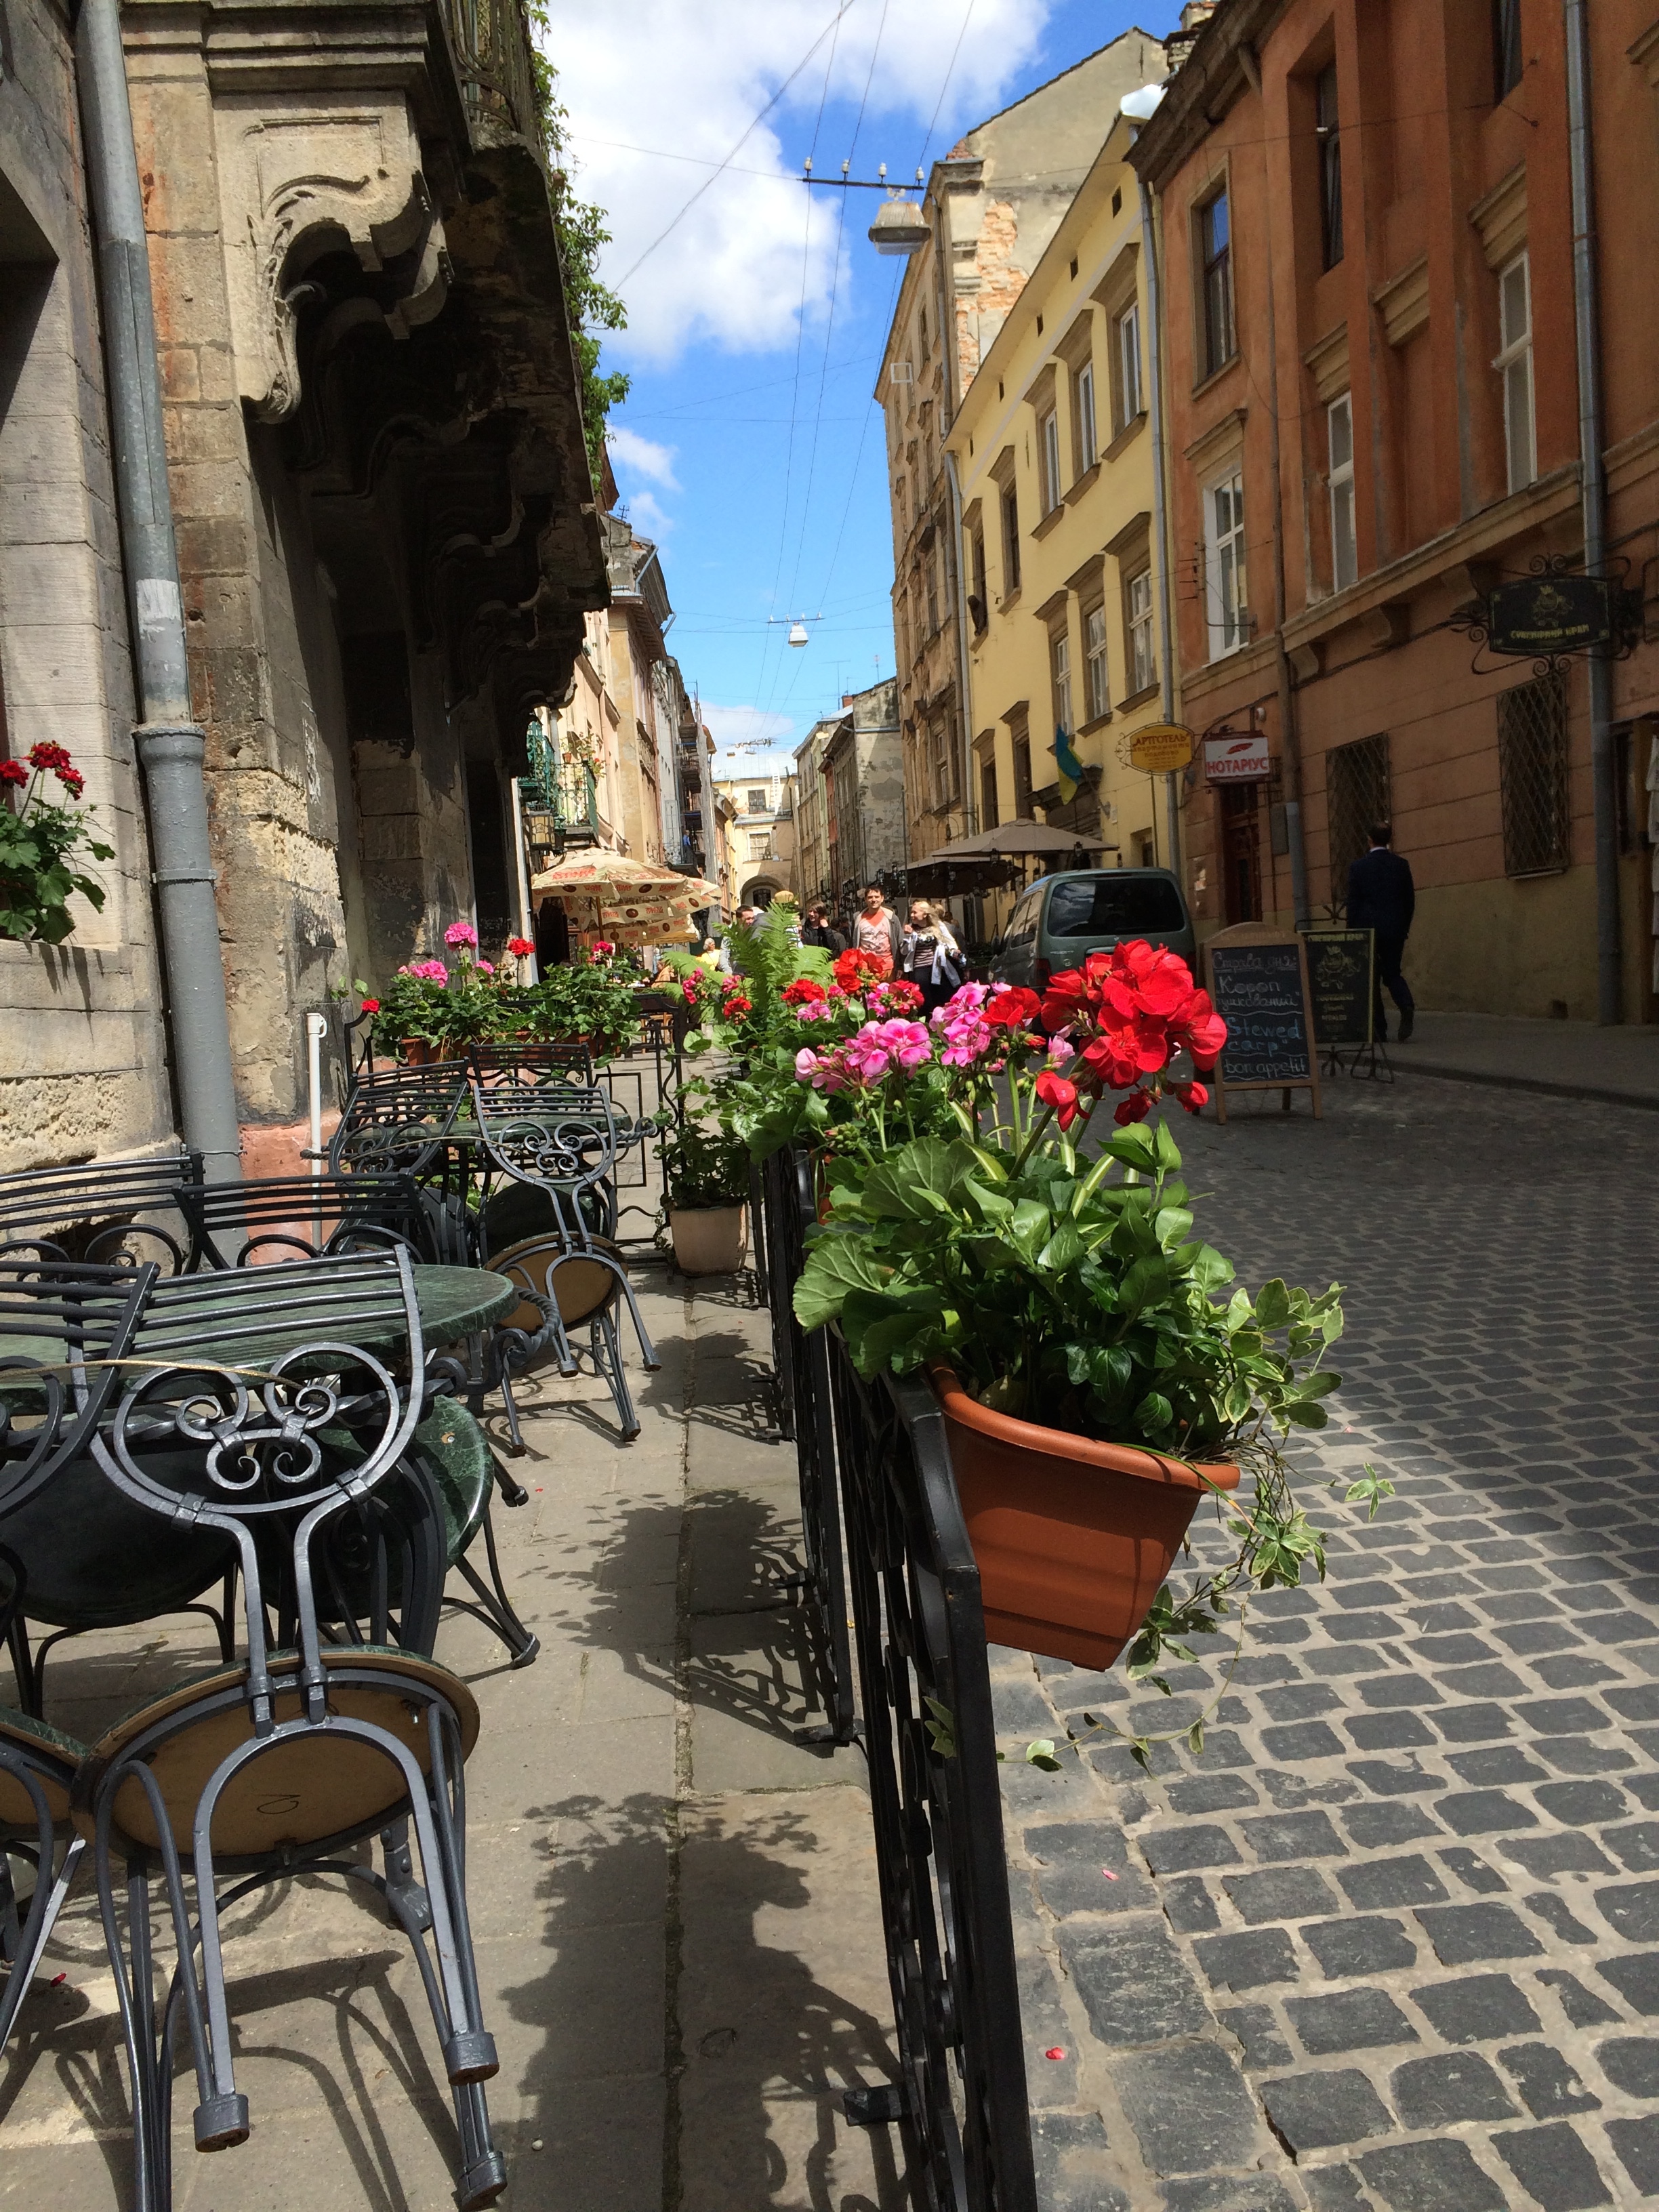
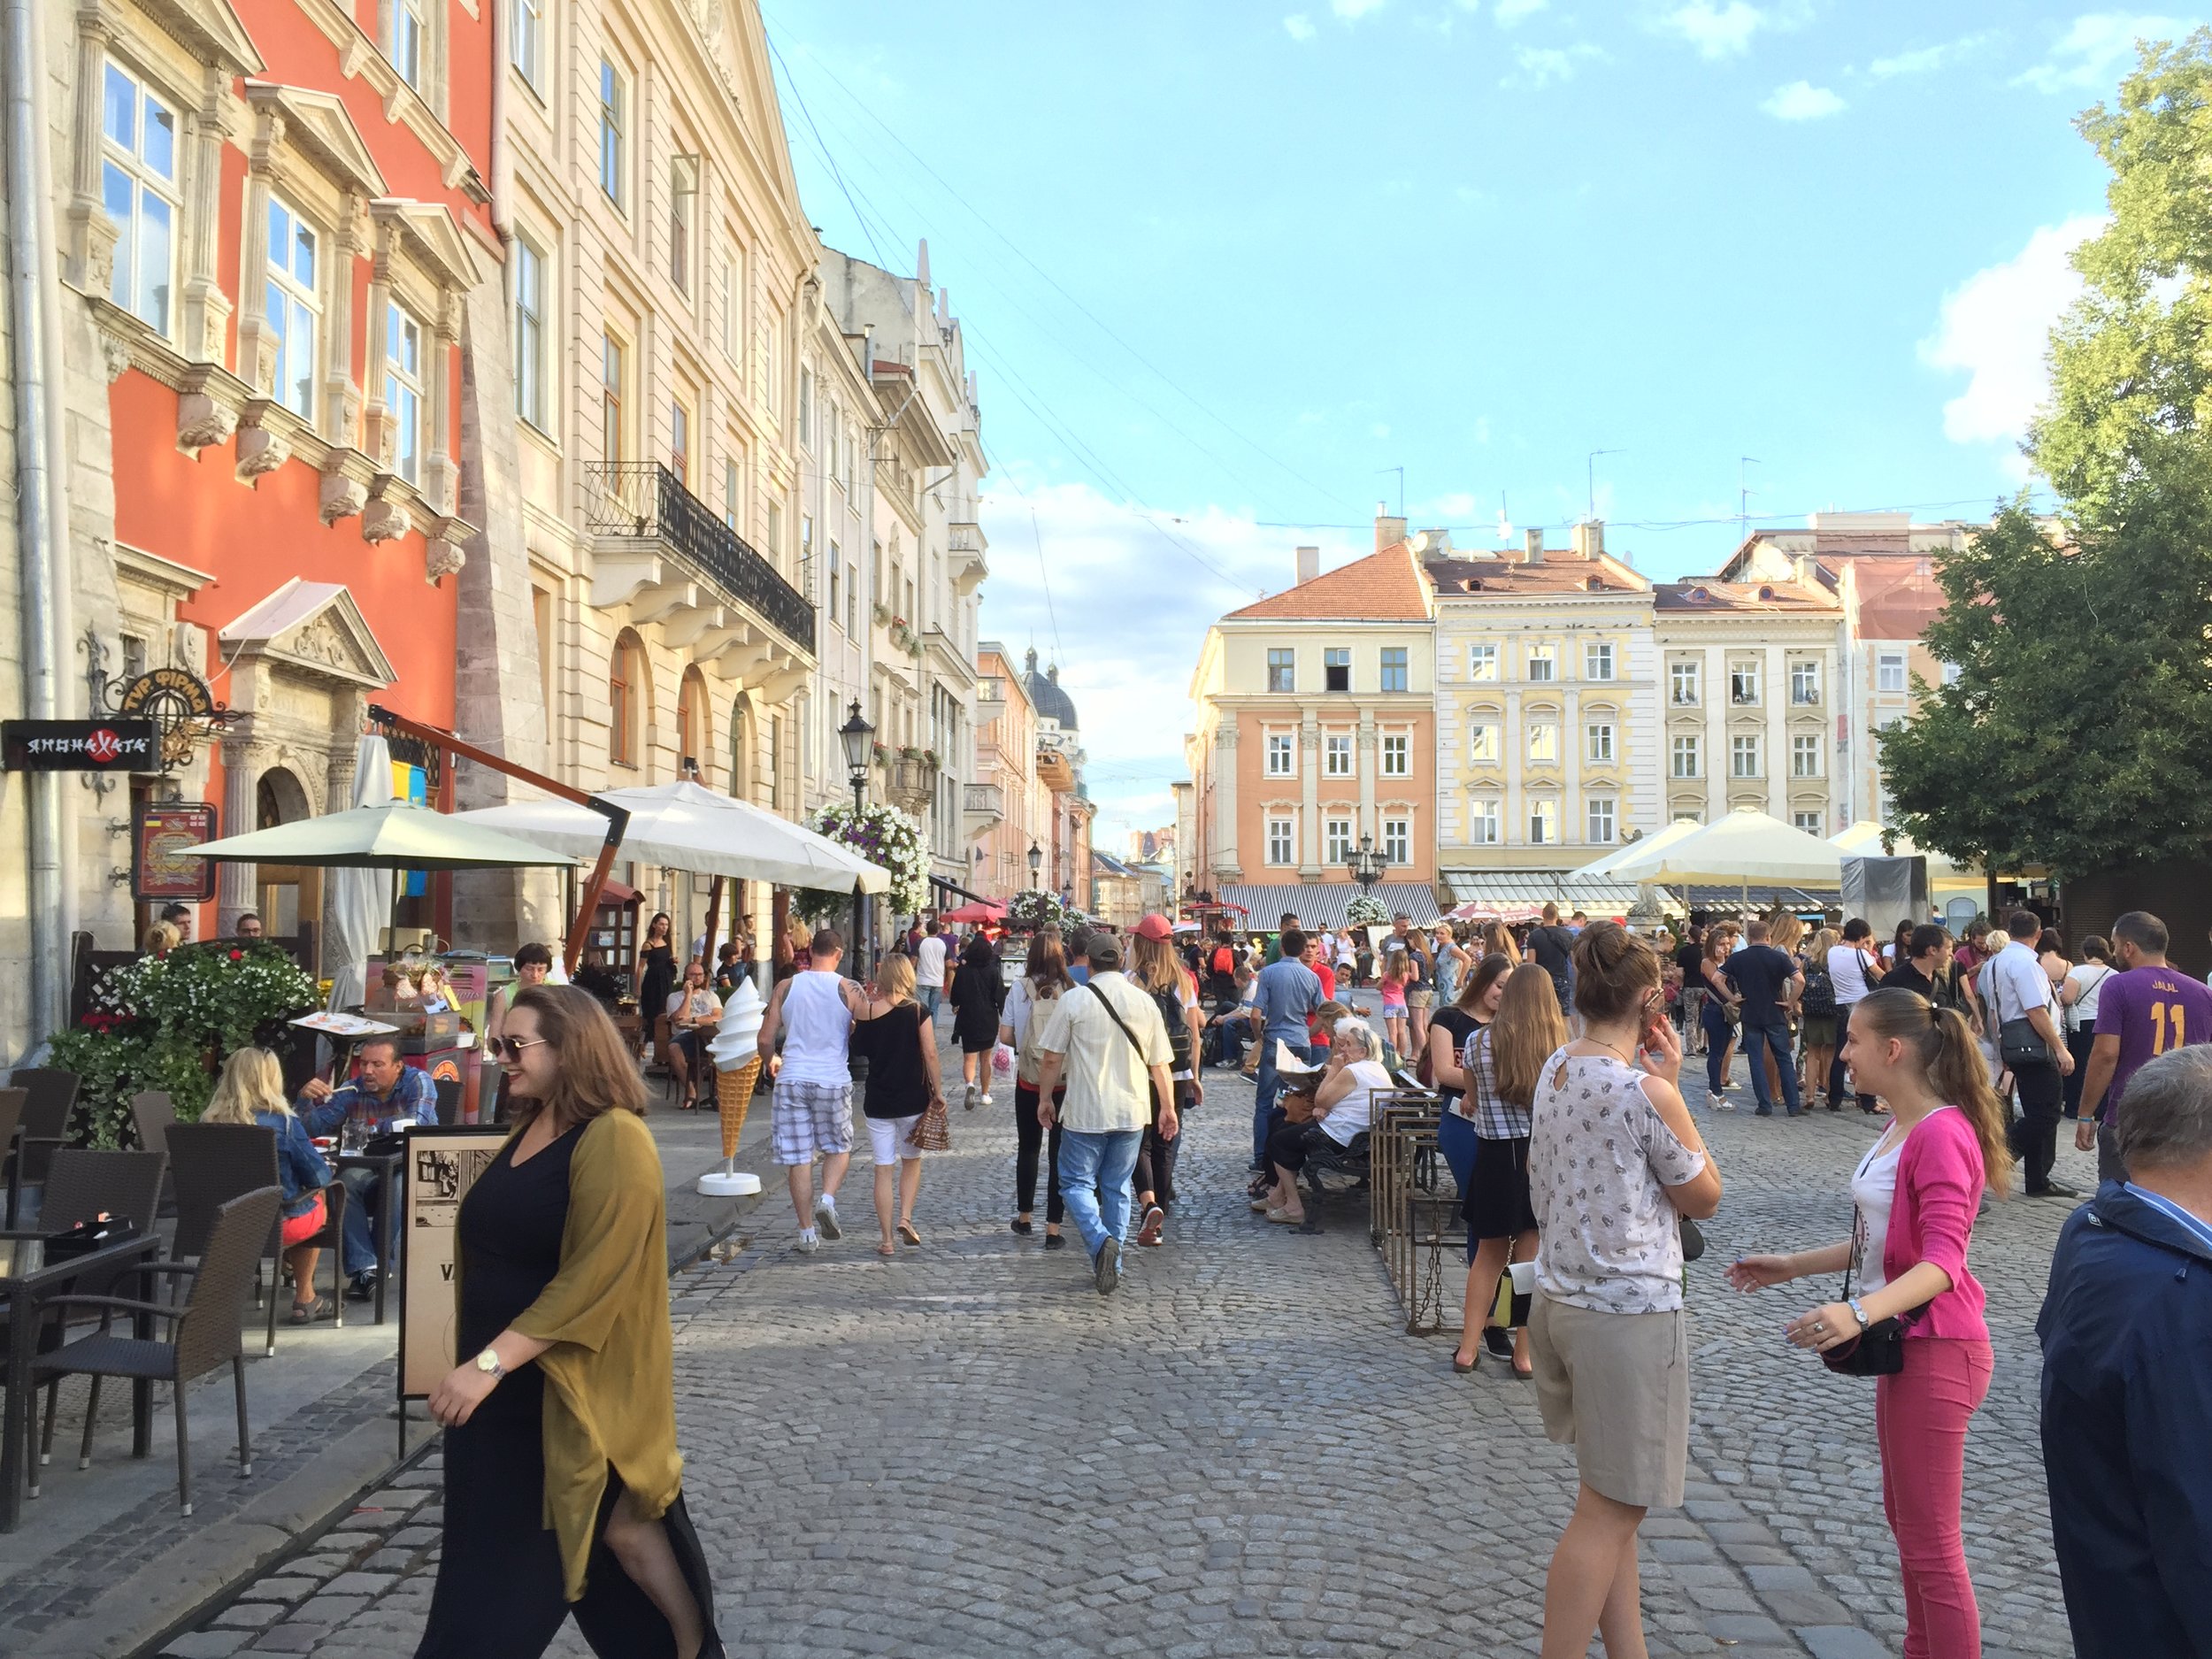
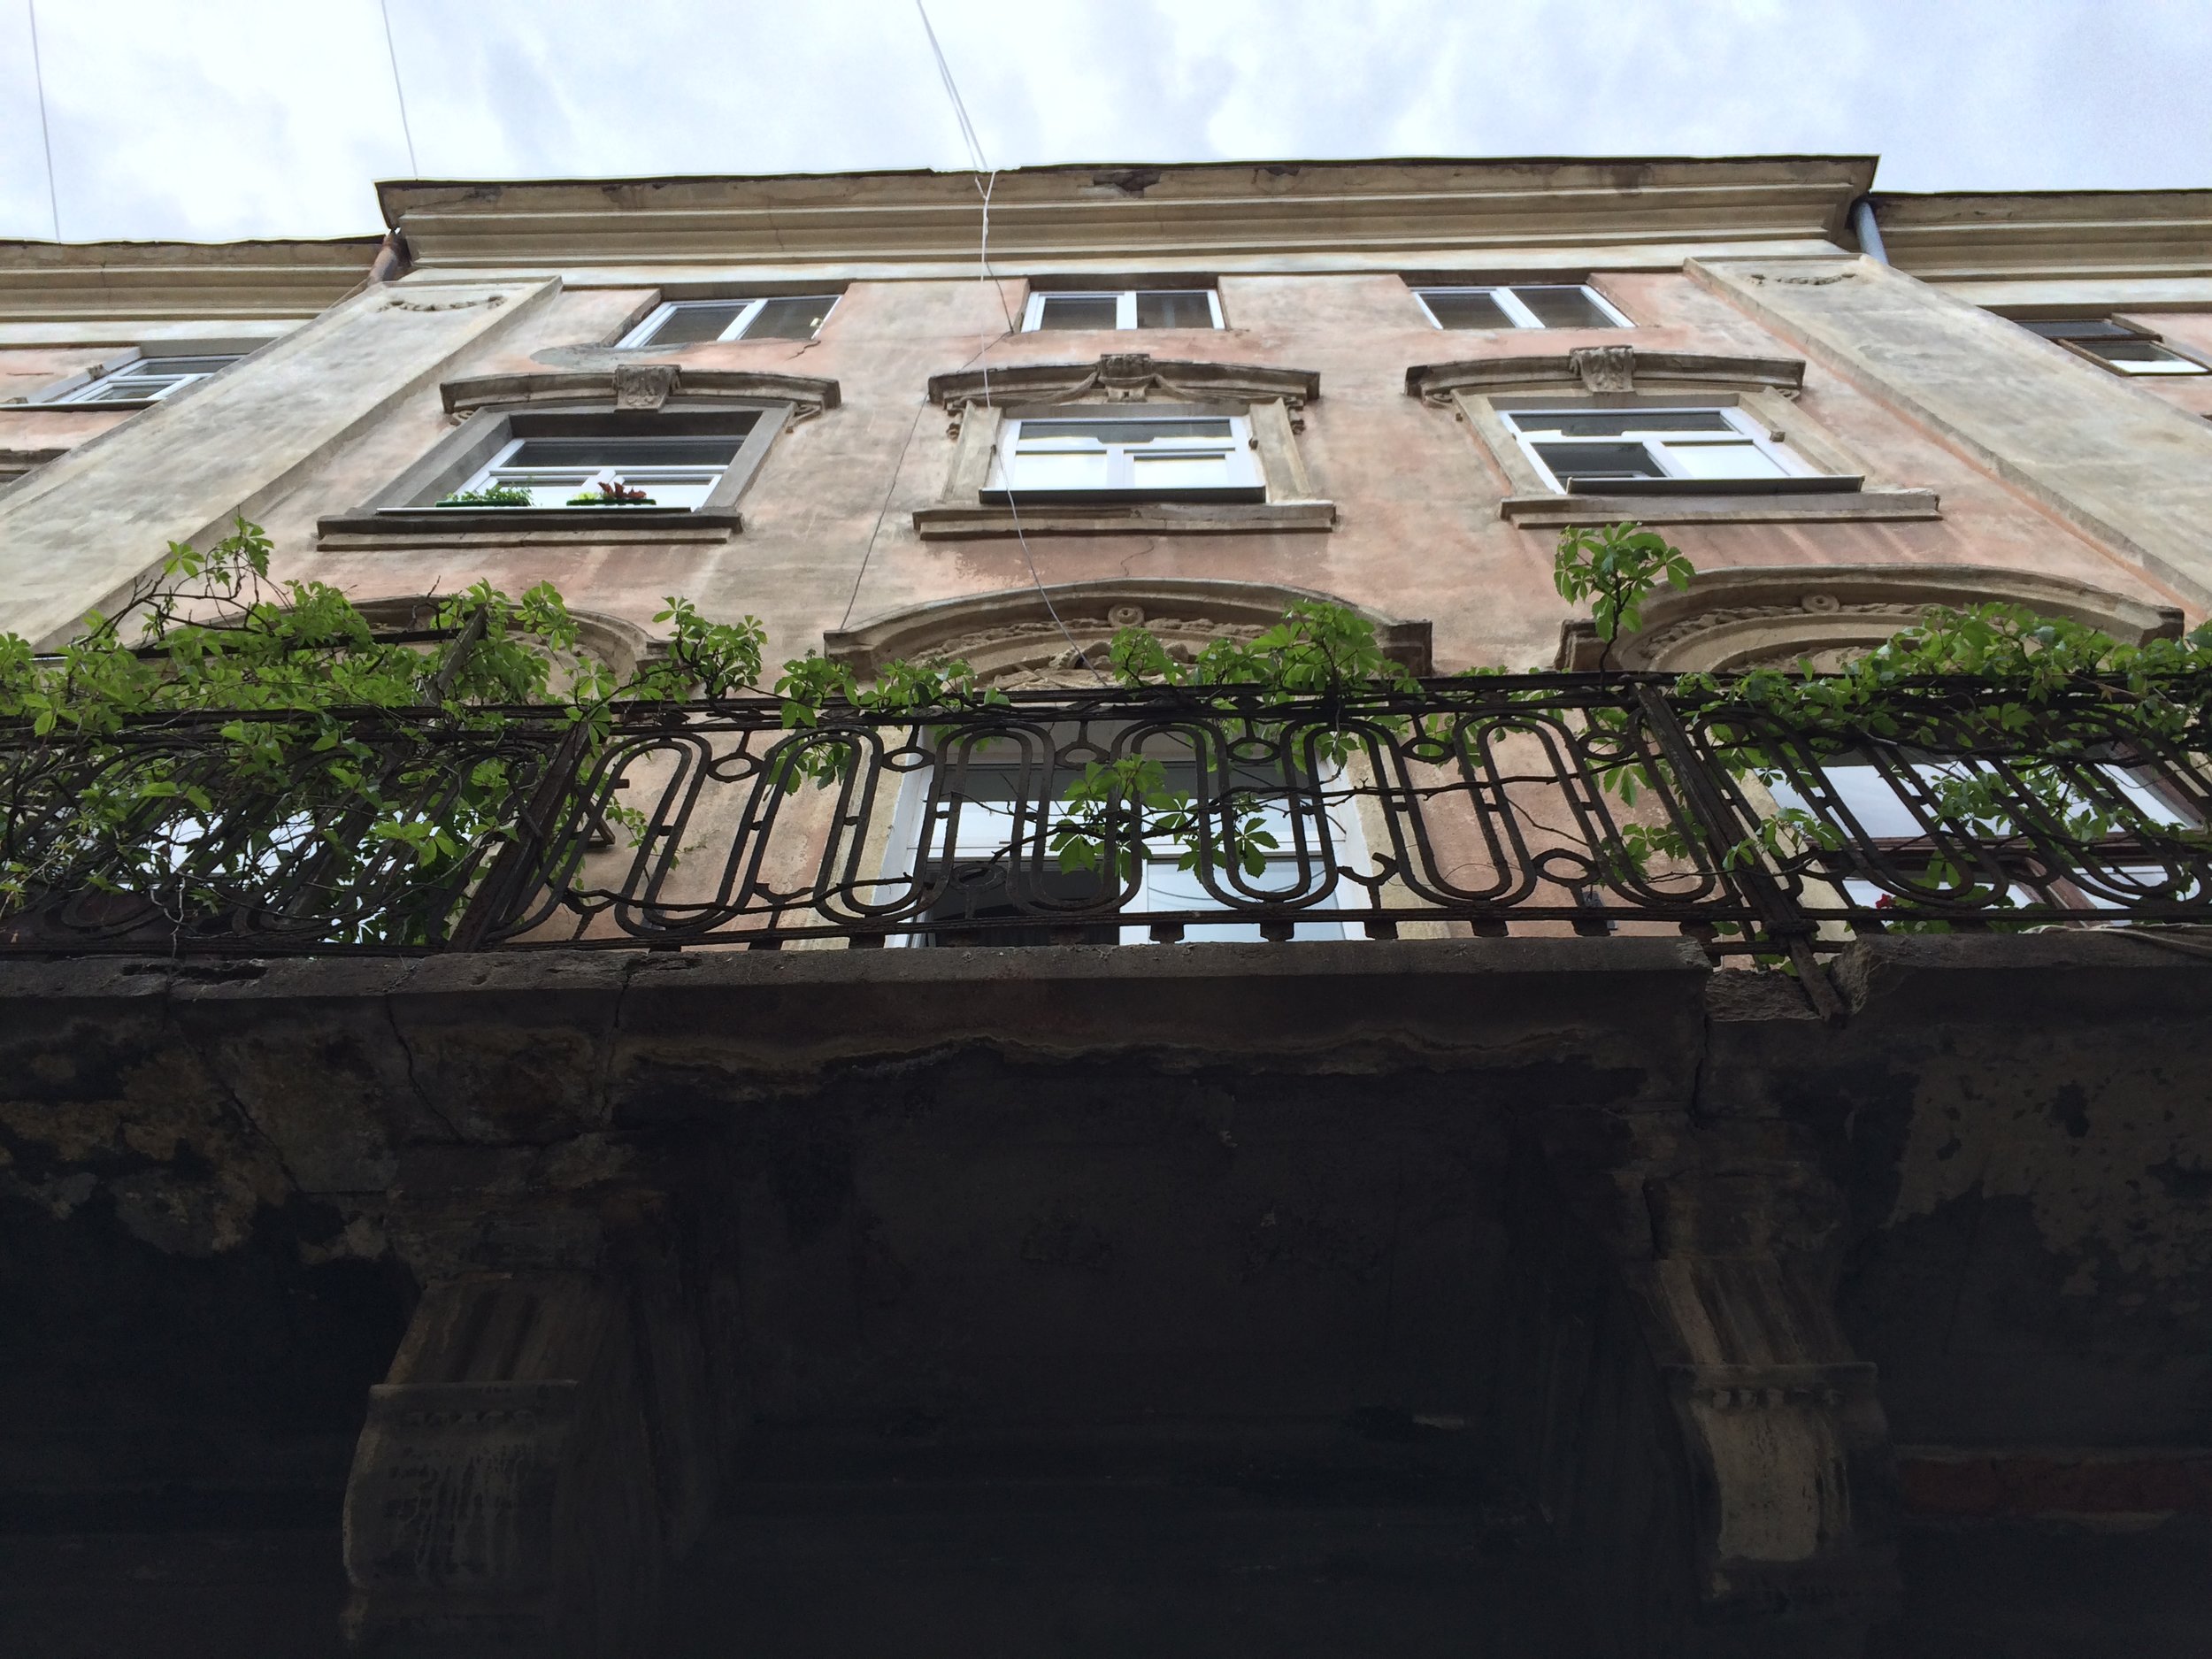
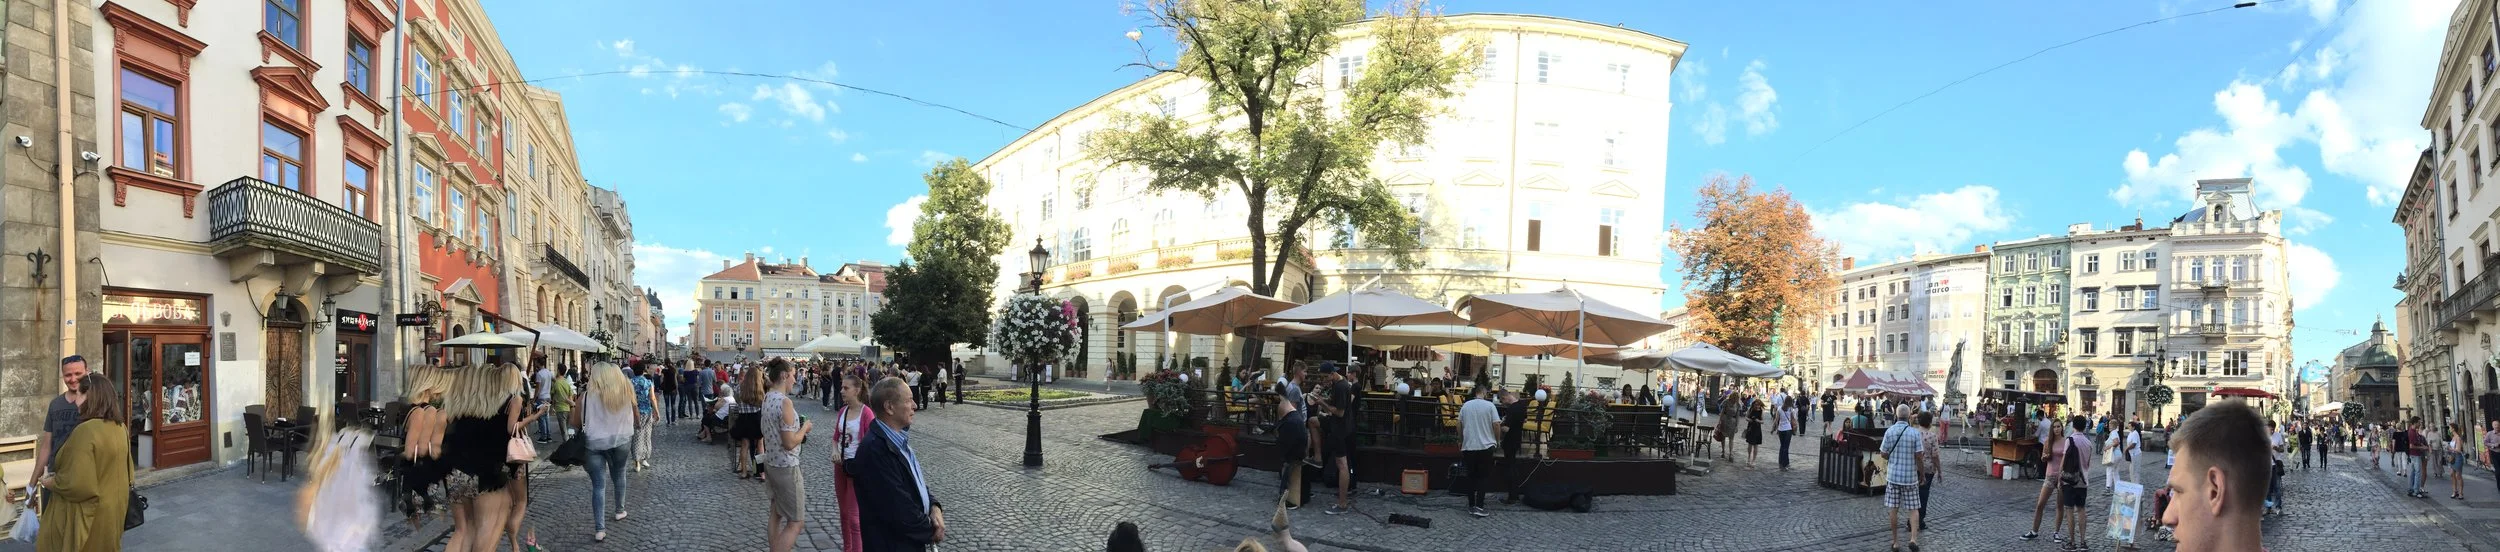
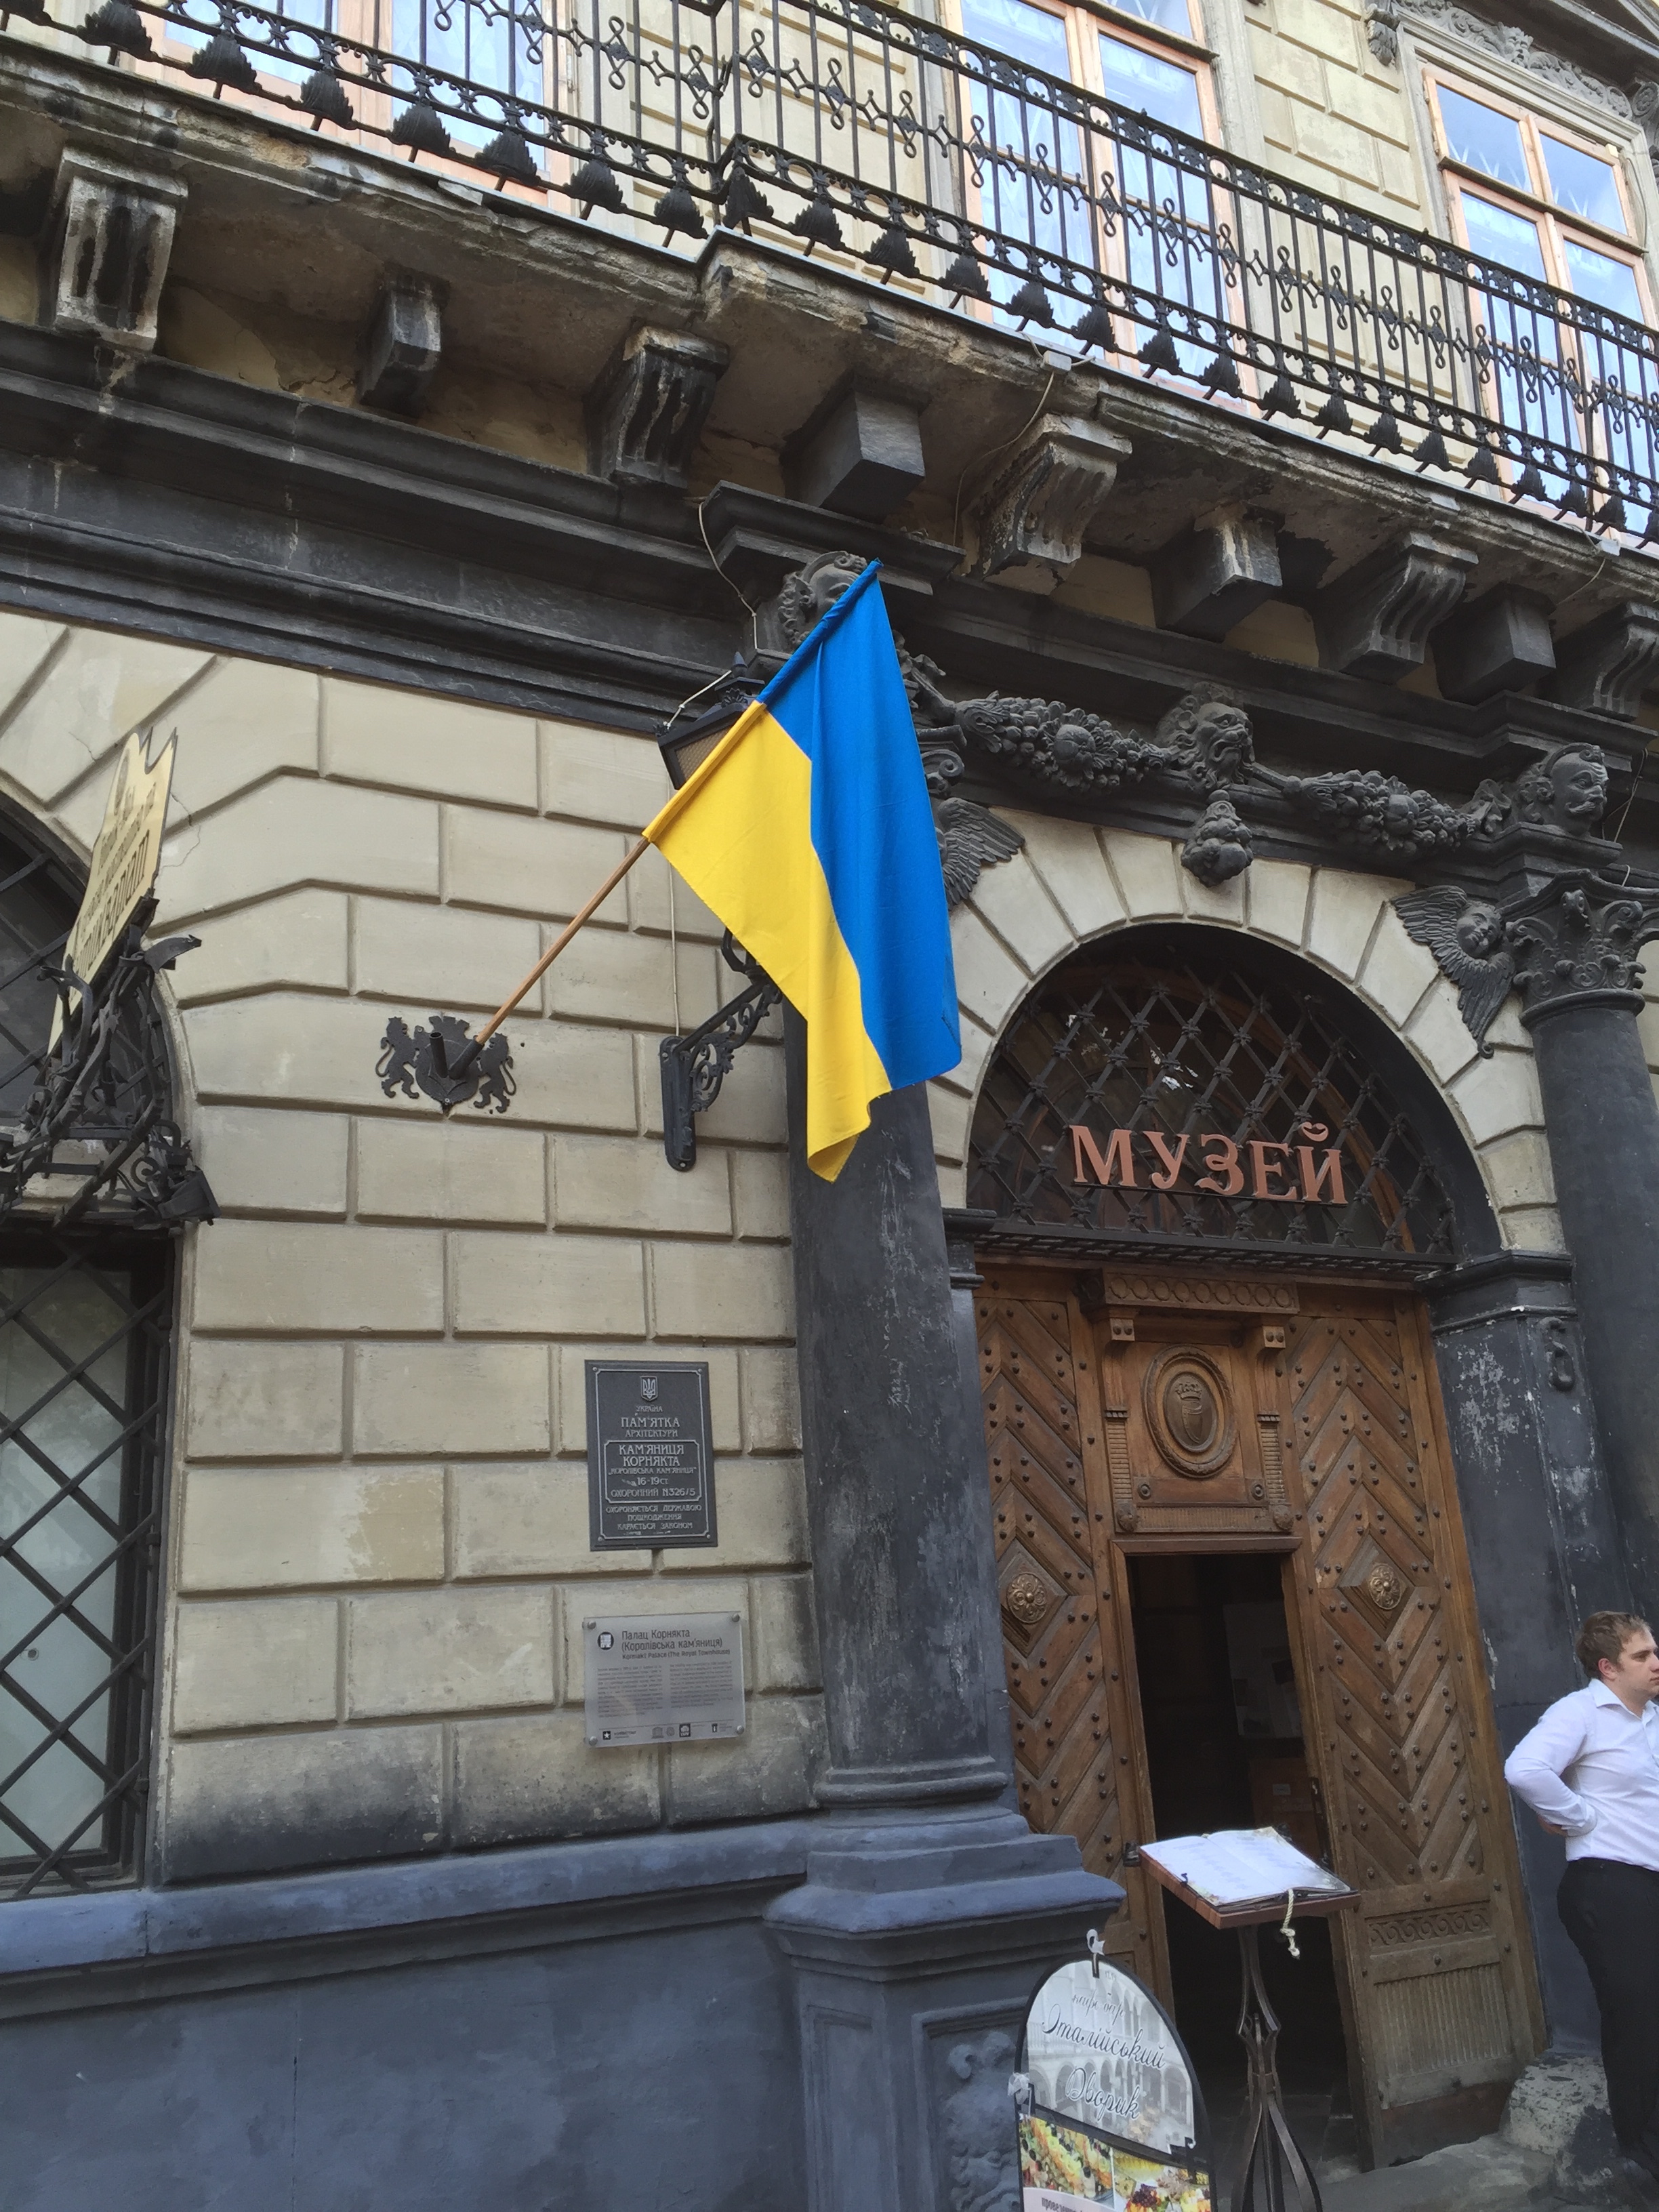
While I was in L'viv Ukraine this summer, I marveled at how beautiful all the old buildings were. They have such a charm about them. Oh the stories they could tell if they could speak. Every time I saw exposed brick, I reminded myself to try making a cookie with that look once I returned home.


So here I am.....fulfilling that dream I had back in June. :)

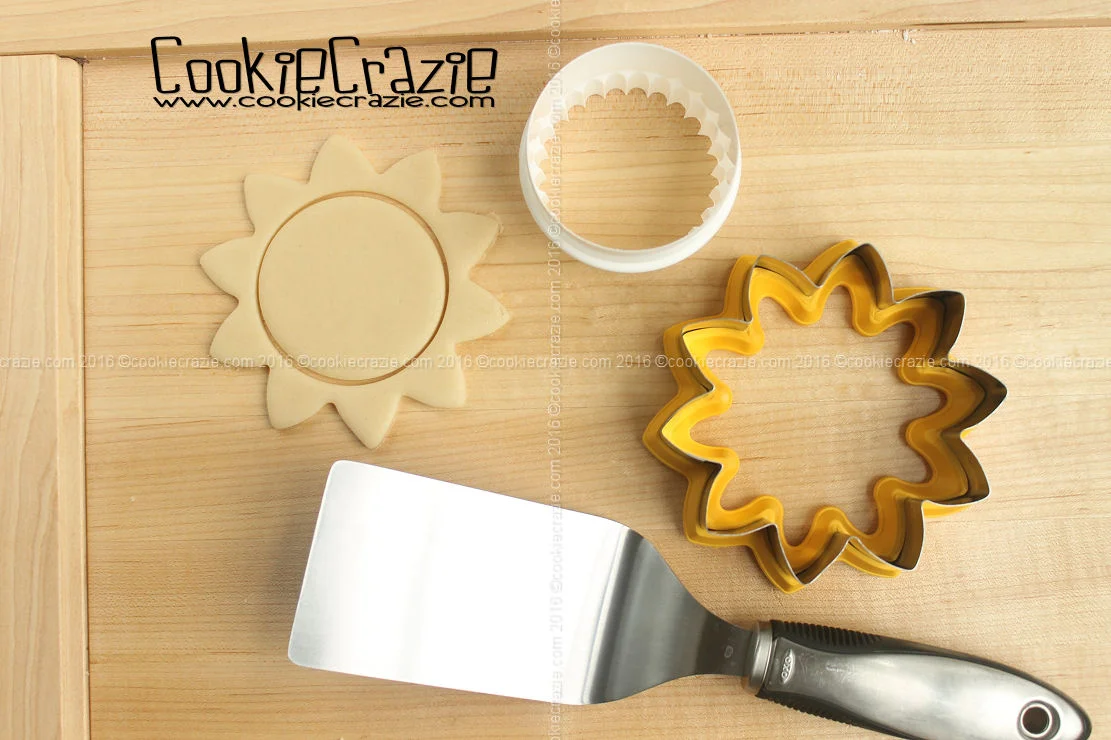
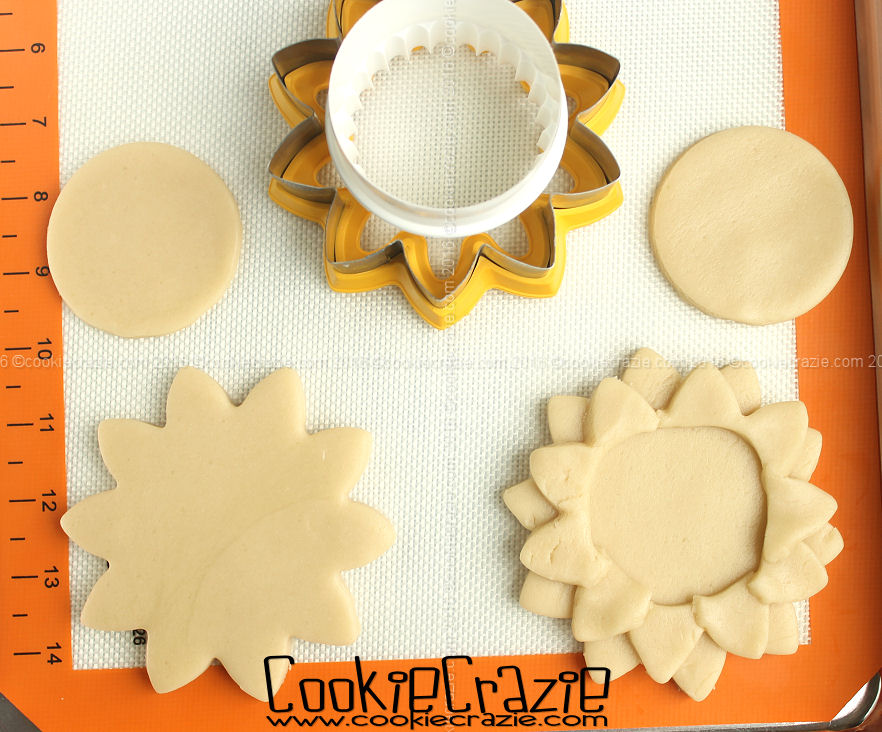
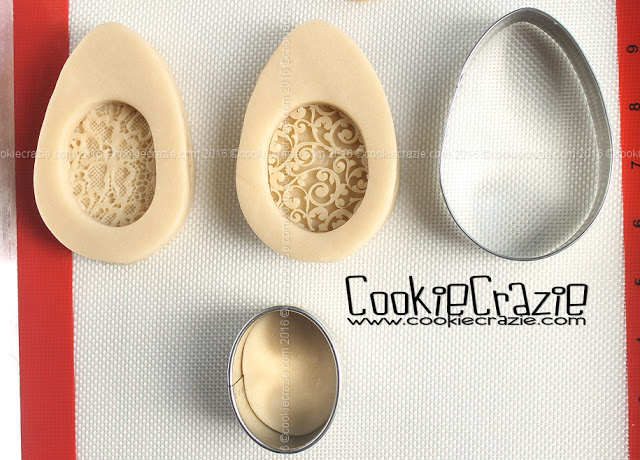
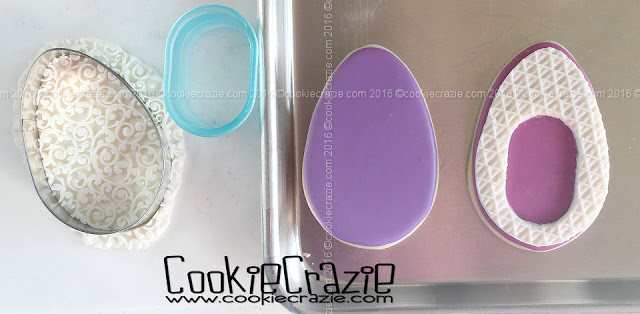
Using a brick embosser, push it face down into the sugar cookie dough and roll over it with the rolling pin to make a deep impression in the dough. Then use a cutter-shape-of-your-choice, cut out the dough to capture that beautiful brick impression.
(see photo & video below)

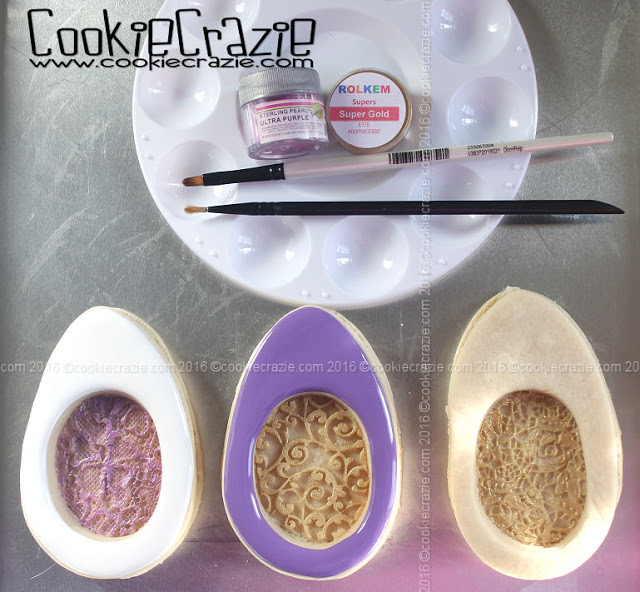
Once the cookie is baked and cooled, brush over the entire surface with dry red dust.

Next brush over random areas of it with pearl dust to give it an aged sheen.

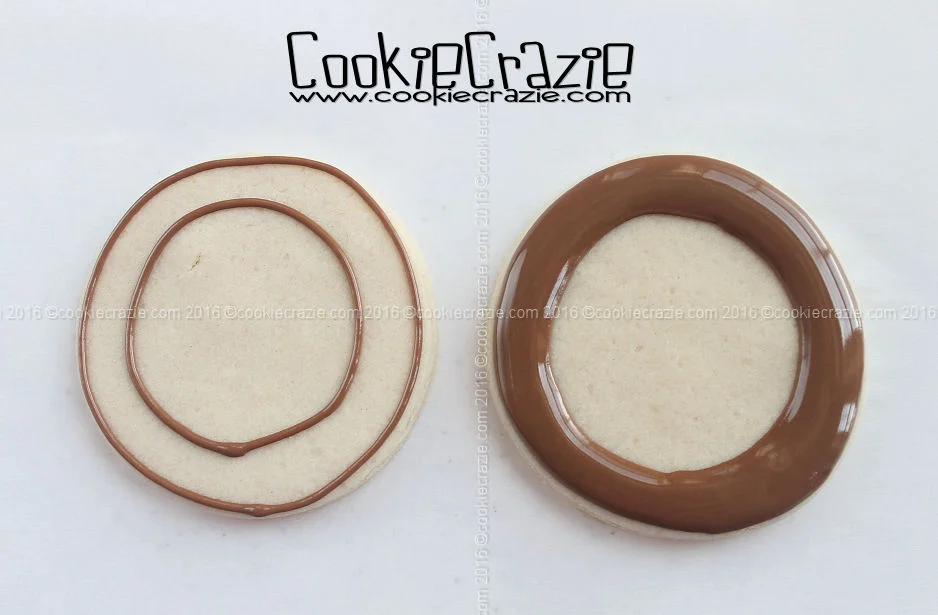
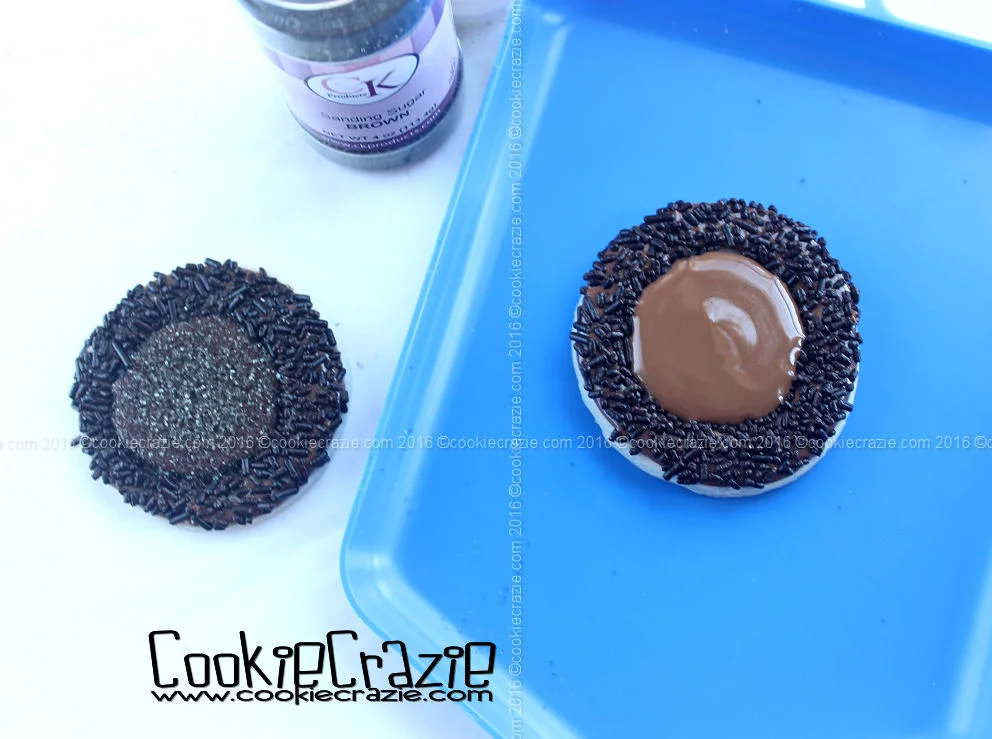
Mix up some pale gray glaze and add enough powdered sugar to make it so thick it won't stick to your fingers. Spread it over portions of the brick without uniformity.
(Take a look at exposed brick.....it is totally random how the top layer has worn and broken off.)

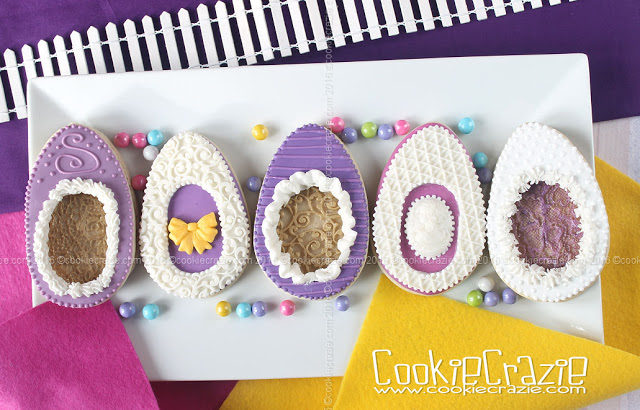
And there you have it.......beautiful exposed brick.
I can hardly wait to try this on my winter scenes this year.....adding wintry precipitation too. :)


Framed 3D Christmas Shape Decorated Cookies (Tutorial)

These cookies add dimension by using mini Christmas cutters.
(I own more than my share.....and it was fun to finally use a few.)

Plan ahead by finding the best background cookie to accommodate the mini-Christmas shape you've picked out. As you can see, the star needed a longer base, so I chose the long oval. Each mini-shape has it's unique needs for the surrounding base cookie.

The cutting out of the mini-Christmas shape can be as simple as just impressing the cutter into the base cookie before baking. But you can also add more dimension by cutting a very thin dough version of the mini-shape and place it on top of the cookie.
(see photo below)

Once the cookie is baked and cooled, start decorating the shape in the middle. There are so many possibilities on how to make it stand out and give it "bling". For the cookie below, I first flooded the cookie with white glaze and then sprinkled edible glitter white squares on top. (Warning: they tend to wander all over the house!)
But as you can see, there is a plethora of sprinkles and dusts you can utilize to add that special touch.

After this Christmas tree was flooded with white glaze, it was covered in Silver Pearlized Sugar Crystals

Once the middle shape is complete, outline and flood the background cookie.

If desired, you can also choose to make the background have all the bling/shine, and leave the middle shape plain.

To add some sparkle to a dried decorated cookie,
you can paint with a silver dust mixed with vodka or almond extract.

These cookies are simple, yet elegant and pretty at the same time.

Sunflower Decorated Cookies (Tutorial)

Oh how I love sunflowers. You can always tell my favorites by how many tutorials I've done in the past on a particular shape. Trust me.....I've done a few sunflower cookies. ;)

This design is a little different in that an additional layer of cookie dough petals is added to the flower. Also, the flower center is a separate cookie in order to add more dimension.

Cut out two sunflower cookie shapes and one circle cookie that will fit over the top as the center.

To the second sunflower cut-out, remove the center dough with a round cutter.

(see photo below)

Using a pancake turner, carefully move the extra sunflower petals to the first sunflower cookie. Lay the petals so they are alternating with the bottom base petal positions. Bake and cool the cookies as usual.

Outline and flood all of the petals with gold glaze.

Make a thick outline on the circle cookie with dark brown glaze.

(see photo below)

Immediately cover it with chocolate jimmies and shake off the excess.

Allow the circle cookie to sit for at least 15 minutes. Fill the inner circle with medium brown glaze.  Cover it with brown sanding sugar and shake off the excess.

Lay the round center on top of the sunflower petal cookie. If desired, you can "glue" the two together with some extra icing.


Windowed Easter Egg Decorated Cookies (Tutorial)


Windowed Easter egg cookies are achievable by using texture mats and molded edible clay.

I found two ways to give the egg a "window" effect:
  • Add a cookie window layer to the base egg-shaped cookie dough and bake it all together.
  • Bake a cut-out egg-shaped cookie as usual and then add cut-out edible clay to form a window.

To make a window with the dough, start by molding the base shape with a texture mat.
Press cookie dough onto the texture mat and then roll the dough even with a rolling pin.
Freeze the dough + mat for about 10 minutes.
Carefully peel the dough off the mat and immediately cut out your egg shape
and place on the cookie sheet.
(see photo below)


Next, cut out the egg shape in smooth cookie dough and lay it on top of the textured egg shape.
 Cut out an oval at the base of the egg and remove the smooth top layer (the center).
(see photo below)


 You'll need to bake these eggs a bit longer to make sure they are done all the way through.

Once they are cool, you can brush metallic dust over the texture surface "inside" the egg.
For these eggs I used Rolkem Gold and Ultra Purple.

Also, outline and flood the top smooth cookie as shown below.


Once the flood has dried for 30 minutes or more, you can add some type of border to the outer egg.


To make a window with edible clay,
outline and flood the egg-shaped cookie with glaze and allow it to dry overnight.
The next day, press edible clay into a texture mat and roll it evenly with a rolling pin.
Freeze for about 1 hour.
Working quickly (since the clay becomes too soft & sticky when it gets to room temperature)
carefully peel the edible clay from the mat, cut the oval out of the center,
and place the clay cut-out directly over dry glazed egg cookie.
(see photo below)

Add any kind of molded clay embellishment you'd like.
For the eggs below, I used this bow mold and this cameo mold.


2016 Easter & Spring Decorated Cookie Collection

Snowman Cookie Collection 2016


If you know me at all, you know I LOVE snowmen!

I have a whole Christmas tree dedicated to them......
as well as plenty of snowman decorations to embellish my entire entry and stairwell in my home
for the Christmas season. :)

So it only makes sense that every year I go CRAZIE over snowman cookies.

Now that I have the cute knitted and crocheted molds for edible clay,
I was able to dress up my snowmen just right.

Oh what fun it is to decorate winter cookies!


/www.cookiecrazie.com//2016/01/snowman-cookies-tutorial.html


/www.cookiecrazie.com//2016/01/scrapbook-cookie-tags-with-vellum.html


2016 Winter Cookie Collection
Member Login
Welcome, (First Name)!

Forgot? Show
Log In
Enter Member Area
My Profile Not a member? Sign up. Log Out