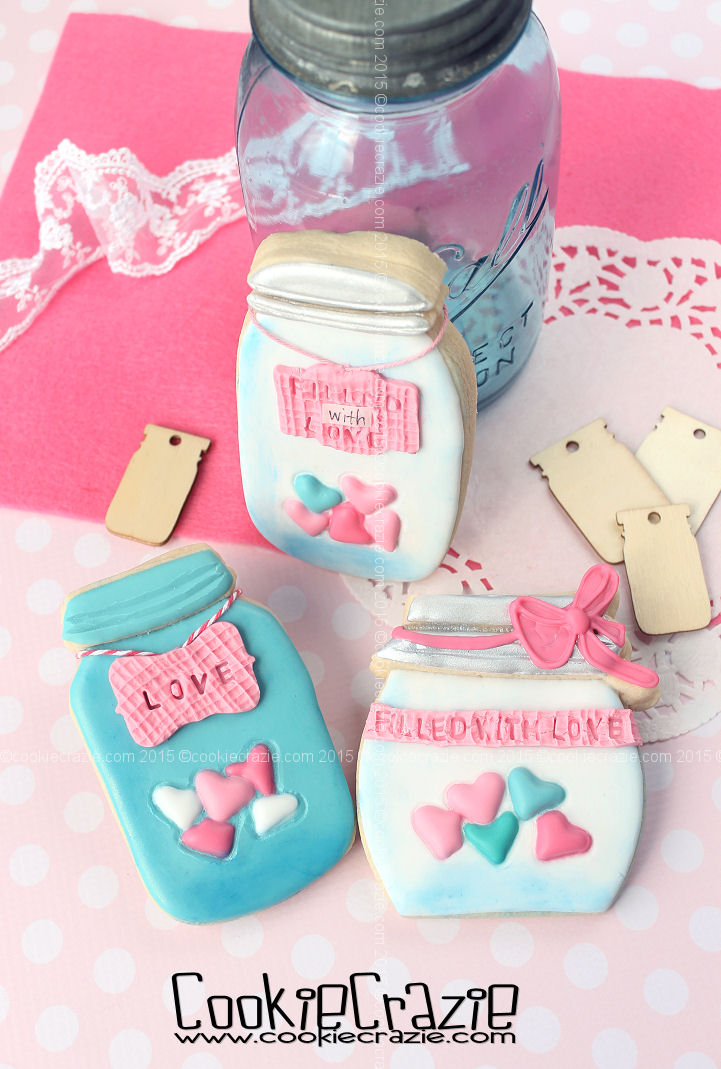
As mason jars continue to be the craze in the rustic decorating world,
it's fun to try to create new ways to dress up their cookie counterparts.
For Valentines Day, it seems fitting to "fill them up with love". :)
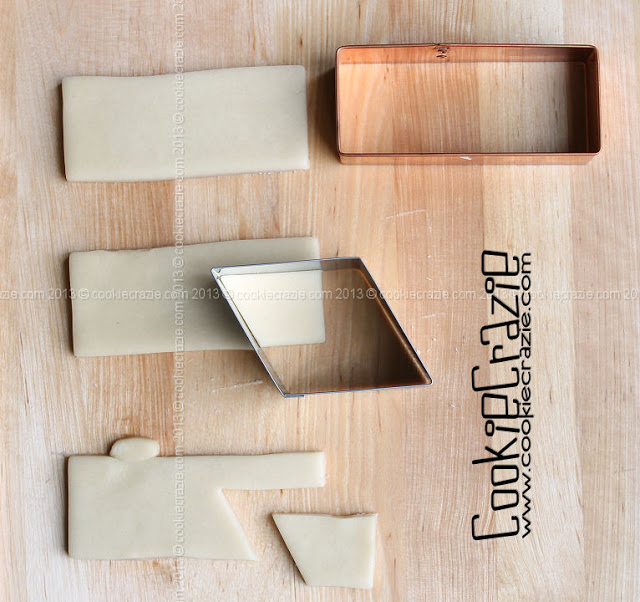
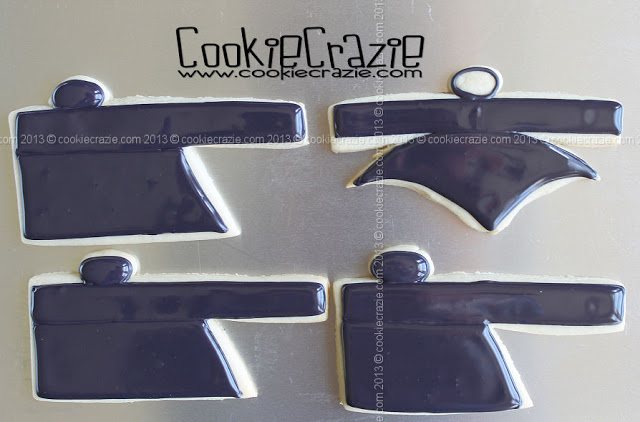
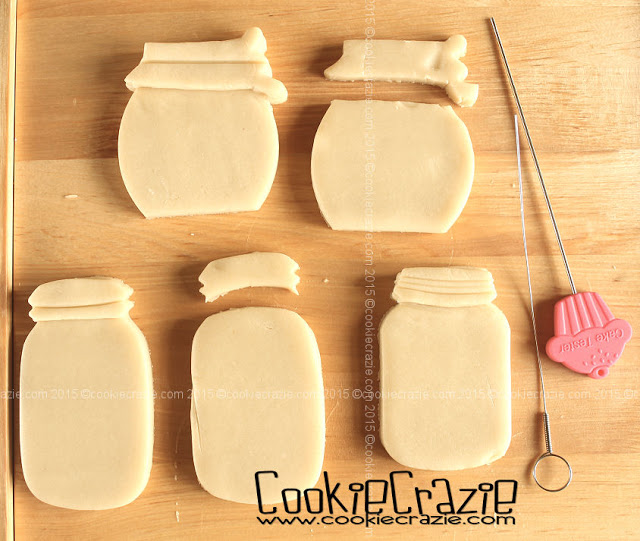
To give the jars a more 3D look,
cut a duplicate jar cookie and use the second cookie's top portion to overlay the original cookie.
(see photo below)
(see photo below)
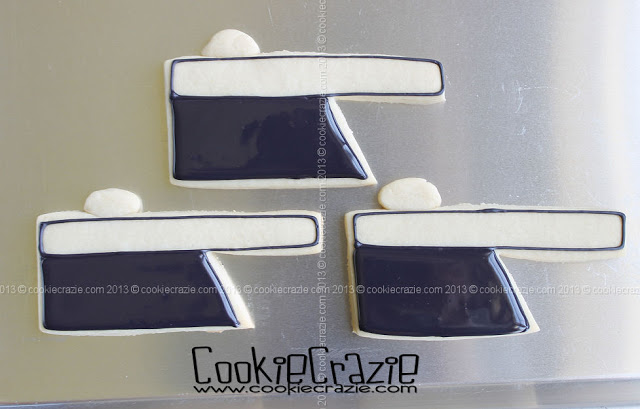
After the cookies are baked and cooled, outline and flood the jar and lid as desired.
Allow the glaze to dry for about 3 hours.
Using a mini heart cutter, press heart shapes into the "bottom" of the jar.
These impressions will give you a template to outline and flood multi-colored hearts in the jar.
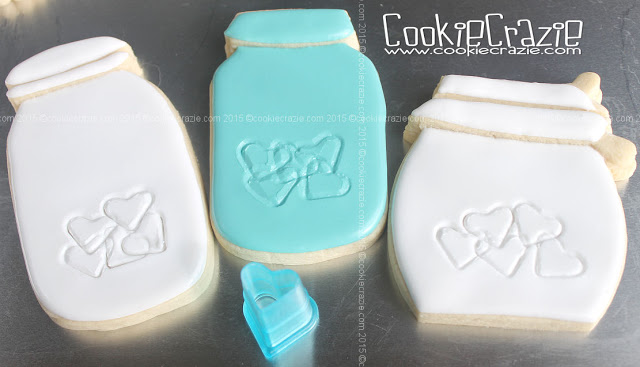
Outline and flood individual hearts over the impressions with varying colors of glaze.
(see photo below)

Dry the cookies overnight.
Brush the sides and bottom of the jars with some blue dust to show dimension.
If desired, paint silver "lids" on the tops of the jars
using Rolkem Silver Dust mixed with vodka or clear extract.

For an added embellishment, cut out mini shapes of edible clay
and "hang them" on the jar with bakers twine or ribbon.
Add text to the clay using this alphabet stamper set.
and "hang them" on the jar with bakers twine or ribbon.
Add text to the clay using this alphabet stamper set.

2016 Valentines Cookie Collection
Gold Embossed Valentines Cookies (Tutorial)
Gold Red Teal Valentines Cookie Collection
Pink & Aqua Texture Mat Heart Cookies (Tutorial)
Mason Jar Cookies Filled with Love (Tutorial)
Edible Clay Lace Valentine Heart Cookies (Tutorial)
Eyelet Lace Valentine Heart Cookies (Tutorial)
Frills 'N Lace Valentines Cookie Collection
Gold Red Teal Valentines Cookie Collection
Pink & Aqua Texture Mat Heart Cookies (Tutorial)
Mason Jar Cookies Filled with Love (Tutorial)
Edible Clay Lace Valentine Heart Cookies (Tutorial)
Eyelet Lace Valentine Heart Cookies (Tutorial)
Frills 'N Lace Valentines Cookie Collection