bear

Happy Camper Decorated Cookie Collection

Don’t worry….be happy. Here’s another another set of cookies with a message. :)

Confession: I hate camping! I went on exactly TWO camping trips when my kids were little (and this was probably the biggest mistake, to take babies and toddlers!)…..and hated every minute of it. I’m an inside girl who likes cleanliness and order.

So it’s a stretch for me to be happy when I’m camping. Which is exactly the point……sometimes we must do what we REALLY don’t want to do (i.e. battle cancer)…..and rather than worry, we can be happy. Each day is a gift, no matter if it is in a soggy tent with thunderstorms, or it is safe and warm (and CLEAN) in our own house.

I have certainly not mastered this message……thus the cookie collection to remind myself often.

Don’t worry…..be a HAPPY camper! ❤️

🏕🌅🎣🌤🎒🏕
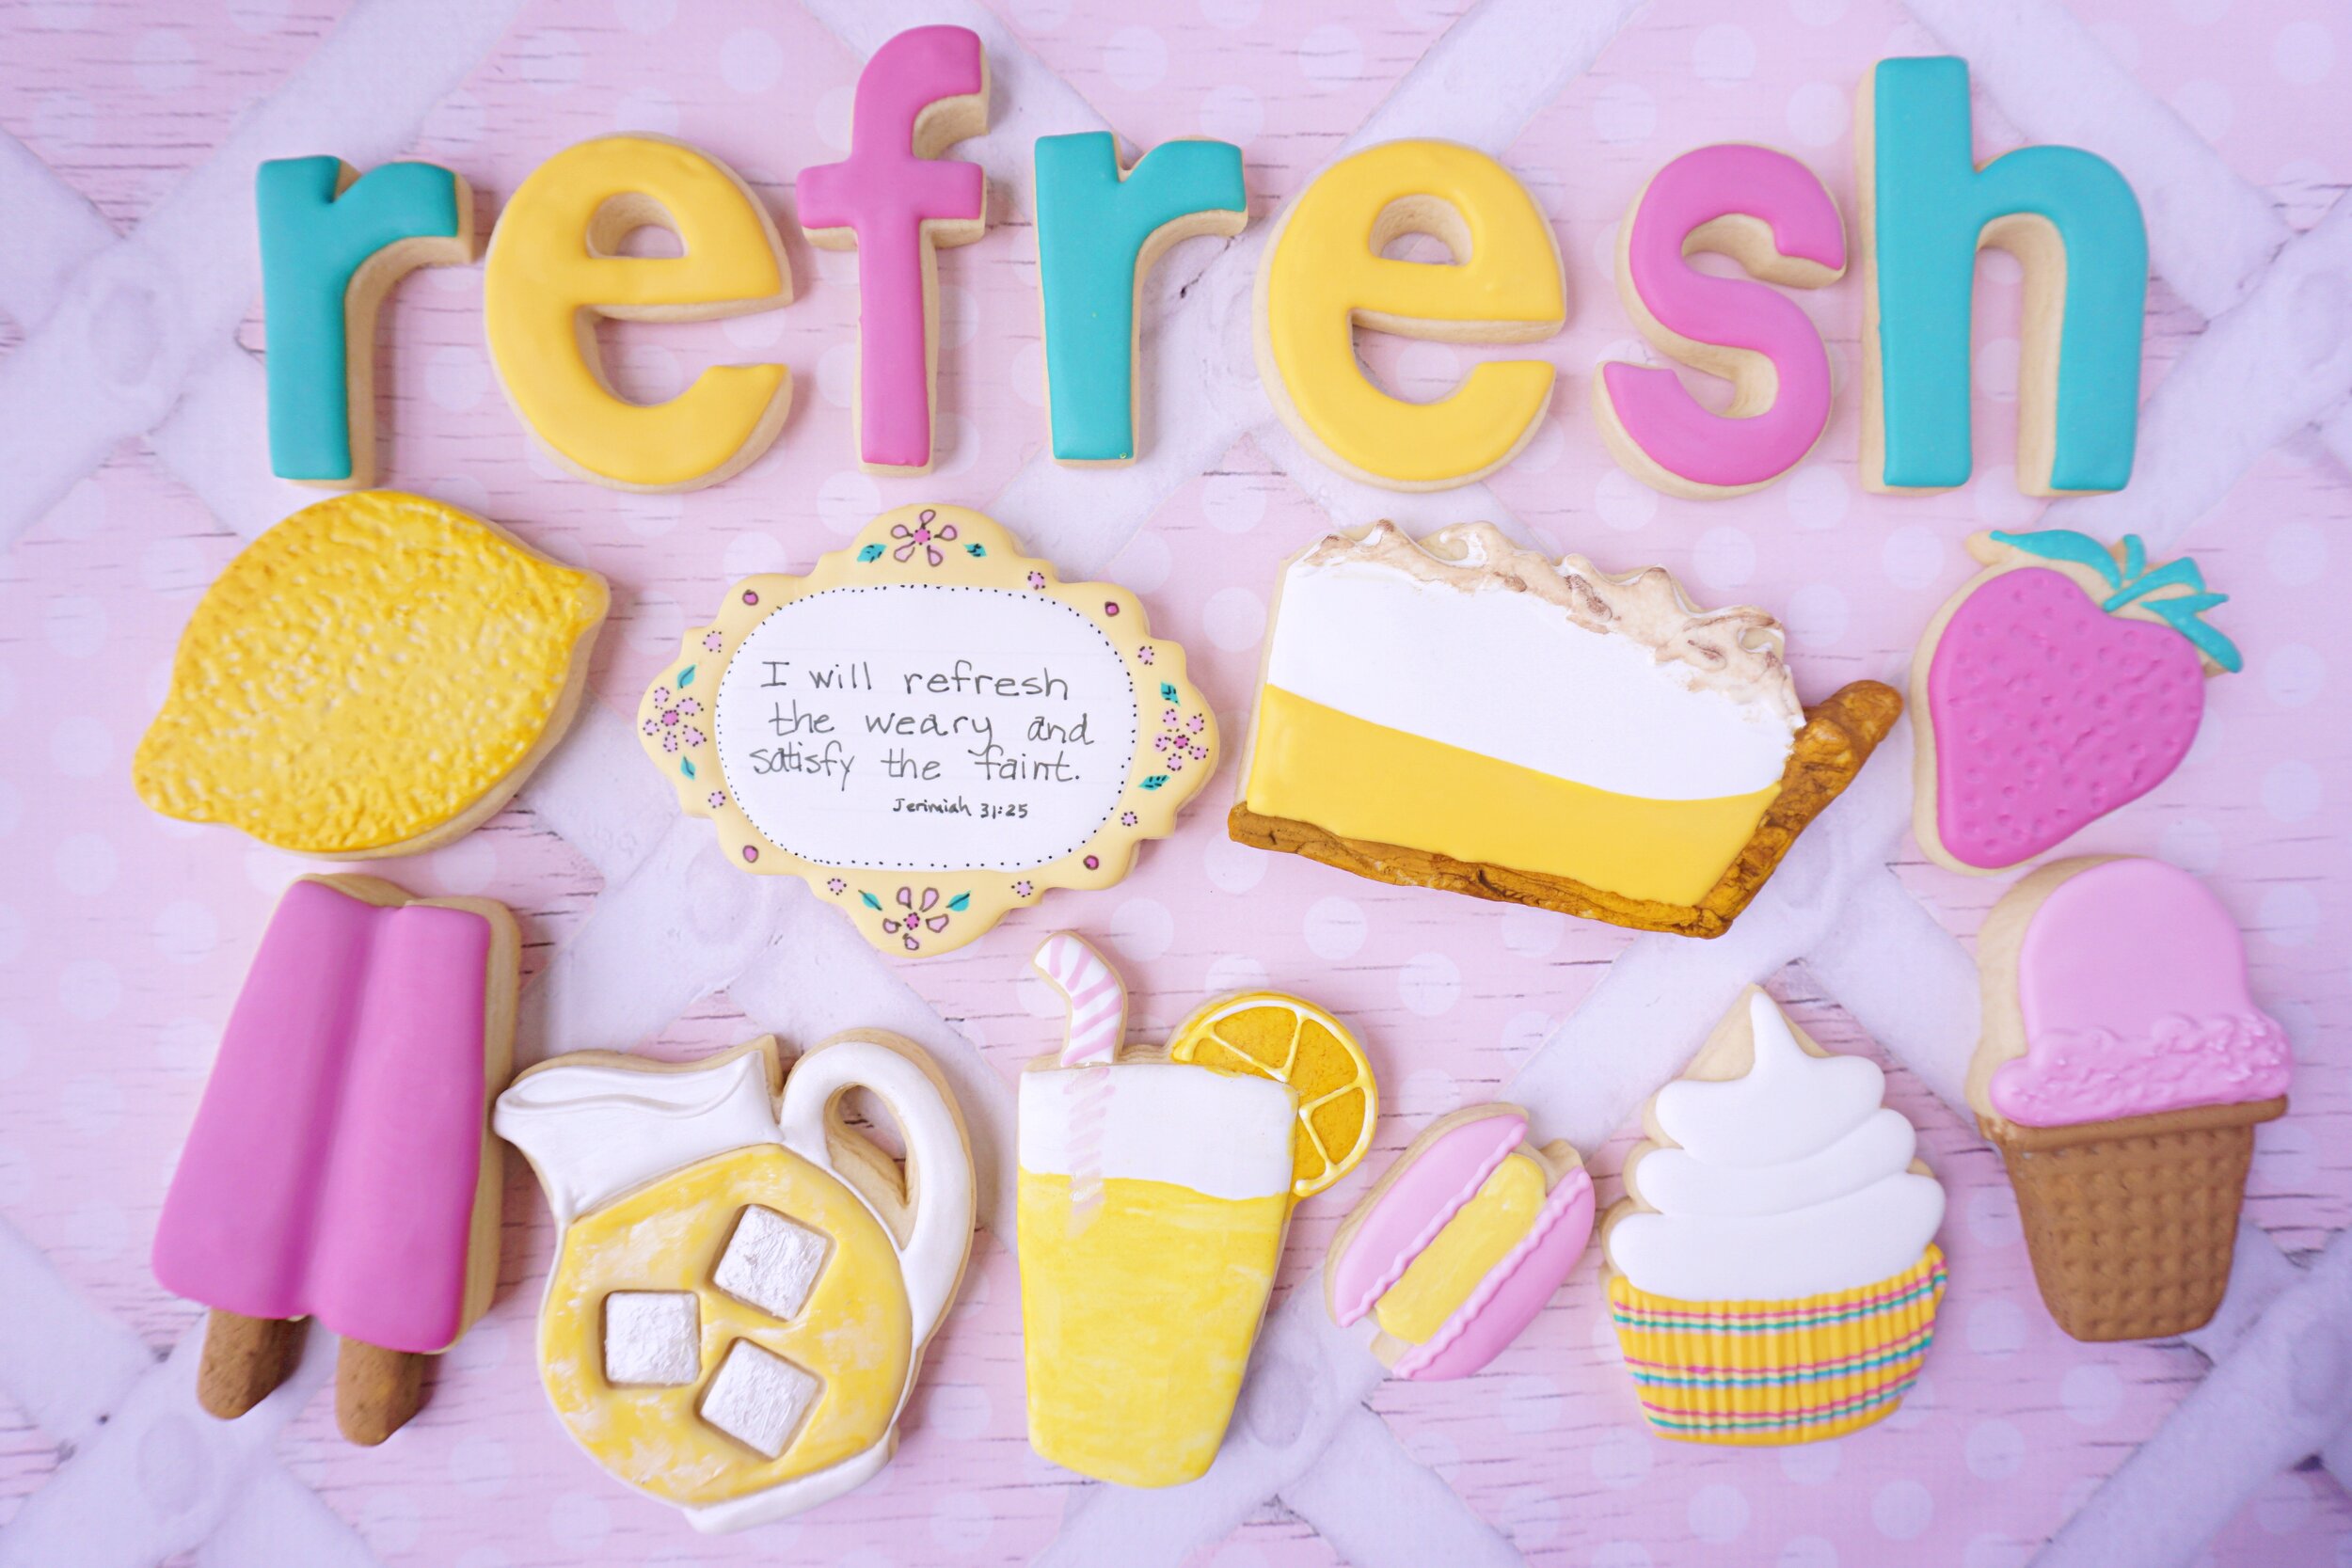
 

Zoo Animals Cookie Collection

A very precious friend asked me to make some zoo animal cookies for her daughter's 2nd birthday. 
She wanted them to be grain-free, so that added a twist to the challenge. 
My Simple Grain-Free Cut Out Cookie recipe worked perfectly for this occasion.

I did a Jungle Buddies cookie series about three years ago. 
It included a hippo, giraffe, lion, elephant, zebra, and monkey with cookie tutorials for each. 
Since that time, Cheap Cookie Cutters has created some of those shapes into cutters.

Here's the brown bear cookie tutorial I put together for this series.

And since the monkey shape was not included with Cheap Cookie Cutters designs, here's how I simplified that shape. Using a snowman head cutter and the curved edge cutter in SugarBelle's Shape Shifters set, cut out the monkey head as shown below.

Outline the monkey head filling in a thicker outline of the ears and the entire upper head with dark brown glaze.

After the glaze has dried for about 30 minutes, fill in the ears and "snout" portion of the monkey with light tan glaze as shown below.

After some dry time, add the eyes, nose, and mouth with white and black glaze. 

Langley loved her animal cookies. Her favorite was the lion........ Rrrrrrr!

Winter Silhouette Cookies (Tutorial)


I love the simplicity of silhouettes....especially on cookies!
All you have to do is get the outline over a plain or patterned background......
and you have a lovely design.

The first step is to look for silhouettes all around.....
whether tangle photos/clipart you have laying around or pictures found on the internet.

Once you've decided what shapes you want to put on the cookie.....
print them out to about the size wanted on the cookie surface.

Outline and flood the cookies.
Both a plain one-color background or a patterned background will look good.
You can make it as simple or complex as you wish.

Once the background has dried a bit,
you need to outline and flood the silhouette.
A Kopy Kake helps immensely.....but it is definitely not an essential.
I don't use mine often, but in this case, it came it super handy.
(For a brief overview of how a KK works, check out this post.)


If you don't own one......
just cut out the shape and trace around it directly onto the cookie using a food color marker
Outline and flood from there.


 The simplicity really makes for a beautiful cookie.


Winter 2014 Cookie Collection
Member Login
Welcome, (First Name)!

Forgot? Show
Log In
Enter Member Area
My Profile Not a member? Sign up. Log Out