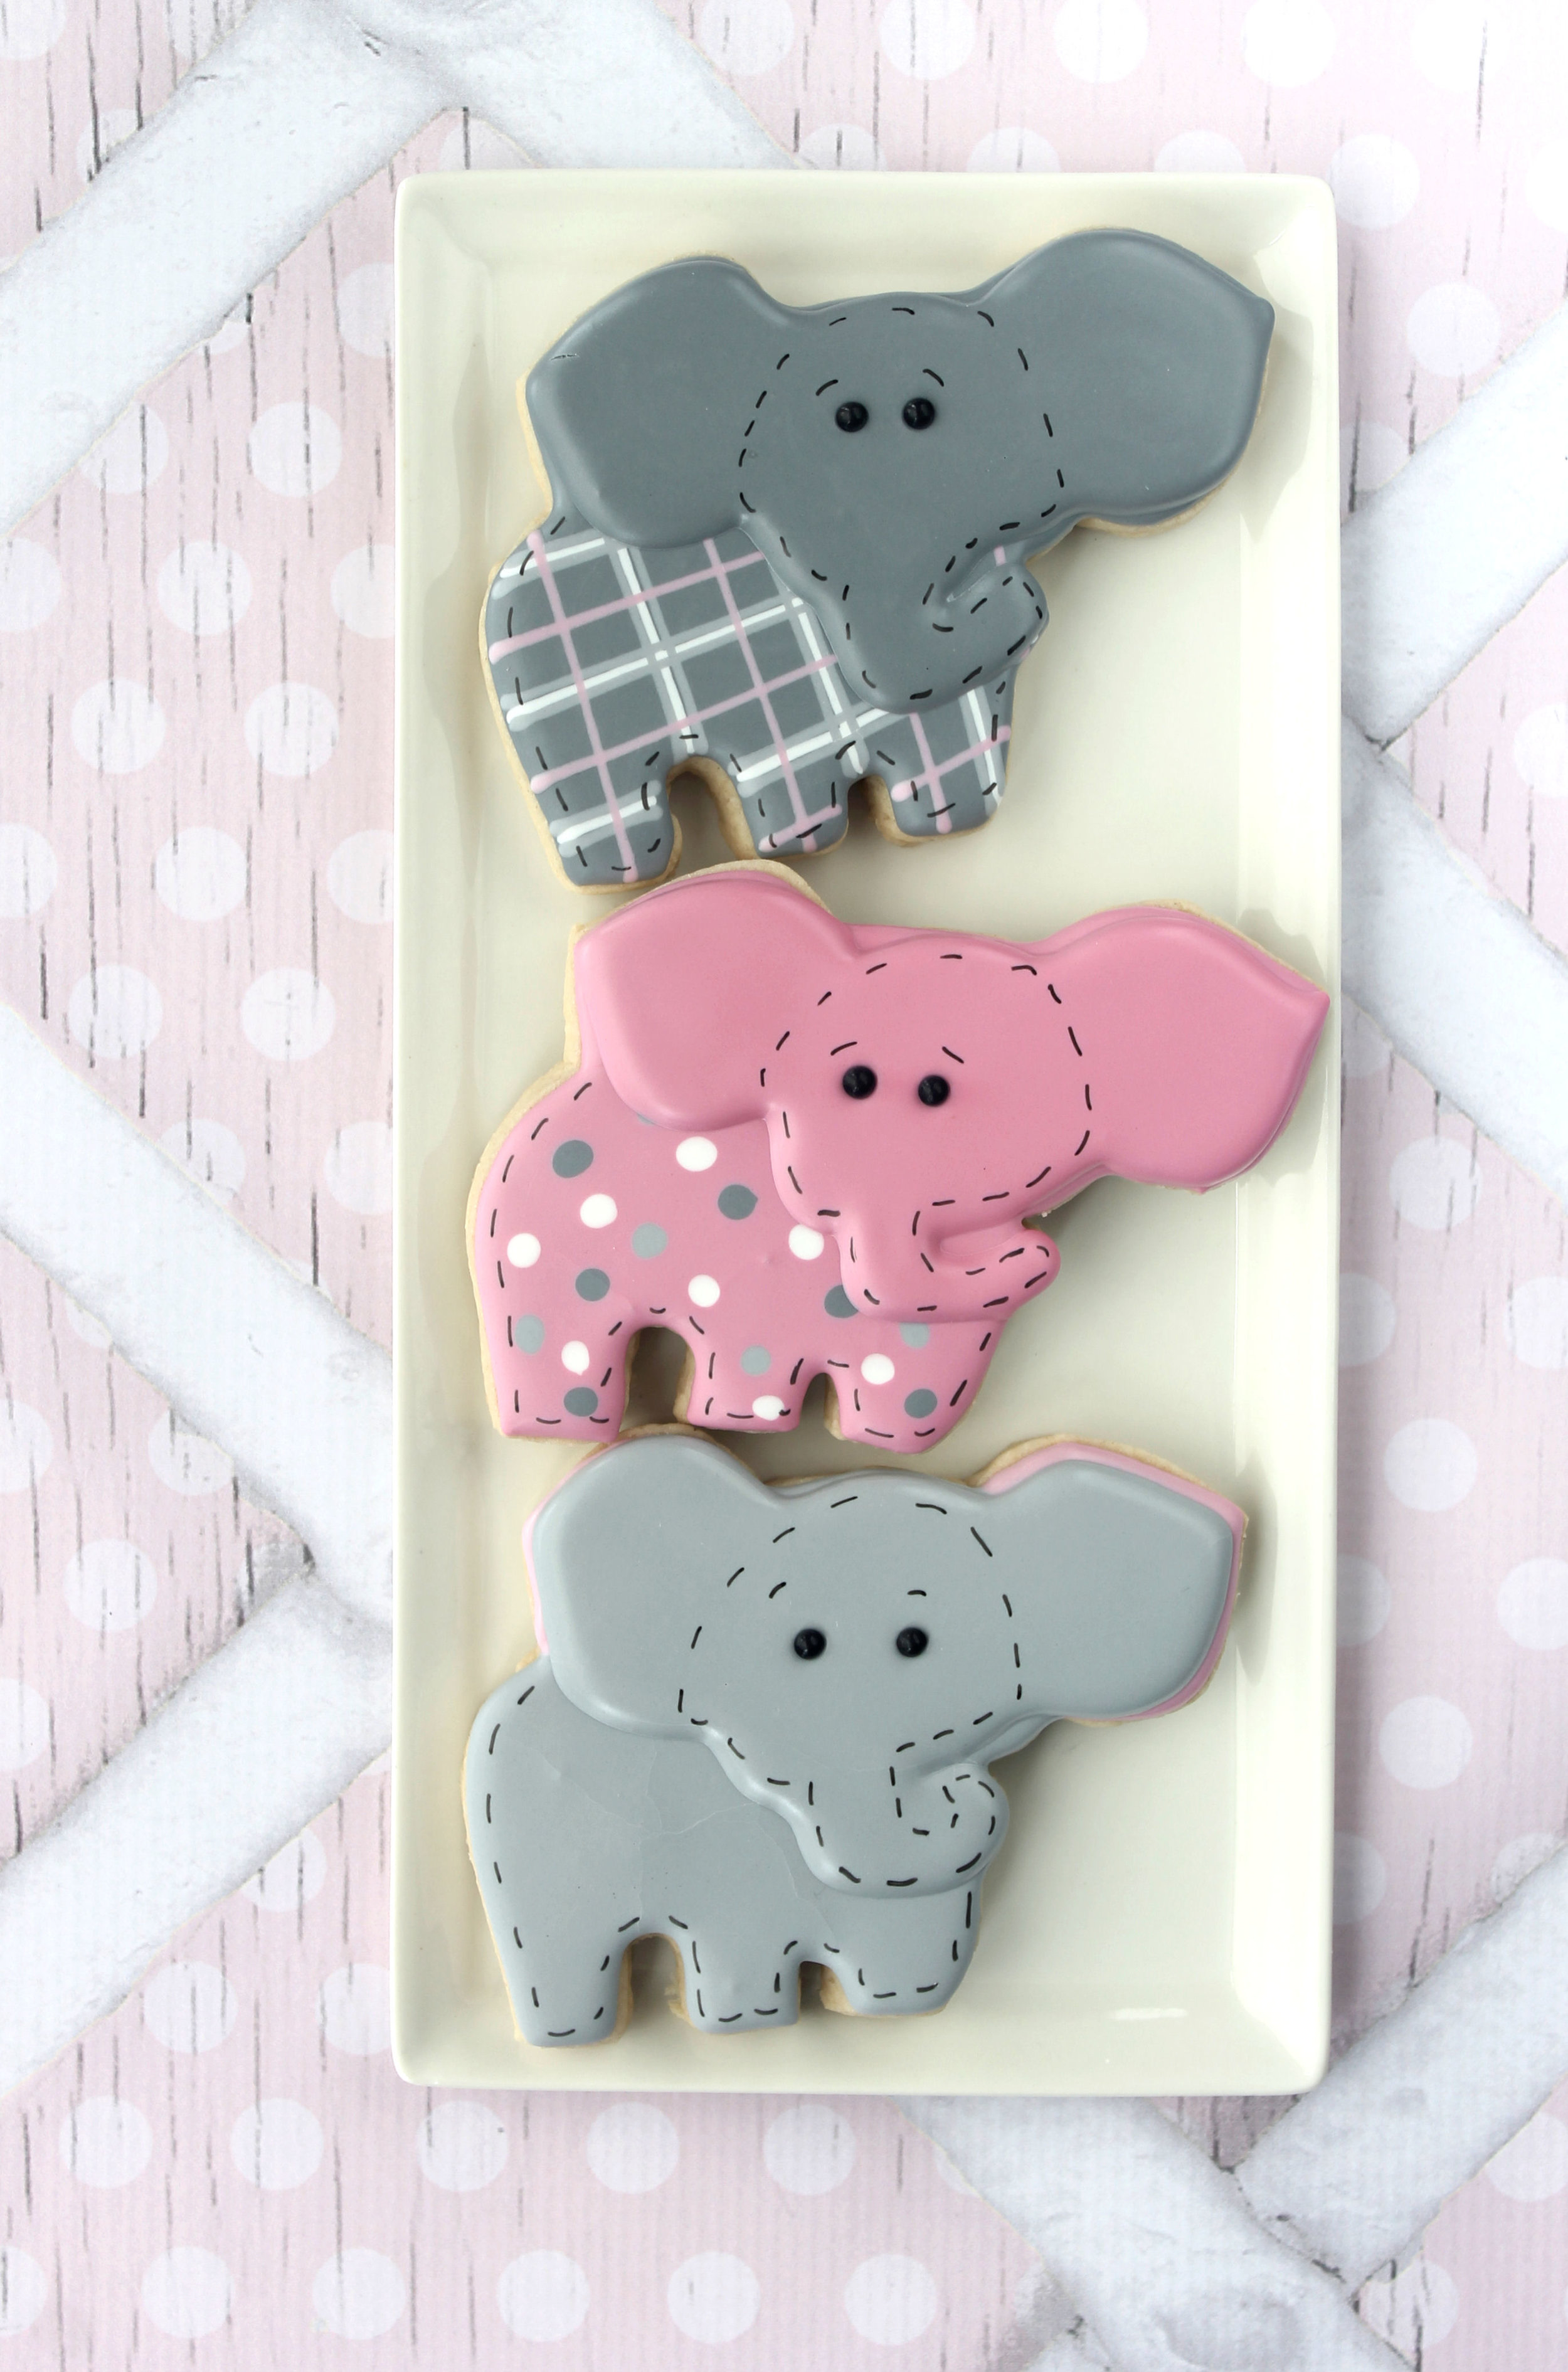
A very precious friend asked me to make some zoo animal cookies for her daughter's 2nd birthday.
She wanted them to be grain-free, so that added a twist to the challenge.
My Simple Grain-Free Cut Out Cookie recipe worked perfectly for this occasion.
I did a Jungle Buddies cookie series about three years ago.
It included a hippo, giraffe, lion, elephant, zebra, and monkey with cookie tutorials for each.
Since that time, Cheap Cookie Cutters has created some of those shapes into cutters.
Here's the brown bear cookie tutorial I put together for this series.
And since the monkey shape was not included with Cheap Cookie Cutters designs, here's how I simplified that shape. Using a snowman head cutter and the curved edge cutter in SugarBelle's Shape Shifters set, cut out the monkey head as shown below.
Outline the monkey head filling in a thicker outline of the ears and the entire upper head with dark brown glaze.
After the glaze has dried for about 30 minutes, fill in the ears and "snout" portion of the monkey with light tan glaze as shown below.
After some dry time, add the eyes, nose, and mouth with white and black glaze.
Langley loved her animal cookies. Her favorite was the lion........ Rrrrrrr!


