Tutorial

Birthday Cake Slice Decorated Cookies (Tutorial)

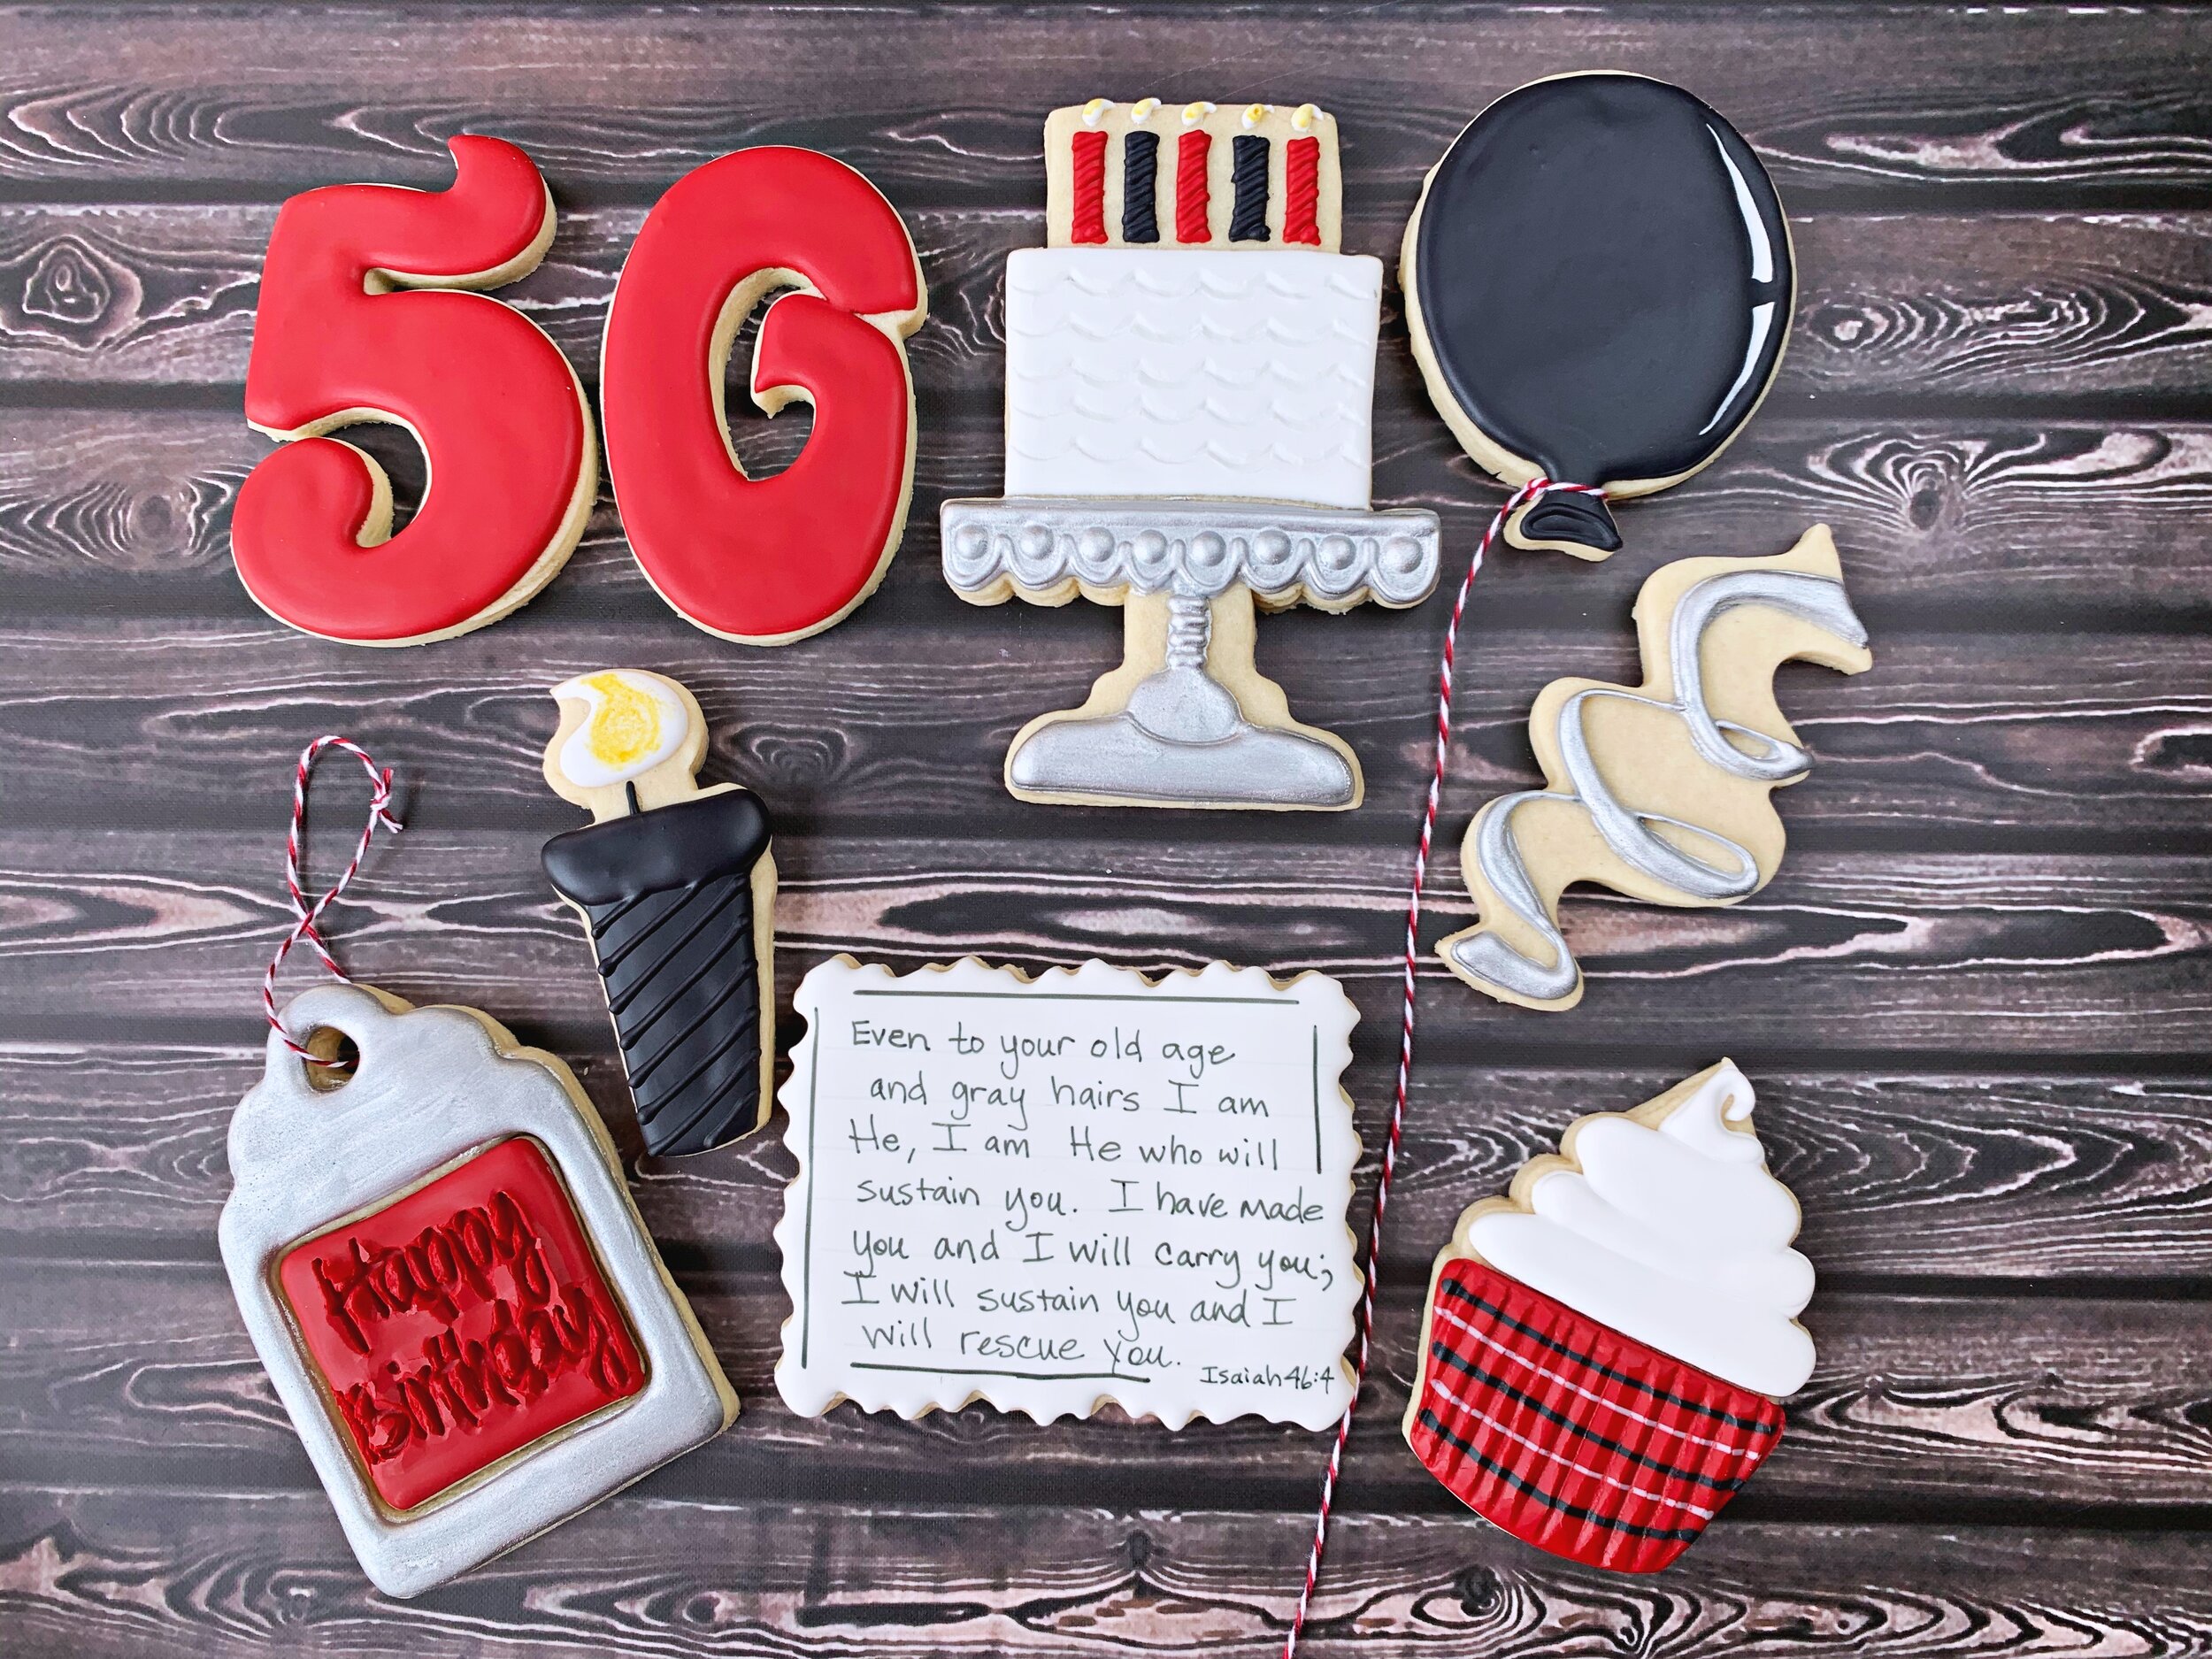
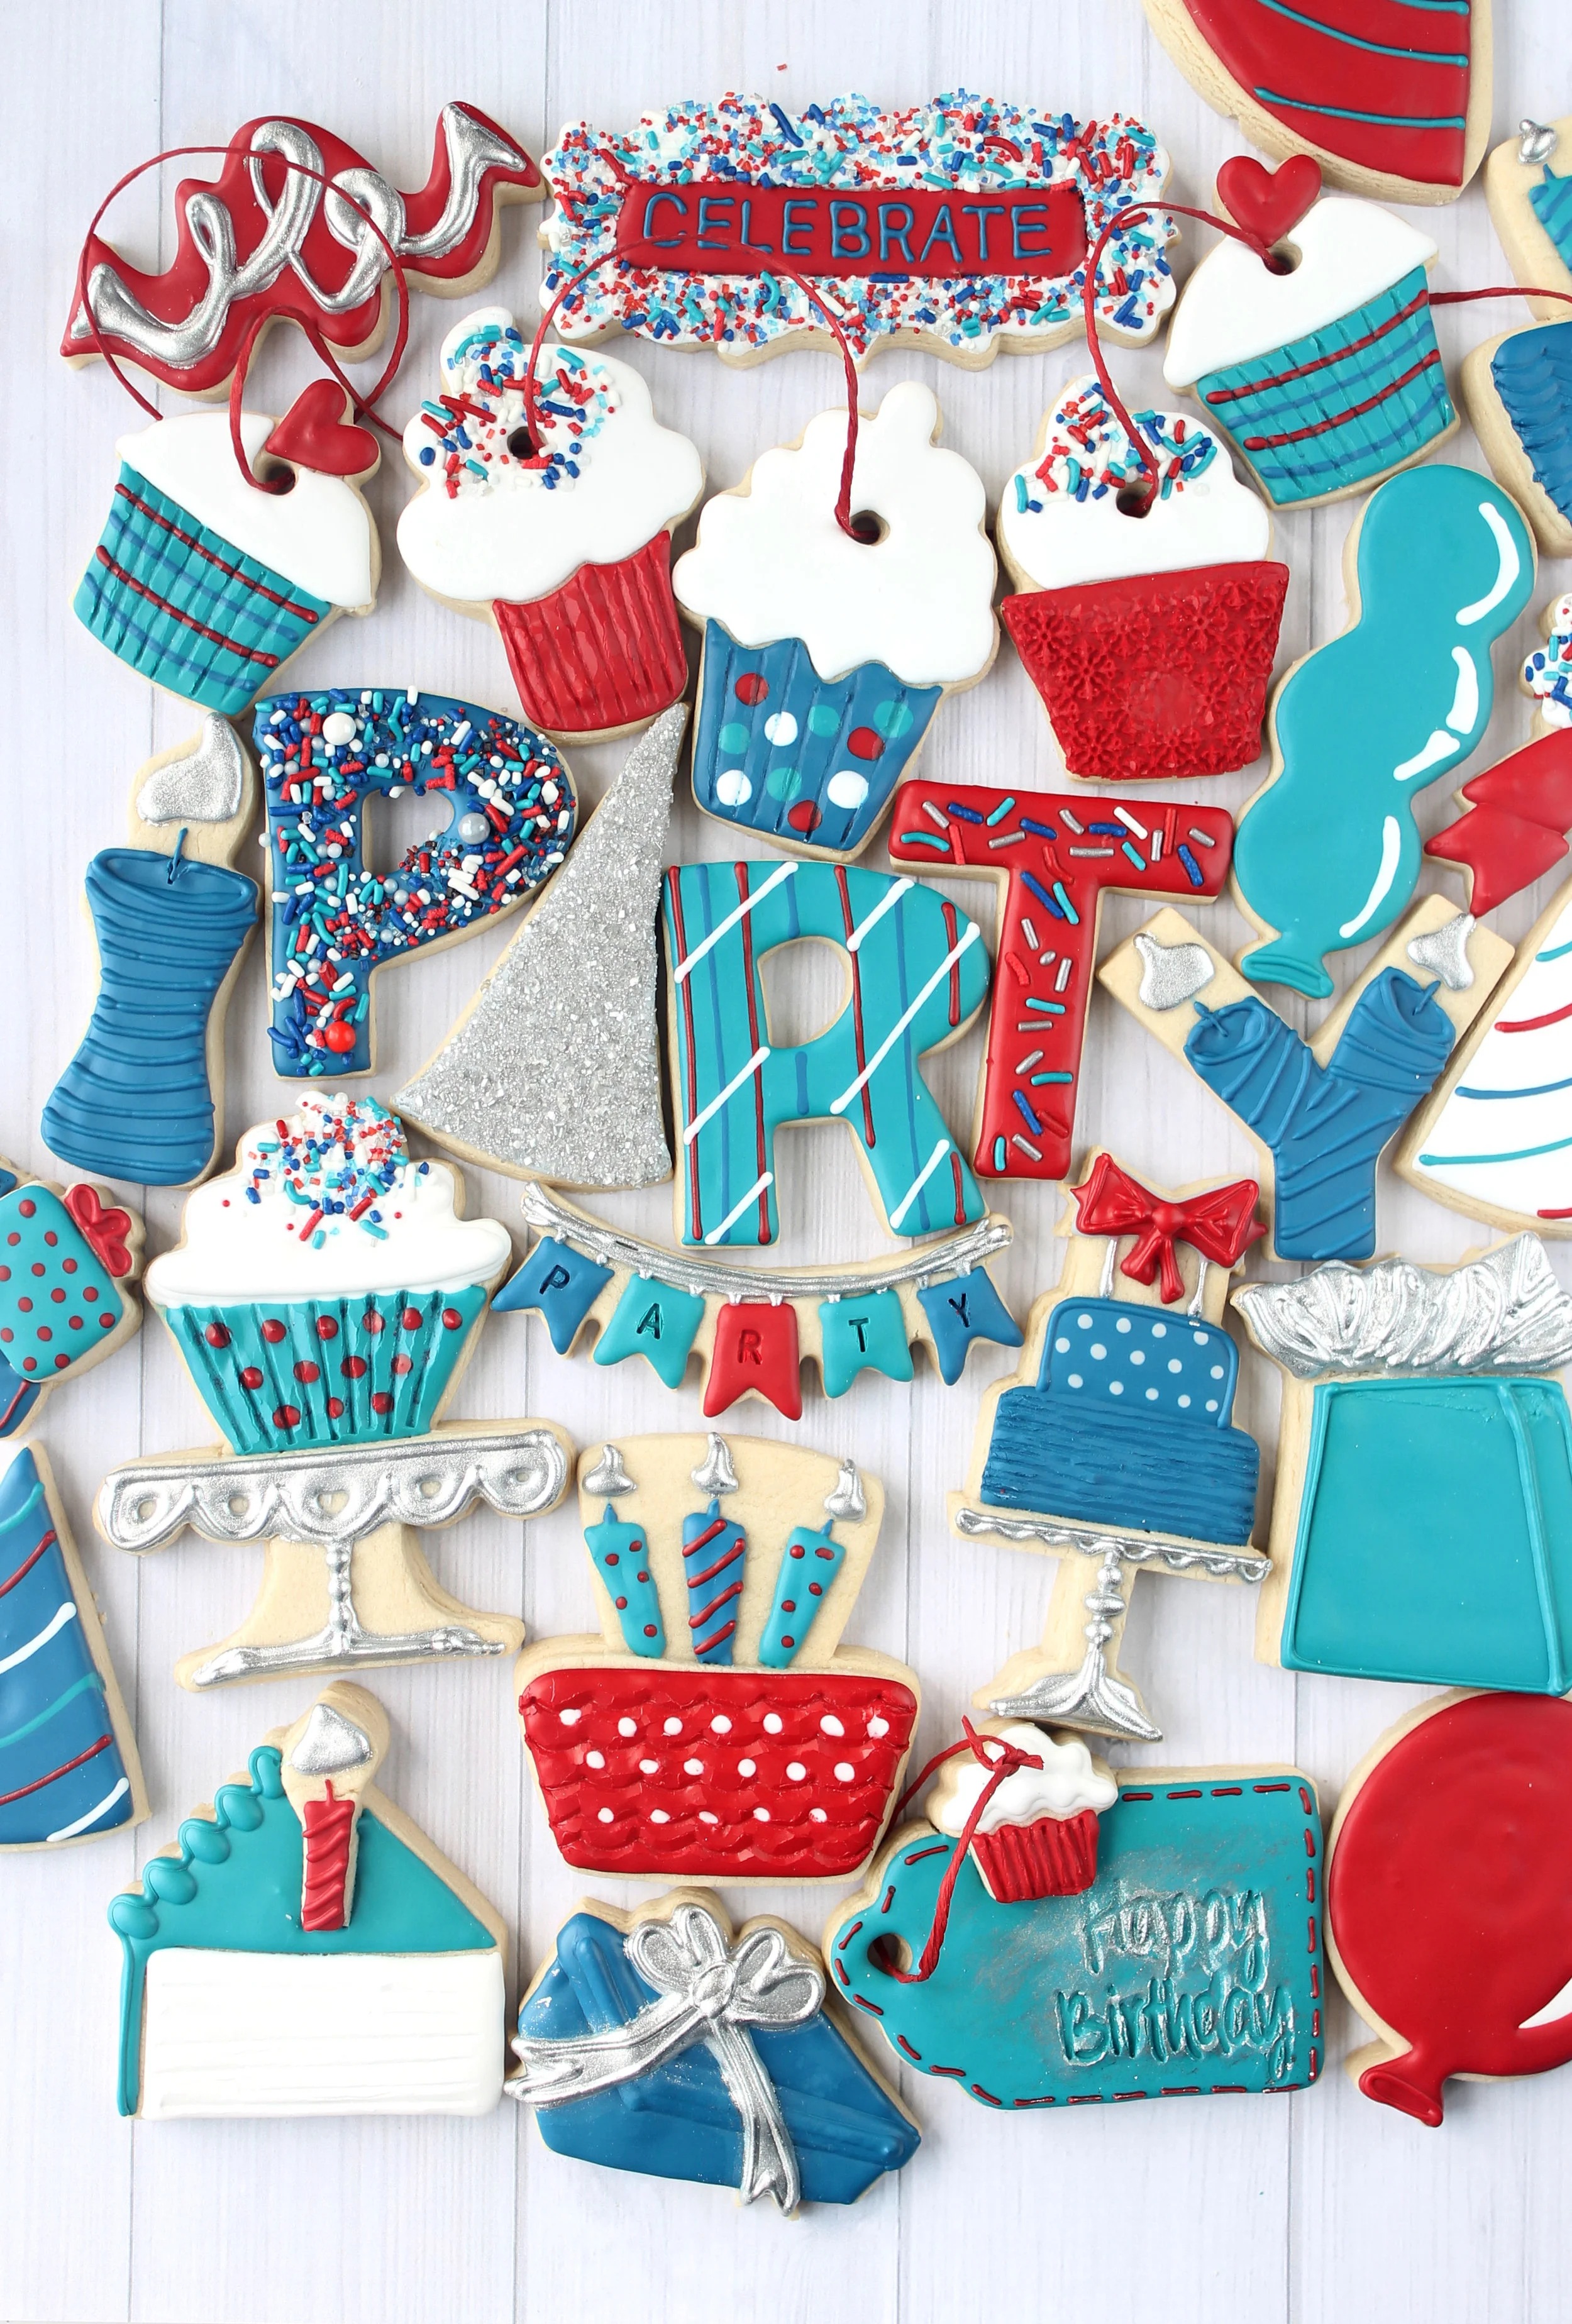
Since birthday cookies are probably one of the most common cookies decorated, I always want to make a set from season to season to incorporate the latest things I've learned. I had an even deeper incentive in that LilaLoa's new cutters just became available, and I was anxious to try the new shapes out.

This is the LilaLoa cake slice cutter. 
When I decorated it, I didn't realize that the large hump at the top was supposed to be a candle flame. Oops. Oh well.....I made it my own by just making it be a huge dollop of icing. 

I wanted to add more dimension in these cookies, so I added a thin extra layer of dough to the icing part of the cake slice. (see photo below)

Once the cookies are baked and cool, outline and flood the top icing portion. Add any design you'd like to make it fancy.

Outline and flood the bottom cake portion with a plain-er color (in this case white). Allow it to dry for 15-20 minutes and then take a cake tester and make some horizontal cut lines down the side of the cake portion. (see photo below)

Add Icing color down the left side of the cake to make it complete.


Neon Sign Styled Decorated Cookies (Tutorial)

Have you ever found a graphic or photo that emulate a style that you became giddy about?
In the last year, I found a graphic showing this neon sign style (I think they called it "colored chalk style") that I instantly knew I had to cookie-fy. 

This method is super easy and fast since you don't have to actually outline and flood the entire cookie and then add additional layers of icing.

Start with chocolate cut-out dough, and cut and bake any shape that will be recognizable by just adding a few outlines/silhouette. 
In the set shown, the theme was coffee related, so I picked the shapes accordingly.

Once the cookies are baked and cooled, combine vodka (or a clear extract, ex. almond) and Americolor Super Black gel to make a "paint" to cover the tops of each cookie. Brush the opaque mixture over each cookie and allow it to dry for a few hours before adding the glaze.

Use bright "electric" colors of glaze to add the outlines and single detail lines to each cookie.


Coffee Bean Decorated Cookie (Tutorial)

Coffee lovers abound in our family.
In fact, a few of my boys have even become quite the "coffee snobs".
I've learned about all kinds of gadgets, methods, and gourmet beans that make the beverage beyond compare. :)

It seemed fitting to create a whole set of cookies to celebrate such a popular hot drink.

For coffee bean cookies, use an oval cutter with chocolate cut-out dough.
Place a piece of plastic wrap over the rolled out dough and then cut the cookie over the plastic.
This will give it a rounded edge that resembles a true coffee bean.

Before baking the cookies, use a long thin tool like a cake tester to make impressions across the widest part of the oval to create the indentations seen in coffee beans.

Once the cookies have been baked and cooled, create a palette of colors using Americolor Egg Yellow, Chocolate Brown, and Warm Brown gels. Paint over the top and sides of the "beans" to give them realistic hues.


Deer One Valentines Decorated Cookie (Tutorial)

Ah yes......more homonyms for spreading Valentines Day love.

Here are the two cutters used for this set:

Outline and flood the shapes with tan icing
leaving space to add details with white glaze using wet on wet technique.
(see photos below)

Using a darker brown glaze, add the nose and hooves.

Here is the entire Love Ewe Deer One Cookie Collection.


Love Ewe Valentines Day Decorated Cookies (Tutorial)


Don't you love how homonyms work perfectly for Valentines Day?

How about making little lamb (ewe) cookies to share love with others?
 

Using this lamb cutter,  cover most of the surface with white glaze, but leave the face, ears and hooves bare. Fill those areas in with tan glaze after finishing with the white.
(see photo below)

Allow the glaze to dry for a couple of hours, and then imprint tiny hearts all over the white portion. (I used the heart shape in this impression tool set.)

Using a small heart cookie cutter, press it into the bottom/back part of the lamb to create an outline. Fill the outline with red glaze. (The smallest cutter in this set was used here.)

Add some facial features with a black marker if desired.

Here is the full Love Ewe Deer One Valentines Day Cookie Collection.

 
Member Login
Welcome, (First Name)!

Forgot? Show
Log In
Enter Member Area
My Profile Not a member? Sign up. Log Out