party

Birthday Party Decorated Cookie Collection

It's time to P-A-R-T-Y!

🎉🎉

There are so many fun birthday-themed cookie cutter shapes out there to make a fun set of cookies for someone's special day. Enjoy!


Birthday Candle Cookies (Tutorial)


As soon as I saw this cute candle cookie cutter.....I was on a quest to get it and use it.
I love it!

Cristin's Cookies carries some of the cutest cutters.
Proceed there with caution......you'll want to buy MANY of them! ;)


Outline and flood the base of the candle with 10-second glaze in your choice of color.
Also, outline and flood the flame in white 10-second glaze.


After about 30 minutes of dry time,
outline and flood the "melty wax" top of the candle with a different shade of the base color.
Also add the inside of the flame with that same accent color (see photo).


While the glaze on the inside of the flame is still wet,
add a darker color within it using the wet-on-wet technique (see photo).


Using the same color glaze used for the base of the candle with a 1.5 PME tip,
add some diagonal lines to the base of the candle.


Allow the flame to dry for a bit before adding the white wick.

If desired......add stitches with a black food color marker once the glaze has dried overnight.


Happy Birthday Cookie Collection
Birthday Party Hat Cookies (Tutorial)

Birthday Cake Slice Cookies (Tutorial)


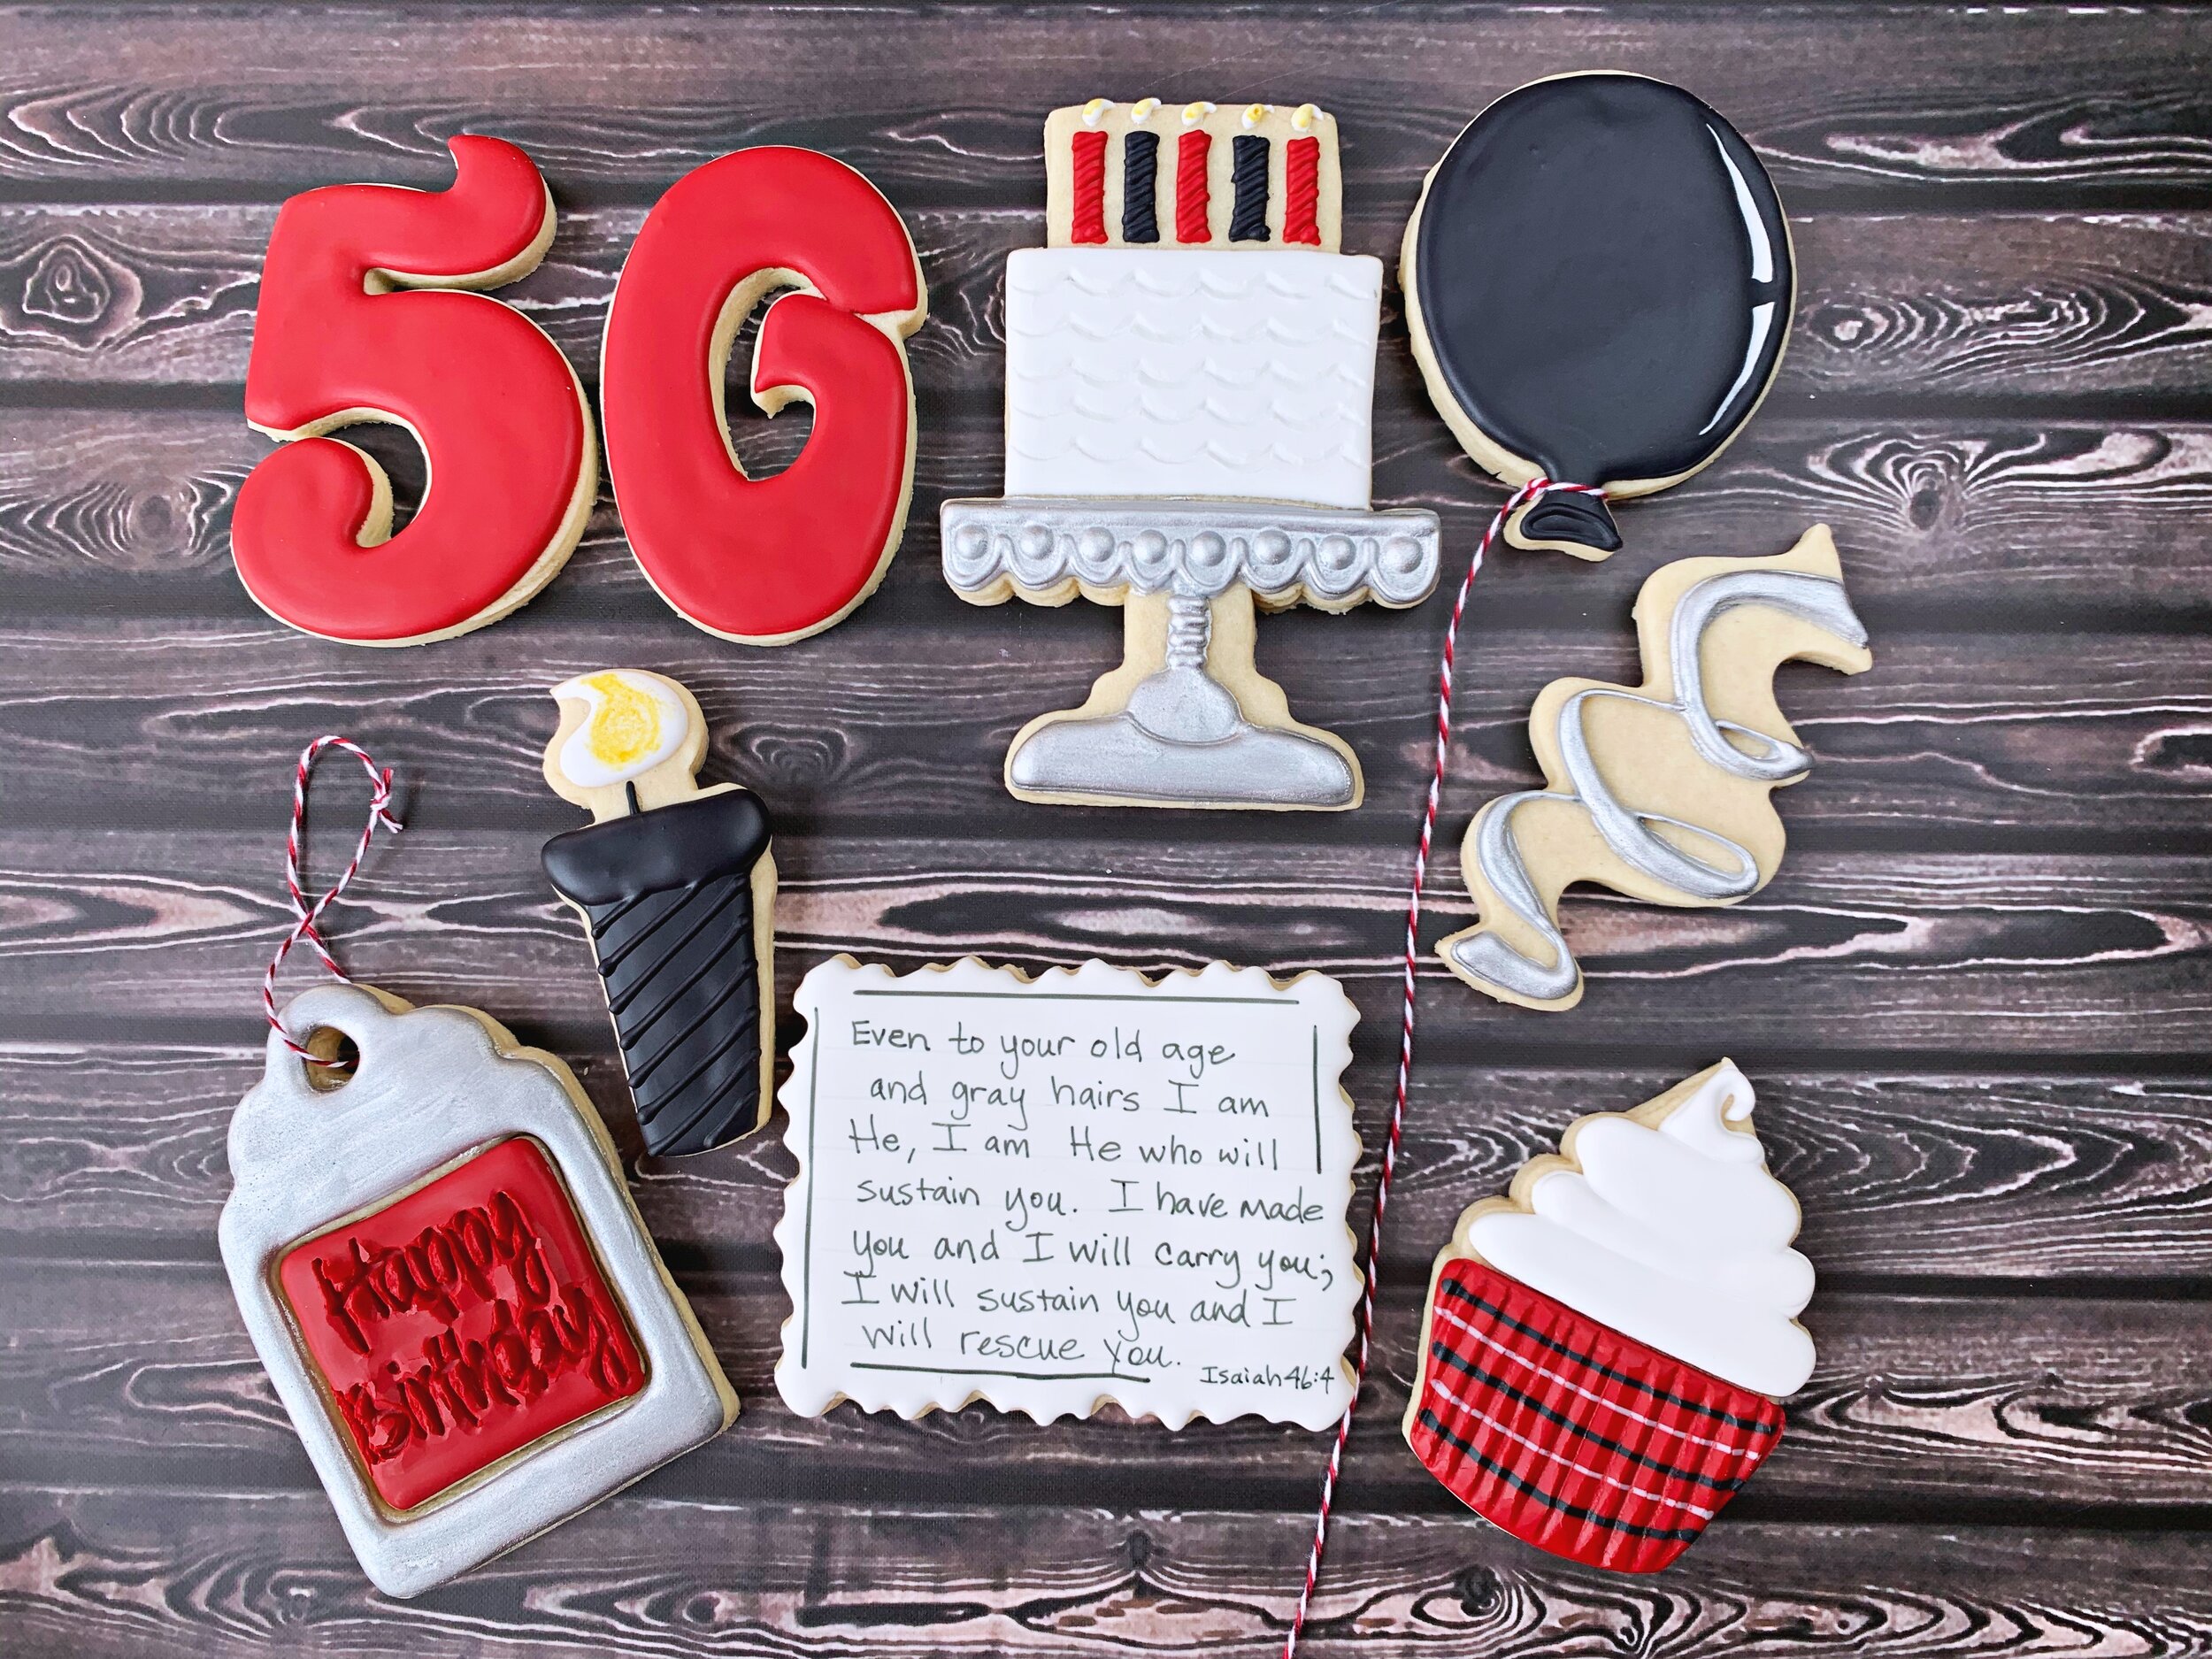
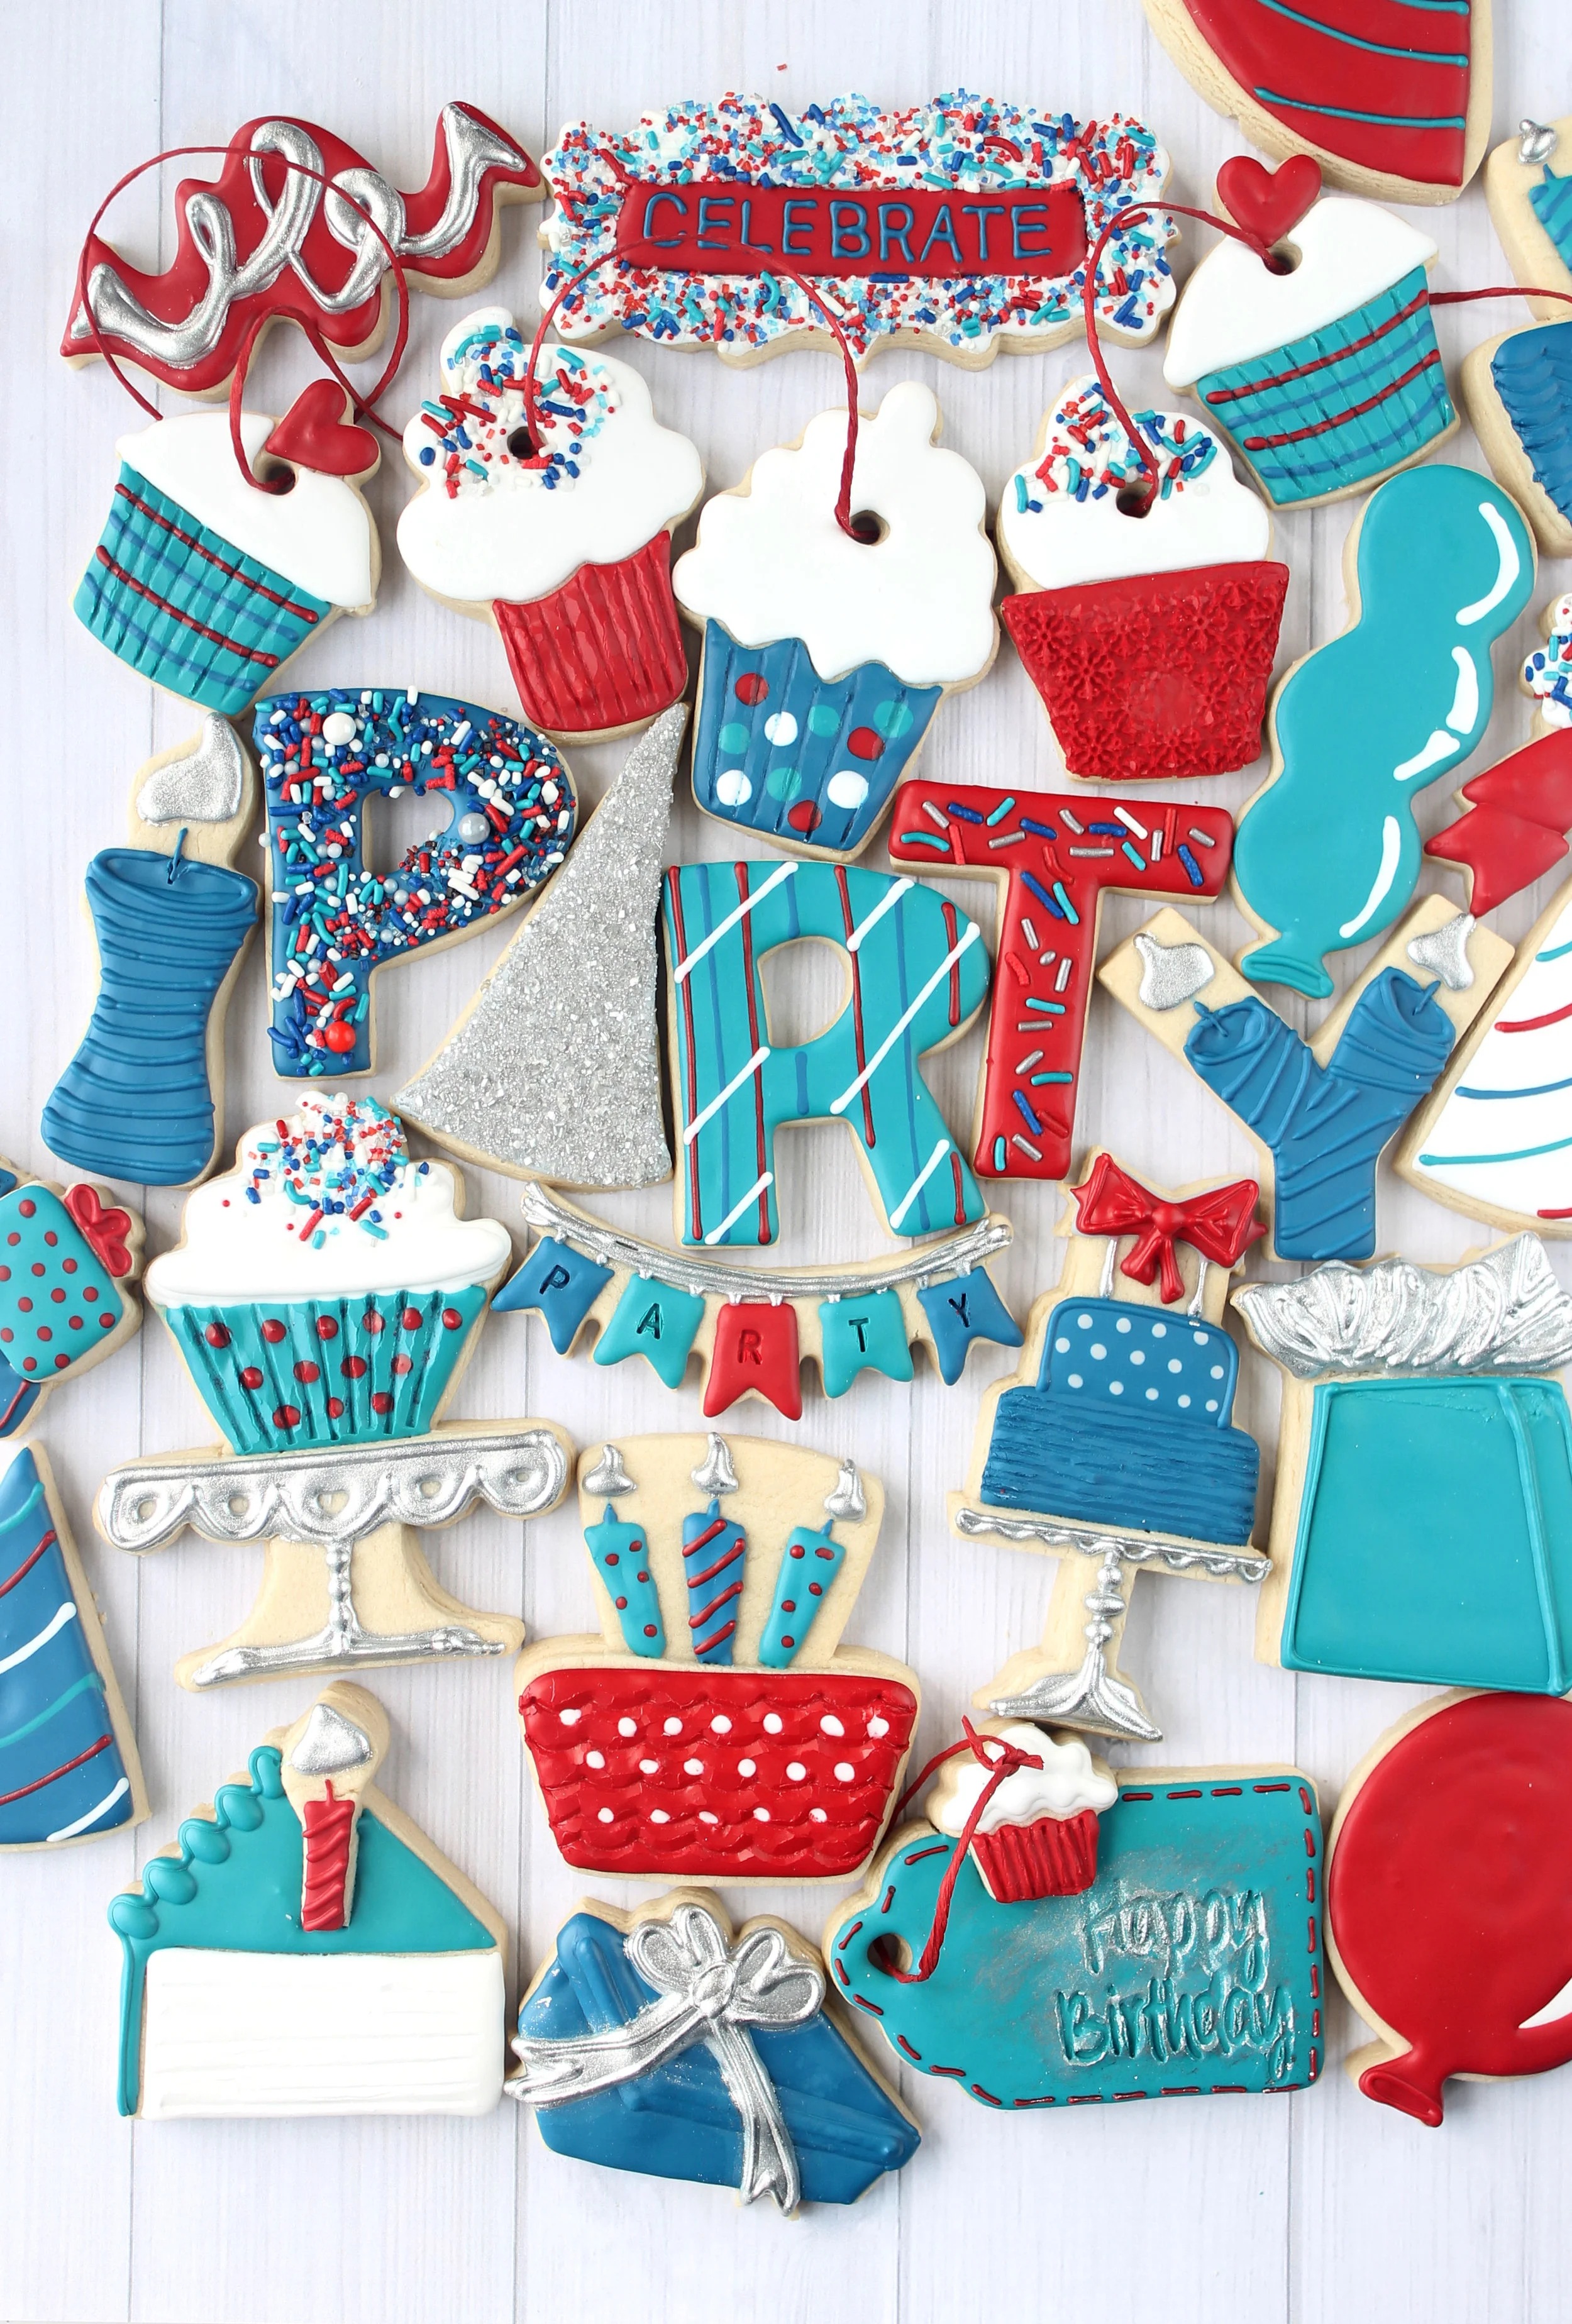
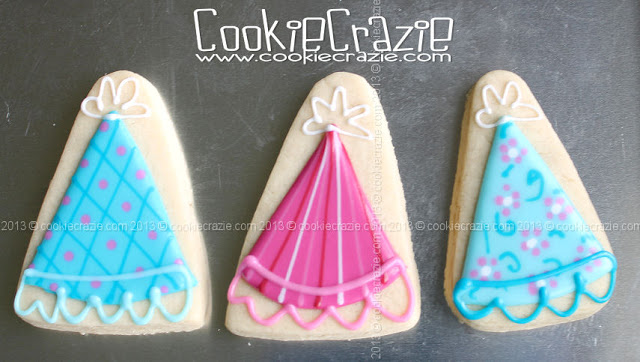
To continue with the Happy Birthday theme......
how about a slice of cake.
Mmmmmm
Oh wait, it's really a cookie. :)

My slice of cake cutter came from Ecrandal....
but there's a similar one at Cristin'sCookies
and a plainer one at CheapCookieCutters.

Forgive me for failing to take more than one photo of the decorating process.
Sometimes.....I'm trying to do too much at once. Can you relate?

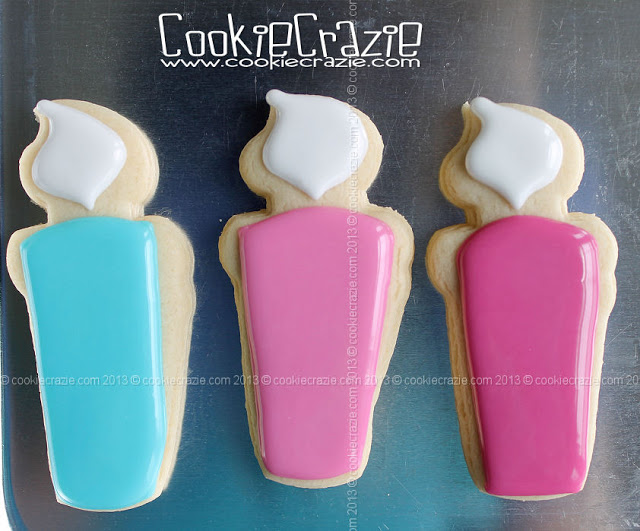
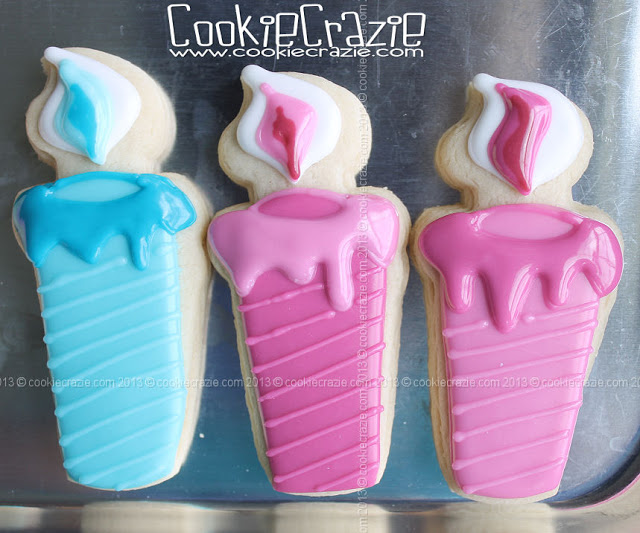
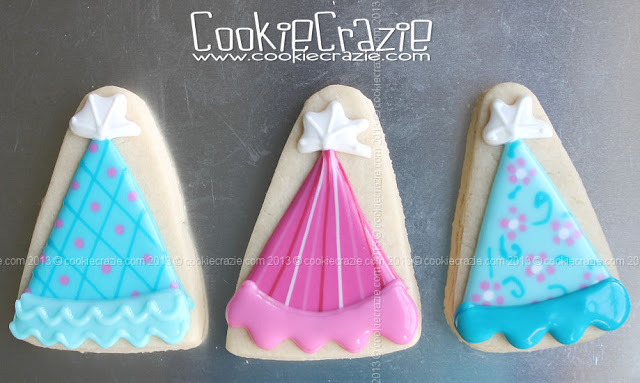
Outline the top, side and bottom of the cake slice.
Flood the top and side sections.

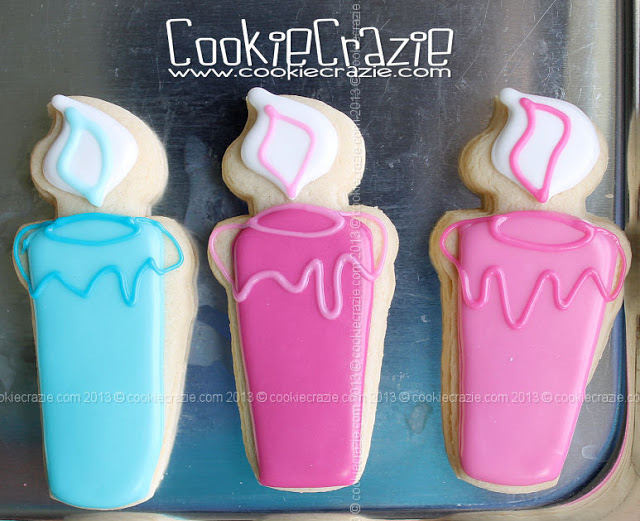
After the "icing" on the cake has dried thoroughly (30+ min)
flood the center of the cake with white glaze
(or a different color if you want a different flavor than "vanilla cake").

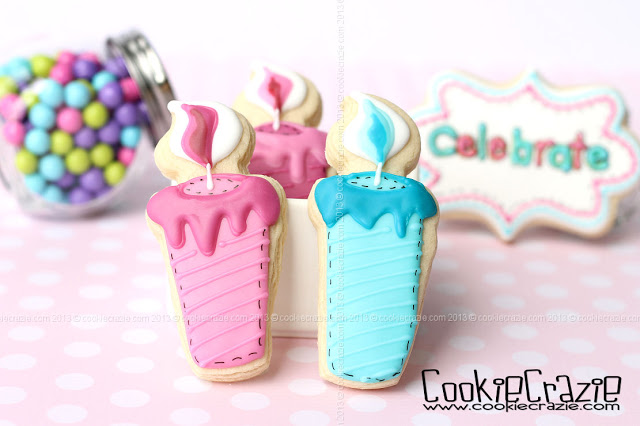
Wait at least 30 min and then add a frilly piped edge to the outer top of the cake.
For more texture, outline the edges.

And if you are as crazie as I am.....
add some black marker and painted white gel accents to the dried cookie.


Happy Birthday Cookie Collection
Birthday Party Hat Cookies (Tutorial)

Birthday Party Hat Cookies (Tutorial)


Recently I decided to do a fun birthday set with all my favorite colors.....
and add in some new shapes to give the theme some pizazz.

Do you have to have a party hat cutter in order to make birthday hats?
No way!
Use a candy corn cutter.
Start by outlining and flooding the triangle part of the hat.
Try adding some wet-on-wet details to make them extra special.


After the base has dried for 30+ minutes,
add a "fringe-y" top and a "ruffled" bottom.


If desired, add some extra details to give the top and bottom more dimension.


After the cookies dry overnight, 
add details with a black food color marker.
It's amazing how those little dots and dashes make the designs "pop". :)


Happy Birthday Cookie Collection
Birthday Party Hat Cookies (Tutorial)
Member Login
Welcome, (First Name)!

Forgot? Show
Log In
Enter Member Area
My Profile Not a member? Sign up. Log Out