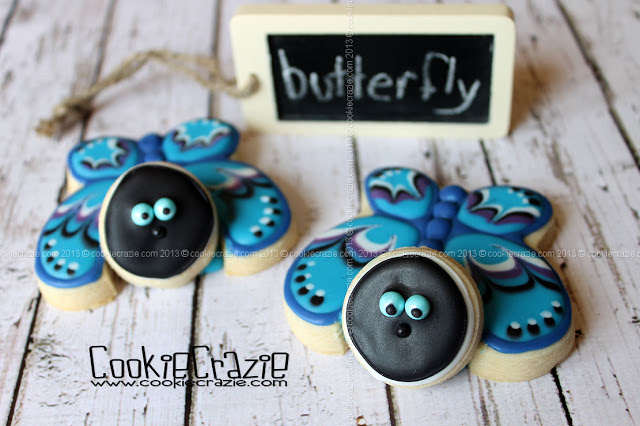
We're moving from Bumble Bees to Butterflies in this Buggin' Out series.
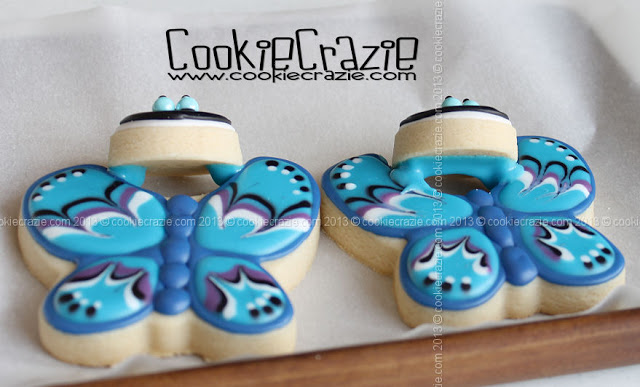
Start out with a butterfly-shaped cookie.
There's tons of great cutters out there.
Originally, I decided to cut a partial circle out of the "head" part of the butterfly,
but I strongly recommend NOT doing that.
I think the circle ("head") cookie would lay better on the original shape
if you will leave out that step.
Decorate your butterfly as you wish.
There's a multitude of ways to do it......so pick your favorite patterns & colors.

You will also need a smaller circle cookie for the head (I used a 1 1/2" diameter).
The size of the circle will depend on the size of the butterfly.
Outline and flood the circle in black glaze.
While the glaze is still wet, put two large white candy pearls in place for the eyes.
Add a dot of black glaze to each "eyeball" for the pupil.
And then add a large black candy pearl for the nose.


After decorated the butterfly as you desire,
and both cookies have dried overnight, it is time to assemble the butterflies.
Add some glaze to the back of the "head" cookie.
(Make sure the butterfly's face is in the right direction before adding the "glue".)
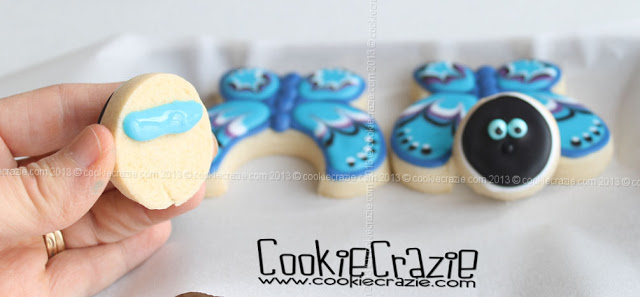
In this photo you can see what I mean about not
cutting out a partial circle from the butterfly-shaped cookie.
See how there is less surface area to "glue" the head onto the body?
The best part about making butterflies is that you can make tons of them......
and they could all be distinctly different, unique, and beautiful. :)