
Friday was my ultimate cookie play day. I had baked up some cookie shapes just because I wanted to......and then decorated them with delight.
I did a sewing/quilt theme......I know you are surprised. ;)
So now I get to start showing you all my fun cookies. :))))))))
I also took pics to show you how to make two of the cookie shapes.
Let the fun begin.....
Today, I want to show you how to make some cute button cookies.

Just take simple circles, any size, adding your button holes and outline.....and letting it dry.
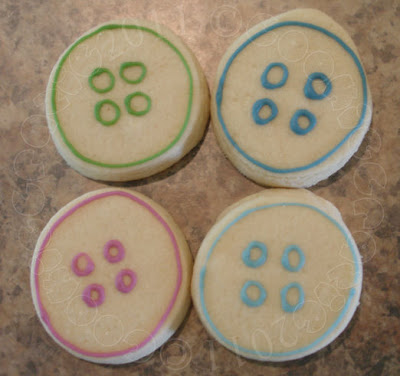
Next flood the entire button (except for the button holes). I start off with a smaller tip (#2) and go around the button holes first.....then take a larger tip (#4) and flood the rest of the button. This will ensure that you don't over fill around the button holes and cause them to top over your dried outlines.
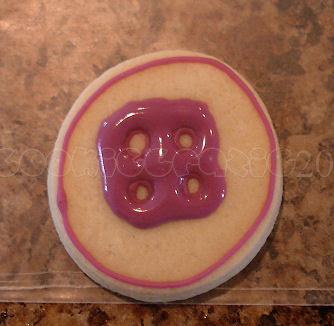

After the flood icing has dried a bit, you can add the rim around the outside edge of the button.....using the same color. And you can also add your first thread across one set of button holes. I've found that if I add both stitches at the same time, they tend to run together and not look as 3D. So I add one stitch, let it dry for a few minutes, and then add the other stitch.

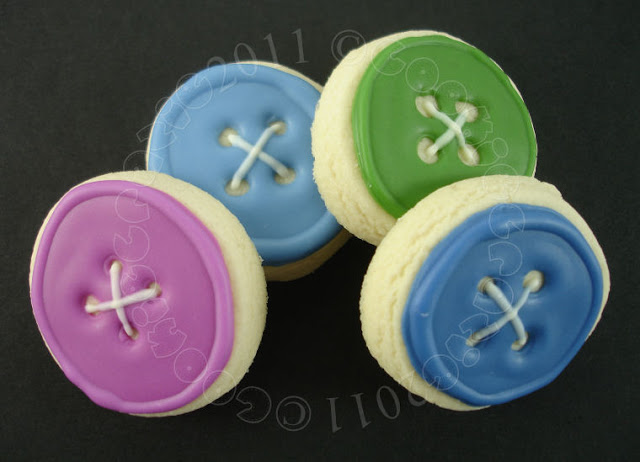
The "cute" results. :)
Reminder.....You only have until Tuesday (May 17) midnight (CST) to enter the May Blog Give-Away. There's a chance to win a $50 gift certificate from Karen's Cookies and other prizes too.
Don't miss the chance!!!
Click HERE and it will take you to the give-away post for details.
I hope your Monday is filled with cute things like buttons. =)