


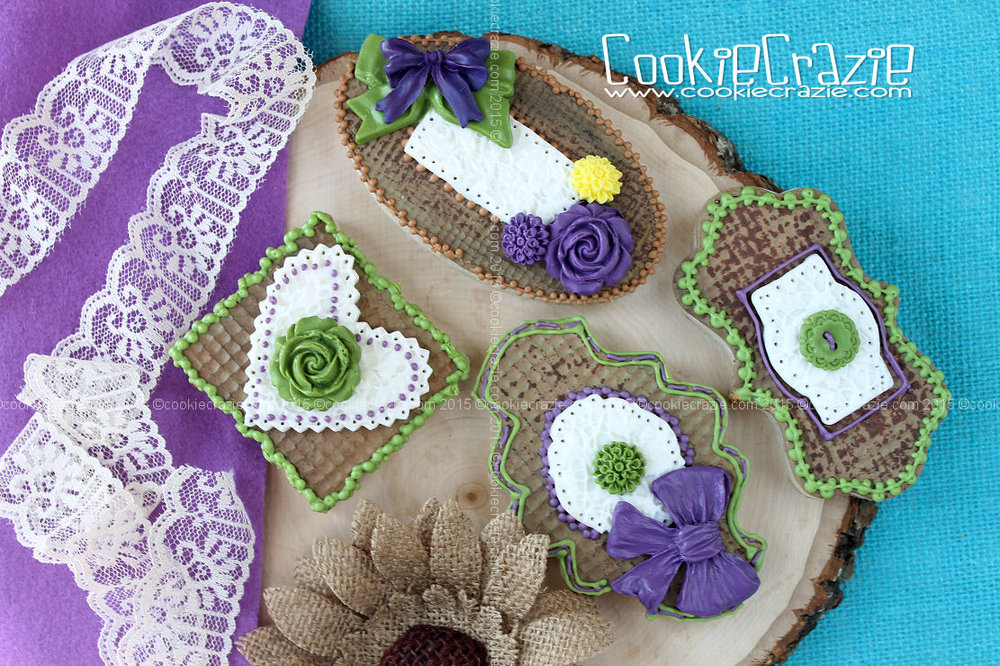
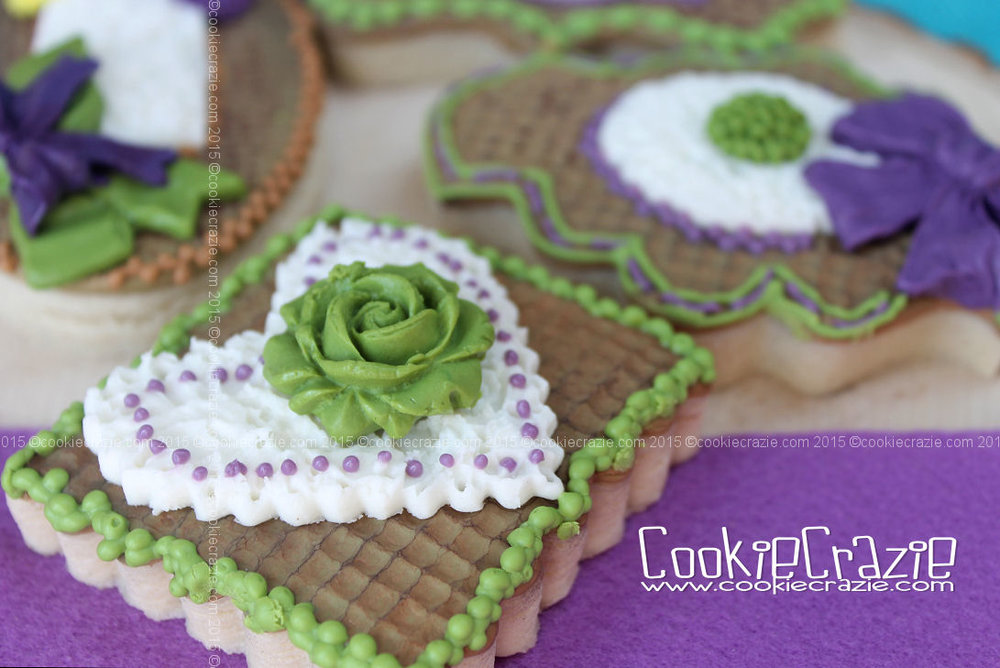
Loving all things frilly and lacy,
I've been itchin' to make a cookie with authentic looking lace on it.
With
and some very cool
, I believe I have finally achieved my goal.
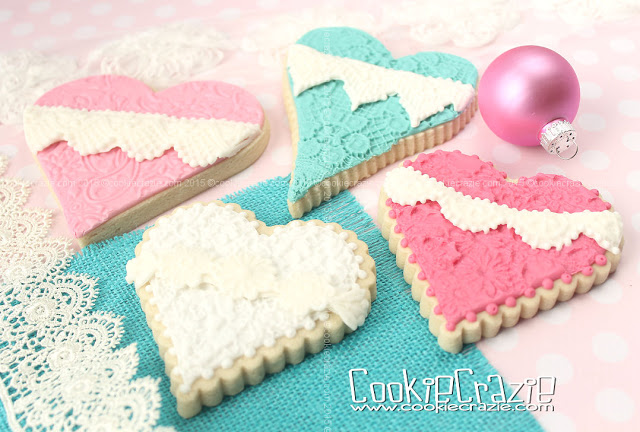
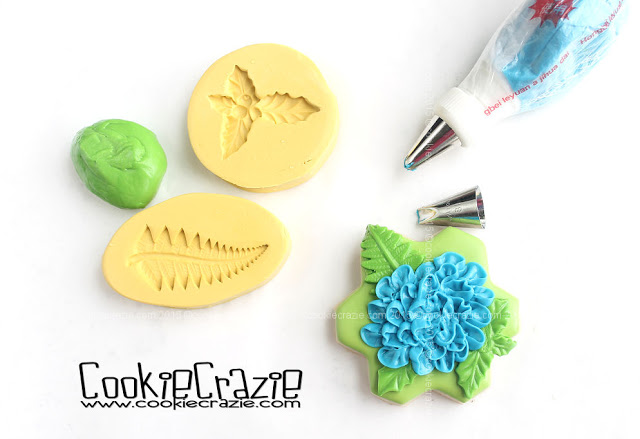
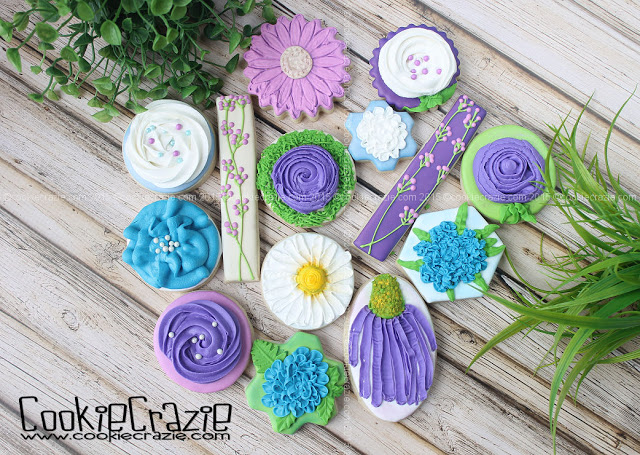
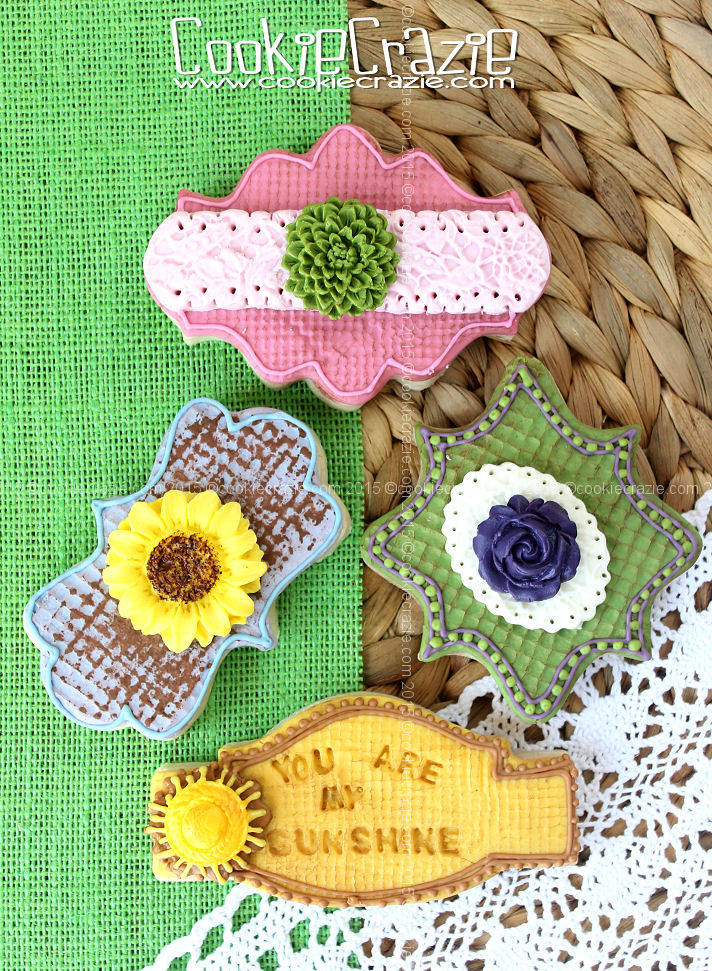
Here's some of the lace molds I used on this post's heart cookies.
- Latticed Bordered Lace-Silicone Mold
- Thin Lace Border- Silicone Mold
- Scalloped Border Lace-Silicone Mold
- Flower Lace Silicone Mold
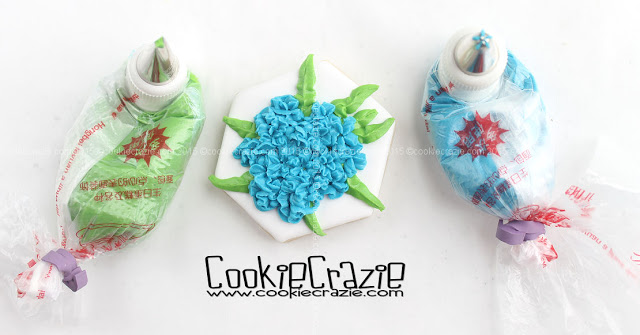
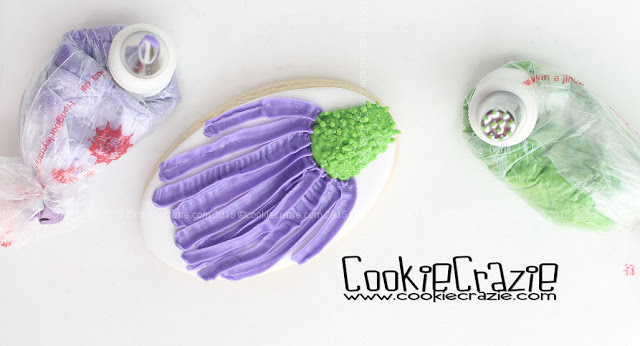
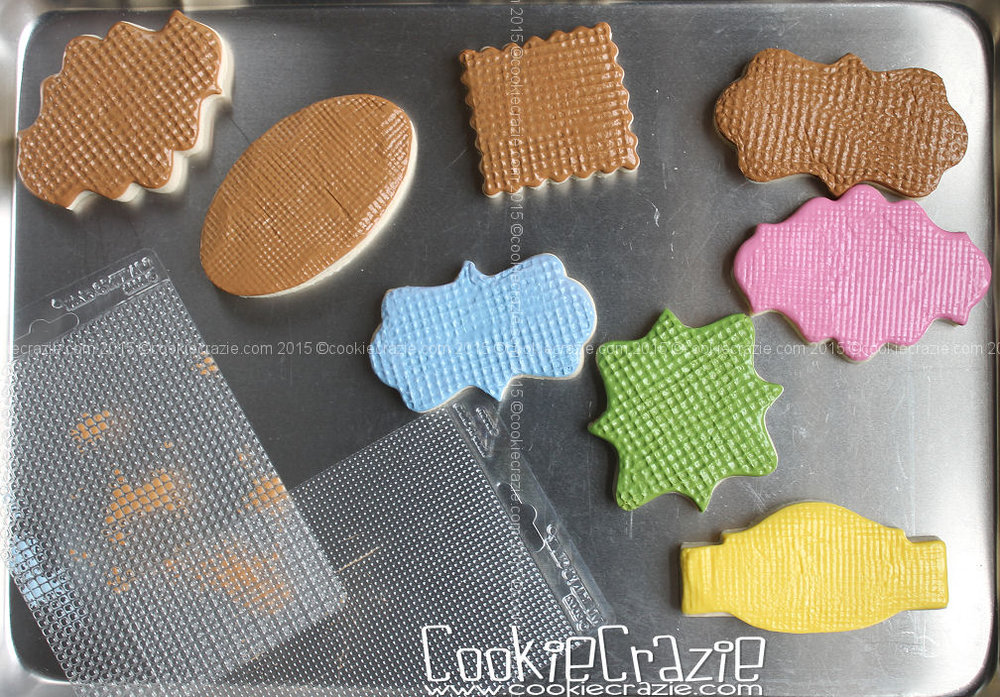
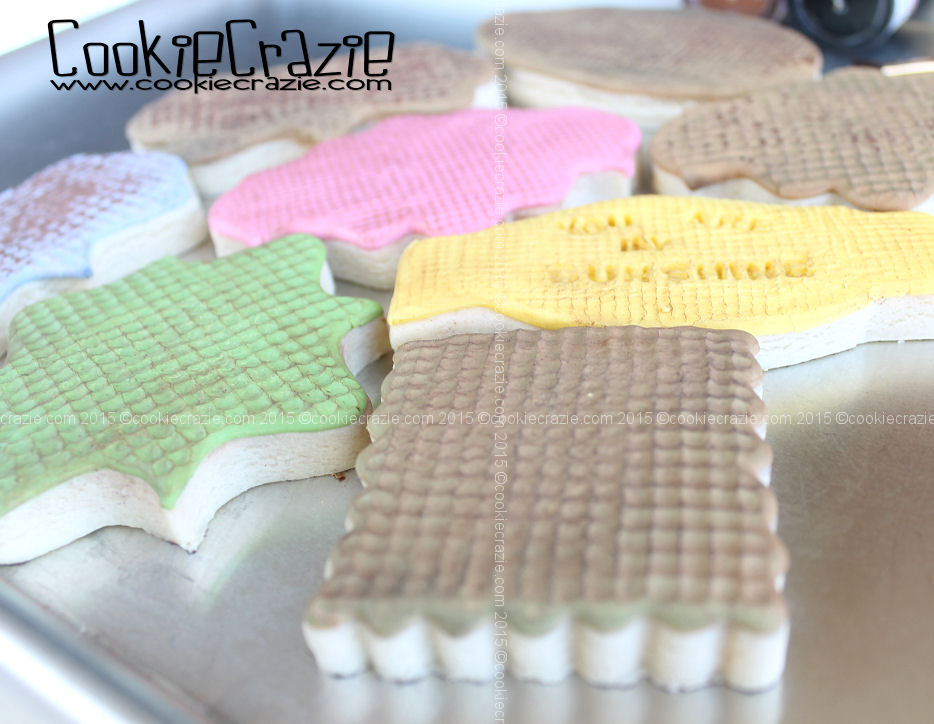
Outline and flood the base of the cookie.
(For these cookies, I added texture after they dried for 4 hours, but plain ones would work well too.)
Allow the flooded cookies to dry overnight.
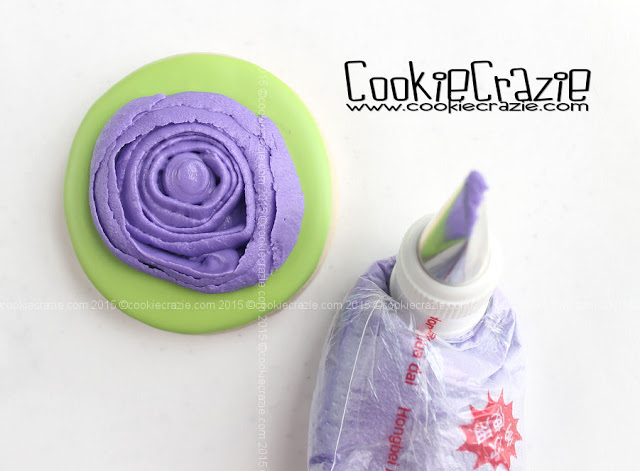
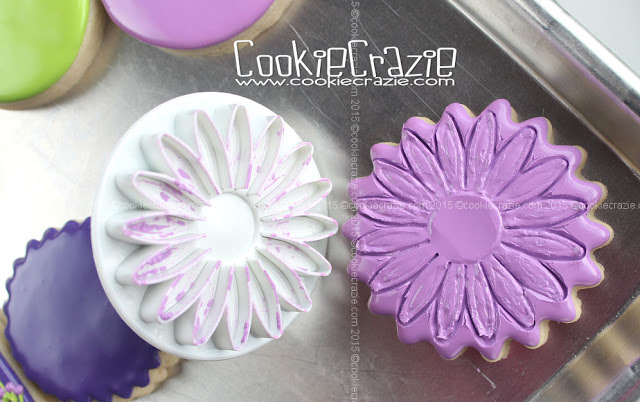
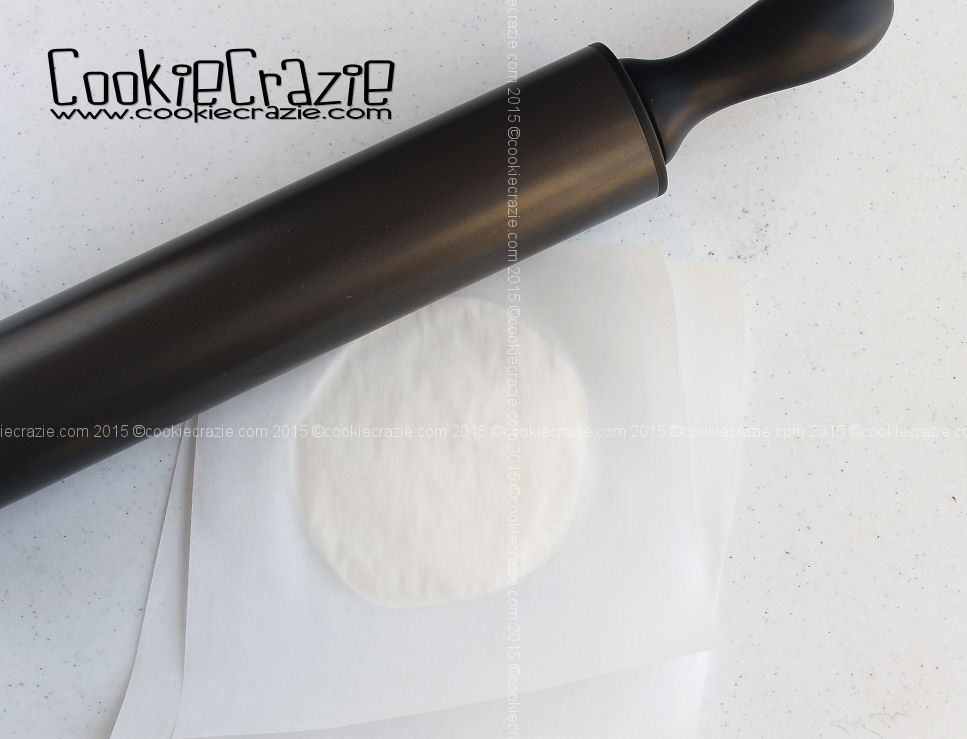
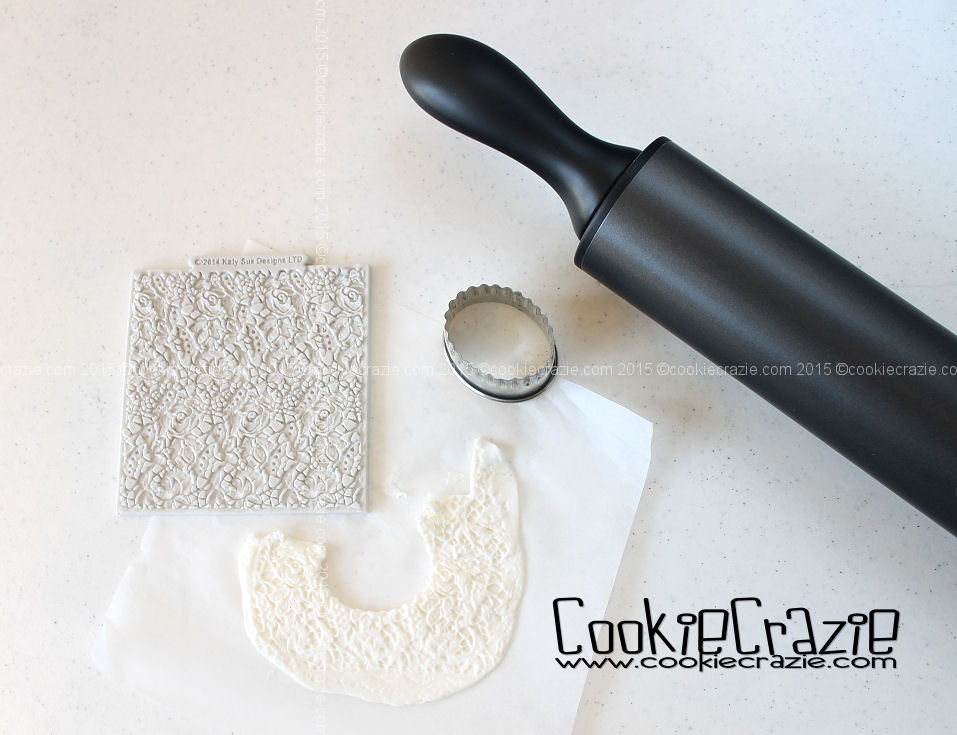
Mold the edible clay in the lace mold and freeze for at least 1 hour.
Carefully peel the clay out of the mold.
Work quickly because as the clay warms up it will lose it's shape if handled too much.
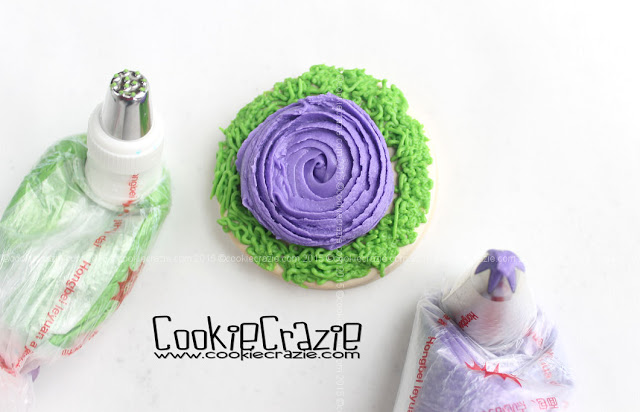
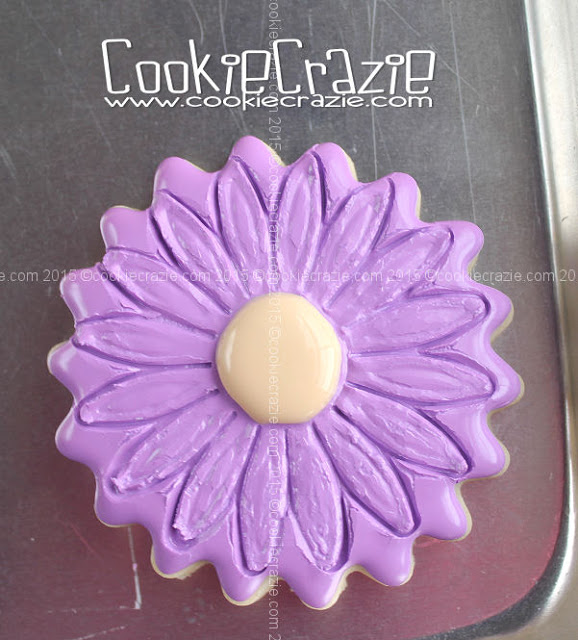
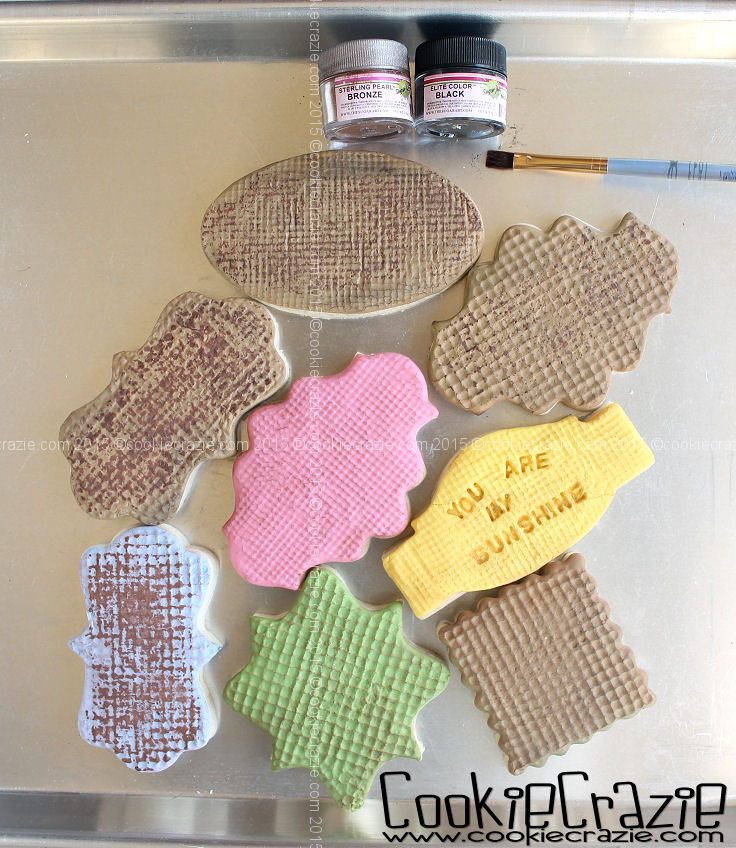
Lay the lace clay across the cookie and trim the sides off.

A beautiful lacy cookie without too much fuss.....
2016
Valentines
Cookie
Collection
Gold Embossed Valentines Cookies (Tutorial)
Gold Red Teal Valentines Cookie Collection
Pink & Aqua Texture Mat Heart Cookies (Tutorial)
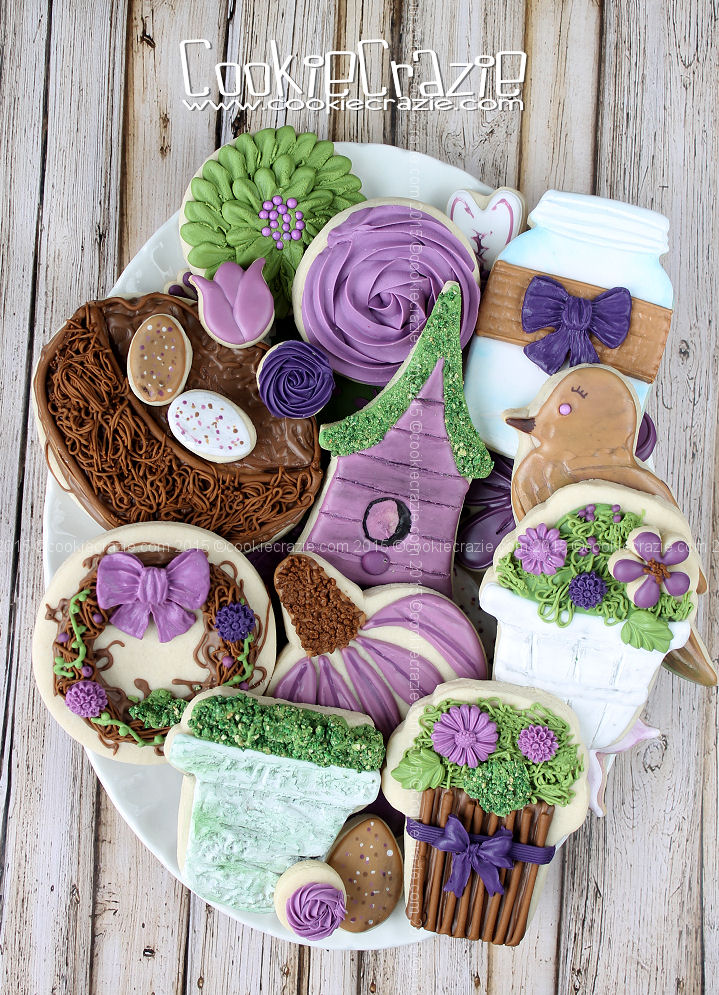
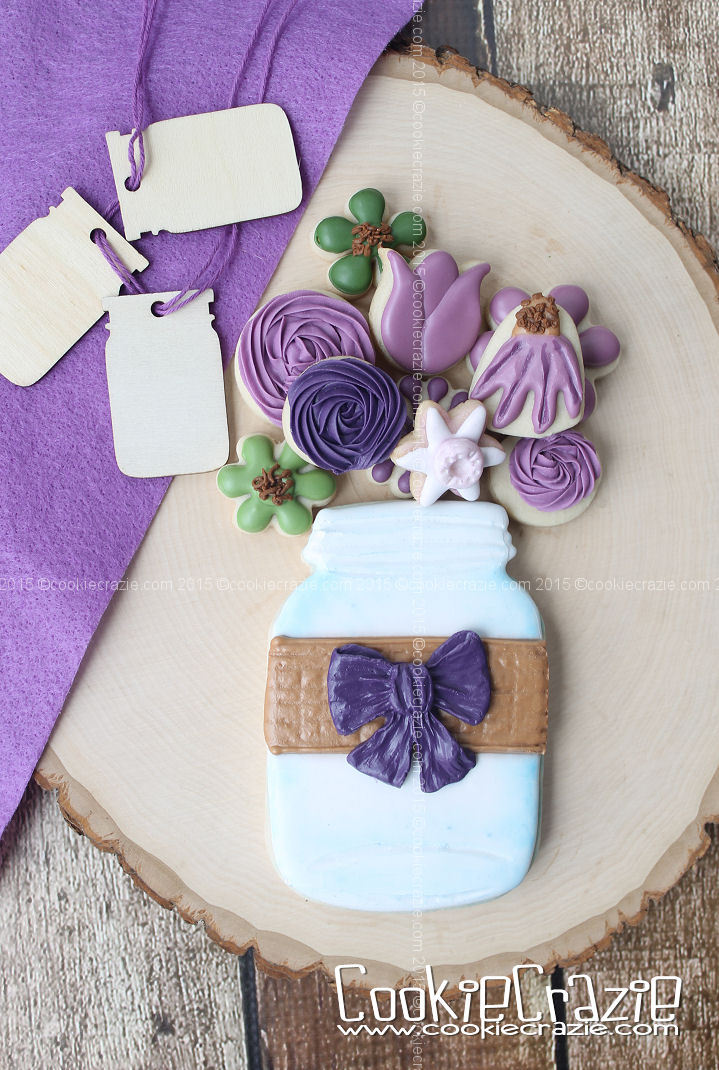
Mason Jar Cookies Filled with Love (Tutorial)
Edible Clay Lace Valentine Heart Cookies (Tutorial)


