
Icing ruffles have intrigued me for years.....but I could never do them with glaze.
Now using edible clay, I can!
Expect to see lots of icing ruffles in the coming days. ;)
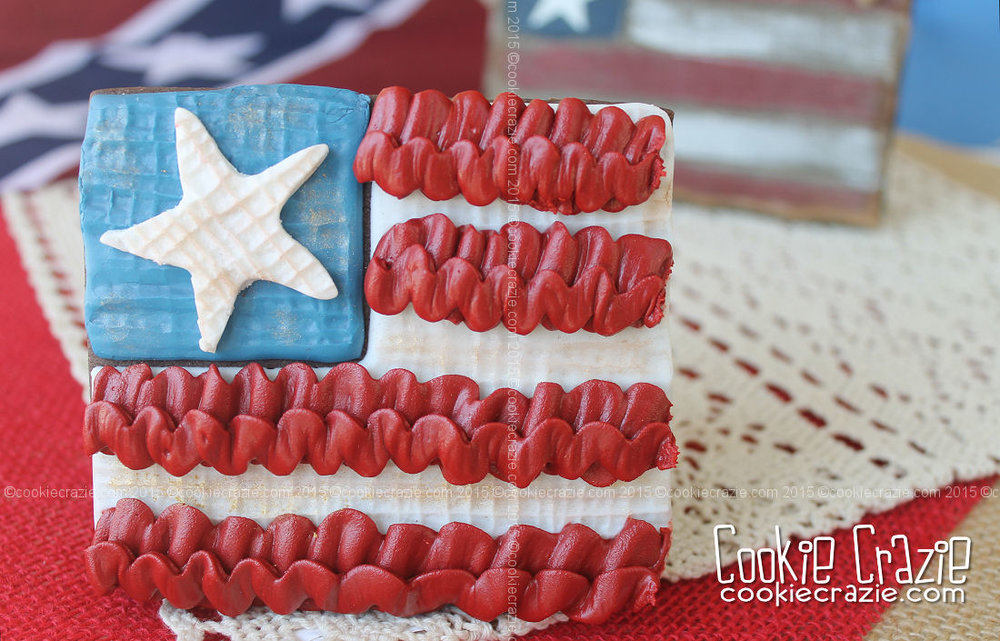
I tried out lots of new things with this cute shabby chic flag cookie.
The new burlap texture mat worked perfectly for adding the background textures.
And the edible clay ruffles added just the right amount of dimension to make this flag pop. :)
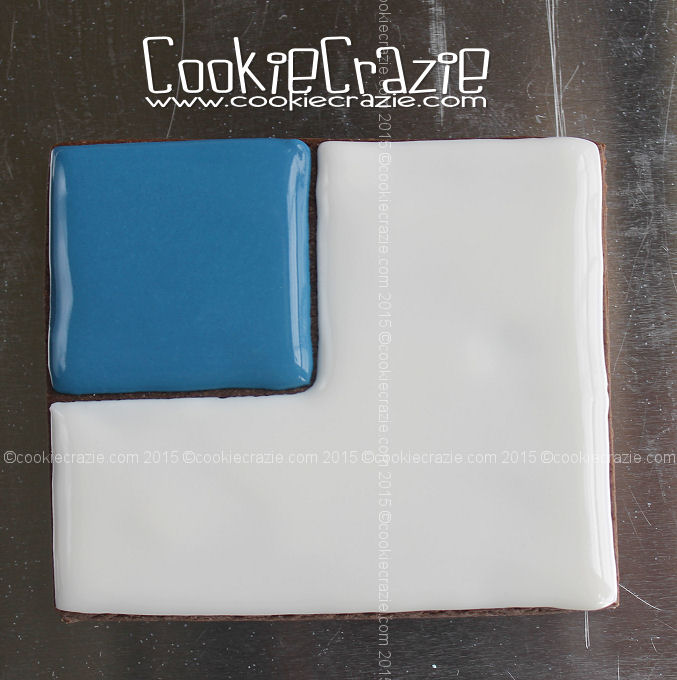
Using a square cookie, outline and flood navy glaze over the left top corner of the cookie
and white glaze over the rest of the flag.
(see photo below)
Allow the glaze to dry for approximately 4 hours and then apply the silicone texture mat.
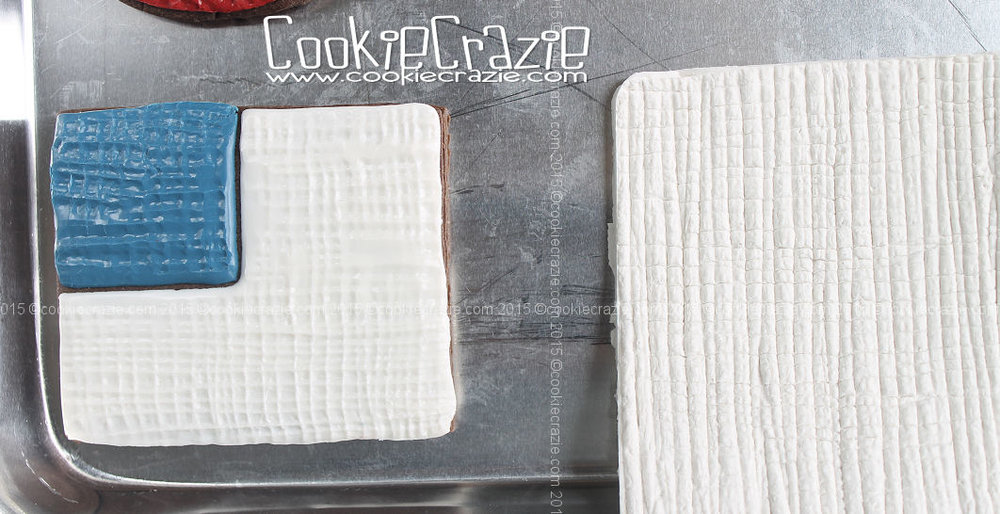
Dry cookie overnight.
Mold a thin layer of edible clay to the burlap texture mat and freeze for at least 30 minutes.
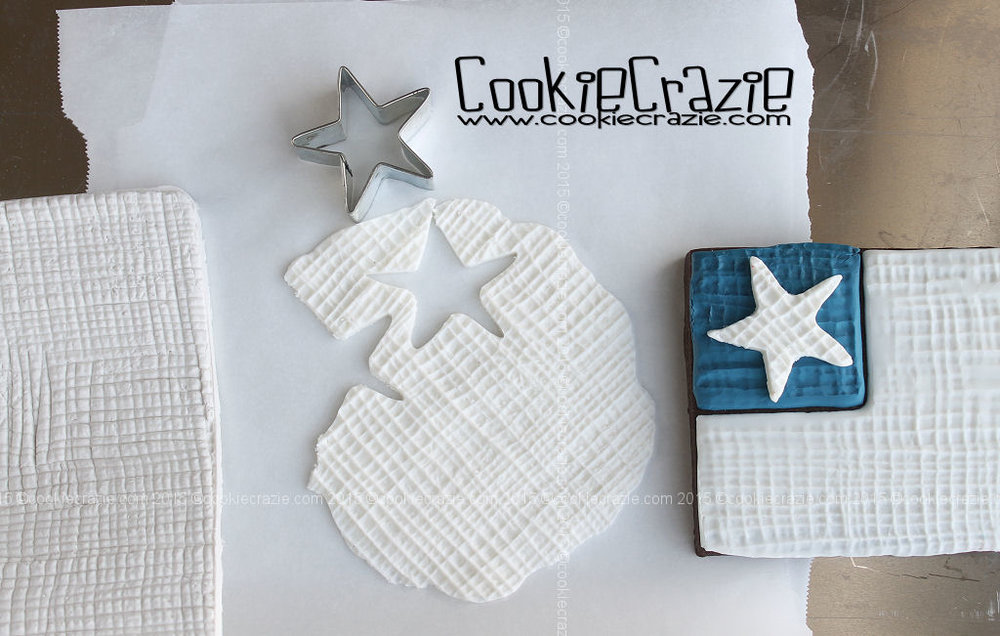
Carefully peel the clay back from the mold and cut out a star to fit over the blue square of the cookie.
(see photo below)
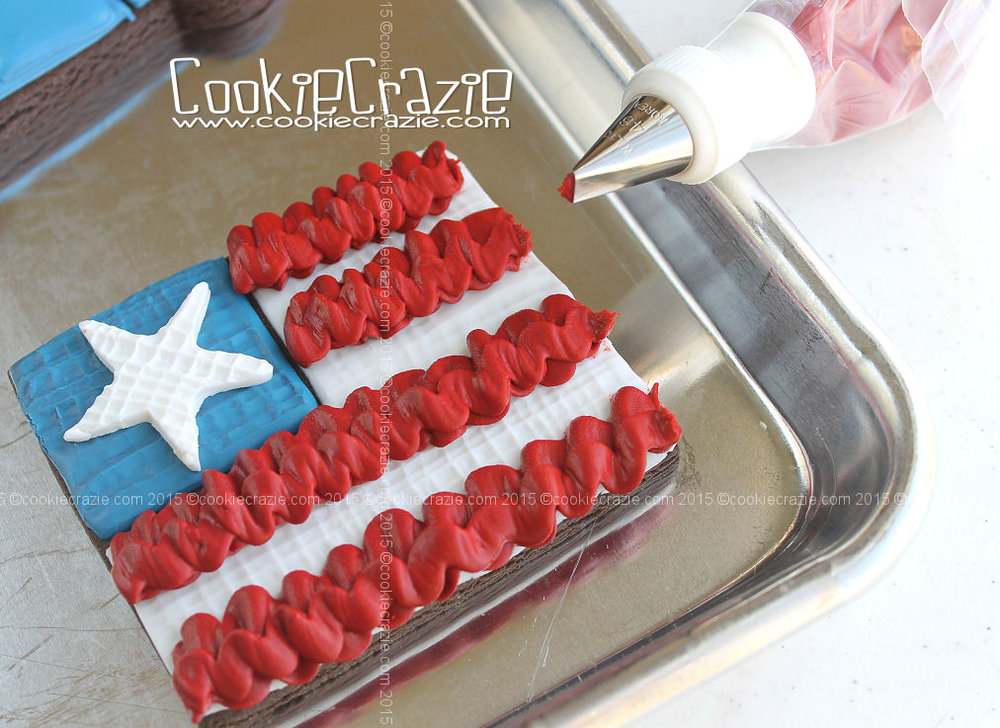
Add a tiny amount of water to some red edible clay to make it pipe-able.
With a #46 basketweave tip (flat side up) make ruffle stripes across the white portion of the cookie.
(see photo below)
Independence Day 2015 Cookie Collection