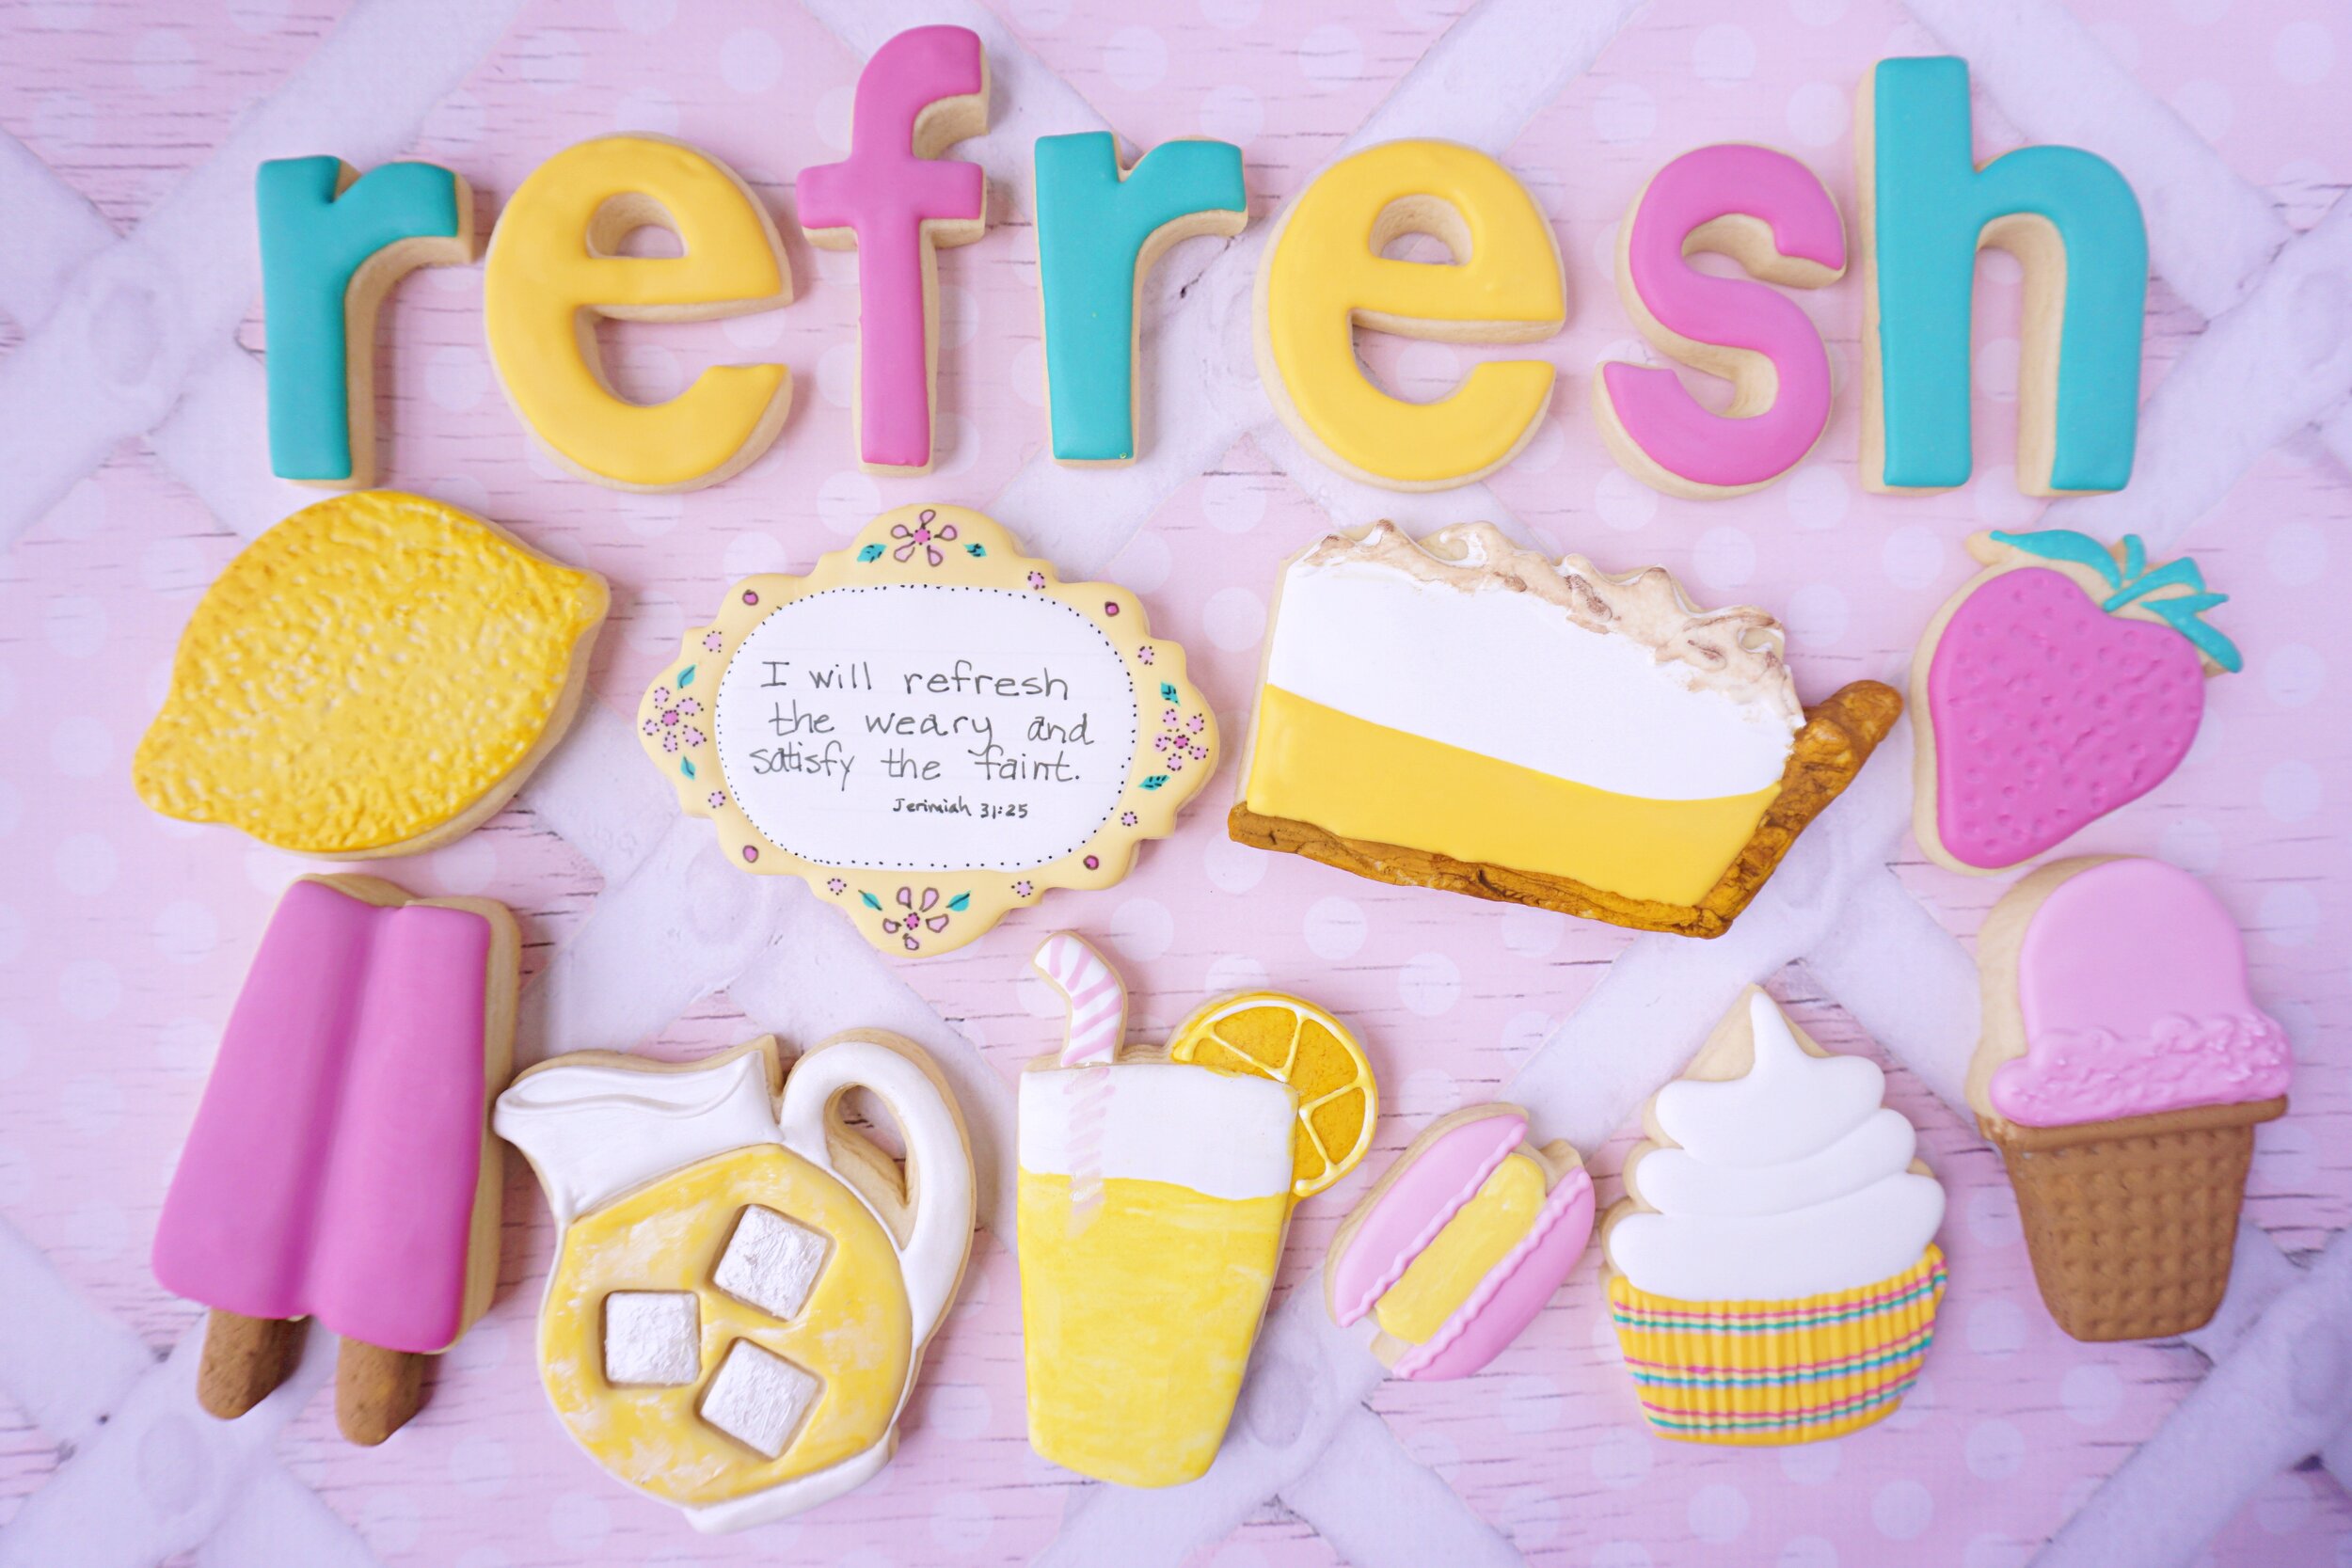
OK…..let’s discuss one of the best parts of summer. FRUIT! haha
Since last August, I’ve been eating a plant-based diet, and FRUIT, by far, is the most delicious of all the plant foods. :)
Summer brings out the best in fruit. Most everything is in season…..and SCRUMPTIOUS.
Here’s to diving into all that fruit-y deliciousness!
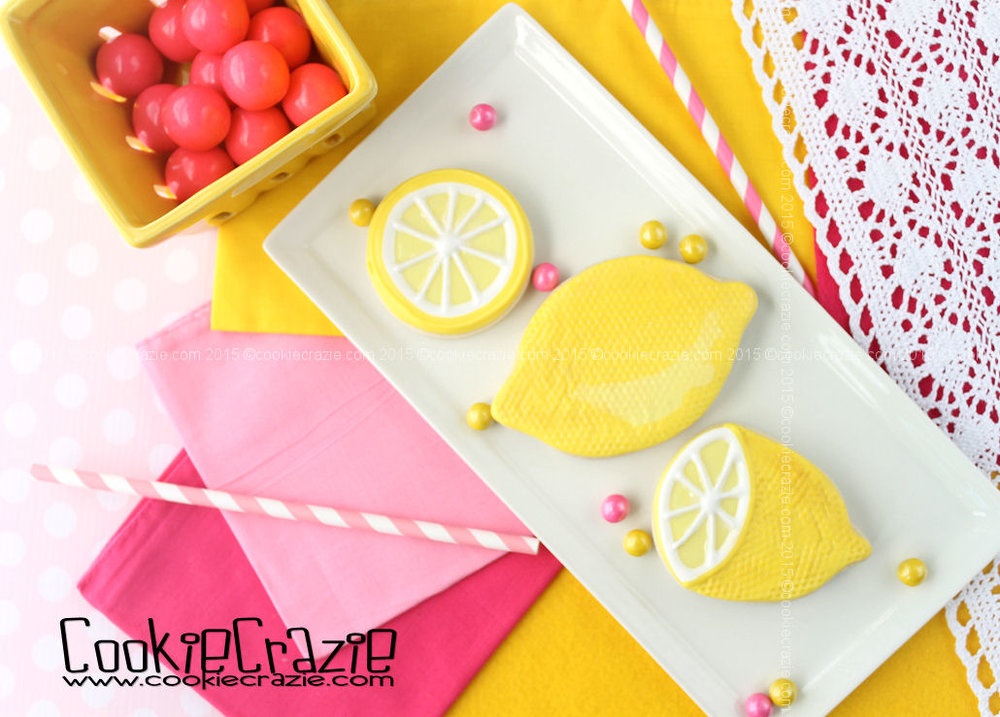
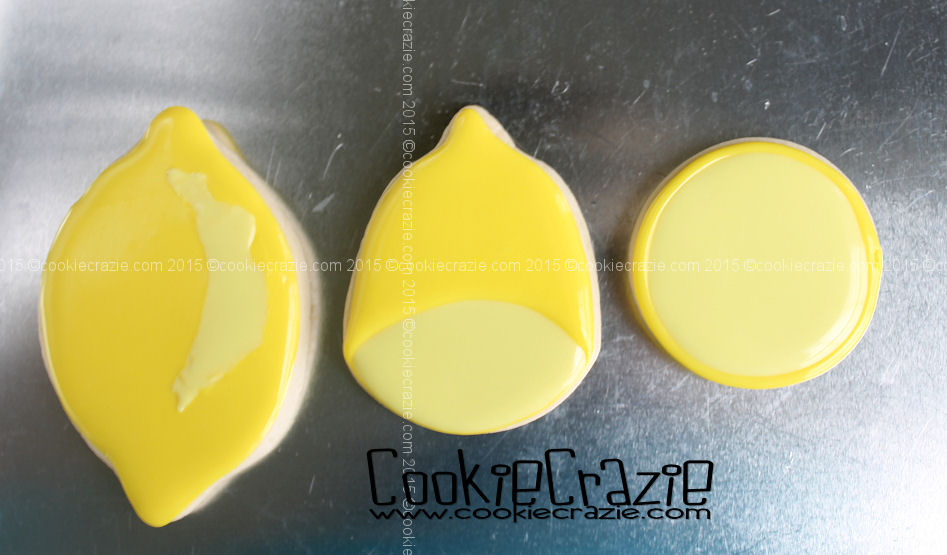
🍒🍋🍉🍑🍓🍐🍇🍍🍏
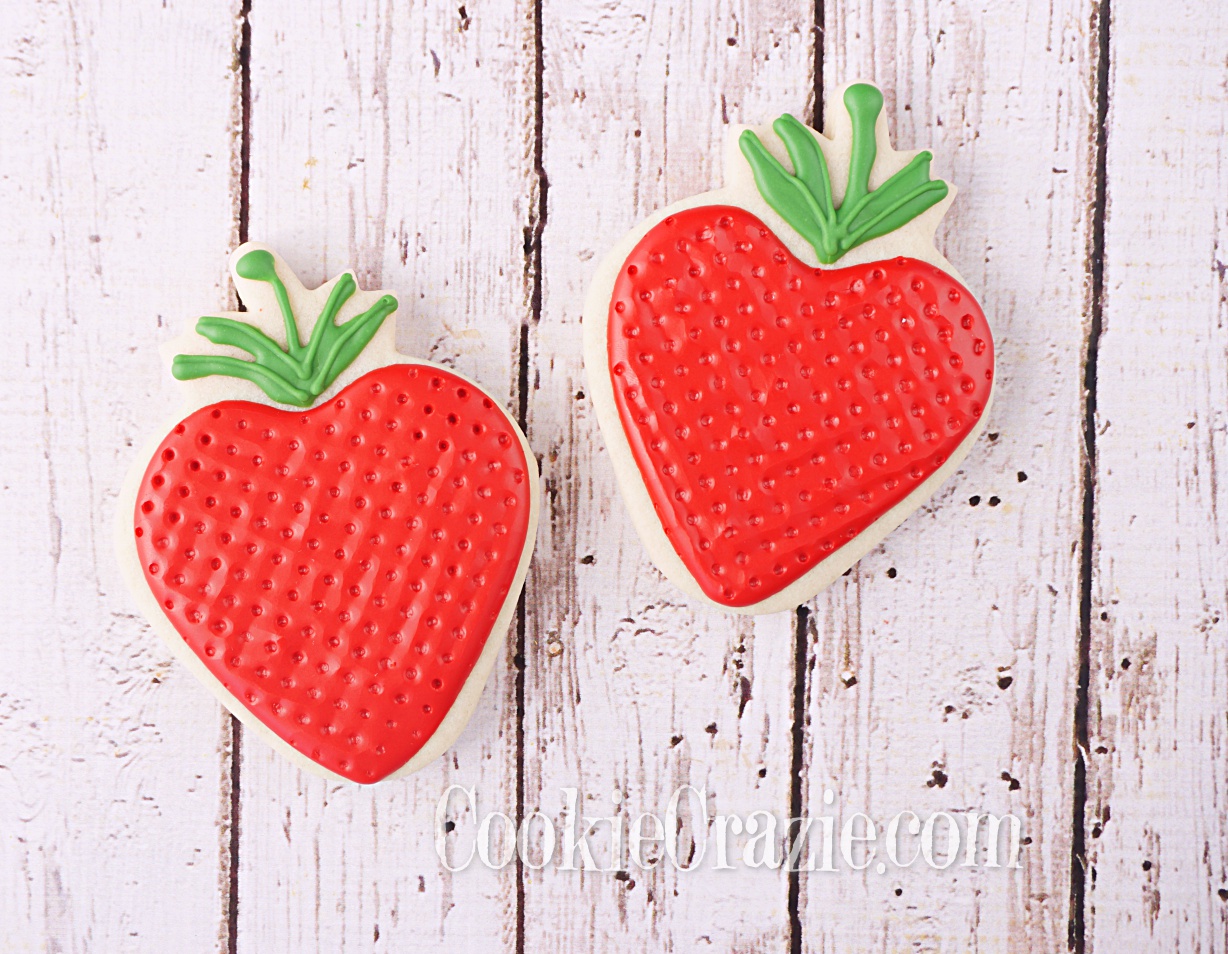
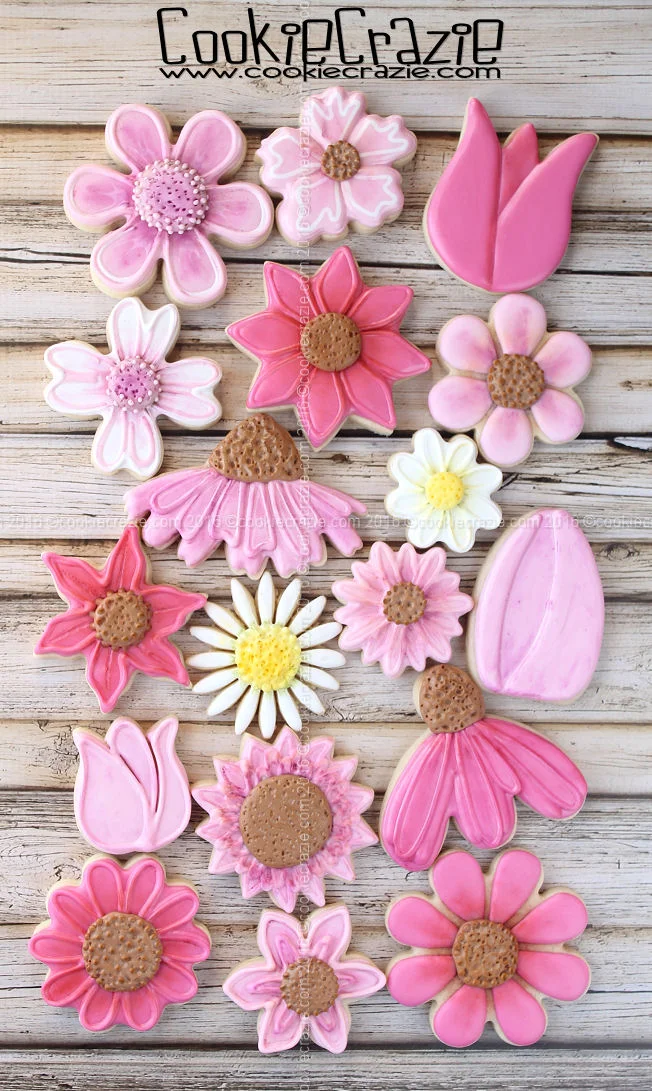
Strawberry Decorated Sugar Cookie YouTube video HERE
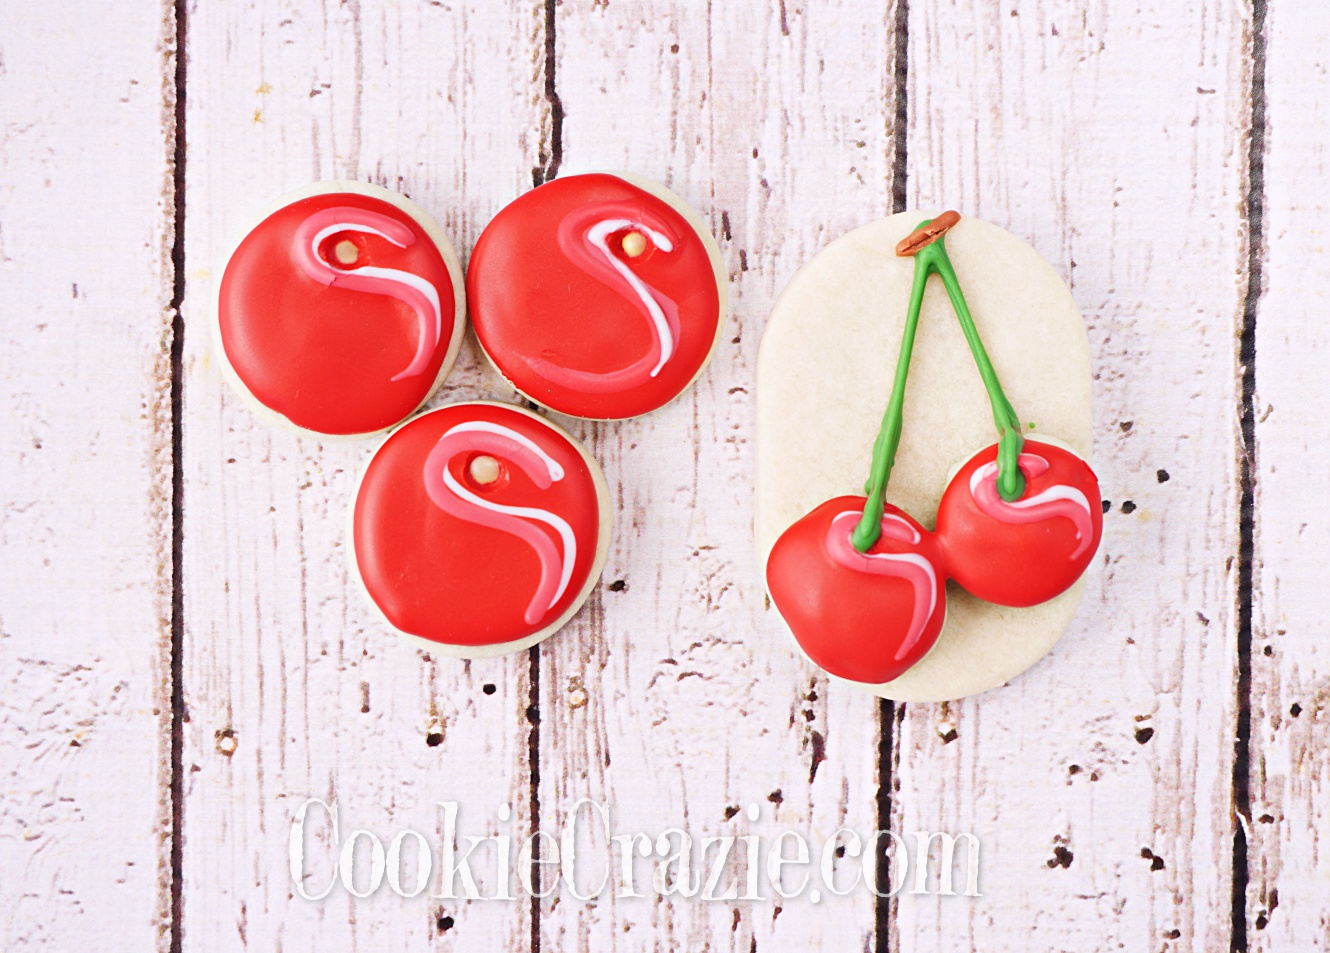
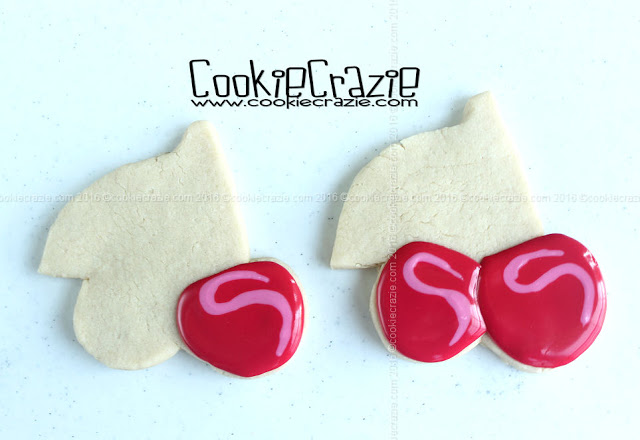
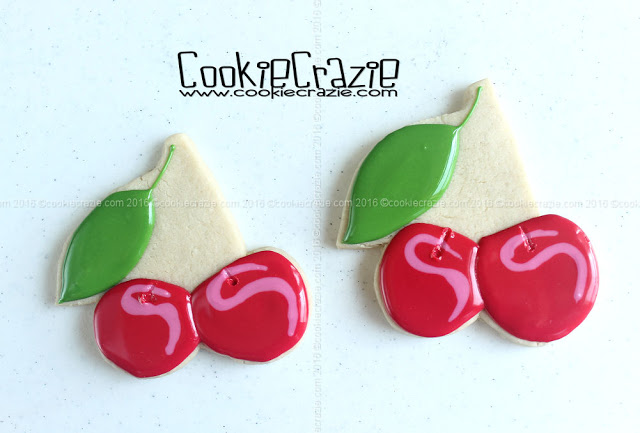
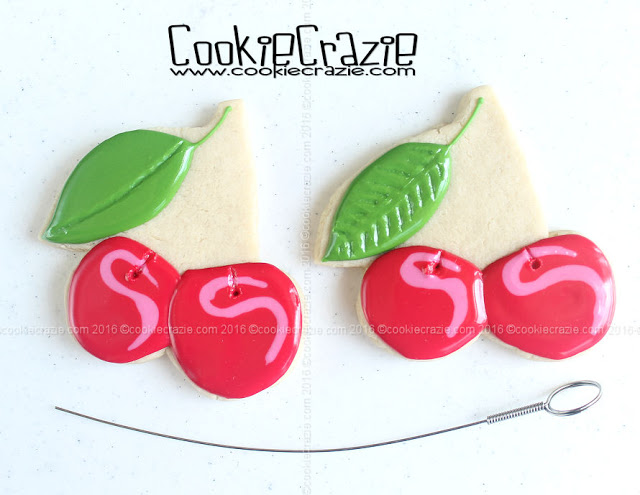
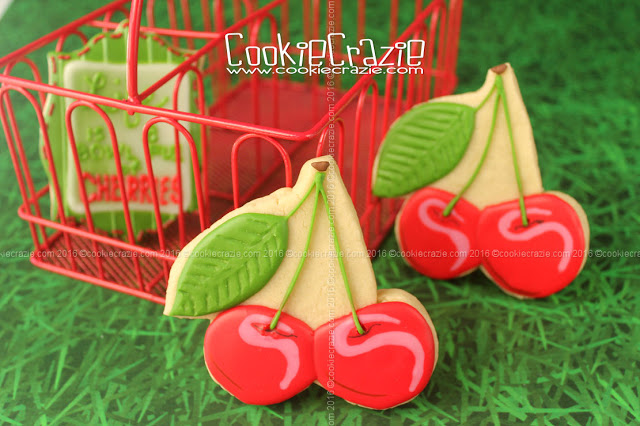
Cherries Decorated Sugar Cookies YouTube video HERE
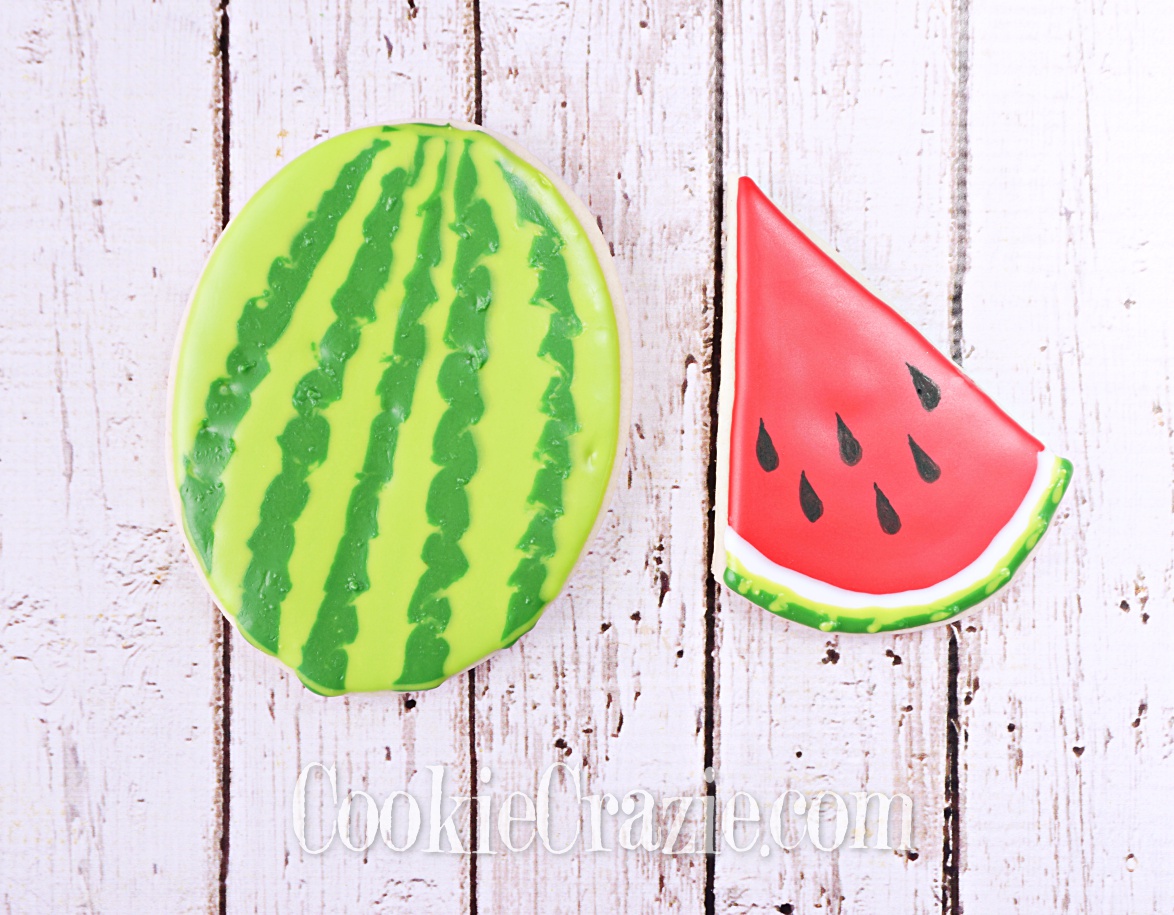
Watermelon Decorated Sugar Cookie YouTube video HERE

Orange Decorated Sugar Cookies YouTube video HERE
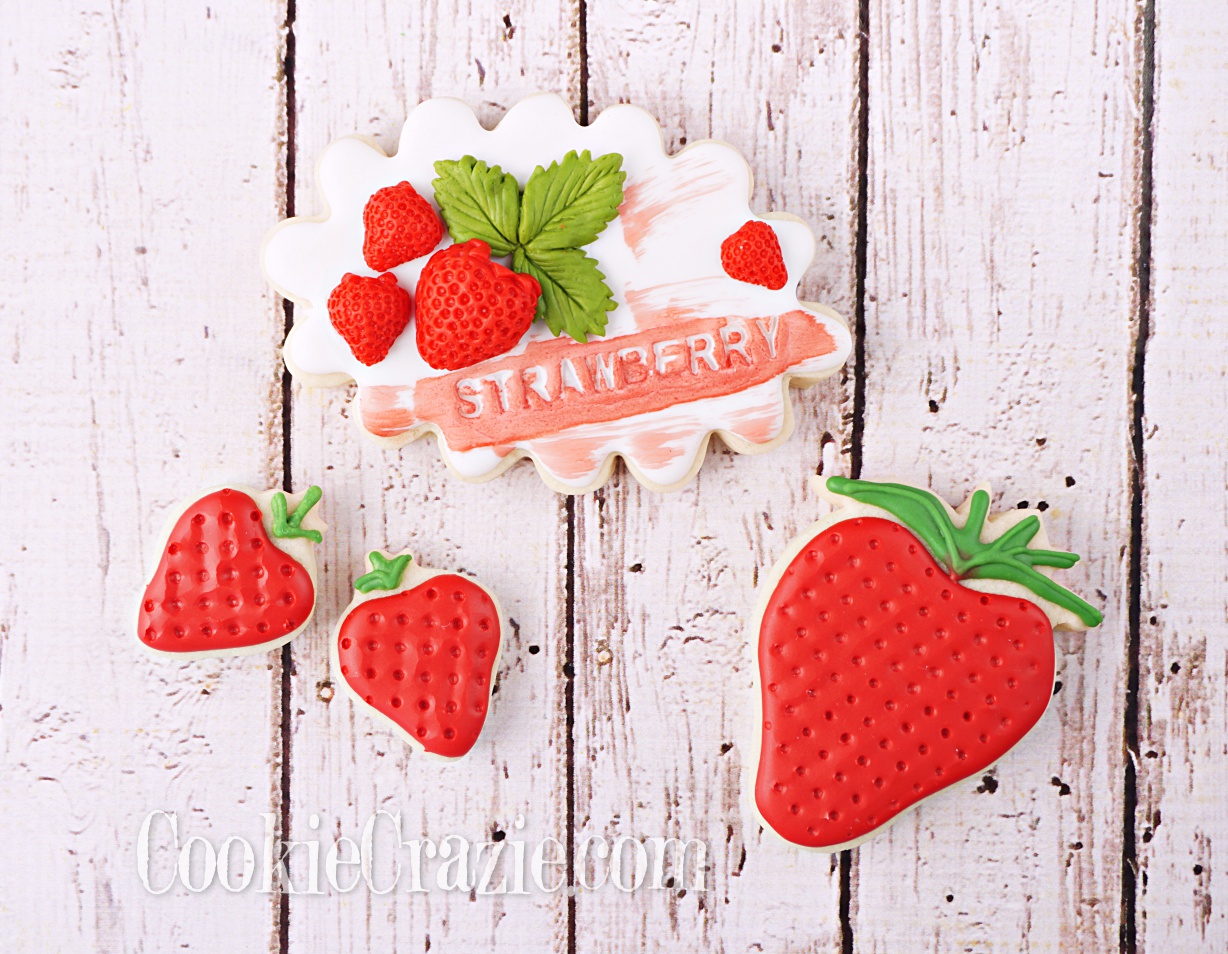
Strawberry Plaque Decorated Sugar Cookie YouTube video HERE

Kiwi Decorated Sugar Cookie YouTube video HERE
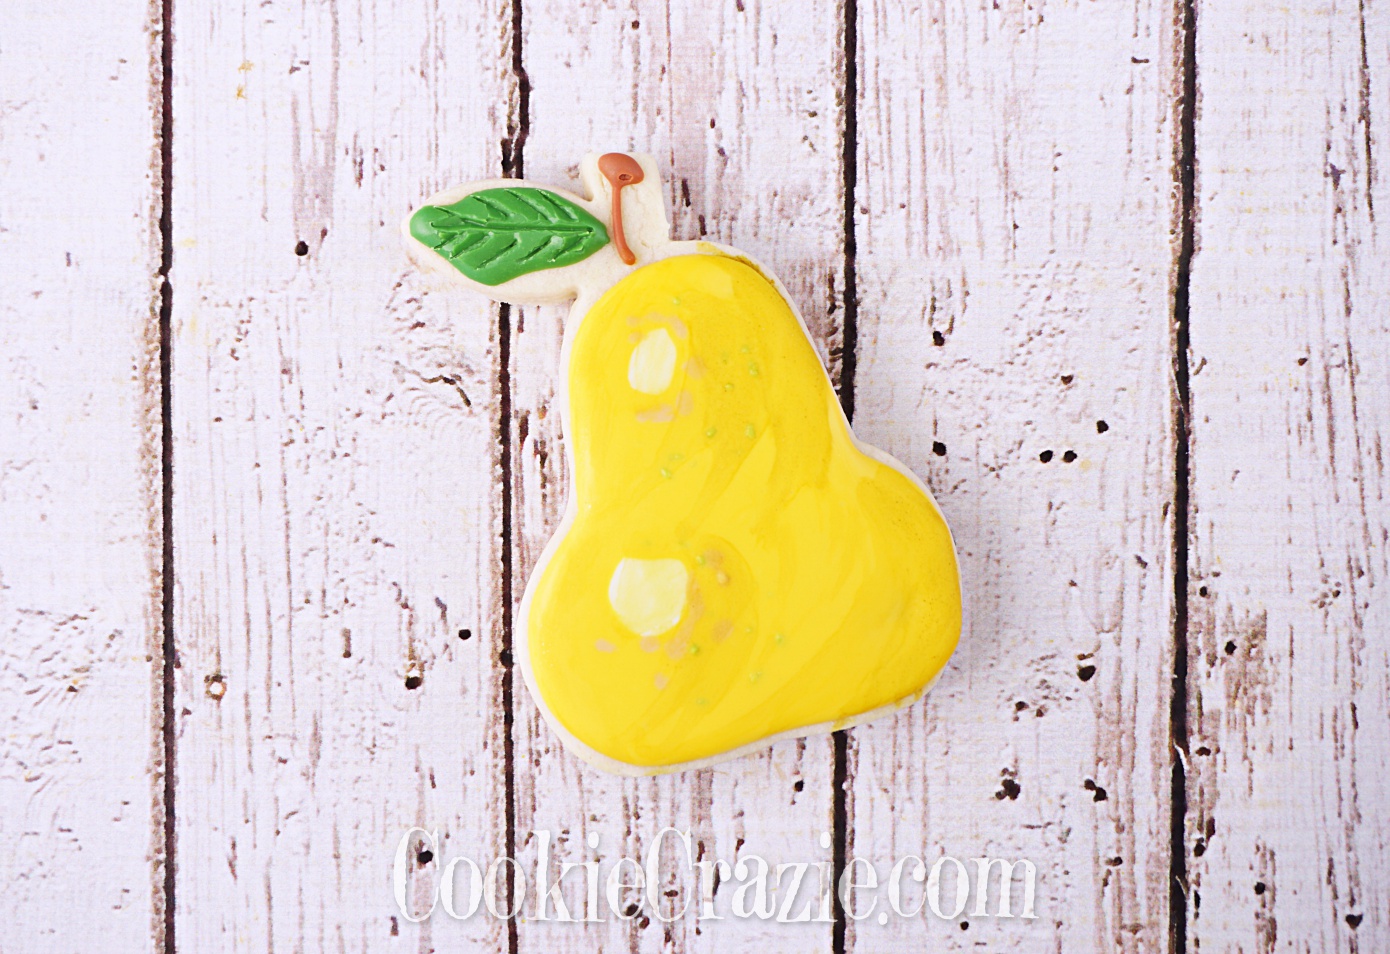
Pear Decorated Sugar Cookie YouTube video HERE
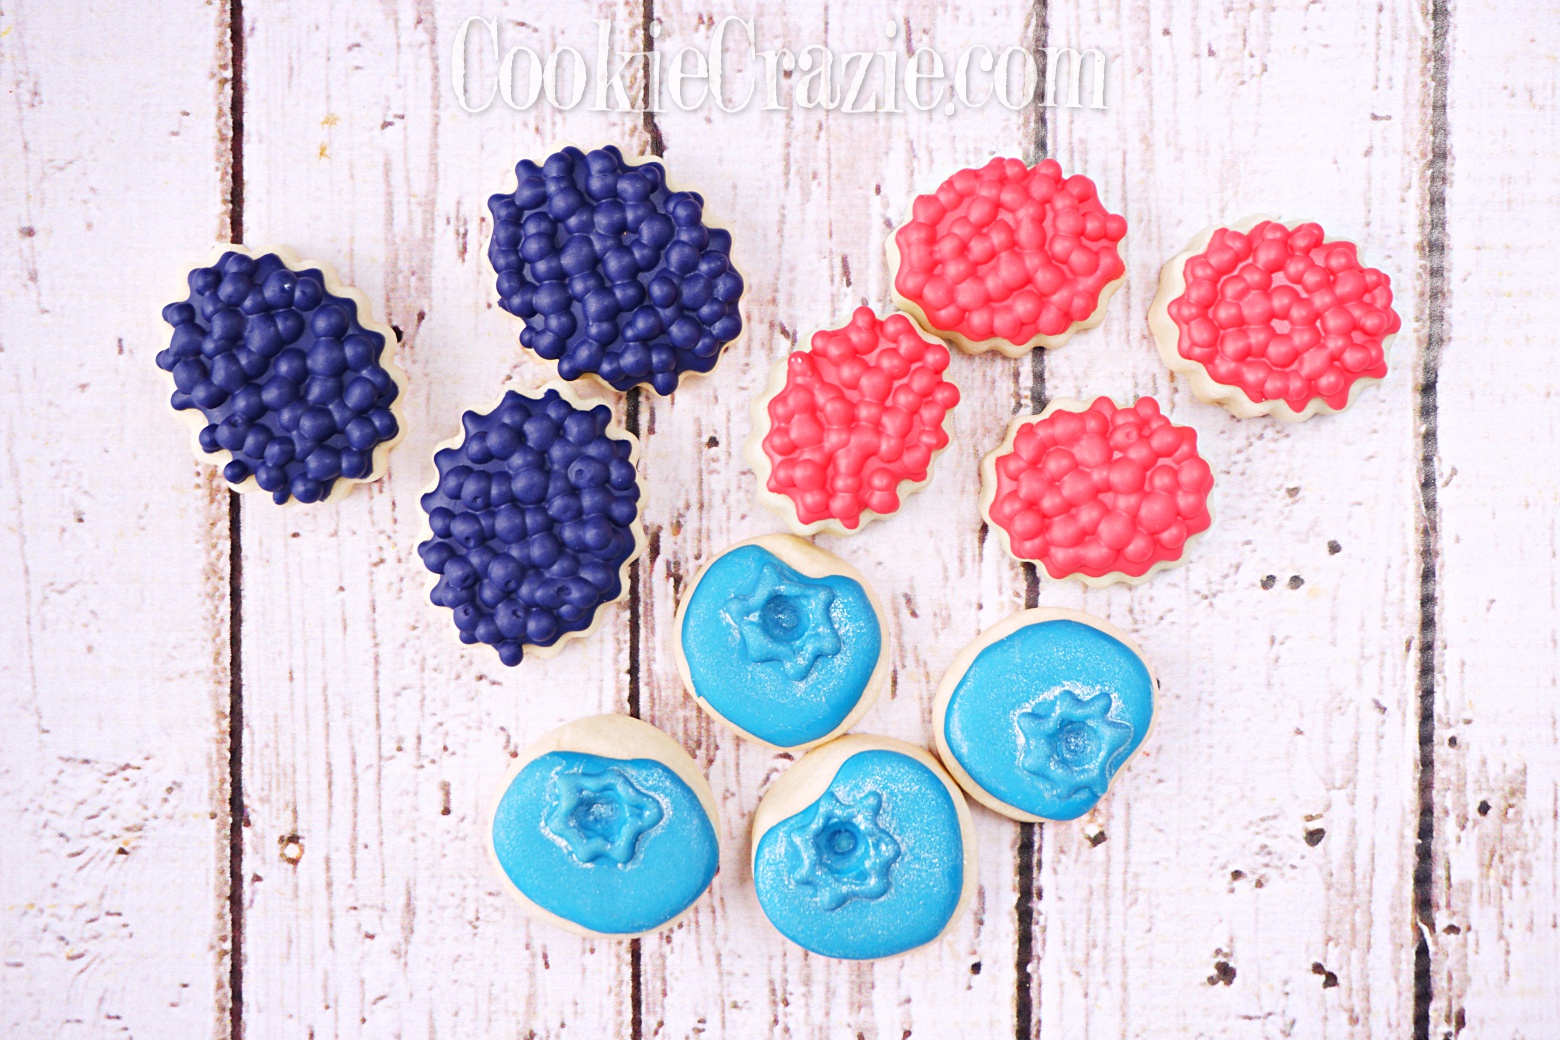
Blackberry, Blueberry, & Raspberry Decorated Sugar Cookies YouTube video HERE
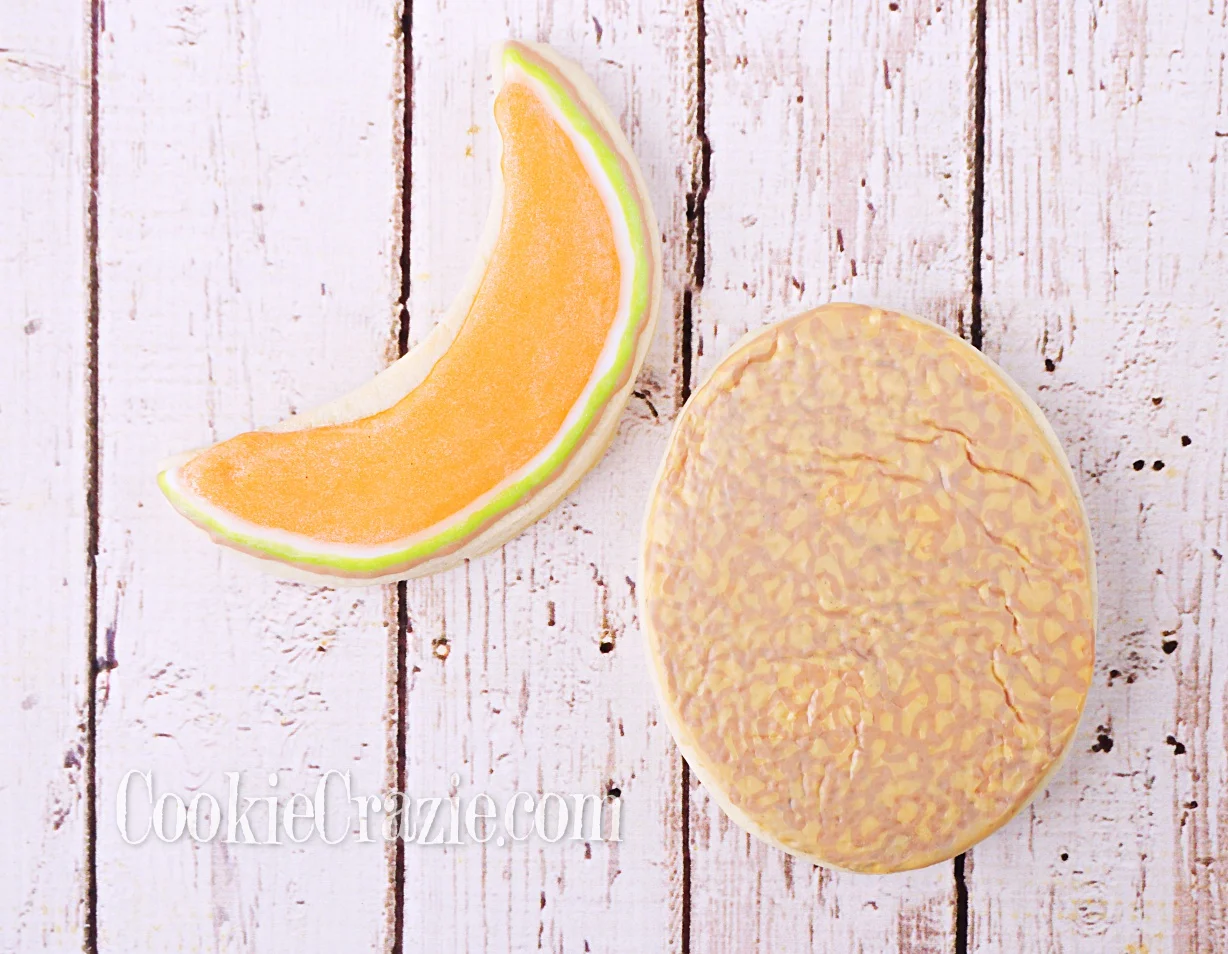
Canteloupe Decorated Sugar Cookie YouTube video HERE
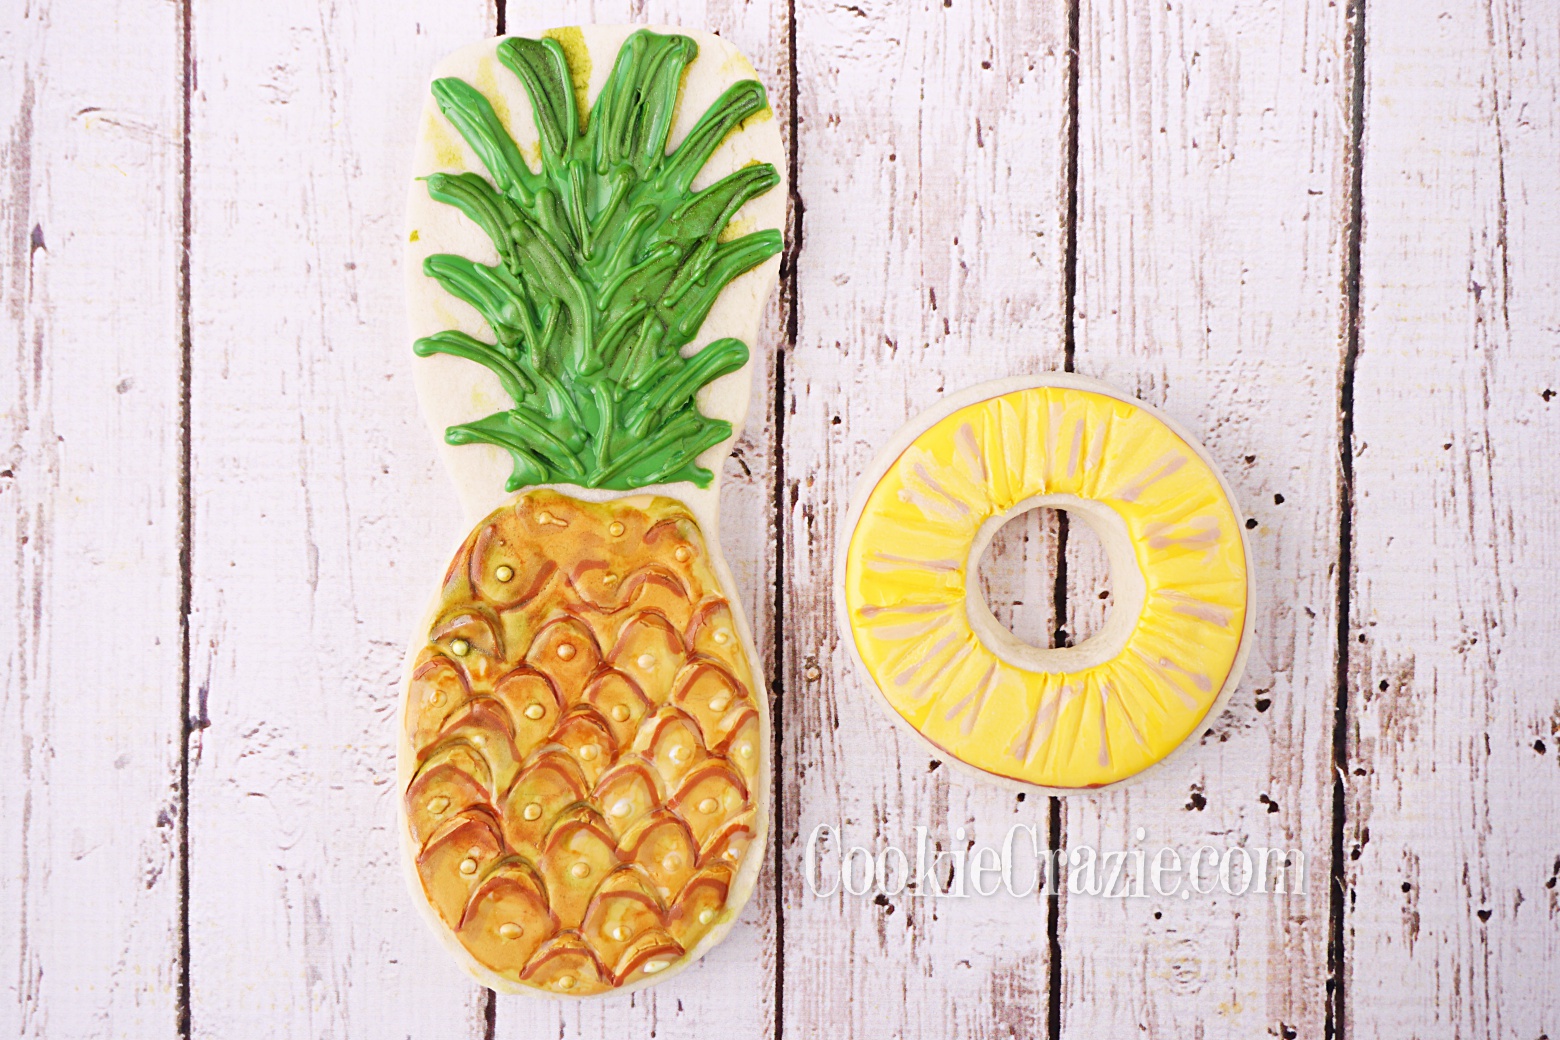
Pineapple Decorated Sugar Cookie YouTube video HERE