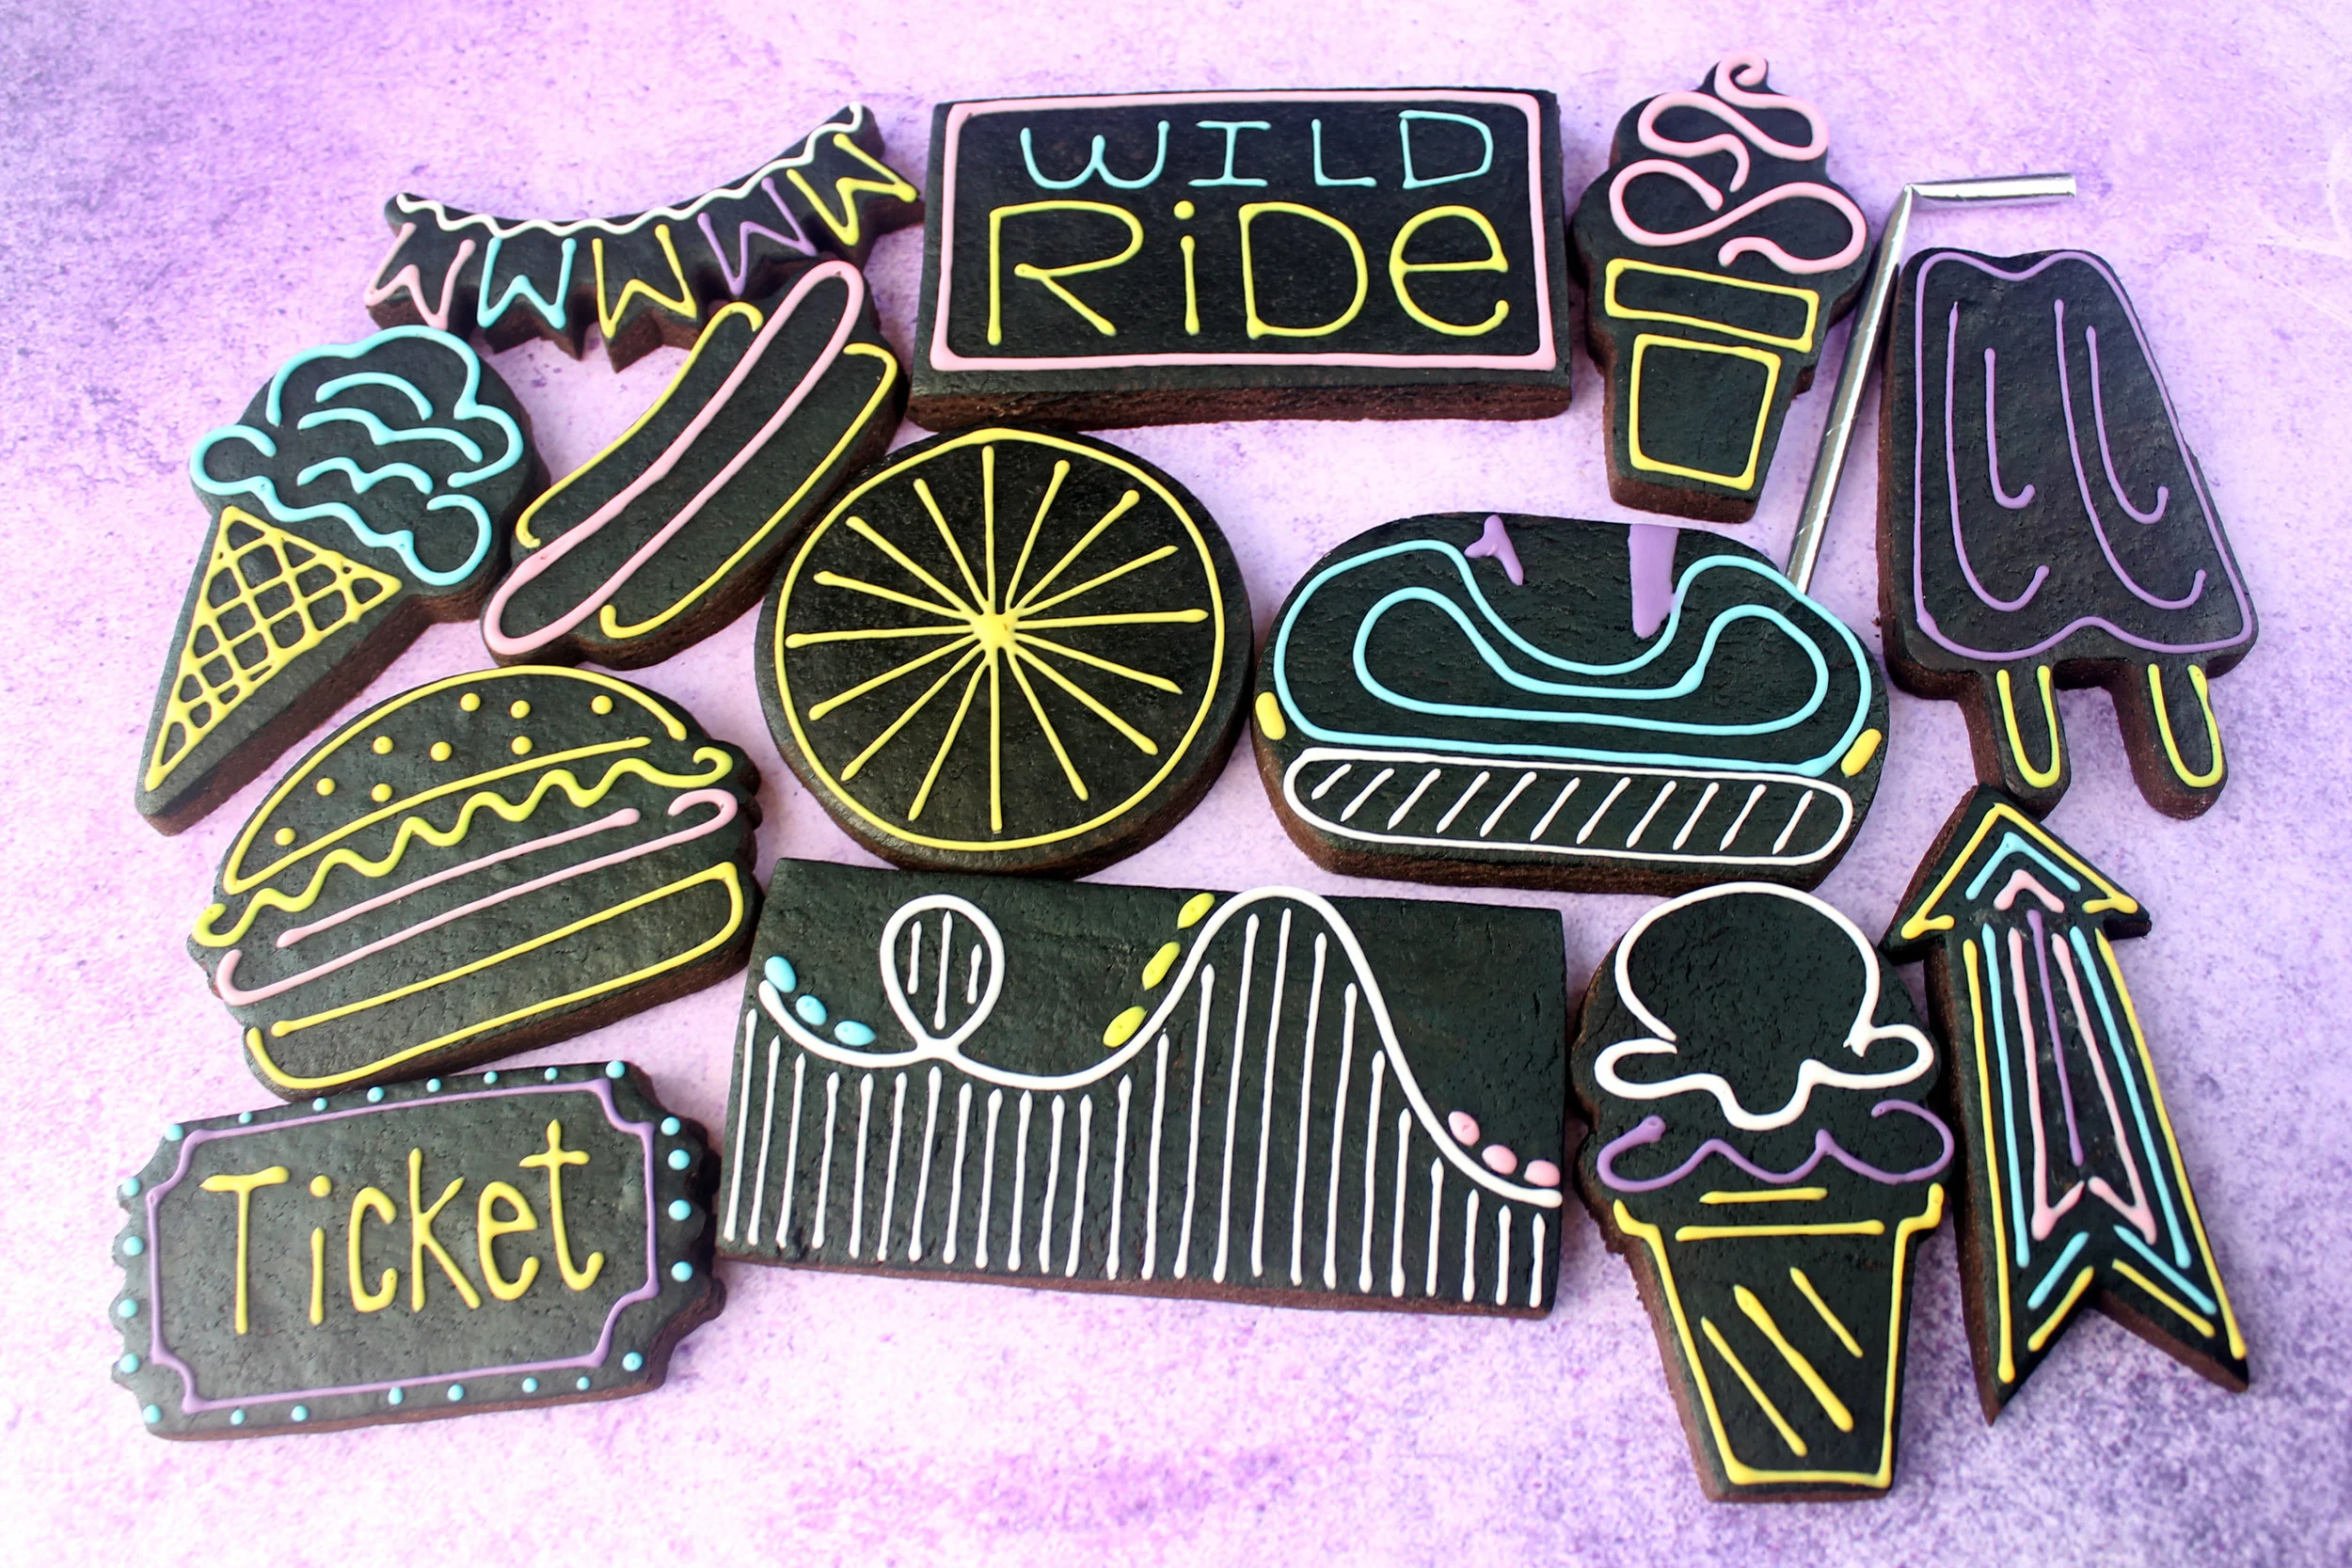
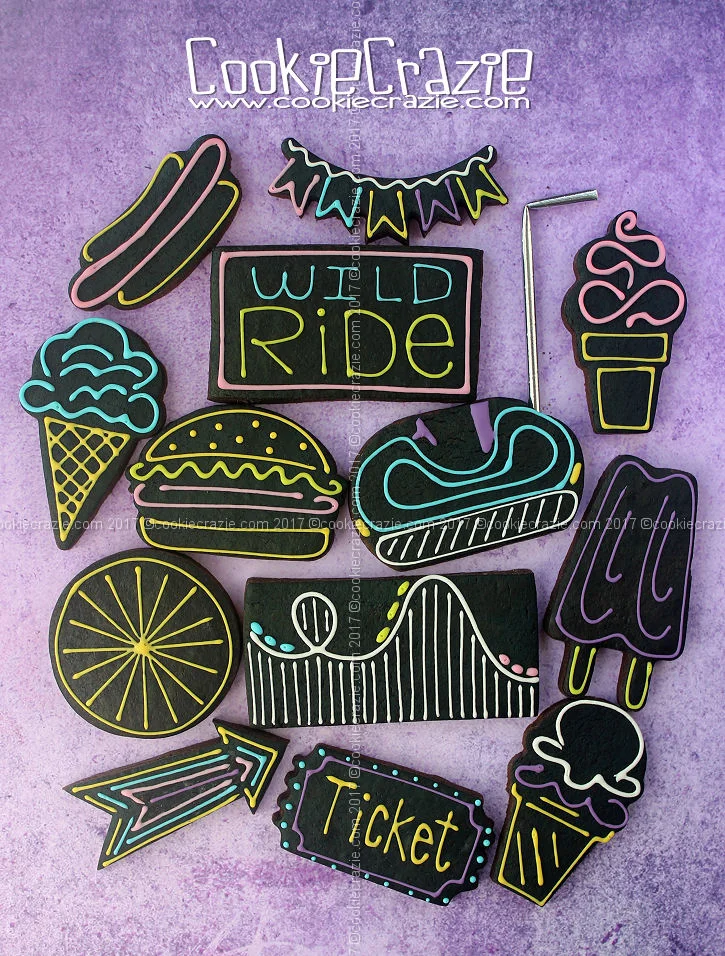
We are deep into summer and what better cookies to depict the fun and action of the season but an amusement park theme.
When planning this set, I tried my best to add all the things that bring back the most memories experiencing the best in all those parks. :)
Enjoy your Summer everyone!


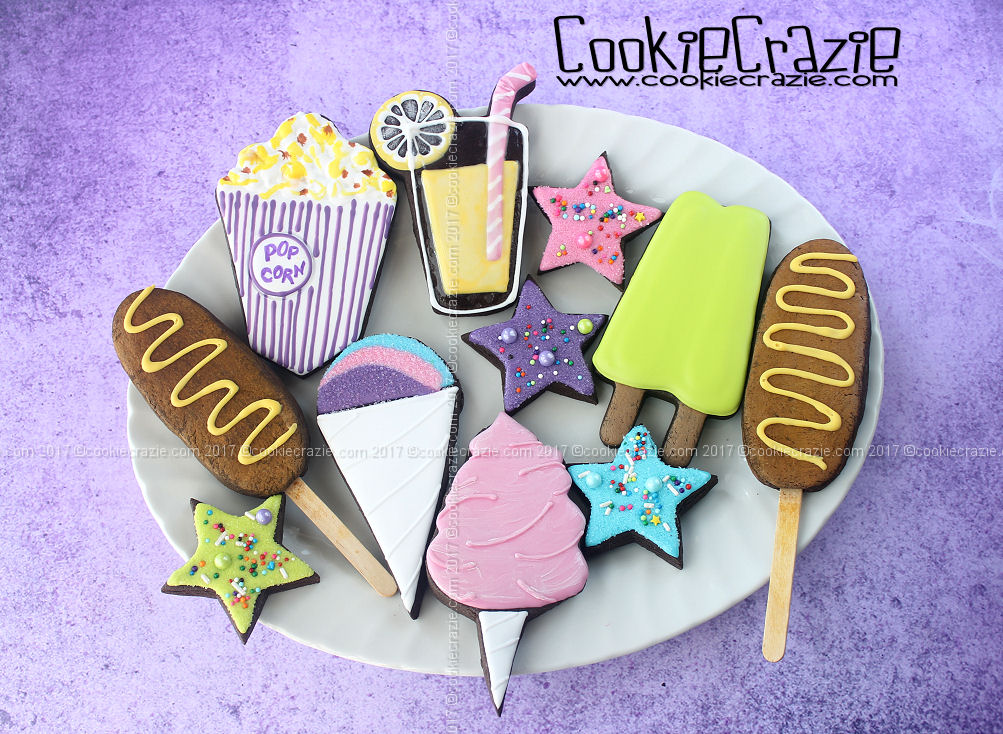
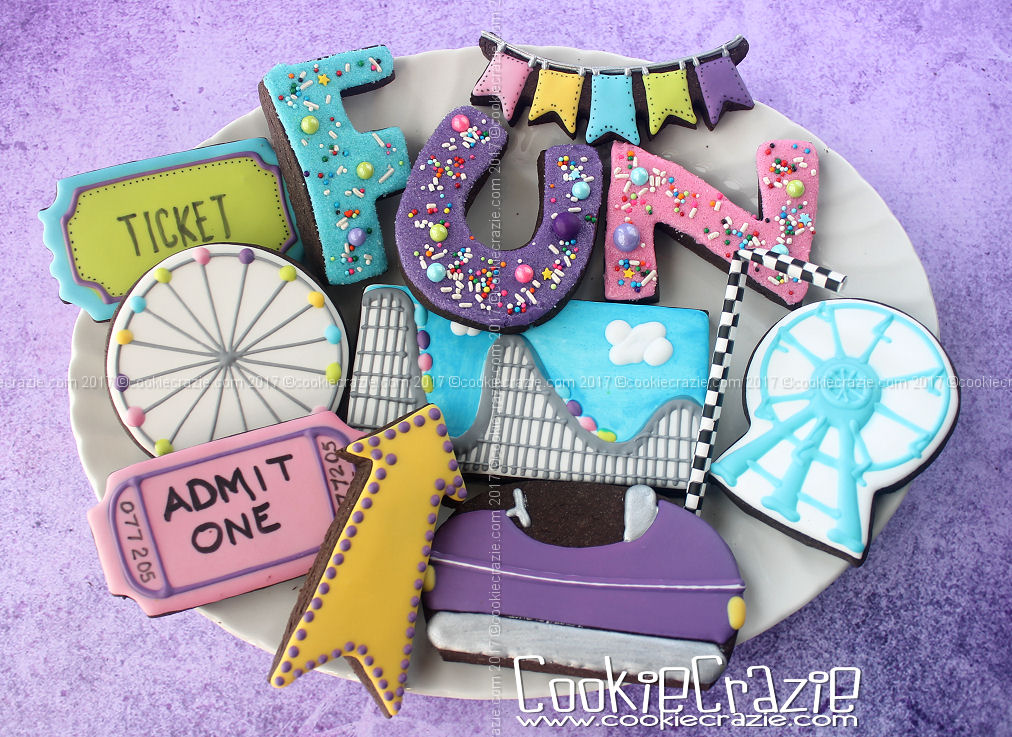
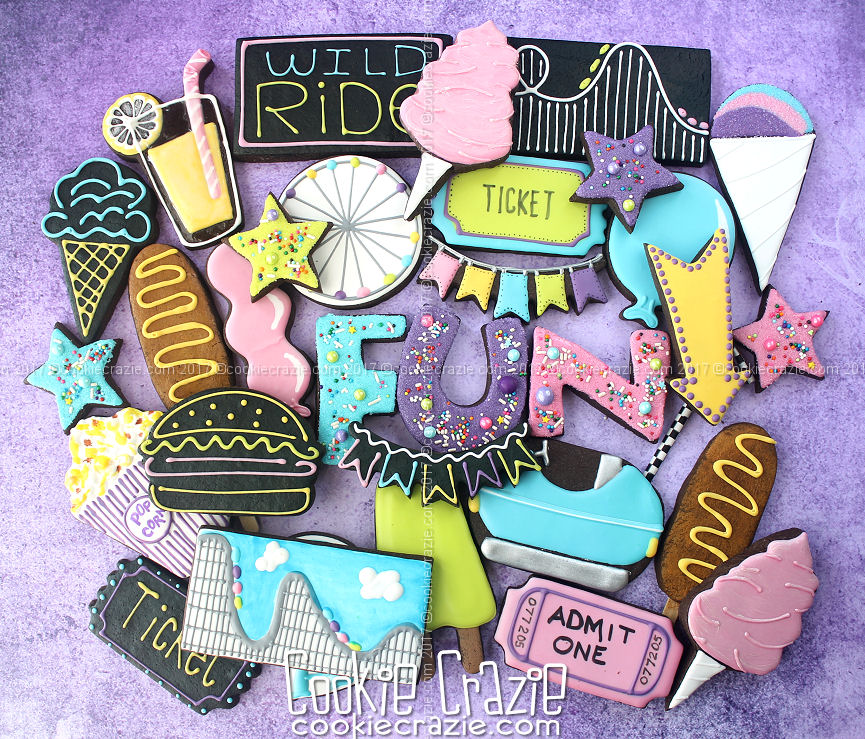
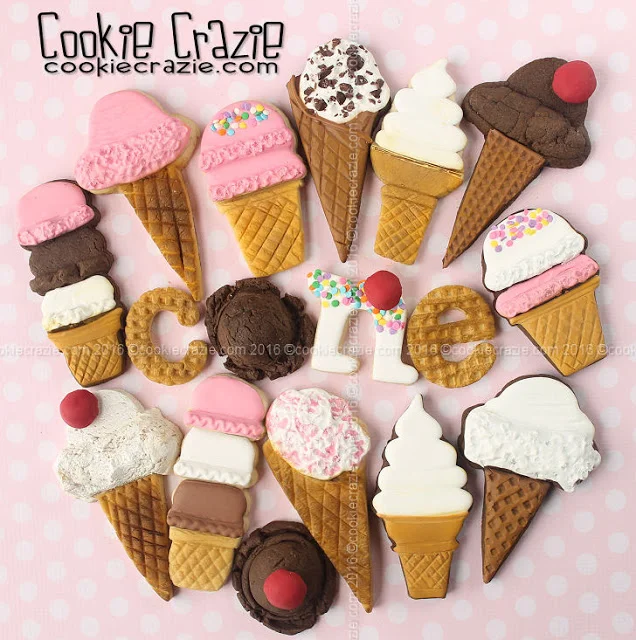
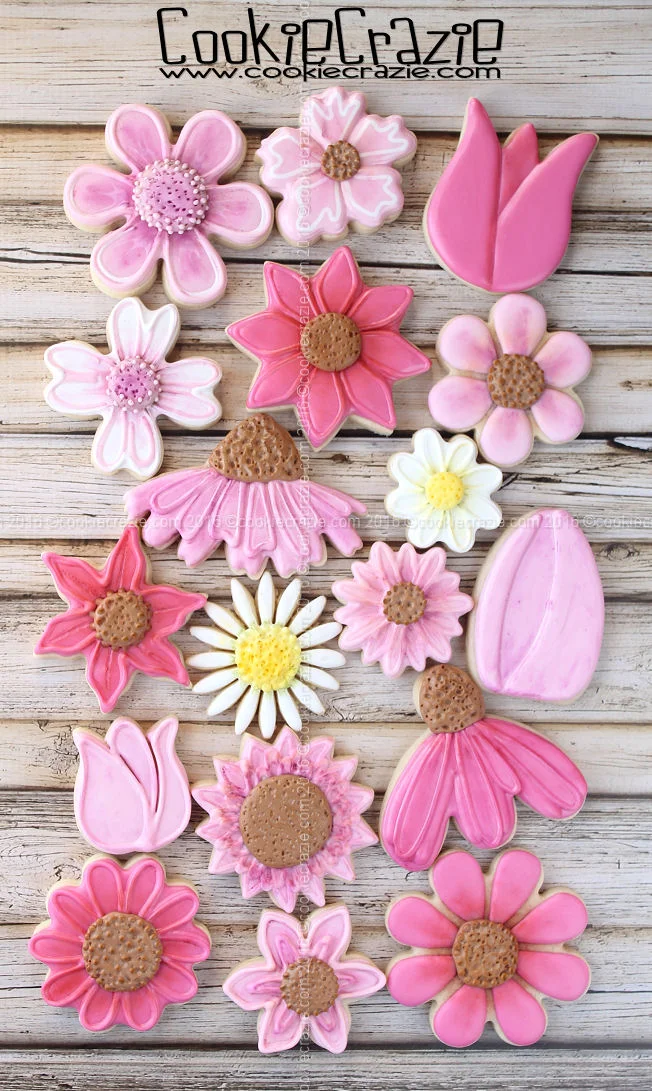
Summer Decorated Cookies
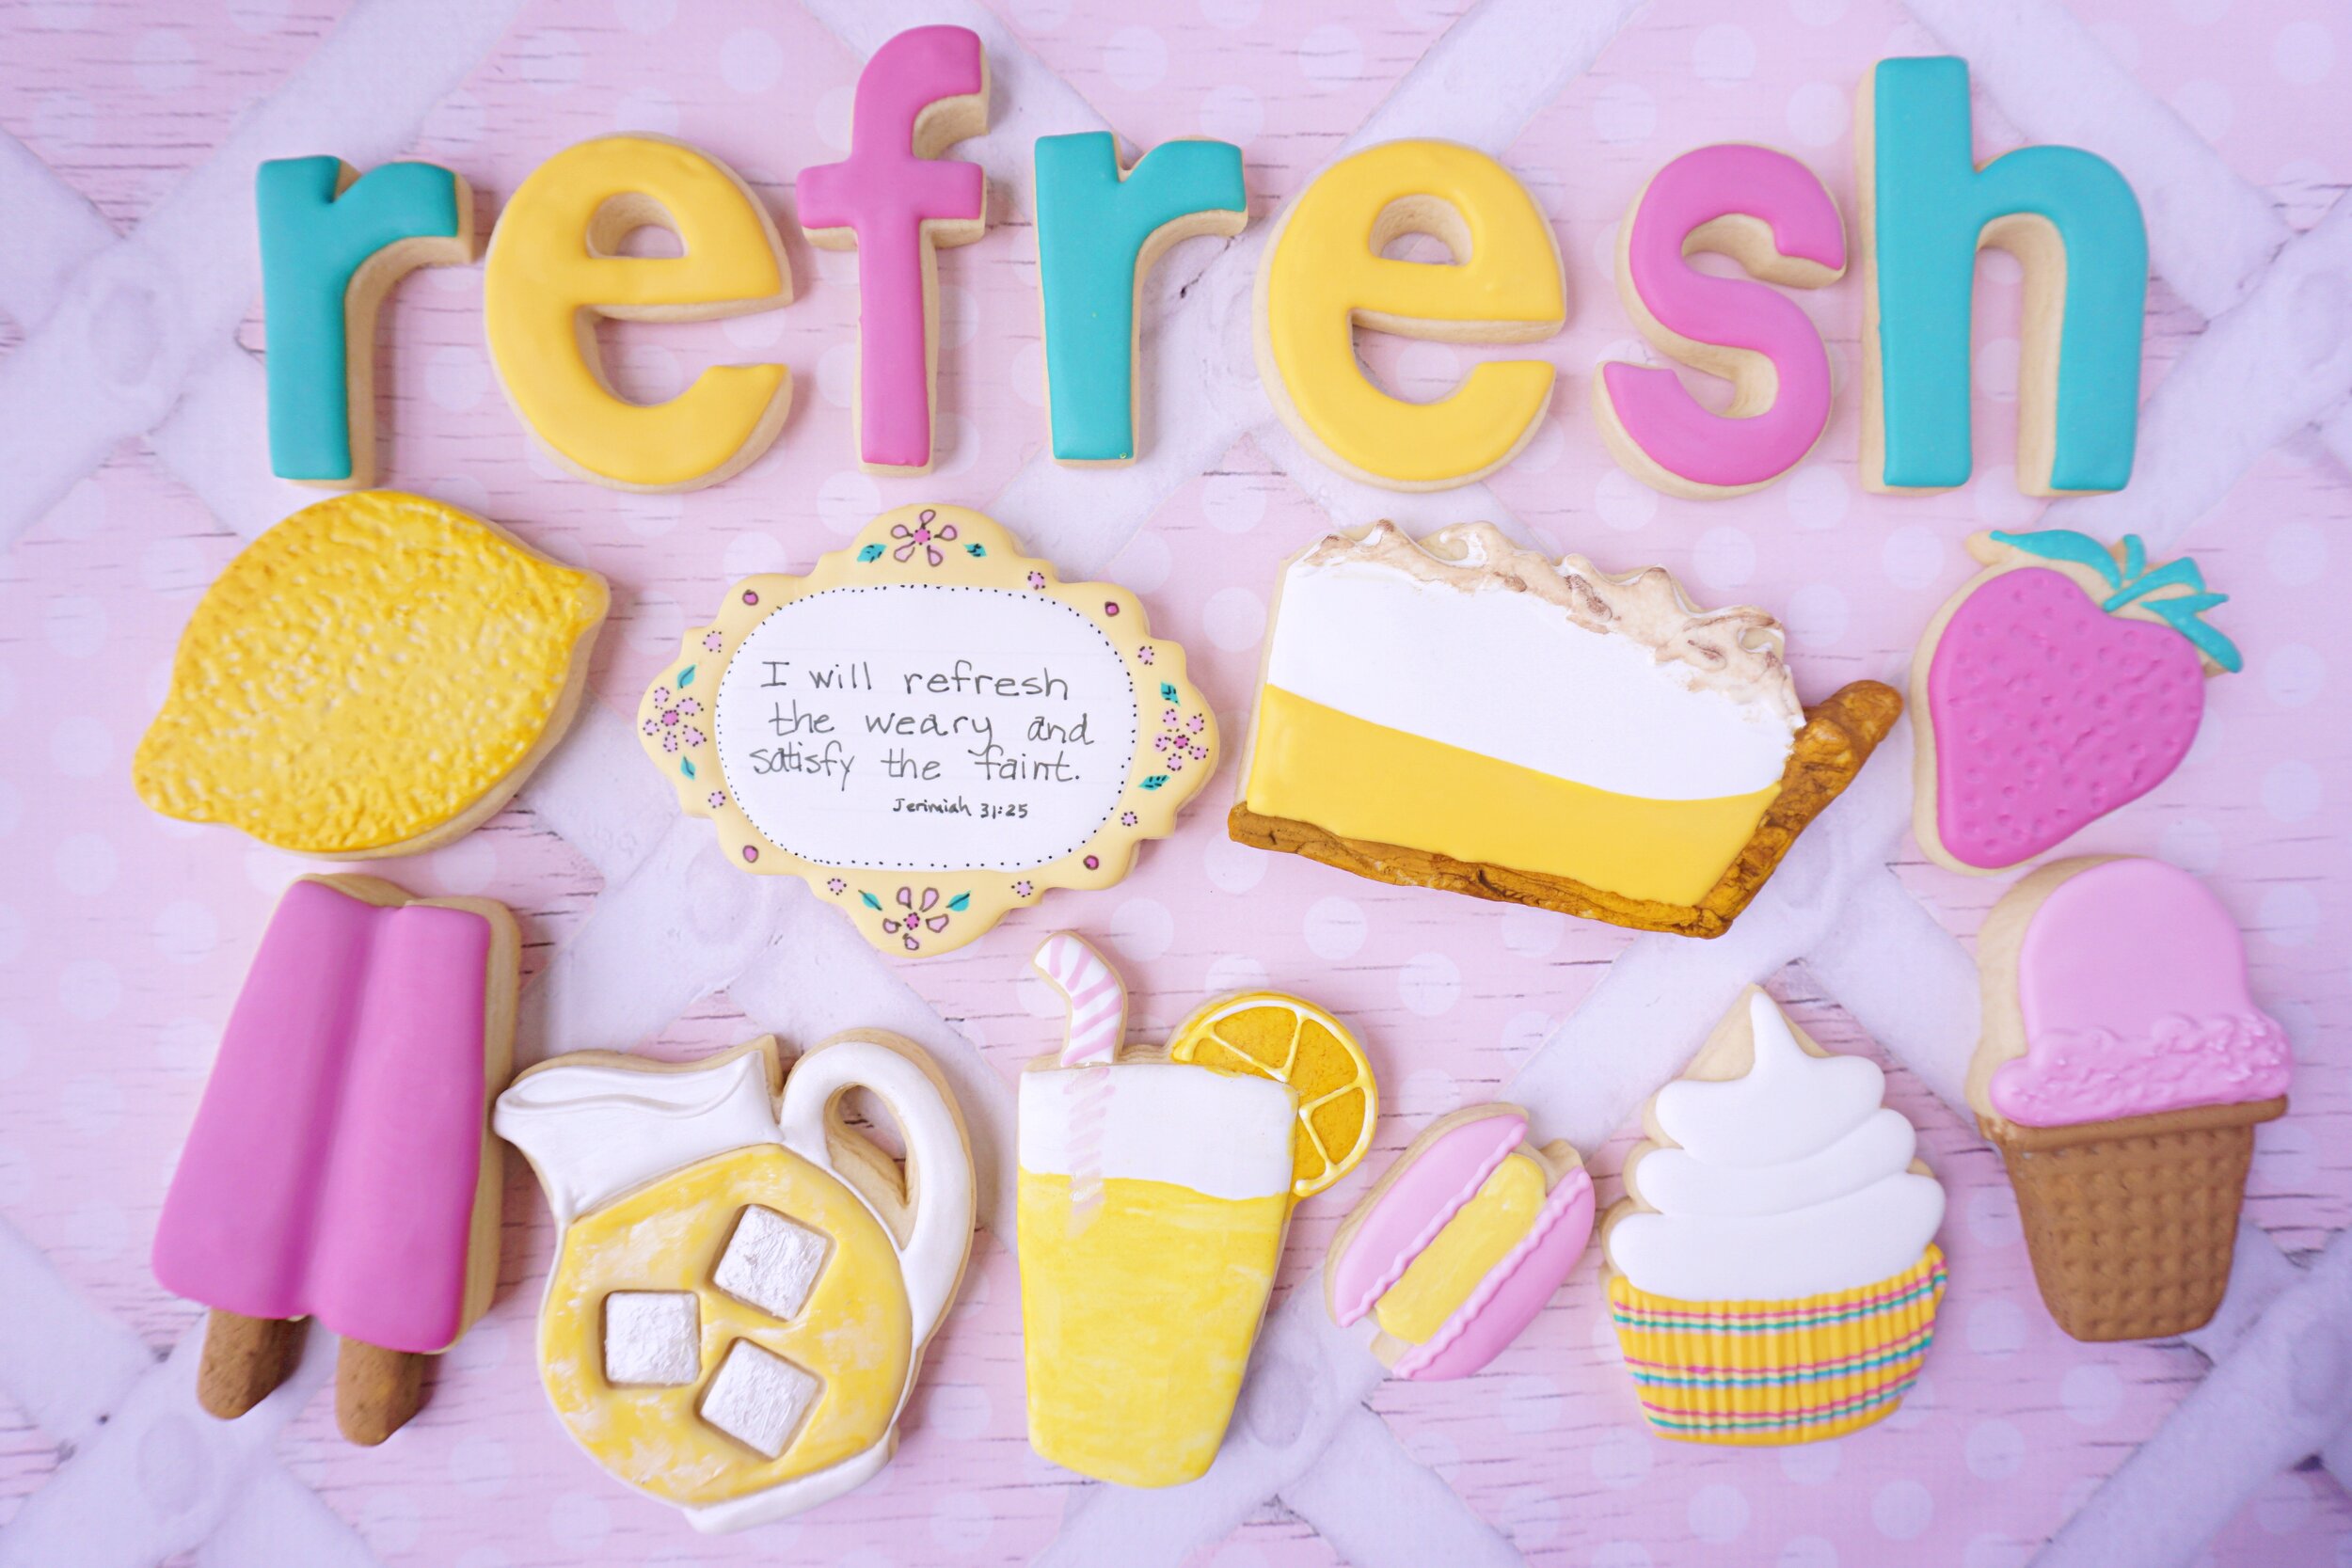
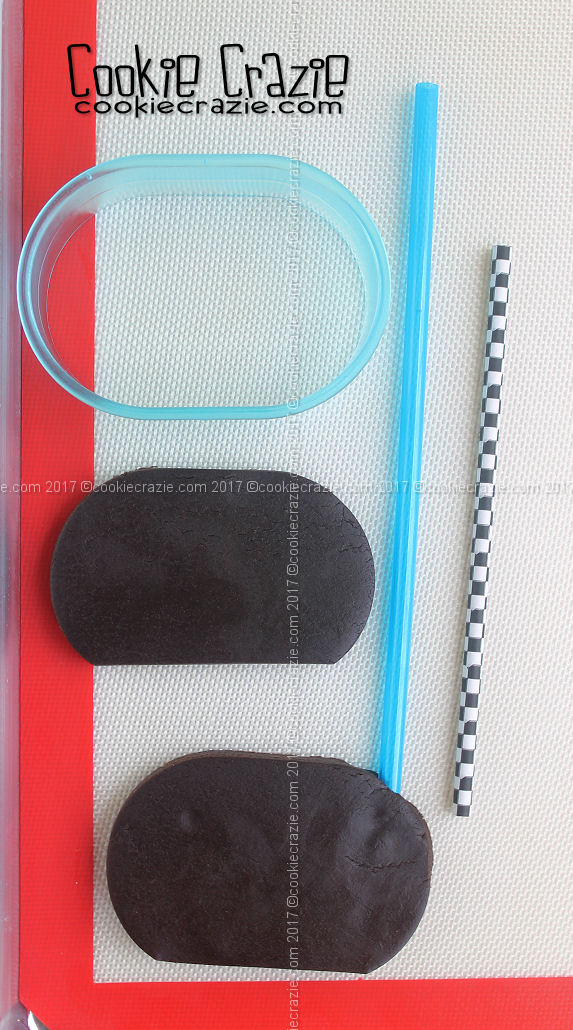
REFRESH (Lemon) Decorated Cookie Collection