This cookie tutorial was filed away back in January after these cookies
were made for the 2015 Cookie Cruise.
And now that it is summer.....it's time to share it. :)
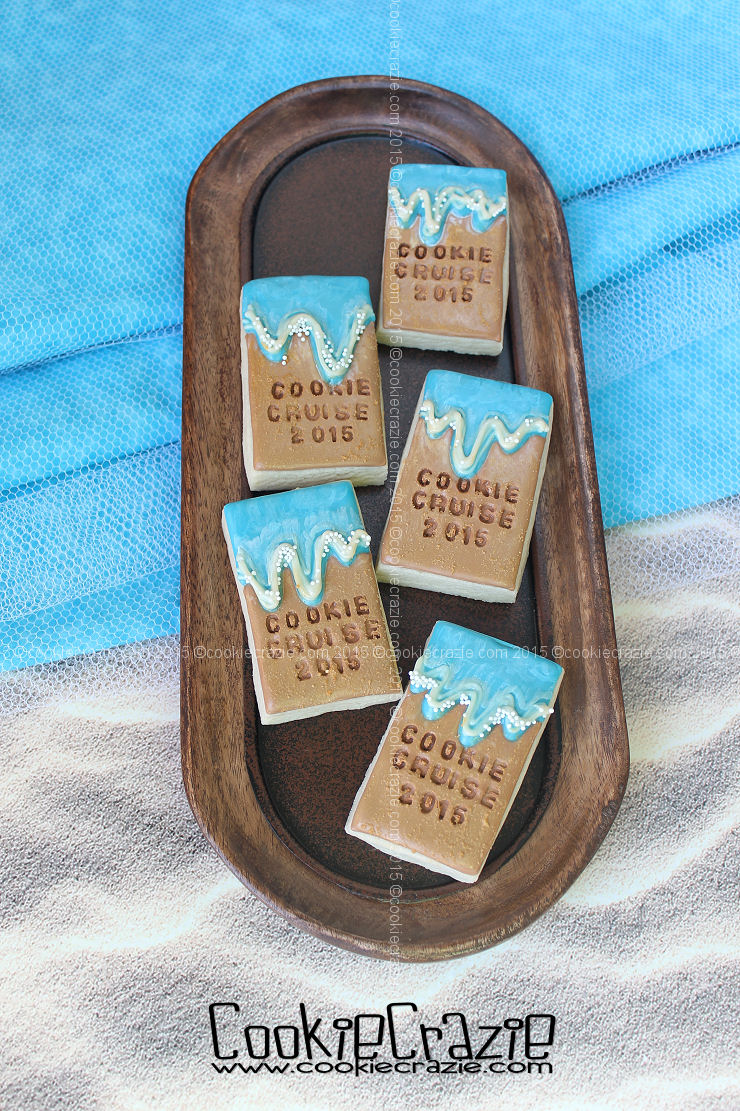
The design can be put on any shape.....but for traveling purposes,
I chose a basic rectangle cookie that would be less likely to break.
Outline and flood one end of the cookie with a light tan glaze,
including a ripple effect for the water wave.

Outline and flood the other end of the cookie with blue glaze.

Allow the glaze to dry for about 4 hours before attempting to "write something in the sand".
You can use the letter press set (as I did on these cookies) or a scribe to carve out letters.
Press the letters into the tan glaze as shown below.

To make sure the white nonpareils stick only to the edge of the wave,
allow the cookies to dry overnight before adding the white outline on the edge of the wave.
Sprinkle white nonpareils over the wet white outline to catch a few for a "bubbly" look.
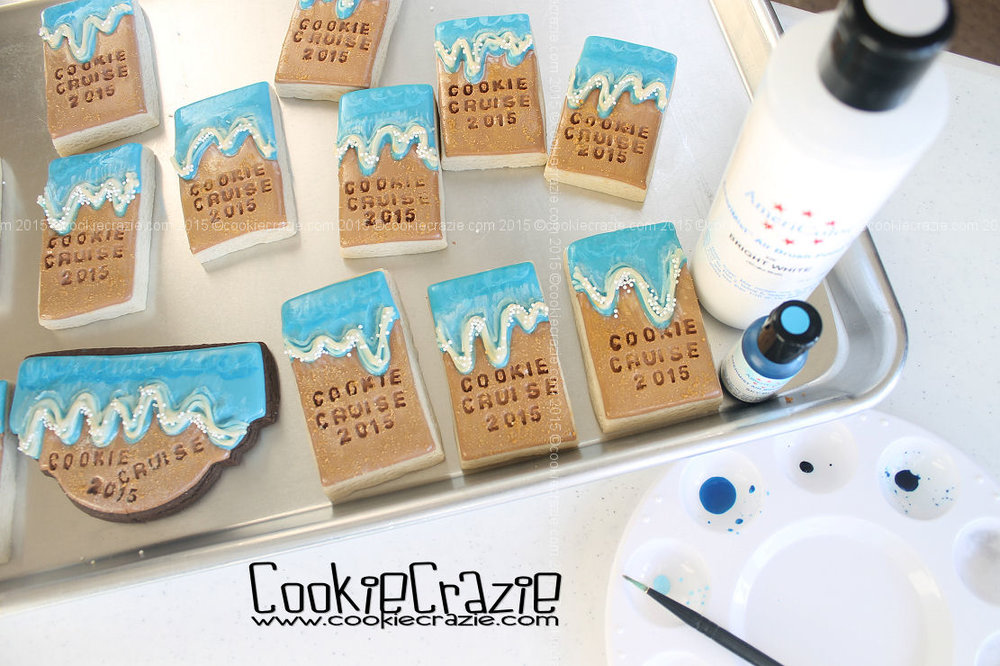
Paint Americolor Bright White gel over the edge of the waves to make them look foamy.

To give the sand some texture, make a mixture of light brown sugar, white & ivory gels,
and paint it over the surface of the dried tan glaze.

Finally, mix together some Sky Blue gel with Bright White gel
to add some dimension to the water on the cookie.