

I keep seeing all these really cool cupcakes with flowers piped on top of them.
I dreamed that maybe edible clay could be piped on top of a cookie in a similar way. ;)
There's so many possibilities.....and I'm certainly not an expert on
decorating tips and all the things they can create.
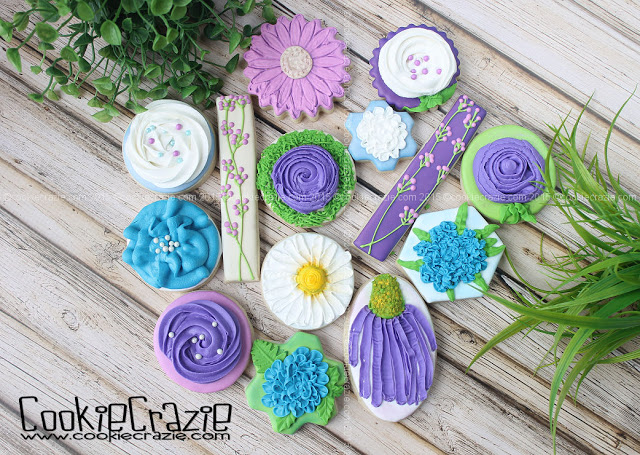
But I did a little research and tried to make several different types of flowers.
For the lavender on the long rectangles, I used Arty McGoo's tutorial.
(No edible clay used on this one.....just glaze.)
For all of these flowers (except for the last one, which I've noted below),
use edible clay that has been thinned with a tiny amount of water to make it pipe-able.
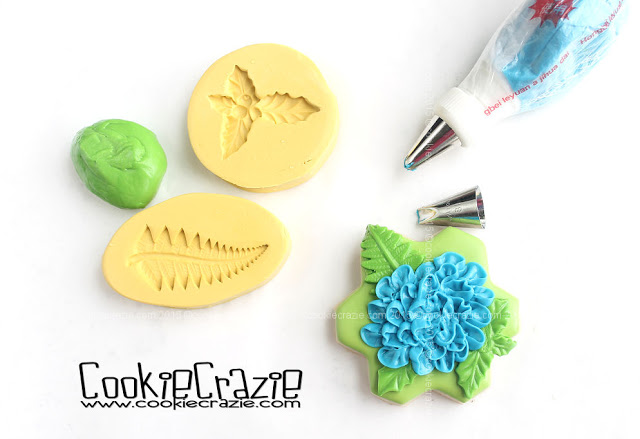
I'm not sure which flower this one would be, (maybe Chrysanthemum?) but it looks pretty. haha
I used green edible clay in different leaf molds to make the background leaves.
Then I used a #81 tip for the flower petals.
I used green edible clay in different leaf molds to make the background leaves.
Then I used a #81 tip for the flower petals.
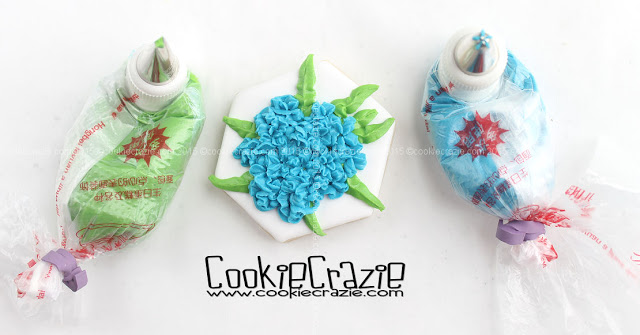
This one reminds me of a hydrangea.
(remember......I'm no flower expert. I just love flowers. haha)
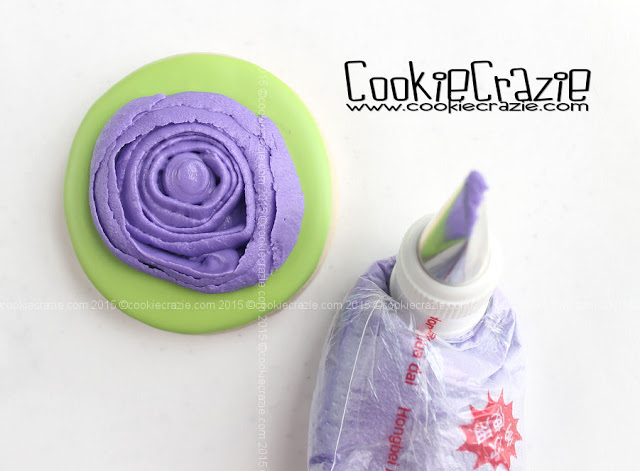
For this one, I was going for a ranunculus flower. (Love them!)
Flower: #104 tip
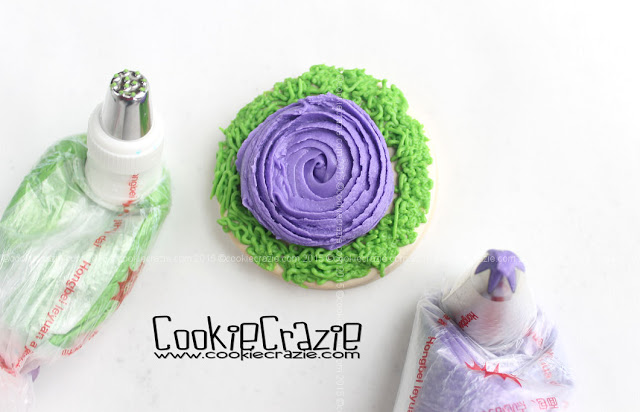
Still trying for a ranunculus....with a different tip.
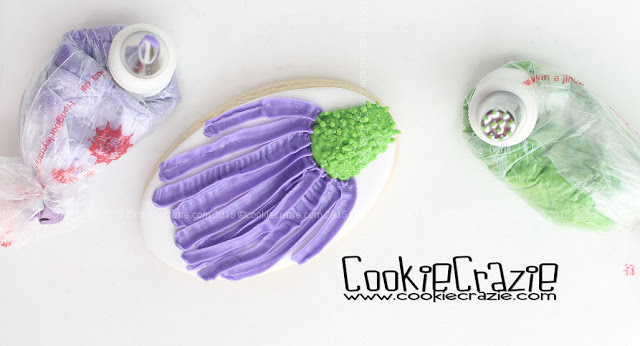
Finally, one of my all-time favorites, a coneflower.
(The colors aren't quite right, but the shape is what I'm referring to.)
Petals: Tip #81
Crown Center: First pipe a large mound of clay, and then use a grass tip to make the bumps.
And finally, for the easiest flower of all, flood a fluted circle with glaze (no edible clay).
Wait about 4 hours, and then impress it with this stamper.
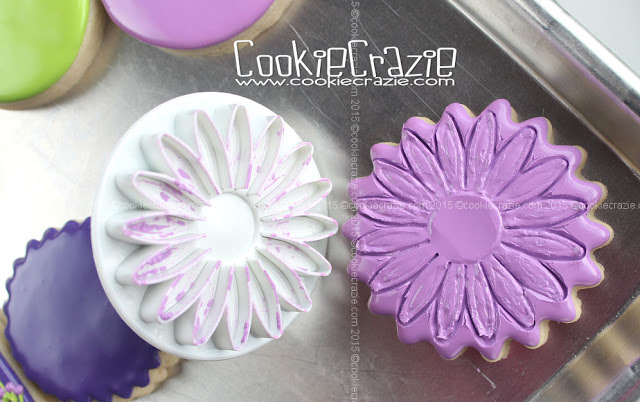
Add a flower center with glaze.
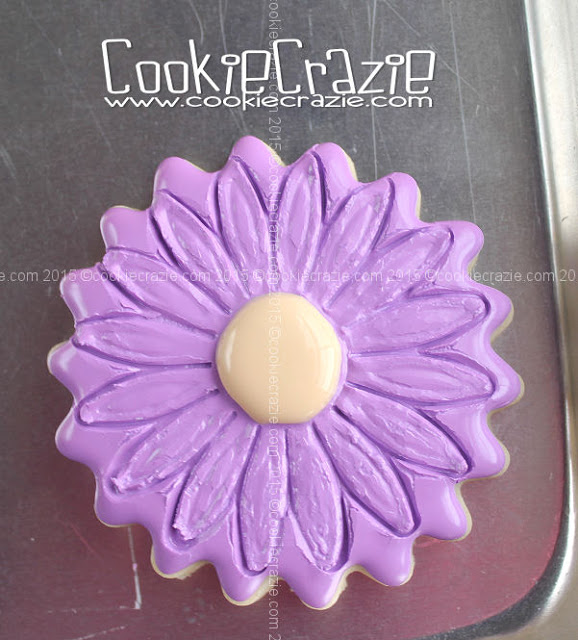
And there you have it.....an eclectic group of piped flowers. :)
Edible Glaze Molding Clay